
avg —
Meat Belyashi in a Skillet
Instructions
Sift the flour through a fine sieve into a large bowl and add the salt. Sifting saturates the flour with air, so the dough comes out lighter.

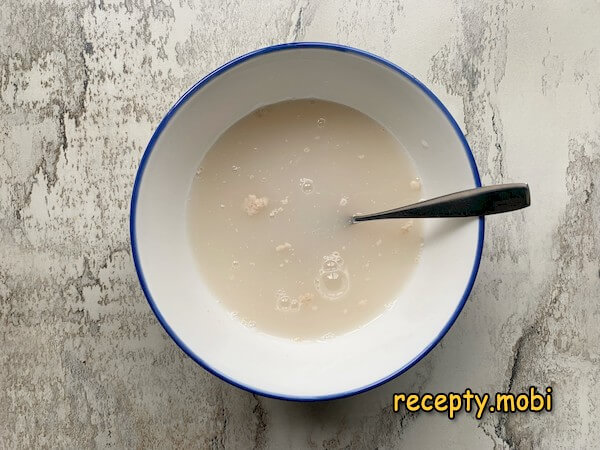
In warm water (35–40 °C, check it with your finger) dissolve the yeast and sugar to make a dough starter. The sugar "activates" the yeast. Leave it for 10 minutes until a "cap" of bubbles appears.
Pour the active starter into the flour, add the vegetable oil and start kneading the dough, first with a spatula and then by hand.
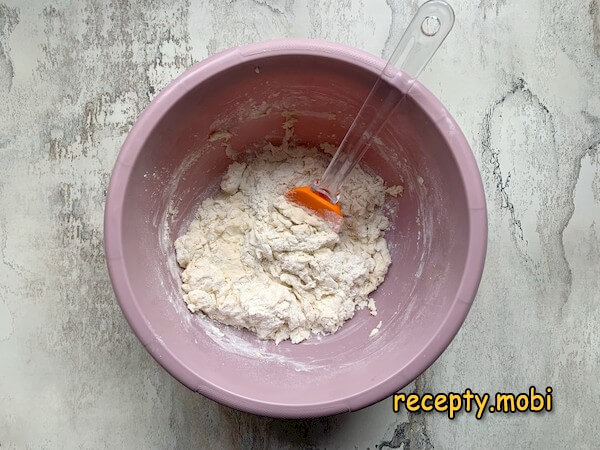
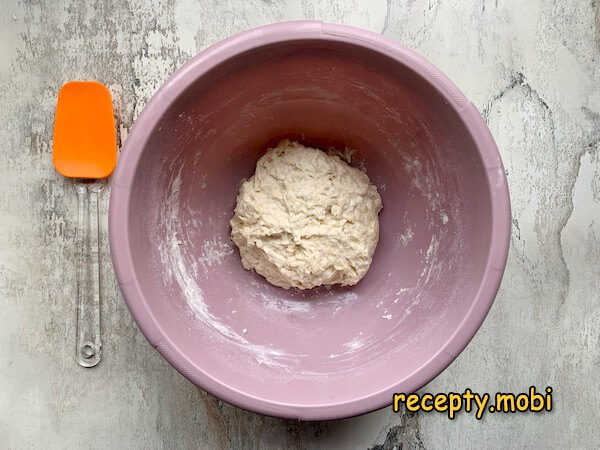
Continue kneading by hand for 3–5 minutes until smooth. The dough will be sticky – this is normal for belyashi. Do not add more flour, otherwise the dough will become "packed" and the belyashi will turn out tough.
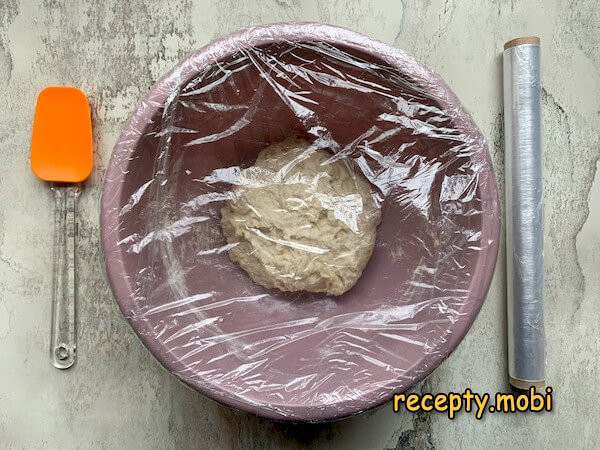
Cover the dough with cling film or a towel and leave it in a warm place (26–28 °C) for 1 hour, until it doubles in size.
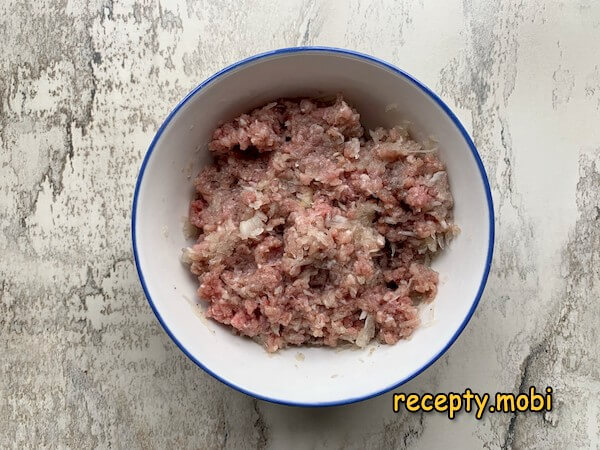
Meanwhile, prepare the filling: mix the ground beef with very finely chopped onion (a blender works too), salt and ground pepper. A 1:1 ratio of onion to meat gives the juiciest filling.
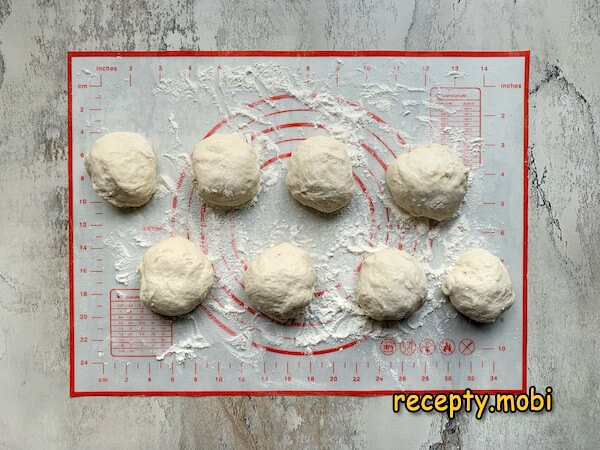
Knock back the risen dough and divide it into 8 equal pieces by weight. Shape neat balls and cover them with cling film so they do not dry out.

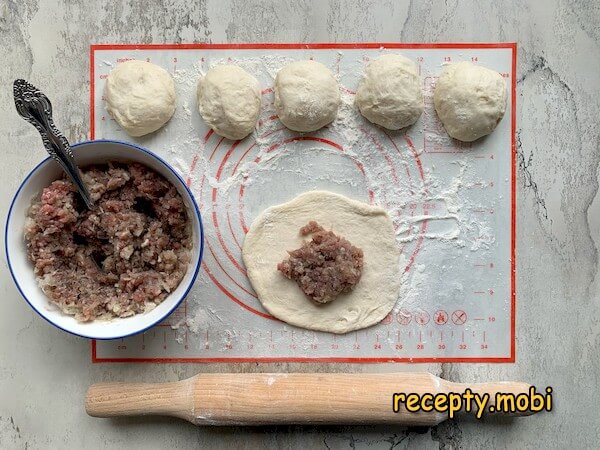
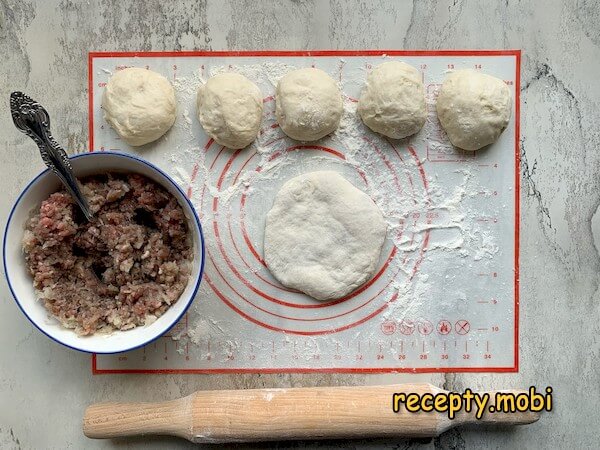
Roll out each ball into a round disc 10–12 cm in diameter and 5 mm thick. Discs that are too thin will tear during frying from the pressure of the filling.
Place 1 tablespoon of filling in the centre of each disc – do not overdo it, otherwise the belyash will not close and the filling will leak out during frying.
Gather the edges of the disc at the centre, pinch them in an "accordion" pattern around the filling and flatten slightly to a thickness of 1–1.5 cm. Leave a small opening in the centre – steam escapes through it during frying.
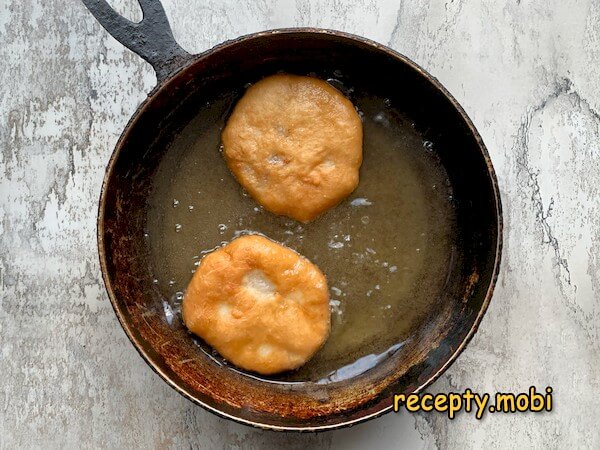
Fry in plenty of heated vegetable oil (the oil should cover the belyash by 1/3 of its height) for 3–4 minutes on each side until golden. Start opening-side down, to seal in the juices.
Transfer the cooked belyashi onto paper towels to drain the excess fat. Meat belyashi in a skillet are ready! Serve hot.


Tips
- 1
A 1:1 ratio of onion to meat gives the juiciest filling – do not skimp on the onion, it works like a "juicer".
- 2
Do not add too much flour – a sticky dough is ideal for belyashi and gives a fluffy texture.
- 3
Check the oil temperature with a small piece of dough – it should sizzle straight away. I make meat chebureki on a similar principle.
- 4
Serve hot with sour cream, garlic sauce or just on their own – they are eaten with the hands.
FAQ
Why do belyashi turn out tough? +
The main reasons are: too much flour in the dough (the dough should stay slightly sticky), the dough has not risen enough (it needs at least 1 hour in the warmth), too little onion in the filling (which makes it dry), and frying over low heat without enough oil. Belyashi also turn tough as they cool – serve them hot straight away. If they have already cooled, reheat them in a skillet under a lid for 2–3 minutes and some of the softness will return. The dough for belyashi should be soft and slightly sticky – do not be put off by this.
Which mince is best to use? +
Beef is the classic choice for Tatar belyashi and gives a distinctive "meaty" flavour. Pork is fattier and juicier. A blend (beef and pork 50/50) is the optimal option, with a balance of flavour and juiciness. Chicken is more dietetic but needs added fat or oil, otherwise it will be dry. Lamb makes an "Eastern" version, like proper huchin. The main thing is that the mince should be fresh and not too fatty (15–20% fat is ideal).
Can belyashi be baked in the oven? +
Yes, but the texture will be different – less juicy and more "bun-like". Bake at 200 °C for 20–25 minutes until golden. Before baking, brush with egg for a nice shine. Baked belyashi are lower in calories (180 kcal instead of 224 per 100 g) – without the oil absorbed during frying. However, classic Tatar belyashi are precisely the ones fried in a skillet; that is their character. Baking is an option for those watching their figure.
- Comment
or post as a guest
Be the first to comment.


