
avg —
Cinnamon Cinnabon Rolls
Instructions
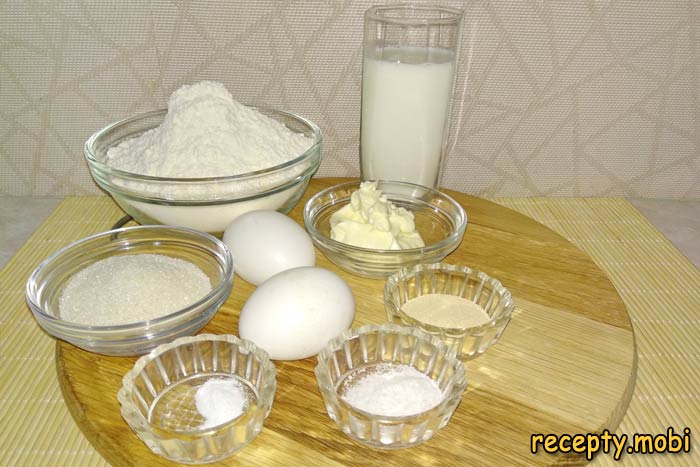
I lay out the ingredients for the yeasted dough on the work surface. I warm the milk (240 ml) to 32–36°C – "body" temperature for activating the yeast. If it is too cold (below 30°C), the yeast won't get going; if it is too hot (above 40°C), the yeast dies. I take the eggs and butter (80 g for the dough plus 80 g for the filling) out of the fridge an hour in advance so they reach room temperature.
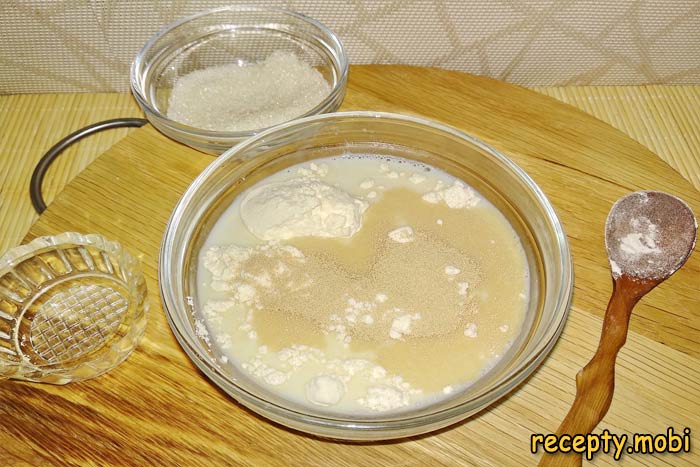
I make the sponge (a preliminary activation of the yeast). To the warm milk (240 ml) I add 1 tsp of sugar (from the total 80 g), 2–3 tbsp of flour (from the total 550 g) and the dry yeast (8 g). I mix thoroughly with a whisk until completely smooth.
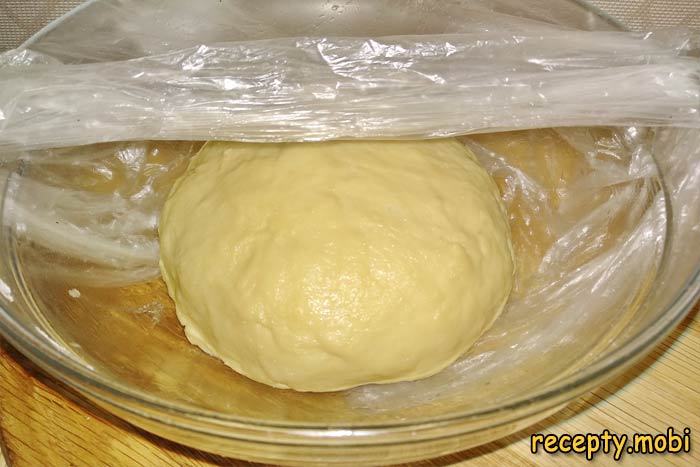
I cover the bowl of sponge with a towel or cling film and put it in a warm place for 15 minutes to get the yeast working. Ideally on a radiator in the cold season, or in the oven with only the light switched on (it gives about 30°C). When the sponge has formed a fluffy foamy "cap" 2–3 cm high, the yeast is active.
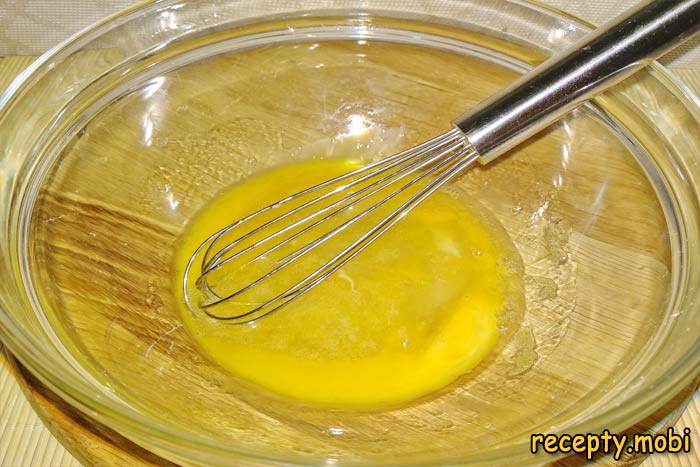
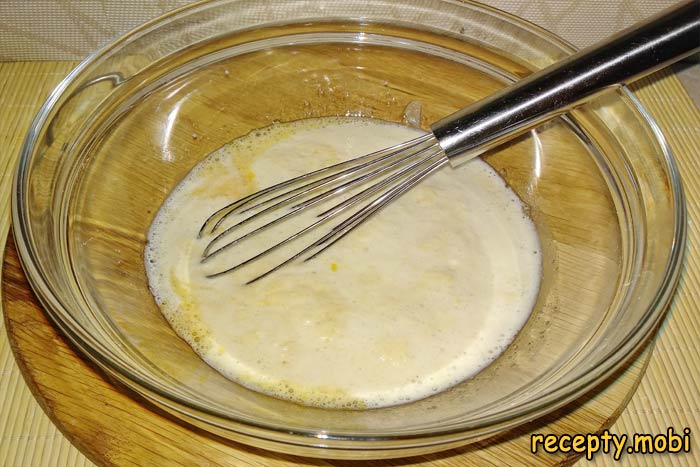
Into a large deep bowl I crack 2 eggs, add the remaining sugar (80 g − 1 tsp = 79 g) and the salt (½ tsp). I mix thoroughly with a whisk until smooth and the sugar has dissolved. Then I add the ready sponge with its foamy cap and whisk again until smooth.
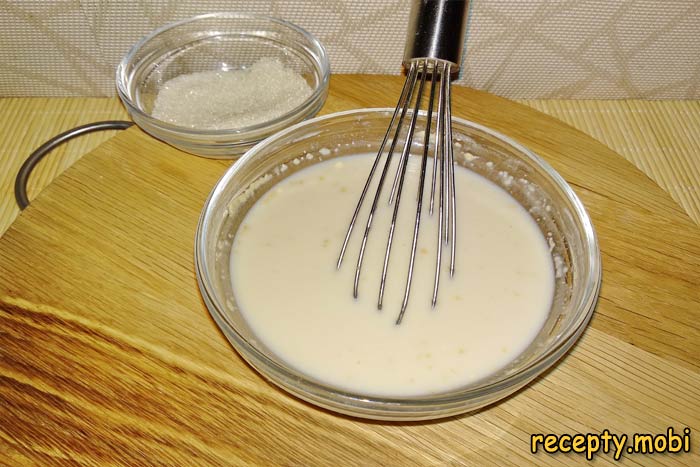
The yeast has risen well, forming a high foamy cap on the surface.

I pour the activated yeast mixture into the egg mixture.
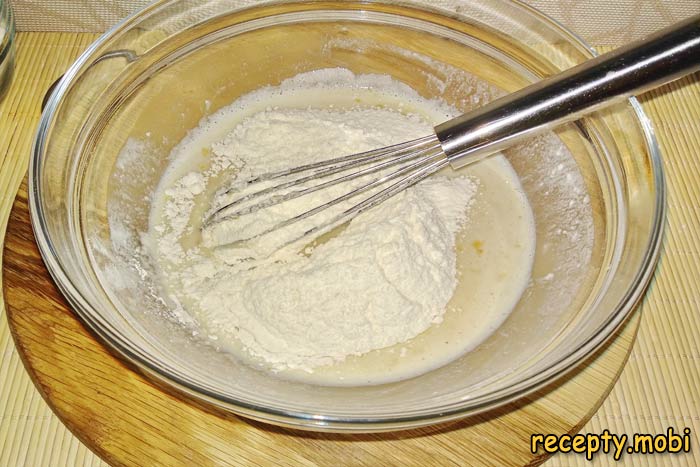
I sift the flour (550 g) and first mix it with the vanillin (⅓ tsp) so the aroma is spread evenly. I add the flour to the liquid mixture gradually (about 100 g at a time), whisking it in thoroughly each time. After 3–4 portions the whisk can no longer cope, so I switch to a wooden spatula.
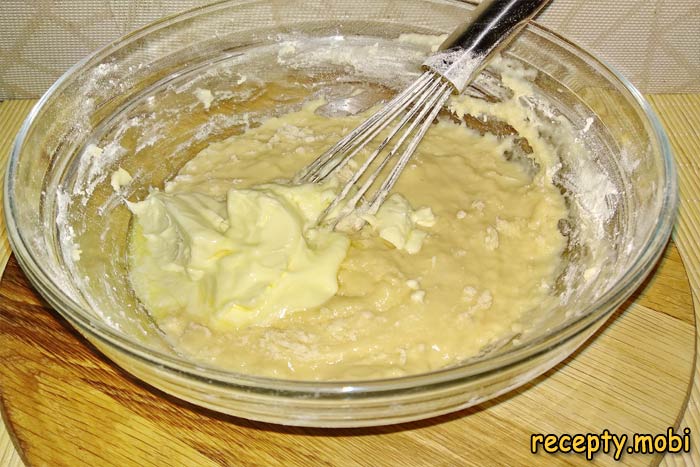
When the dough has almost come together, I add the soft butter for the dough (80 g) in 1 cm cubes. I work the butter in thoroughly until it has completely "disappeared" into the mass. Then I add the last portion of flour and keep kneading.
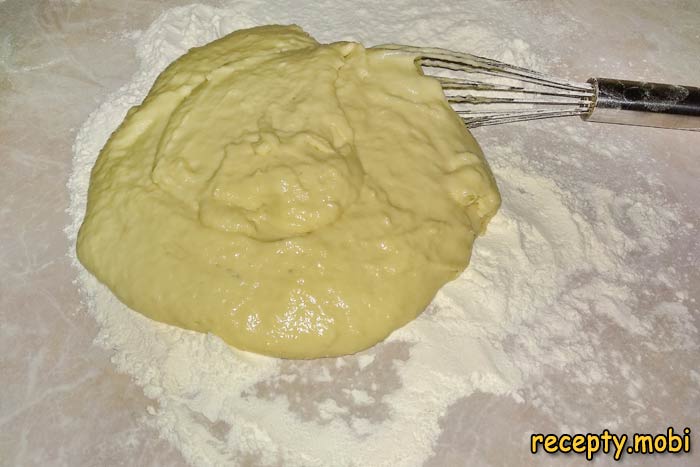
When it can no longer be worked with a whisk, I turn the dough out onto a floured work surface. I knead by hand for 7–10 minutes until I have a soft, elastic, slightly tacky dough. The ready dough doesn't stick to the hands too much, but it isn't dry either – the "happy medium". You can add up to 30 g more flour, but no more than that.
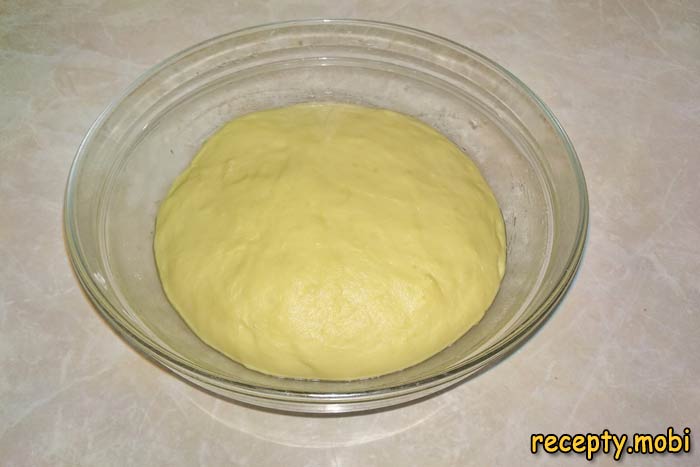
I transfer the kneaded dough to a clean bowl greased with vegetable oil. I cover it with cling film and put it in a warm place to rise for 1 hour. The ideal "home" method: heat the oven to 30°C and TURN OFF the heat – leave only the light on (it keeps it at about 30°C). Put the bowl in the oven and the dough will double in size in 1 hour.
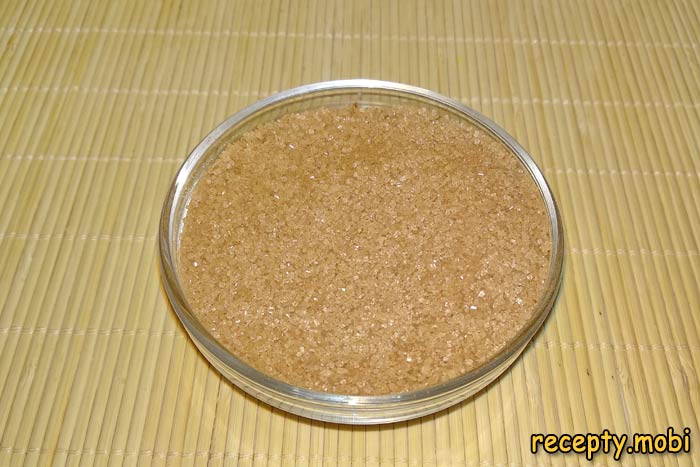
In the meantime I make the filling. For the "cinnamon-sugar" mixture I combine the sugar (130 g) with the ground cinnamon (15 g) in a bowl. The cinnamon should be spread evenly through the sugar, with no lumps. I use good-quality Ceylon cinnamon (more aromatic and less "fiery" than cassia). The butter for the filling (80 g) should be soft but not melted.
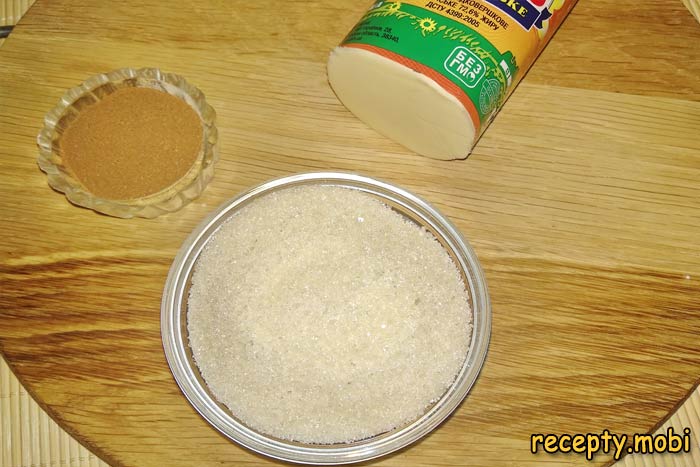
I mix the sugar with the cinnamon.
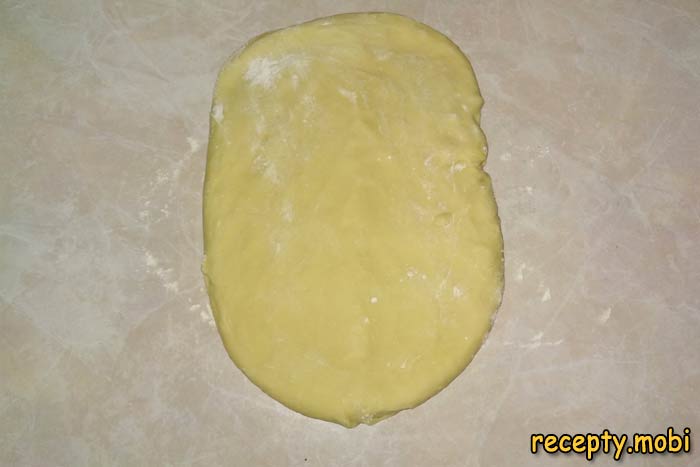
After an hour I take the bowl of dough out of the warm place. The dough has increased 2–3 times in size and become soft and airy. I lightly knock it back by hand to release the carbon dioxide, then turn it out onto a floured surface. I stretch it out by hand into a 30×40 cm rectangle.
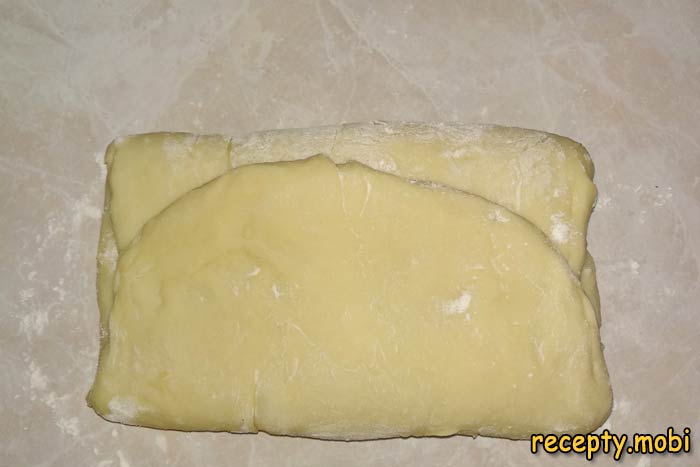
I fold the dough like an envelope (as for puff pastry): the top third into the middle, then the bottom third on top. I knock it back lightly again and roll it out with a rolling pin into a thin rectangular sheet 5–7 mm thick, about 35×45 cm.
I fold the dough into an envelope shape.
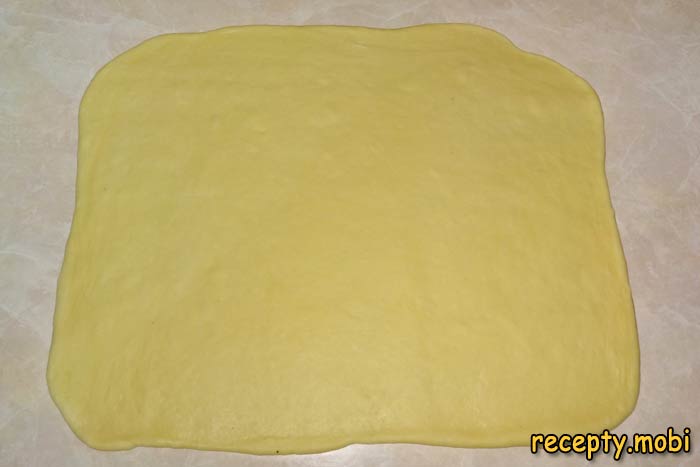
Using a rolling pin, I roll the dough into a thin rectangular sheet, 5–7 millimetres thick.
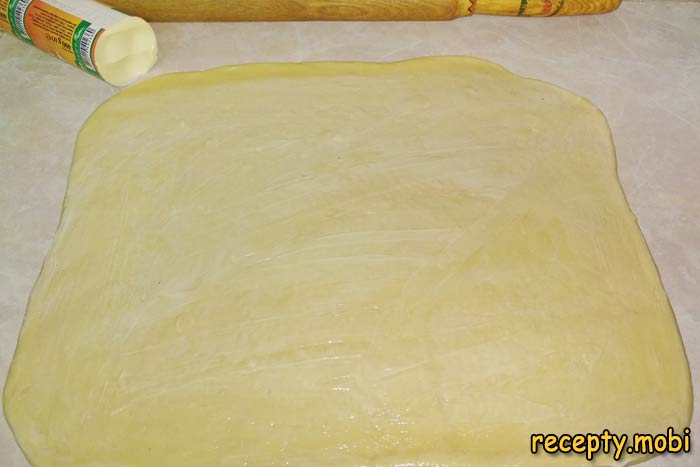
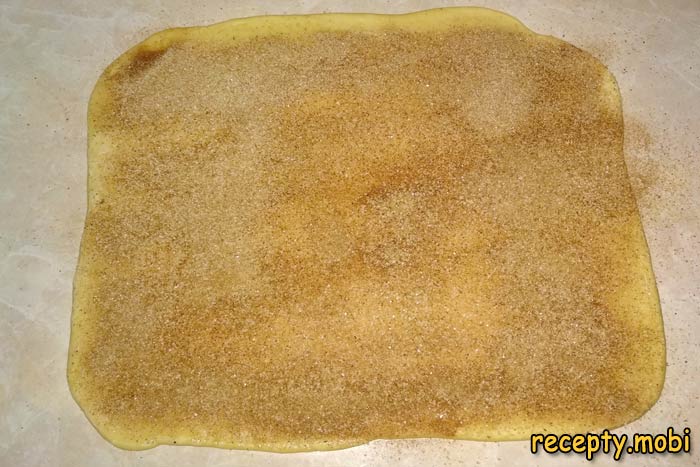
I cover the surface of the dough evenly with a layer of soft butter (80 g) – it's easy to do with a spatula. On top I generously scatter the cinnamon-sugar mixture (130 g sugar + 15 g cinnamon), spreading it by hand over the whole area of the dough and leaving a 2 cm clear edge on one side (to seal the log).
I generously cover the layer of butter with the cinnamon-sugar mixture.
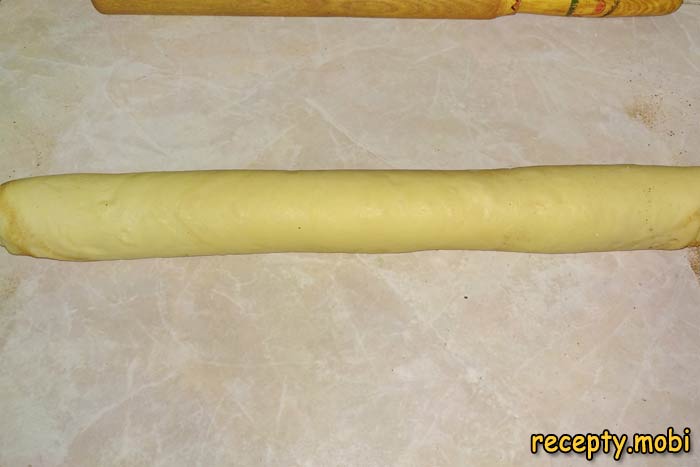
I roll the dough into a tight log starting from the long side (45 cm). Don't roll it too tightly or the rolls won't "rise", but you can't roll it too loosely either or they'll fall apart when sliced. The "happy medium" is a firm but elastic log.
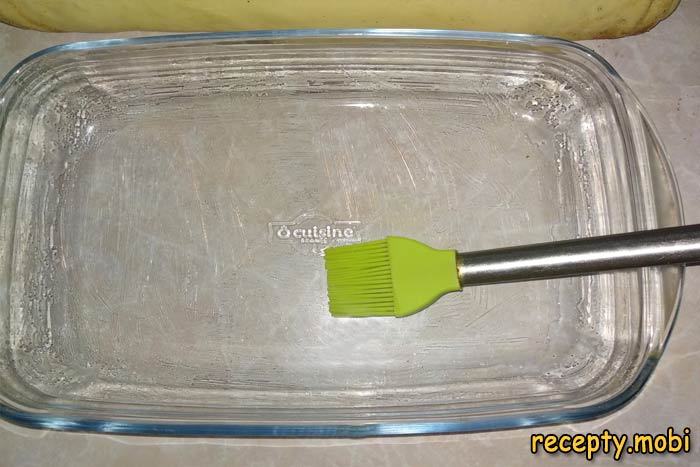
I grease the baking mould with vegetable oil.
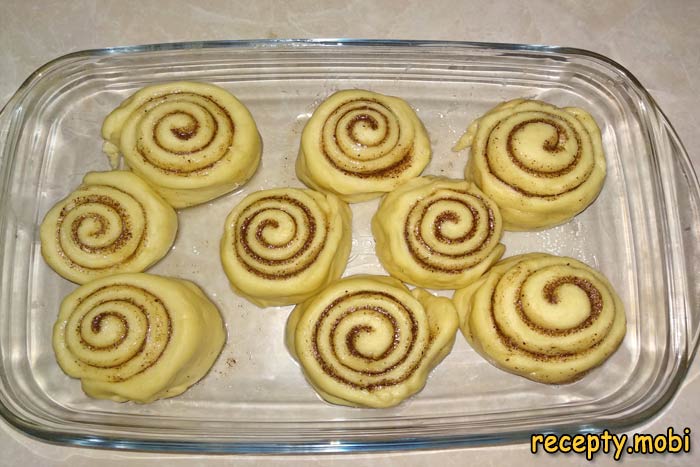
With a sharp knife or a sewing thread (I slide it under the log, cross it over the top and pull the ends – it cuts evenly without squashing) I cut the log into 16 portioned rolls about 3 cm wide. I grease a baking dish (28×35 cm) with vegetable oil and arrange the rolls cut-side up, about 2 cm apart – they spread during baking and fill the dish.
I heat the oven to 180°C, top and bottom heat. I cover the dish of rolls with a towel and let them "rest" for 15 minutes so they prove slightly before baking. I bake them for 25–30 minutes until the tops are golden brown.
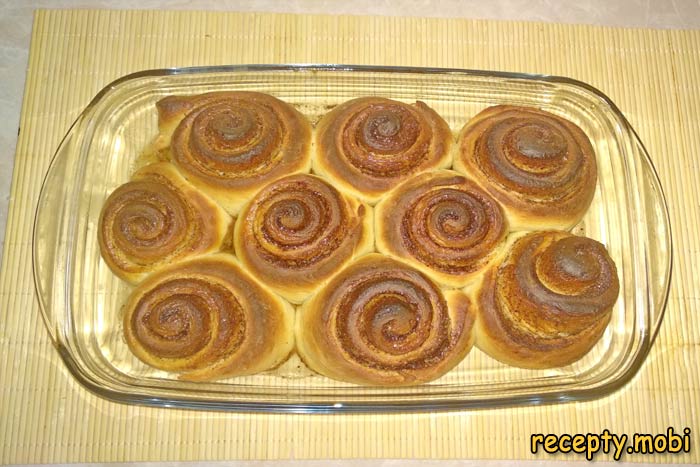
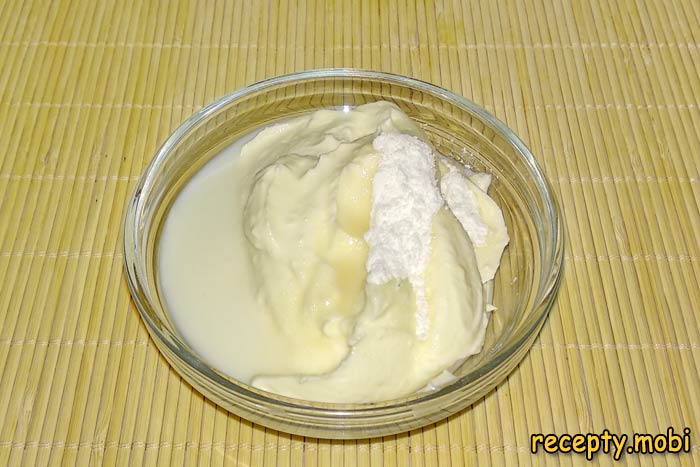
In the meantime I make the cream cheese frosting – the "calling card" of Cinnabons. In a bowl I whip the cream cheese (150 g) with the powdered sugar (100 g) using a mixer for 3–5 minutes until fluffy and smooth. If the frosting is too thick, I add milk a tablespoon at a time until it reaches the consistency of "thick sour cream".

I mix all the frosting ingredients thoroughly into a dense, smooth mass.
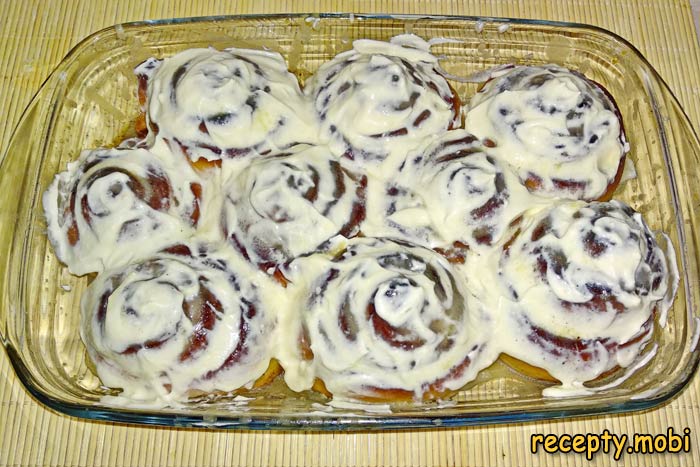
I take the hot rolls out of the oven and IMMEDIATELY coat them generously with the frosting on top – the hot rolls soak up the frosting and become incredibly tender. This is the "secret" of real Cinnabons! If you wait for them to cool, the frosting just sits on top without soaking in. The cinnamon Cinnabon rolls are ready! I serve them warm with a cup of coffee or tea.The cinnamon Cinnabon rolls are truly homemade baking. Bon appetit.


Tips
- 1
Coat the HOT rolls with the frosting straight after baking – they will soak it up and become melt-in-the-mouth.
- 2
Warm the milk for the sponge to 32–36°C – this is critical for activating the yeast. Overheated milk (above 40°C) will kill the yeast.
- 3
Use a sewing thread to cut the log – it gives a clean slice without squashing. I bake chocolate rolls with a cocoa filling on a similar principle.
- 4
Use Ceylon cinnamon (not cassia) – it is more aromatic and not "fiery", giving the signature aroma of real Cinnabons.
FAQ
What can I use instead of cream cheese in the frosting? +
Suitable options are: mascarpone (a more "Italian" choice with a delicate texture), ricotta whipped with powdered sugar (a "lighter" option), 30% sour cream whipped with powdered sugar (the Russian classic), a mix of butter with condensed milk (200 g butter + 200 g boiled condensed milk – the "grandma's" frosting), thick 10% Greek yoghurt with powdered sugar (a diet option), or a meringue custard cream (a classic of French patisseries). Philadelphia cream cheese is the "classic" for American Cinnabons, with its characteristic sweet-and-sour note. Each substitute gives its own character.
Can I make the dough with sourdough instead of yeast? +
Yes, Cinnabons can be made with a wheat sourdough for a "deeper" flavour and added benefit. Replace the 8 g of yeast with 100–150 g of active wheat sourdough (a 100% hydration starter). Reduce the flour by 75 g and the milk by 75 ml (the sourdough already contains these components). The rising time of the dough will increase from 1 hour to 4–6 hours in a warm place, or 8–12 hours in the fridge (a slow fermentation to develop flavour). A ready sourdough gives a more complex "farmhouse" flavour with a light tang that pairs beautifully with cinnamon and sweet frosting.
How long do the finished Cinnabons keep? +
Fresh Cinnabons are best eaten on the day they are baked – they are tastiest warm. At room temperature in an airtight container they keep for up to 2 days (but the frosting may "settle"). In the fridge they keep for up to 4 days under cling film – before serving, reheat them in the microwave for 20–30 seconds under a cover (this restores the softness). They can be frozen for 1 month in airtight bags – before serving, thaw completely at room temperature for 1 hour and warm in the oven for 5–7 minutes at 150°C under foil. The log (before slicing) can also be frozen and sliced just before baking.
What should I serve Cinnabons with? +
They are perfect for an American breakfast with coffee (espresso, latte, cappuccino) – the classic way they are served at Cinnabon. With tea – black tea with milk (English breakfast), green tea with jasmine, or tea with cinnamon and cardamom. With hot chocolate or cocoa for a "winter" option. With a milkshake for a children's breakfast. For a children's birthday – with fruit lemonade and sweets. For a Sunday family breakfast – with scrambled eggs and bacon for a "hearty" American breakfast. Serve them warm, drizzling even more frosting on top for the maximum "Cinnabon effect".
- Comment
or post as a guest
Be the first to comment.


")
