
avg —
Bounty Cake with Coconut Flakes
Instructions
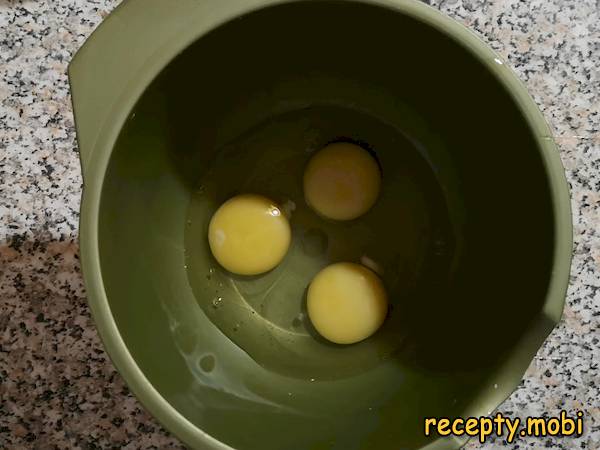
Crack 3 eggs into a convenient bowl. I use room-temperature eggs – they whisk up far more easily than cold ones.
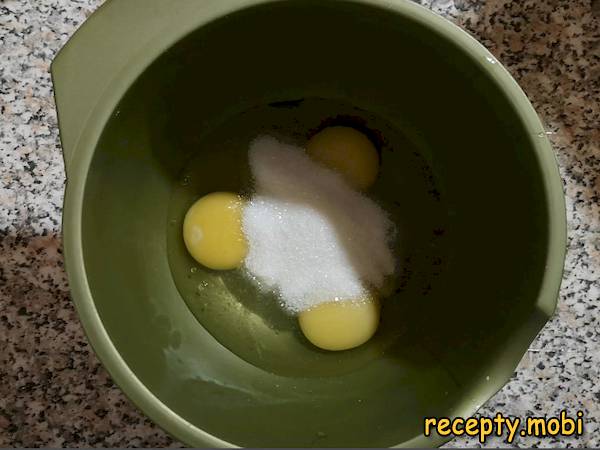
Add the sugar to the eggs in small batches, mixing with an electric mixer.
Whisk for 5 minutes until the mass has increased two to three times in volume and forms a thick pale foam. This is the key step – the fluffiness of the sponge depends on how well it is whisked.

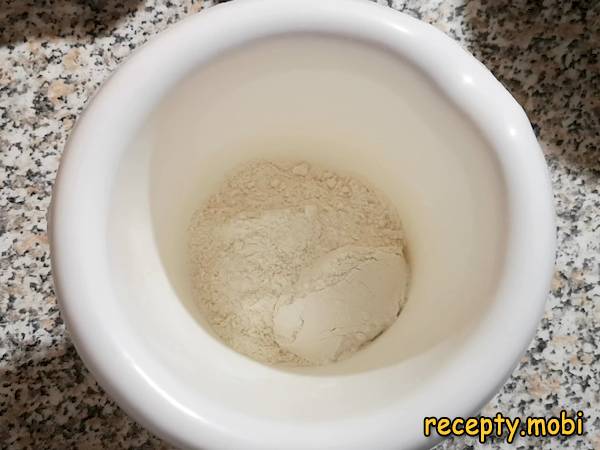
Pour 80 g of flour into a deep container.
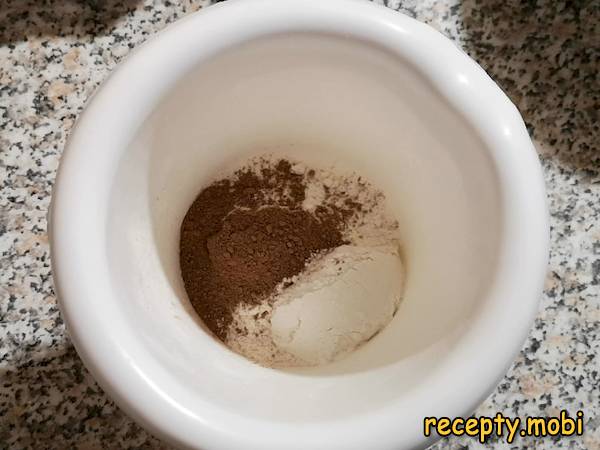
Add 20 g of cocoa powder and 1/2 tsp of baking powder to the flour.
Mix the flour with the cocoa and baking powder until uniform.

Sift the dry mixture into the egg mixture – through a sieve, so there are no lumps.
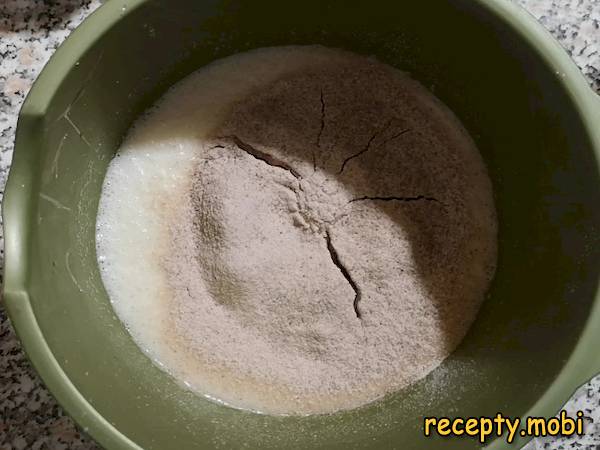
Fold everything together with a spatula, from the bottom up, until you have a uniform consistency. Do NOT use the mixer – otherwise you will knock out the air and the sponge will sink. The batter is ready.

Prepare a 16 cm springform tin. Line the base with baking paper and grease the base and sides with sunflower oil.

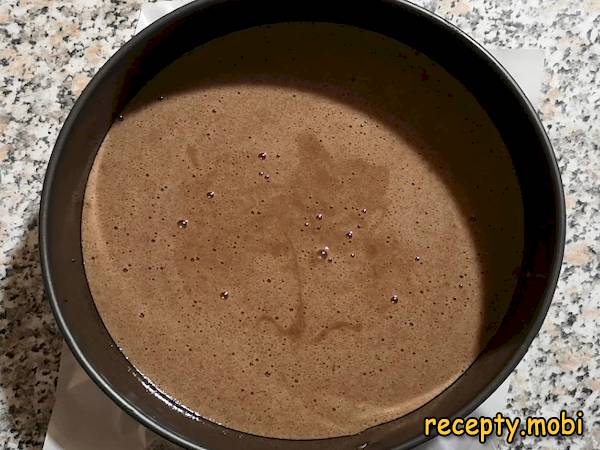
Pour the batter into the tin. Place it in an oven preheated to 190 °C for 25–30 minutes. Check for doneness with a wooden skewer – it should come out dry.
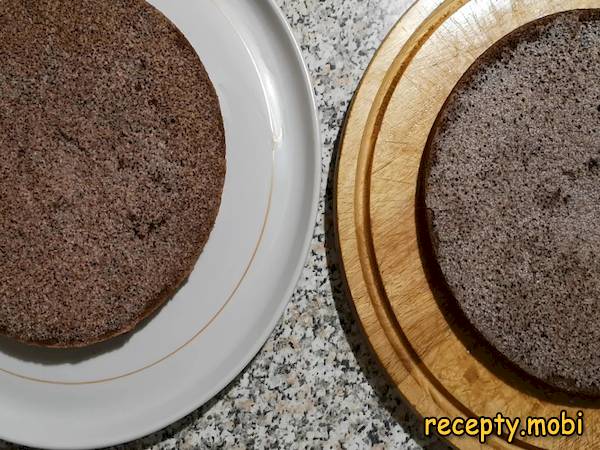
Cool the finished sponge and remove it from the tin. You must not cut a hot sponge – it will crumble.

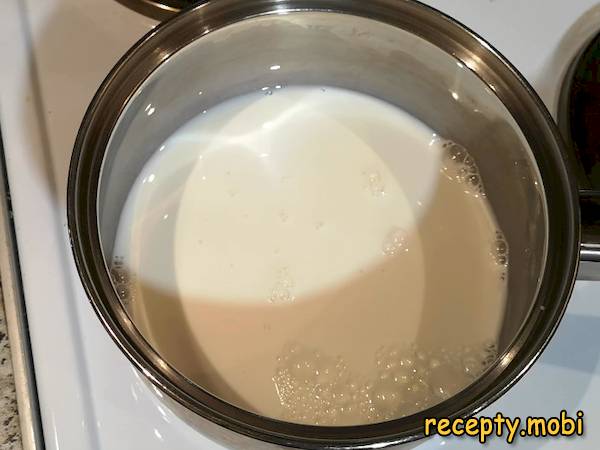
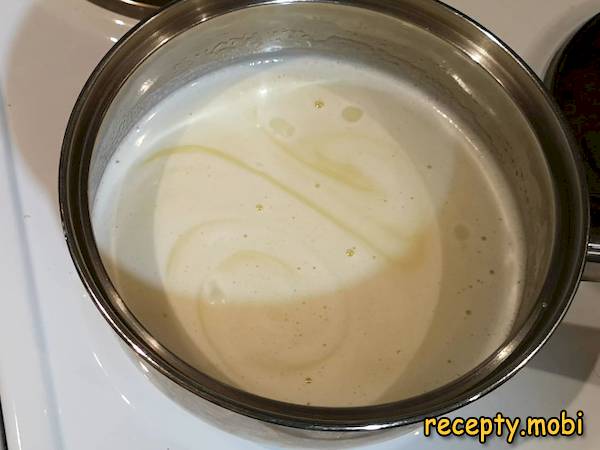
Make the filling. Pour 100 ml of milk into a saucepan (out of the 200 ml listed – the other 100 ml is not needed right now and can be used to dissolve the sugar).
Add 80 g of sugar and 100 g of butter.
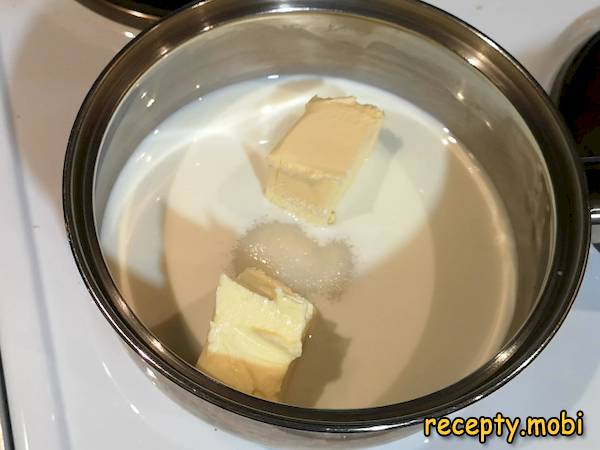
Heat until the sugar and butter have completely dissolved – over medium heat, stirring.
Add the coconut flakes to the mixture – 90 g.
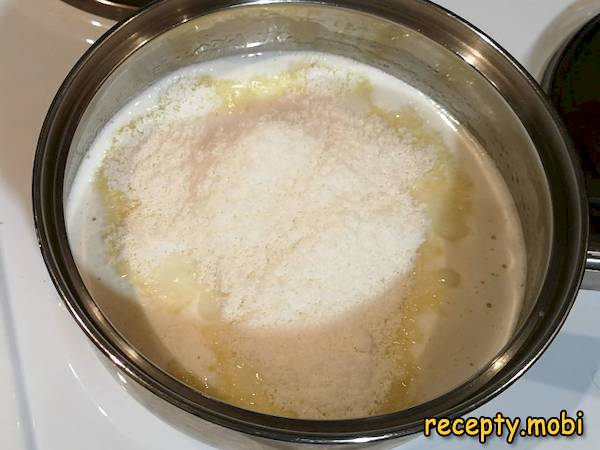
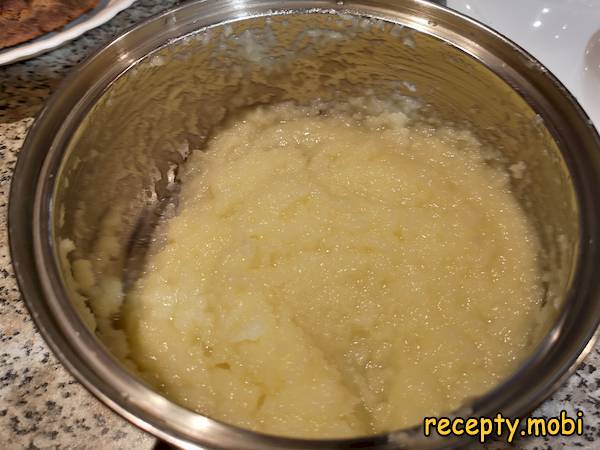
Reduce the heat to below medium and stir for 5–10 minutes until the mass thickens. The coconut flakes absorb all the liquid – the mass becomes thick and pliable. Leave to cool.
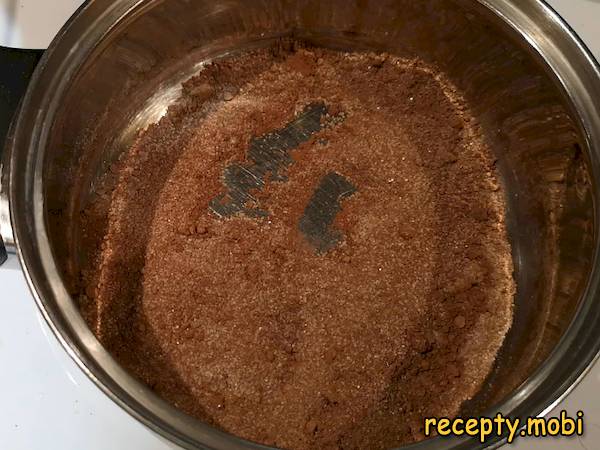
While the filling cools, make the chocolate glaze. Put 4 tbsp of sugar and 4 tbsp of cocoa powder into a saucepan and mix. It is important to mix the dry ingredients BEFORE adding any liquid – otherwise the cocoa will gather into lumps.
Pour in 100 ml of milk and stir everything together.
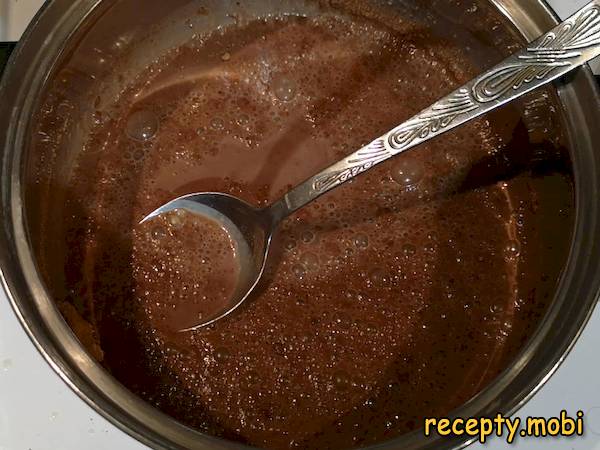
Place over the heat and bring to the boil, stirring occasionally.

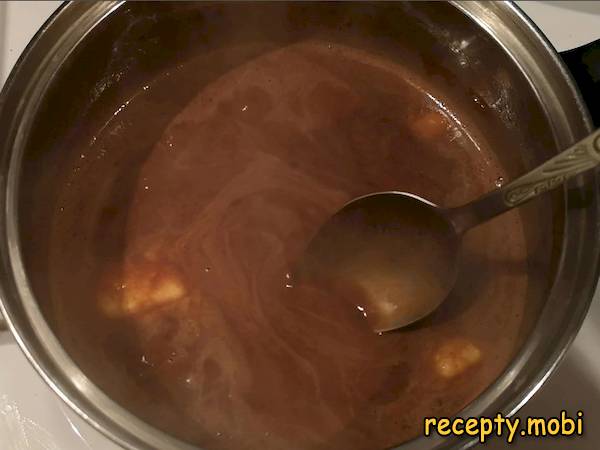
Add the butter in pieces (50 g) and stir over low heat for a few minutes until the butter has completely dissolved. The glaze becomes glossy and smooth.
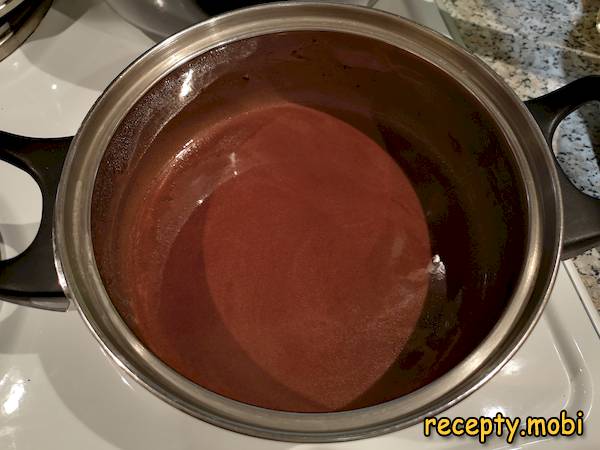
Cool the glaze to room temperature – it will thicken a little and "flow like a ribbon".
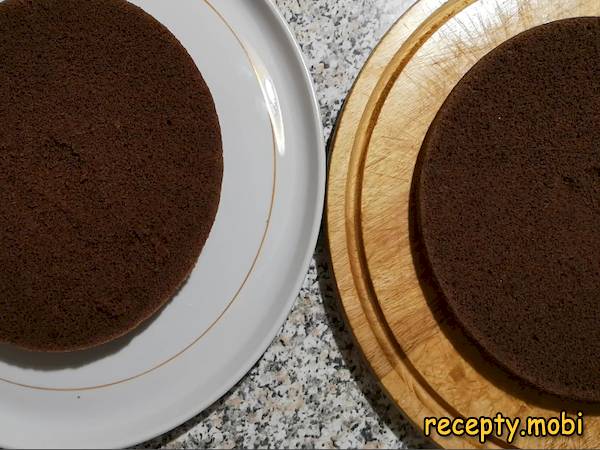
Start assembling the cake. Cut the sponge into 2 layers – with a long knife, using a "sawing" motion.
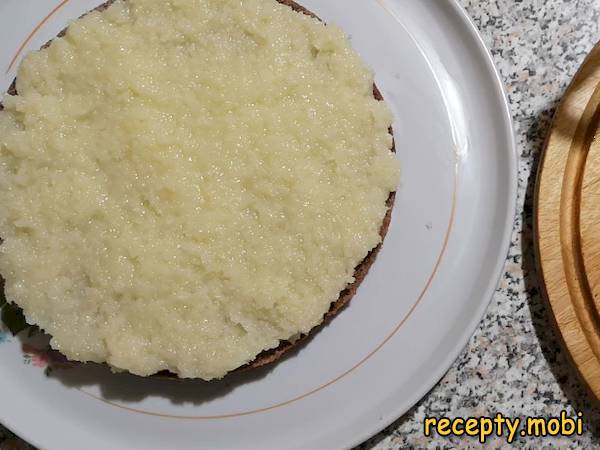
Brush the inner sides of the layers with cream (150 ml) – it will soak into the dry sponge and make it tender.
Spread the coconut filling in an even layer and cover with the second half of the sponge.
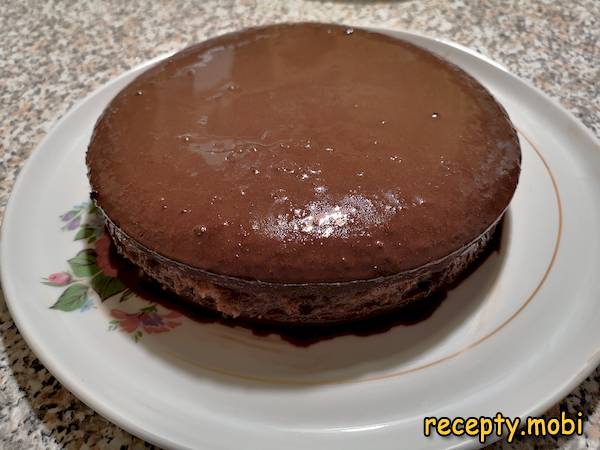
Cover the top of the cake generously with the chocolate glaze, spreading it evenly over the top and sides with a spatula. Put the dessert in the refrigerator for 5–8 hours – to set completely.
The Bounty cake with coconut flakes is ready. Cut into portions and serve.Bon appétit!


Tips
- 1
WHISK the eggs at room temperature – cold ones rise poorly. The whisking is the key moment for a fluffy sponge.
- 2
FOLD the flour into the batter WITH A SPATULA, from the bottom up, not with the mixer – otherwise you will knock out the air and the sponge will sink in the oven.
- 3
CUT the sponge once it has cooled – a hot one will crumble. It is best cut the next day, when it becomes firmer and holds its shape better.
- 4
MAKE the glaze when the filling is already on the sponge – it sets quickly. The 5–8 hours in the refrigerator is an essential stage. I use a similar setting principle in other multi-layered cakes.
Video
FAQ
What can I use instead of coconut flakes? +
There are few good alternatives – it is the coconut that gives Bounty its signature taste. Partial substitutes: roasted almonds (50% replacement, for a "Raffaello" note), or chopped walnuts (it won't be "that" flavour, but it is still tasty). If you have no flakes, use frozen coconut flesh, 120 g (it is "juicier", so reduce the milk by 50 ml). The difference between flakes and flesh: flakes give a crunchy filling, while the flesh gives a "moister", juicier one. The main thing is not to confuse it with "coconut topping" sweetener (which is a sugar imitation).
Why did my filling turn out runny? +
Three reasons: it was cooked too little after the flakes were added (you need 5–10 minutes until it thickens), too much milk was used (exactly 100 ml at this stage, not the whole 200 ml), or the flakes were "damp". To fix it: return the saucepan to the heat and reduce it to the right consistency. If the flakes are "rubbery" (poor quality), add 2 tbsp of icing sugar to the filling to bind it. For the future, check the use-by date of the flakes – fresh ones give a firm structure.
How long does the cake keep? +
In the refrigerator – 3–4 days in a closed container. Any longer and the sponge dries out and the filling loses its juiciness. At room temperature – 3–4 hours during serving, no longer. It can be frozen for up to 1 month (in slices, in a container) – defrost in the refrigerator for 6–8 hours. On the second day the flavour is even brighter – the filling soaks into the sponge and the glaze "sets" into a firm layer. It is best served 8–12 hours after making.
Can I make it without a springform tin? +
You can, but it is harder. Alternatives: an ordinary round tin 16–18 cm (grease it with oil and line it with parchment, leaving "tails" you can use to lift the sponge out); a square tin (you will get a square cake); a silicone mould (it comes out easily, but the sponge may not rise as evenly). A springform tin is the most convenient – the sides come off and the sponge stays intact. A 16 cm diameter matters – a larger one gives a thin layer, a smaller one stays raw inside. You can bake it in an 18 cm tin, but reduce the baking time by 3–5 minutes.
- Comment
or post as a guest
Be the first to comment.


