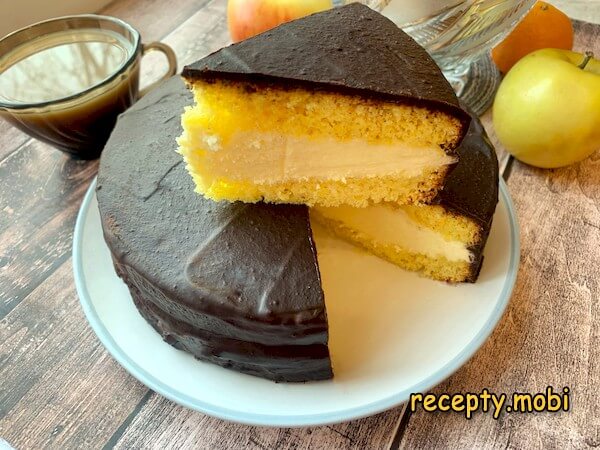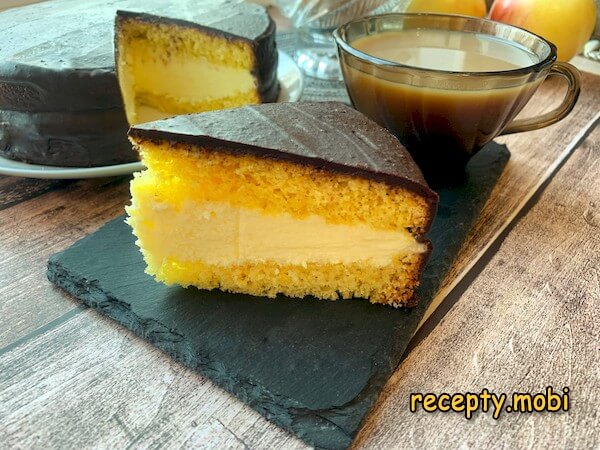
Cake «Enchantress»
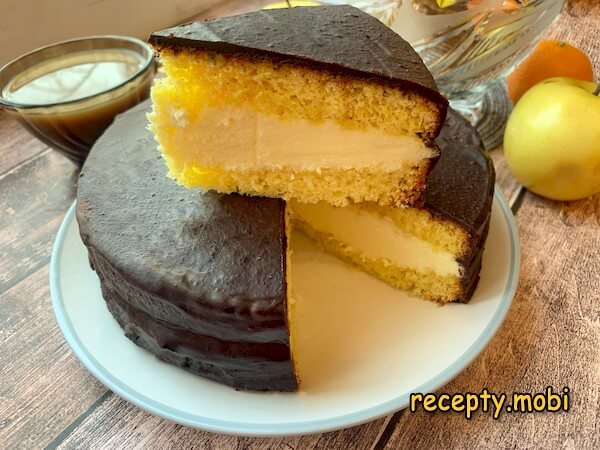
The cake «Enchantress» is familiar to every novice pastry chef and even some housewives. Despite the popularity of the cake, it is difficult to find its recipe even in the culinary literature. Therefore, every pastry chef comes up with his ideal recipe, adding a touch of fantasy to it. Below you will get acquainted with the recipe of the cake «Enchantress» on a traditional sponge cake and custard.
To prepare a biscuit, we use a mold with a diameter of 18 cm.
Cooking time: 360 minutes.
Servings: 8.
Calories: 345.
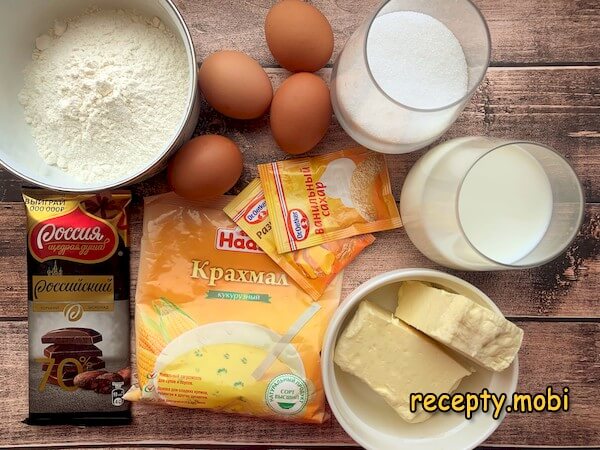
Ingredients
For biscuit:
- 100 g flour;
- 110 g of sugar;
- 1 tsp baking powder;
- 3 eggs.
For cream:
- 1 egg;
- 160 g butter;
- 20 g corn starch;
- 70 g sugar;
- 250 ml milk;
- 8 g vanilla sugar;
- 1/2 tsp salt.
For glaze:
- 50 g butter;
- 1 bar of dark chocolate (90-100 g).
Cooking
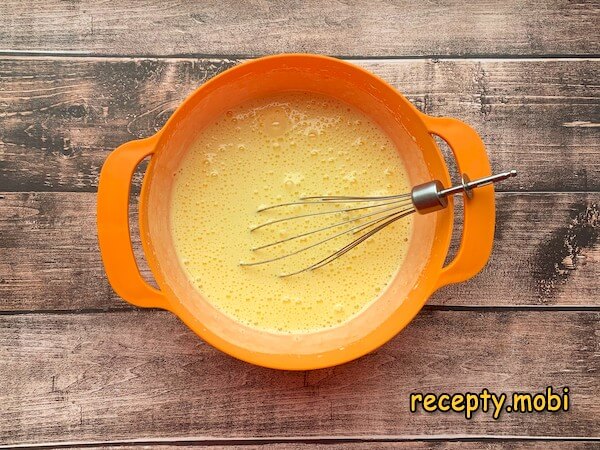
1. Break three eggs into a deep mixing bowl and add sugar. In this recipe, the whites should not be separated from the yolks in advance. We work with a mixer until the mass acquires a light shade.
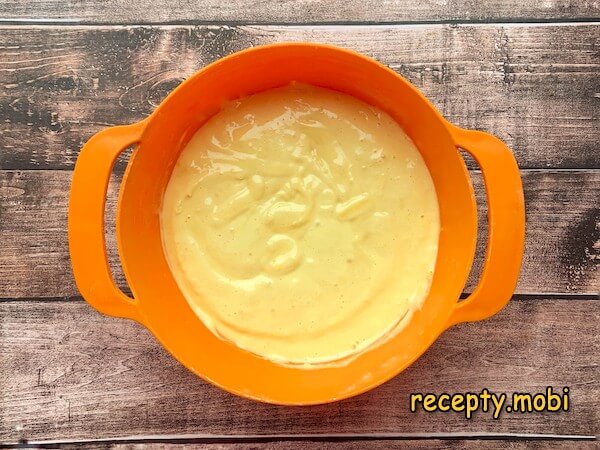
2. In portions, add the flour combined with the baking powder to the whipped mixture. We mix the biscuit dough with movements from the bottom up, preventing premature settling of the egg foam.
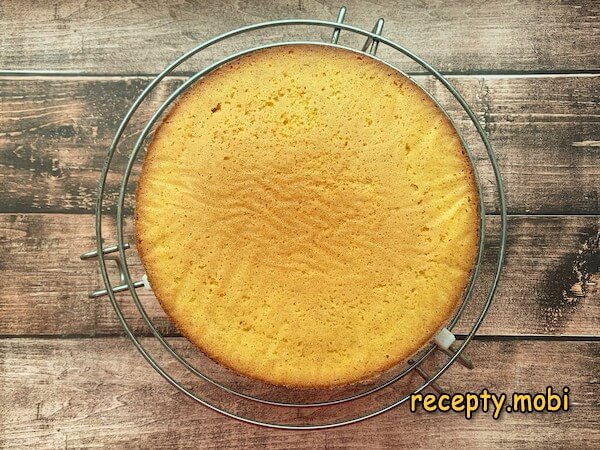
3. We cover the bottom of the mold with a sheet of parchment and pour the dough into it. The form can be scrolled several times so that the biscuit comes out even. We put it in a hot oven at 180 degrees for 30-40 minutes. Always check the degree of readiness with a wooden toothpick - pierce the cake with it, and if the toothpick remains dry, then it is ready. We cool the biscuit a little right in the form, and then, taking it out of the ring, we transfer it to the wire rack, waiting for it to cool completely.
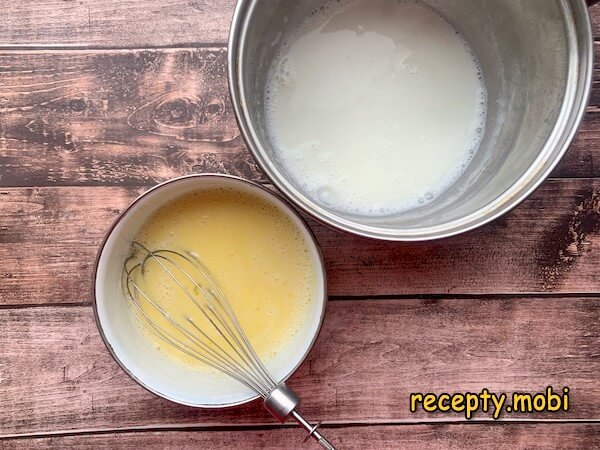
4. In order not to lose time, it is better to immediately proceed to the preparation of custard. We combine starch with half of all sugar. If you do not have corn starch, then you can use potato starch or plain flour. In another bowl, lightly shake the egg and add sugar with starch, stirring with a whisk. If it turned out too thick, then add a little cold milk taken from the general norm.

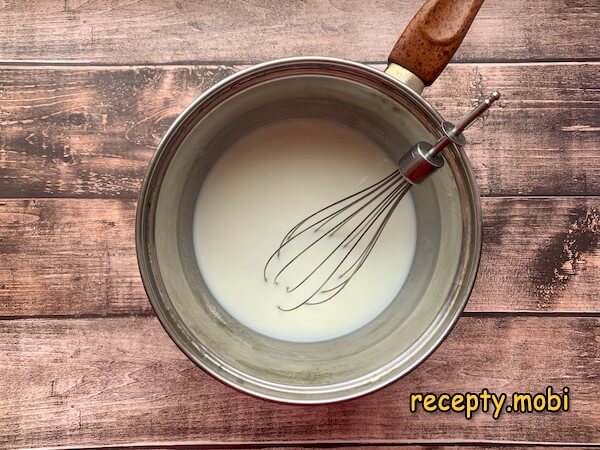
5. Pour all the milk into a saucepan and add the usual sugar and vanilla sachet remaining according to the recipe, as well as salt. We put the mass on the stove and wait for it to boil, while making sure that the sugar crystals dissolve.
6. Pour some of the hot milk into the beaten egg mixture in a thin stream, remembering to stir. Then, intensively stirring the remaining hot milk, pour the mixture of eggs into it and put on fire.
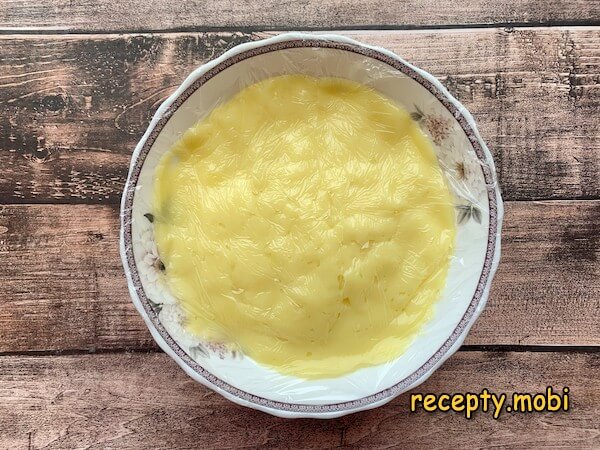
7. Cook the cream until thickened over low heat, without ceasing to stir it with a whisk. We continue to boil for another 1 minute after the cream has slightly "grabbed" so that the starch has time to boil and not spoil the taste of the cream. We put 50 g of butter in the hot cream and let it melt, after which we mix everything. We transfer the cream to a container and cover with a film with tight contact, leave to cool completely.
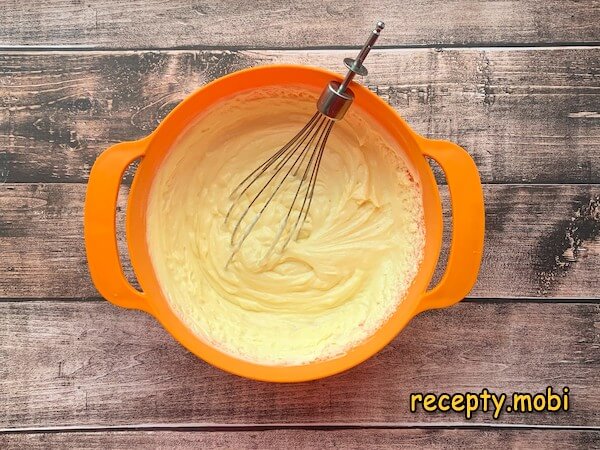
8. In advance, let the remaining butter soften well at room temperature. Beat it until soft white foam for 4-5 minutes. Gradually, continuing to work with a mixer, we introduce the cooled cream to the oil. In order for the cream to turn out to be of high quality and without lumps, it is important to follow the rule of the same temperatures of the two joined blanks.
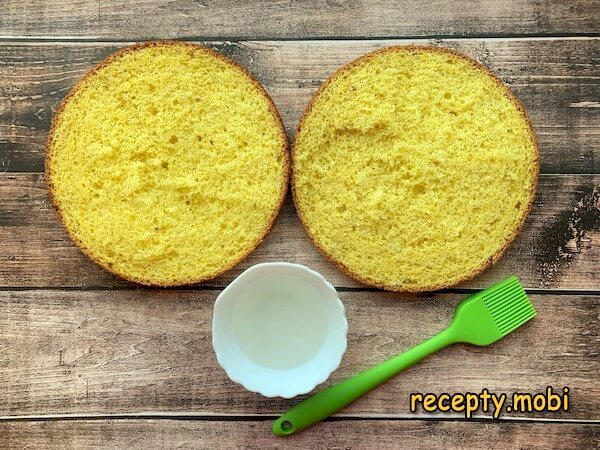
9. It's time to divide the biscuit into cakes. Ideally, you should not touch the biscuit for the next 3-4 hours after baking. And so that the cakes do not turn out dry, it is necessary to make the simplest impregnation. To do this, combine 3 tablespoons of water and 2 tablespoons of sugar, boil the mixture for 2-3 minutes, cool. It turns out sugar syrup. You can also add 1 tablespoon of brandy here.
10. Put the top cake on the bottom of the dish, as it usually does not remain perfectly even. Do not forget to soak the cake with syrup, the degree of soaking is up to you. We shift the entire cream to the bottom cake, leveling it evenly. We also soak the other cake and transfer it to the first cake with cream, collecting the cake. We send it to the refrigerator for a few minutes.
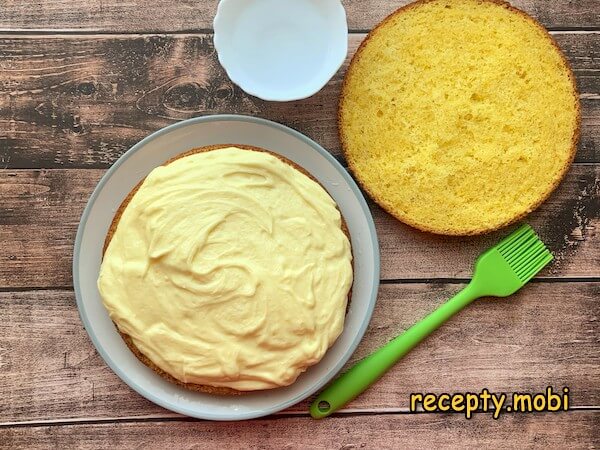
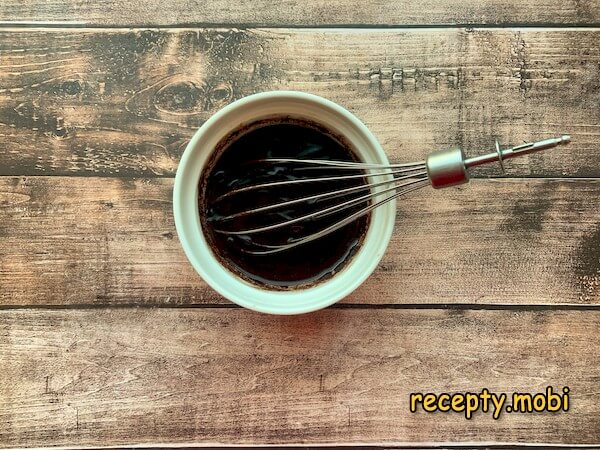
11. We will cover the cake with chocolate icing, for which we combine chocolate and butter in a bowl. Gently melt them in a water bath or, in extreme cases, in a microwave. Keep in mind that when working with a microwave, keep an eye on the icing and stir it every few seconds so as not to overheat the chocolate. If the frosting is too thick then you can dilute it with heavy cream.
12. Pour warm icing on top of the cake and begin to level. A pastry spatula works well for this, but you can also use a regular kitchen spatula. We put the cake in the refrigerator to stabilize the hours for 5-6.
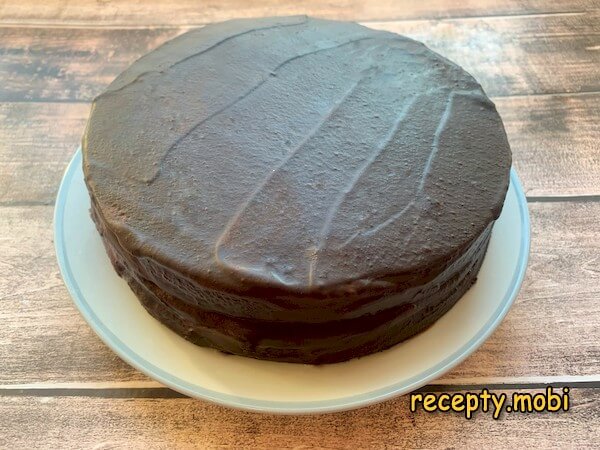
13. Now our cake «Enchantress» is ready, it remains only to cut it correctly. Chocolate that has hardened on top can crack ugly from a knife. And to avoid this, try heating the knife in hot water and make notches on the glaze, then cut the cake into portions. Such a simple but delicious dessert will not leave you in a bad mood!
