
avg —
Cake for a Children's Birthday 'Baby Sharks'
Instructions
First, you need to prepare the dough for the base of the birthday cake. In a deep bowl, crack the chicken eggs, and then add the sugar.
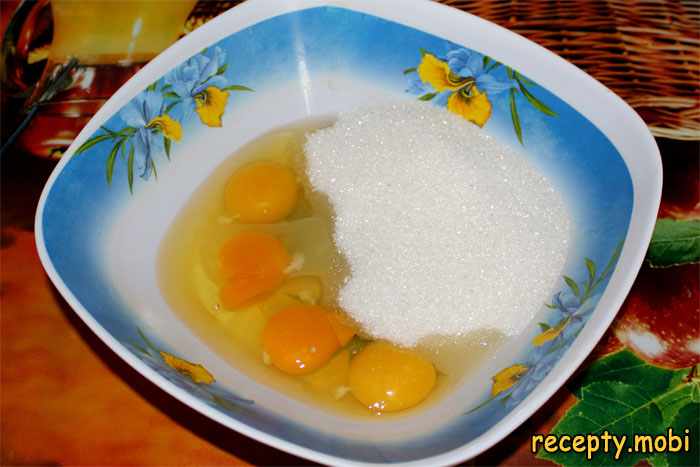
Lightly beat the eggs with the sugar using a fork or mixer. As a result, you should have a lightly yellowish homogeneous mixture.

Pour the kefir into the mixture, add 2 tbsp. of sour cream, and sift in the flour and baking soda. By the way, if desired, the soda can be replaced with baking powder.
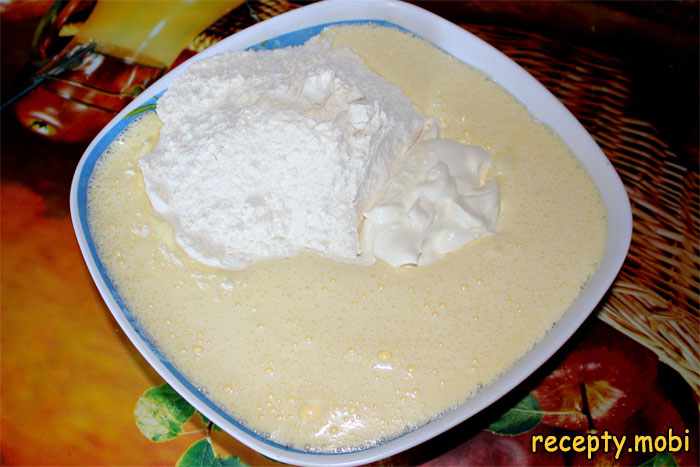
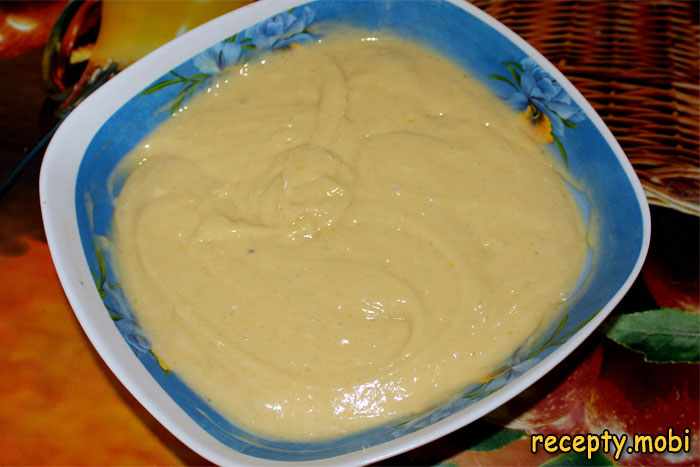
Mix all the ingredients together. This action is best performed using a spoon. As a result, you should obtain a sufficiently thick yet tender dough.
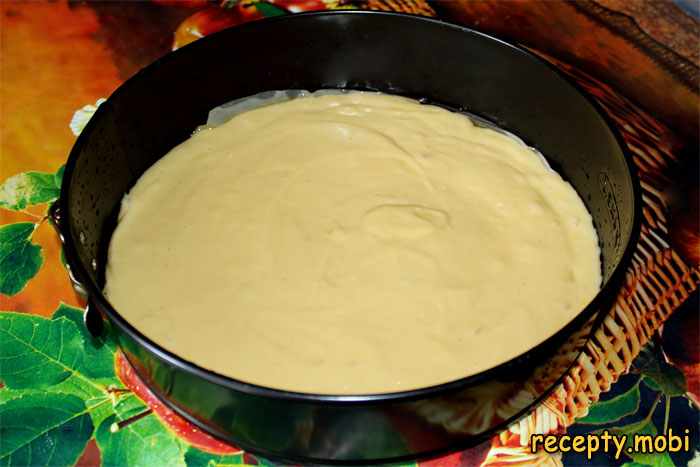
Pour half of the dough into another clean container. Add vanillin to the first part of the dough and mix thoroughly. Take a removable baking pan and place it on parchment paper. Trace the shape of the pan with a simple pencil and cut out a circle from the paper. Grease it with olive oil and place it at the bottom of the pan. Then pour the vanilla dough into the pan. By the way, the amount of ingredients is calculated for a form with a diameter of 24 cm. Spread the dough evenly across the bottom of the pan with a spoon. The dough layer should not exceed 1 cm in thickness. During baking, the base will rise, and the layers will be sufficiently thick.
Place the pan with the dough in the preheated oven. The vanilla layer bakes for about 30 minutes at 180 degrees. While the cake bakes, prepare the nut base. Chop the walnuts on a cutting board and add them to the second part of the dough.
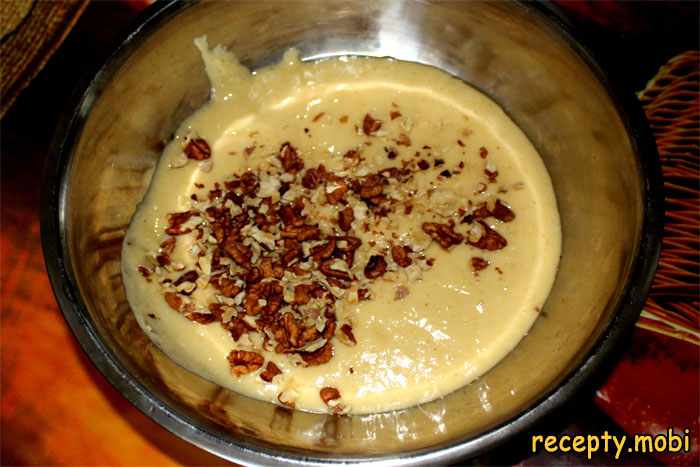
Mix the dough with the nuts thoroughly. Wait until the vanilla layer is baked, then remove it from the oven and set it aside.
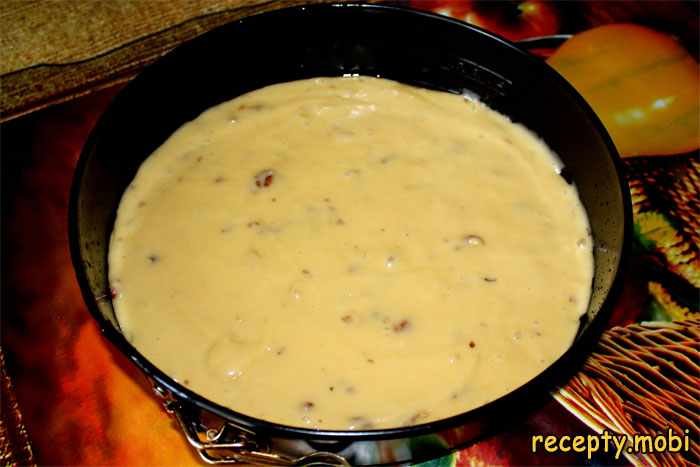
In the meantime, prepare the empty baking pan. Pour the nut dough into the prepared pan and carefully level it with a spoon. Remember that both the vanilla and nut layers should have the same diameter. Therefore, they need to be baked in the same pan.
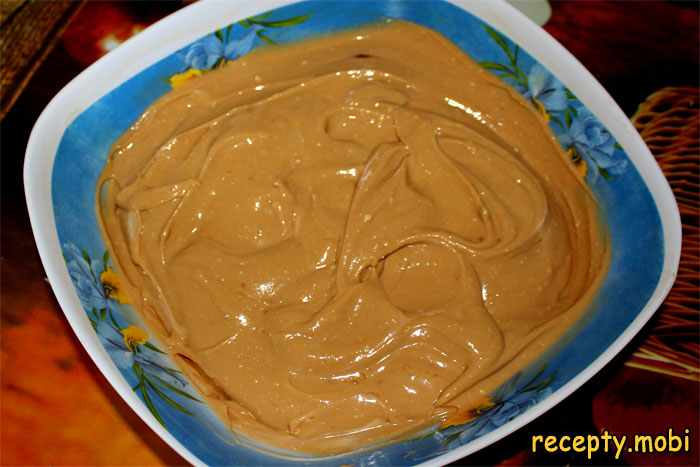
The nut base bakes under the same conditions as the vanilla one. While the nut layer is baking, prepare the sour cream filling. Place the remaining sour cream in a deep bowl and add the condensed milk to it.
You do not need to add sugar to the filling, as doing so will make the cake taste cloyingly sweet. Whip the sour cream with the condensed milk thoroughly. By the way, if you decide to save money and use low-calorie sour cream for the filling, it will not whip and will run off the layers.
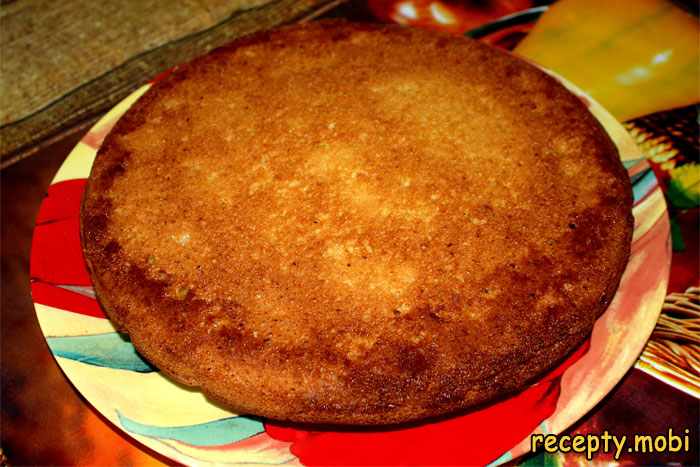
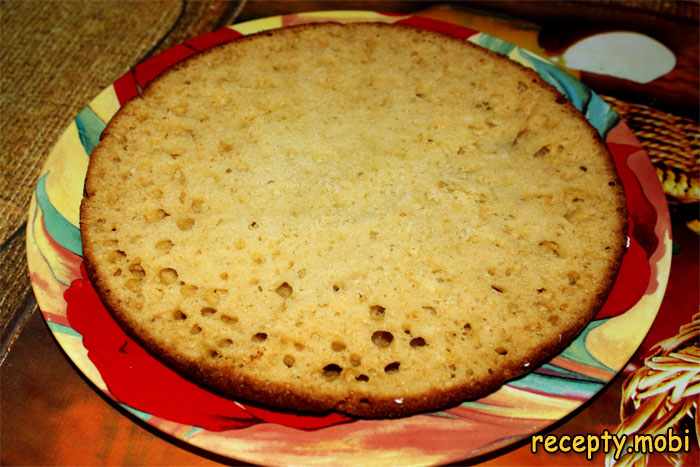
In the meantime, the nut base should become golden brown. Take it out of the oven and let it cool. Cut each base into 2 layers. As a result, you should have 4 layers: 2 vanilla and 2 nut. On a wide platter, first place the vanilla layer.
Generously spread the prepared filling on it, then place the nut layer on top.
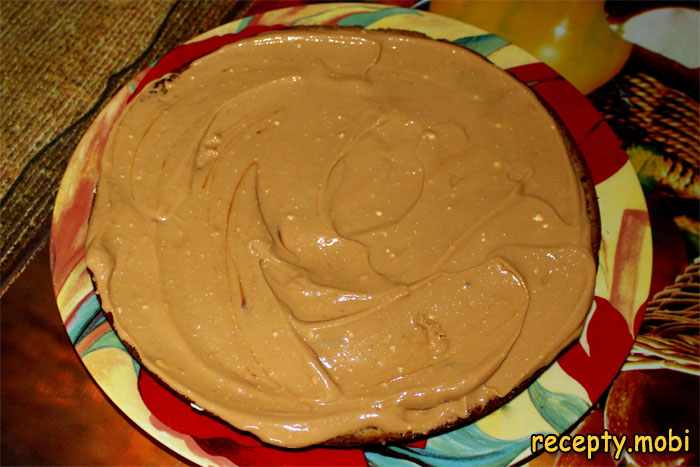
Repeat this procedure with the remaining layers. There is no need to spread filling on the sides and top of the cake.
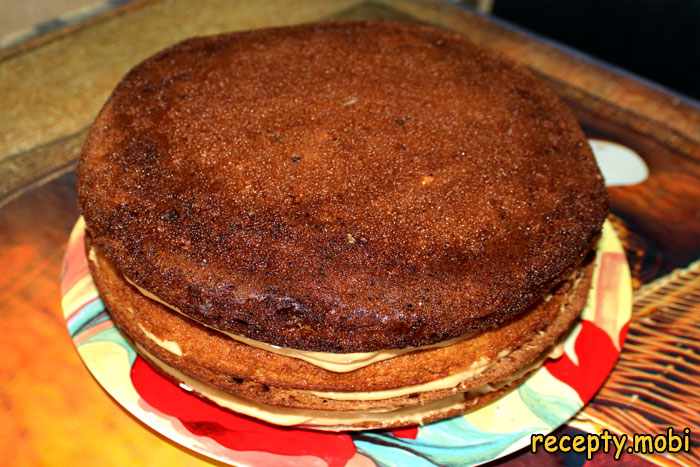
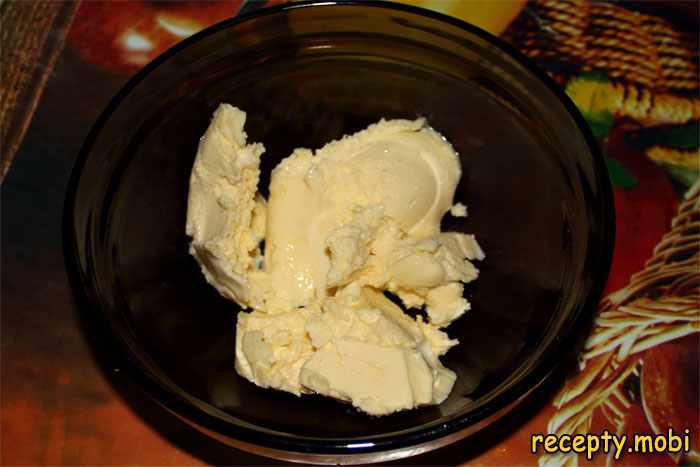
Prepare the ganache from the white chocolate. By the way, ganache is the perfect coating for cakes. It has a smooth and delicate structure, and it is easy to work with. Plus, it is simple to make. Place the butter in a deep glass or ceramic dish.
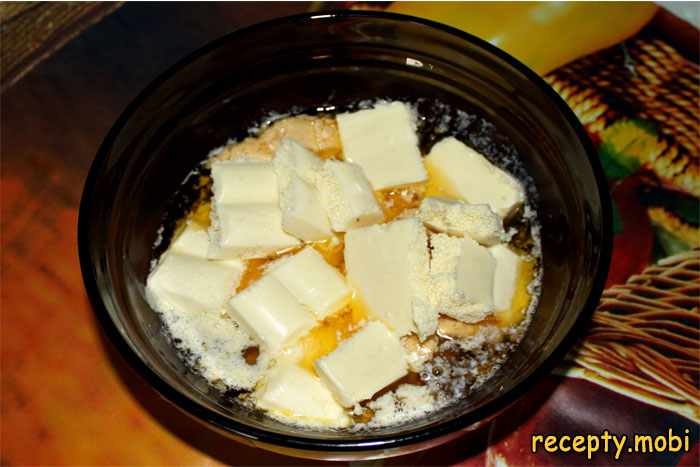
Heat the butter in the microwave or in a water bath, but do not bring it to a boil. Break 100 g of white chocolate and place it in the hot butter.
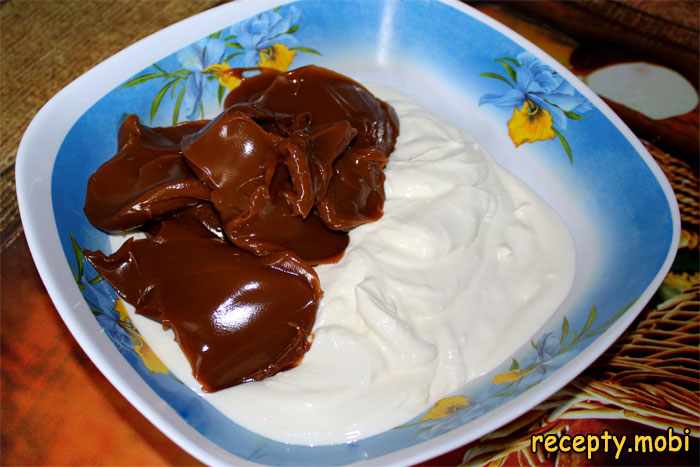
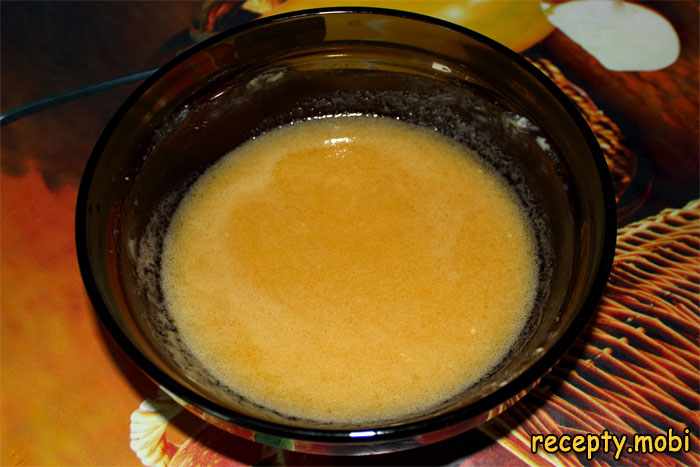
Stir the butter with the chocolate. As a result, you should get a warm and liquid creamy-chocolate mixture. It is impossible to work with it as it is too liquid. Put it in the refrigerator for 10–15 minutes so that it slightly sets.
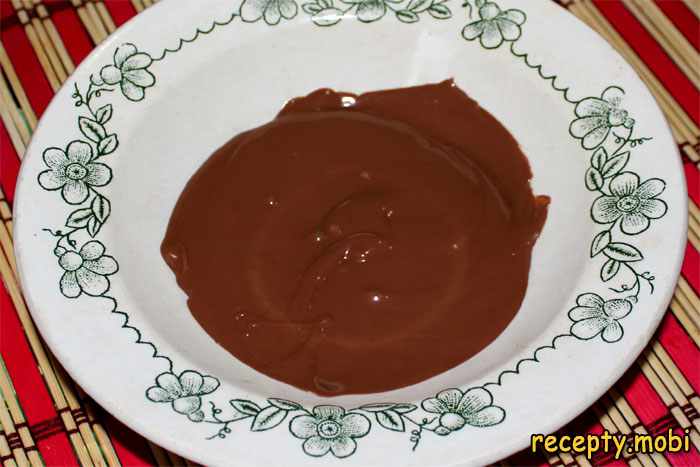
While the white chocolate ganache is cooling, prepare the dark chocolate. Break it, place it in a small dish, and melt it in the microwave.
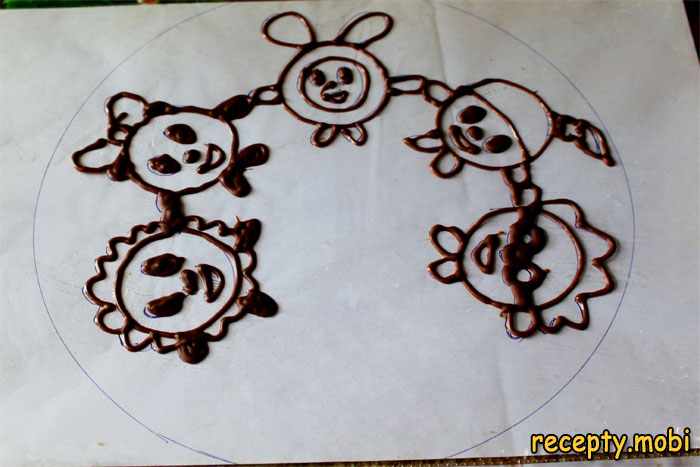
On an A4 sheet, draw the outlines of your cake and the characters from your favorite cartoon. Place the drawing in a file. Pour the melted dark chocolate into a pastry bag and trace the outlines of the characters. Place the drawing in the refrigerator to let the chocolate harden.
Then take the ganache out of the refrigerator. It should have set well and become creamy.

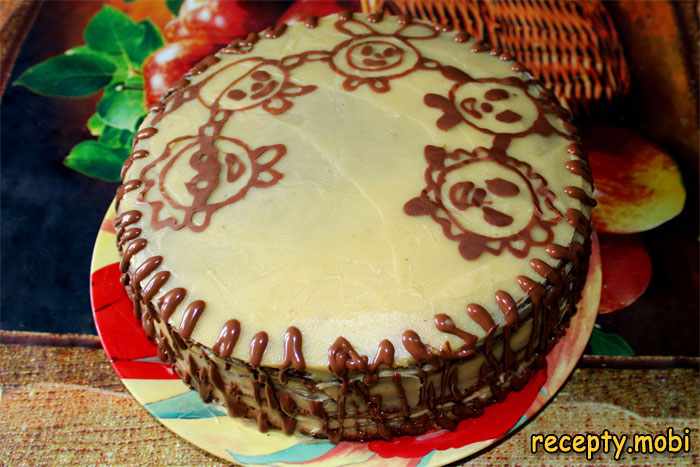
Coat the top and sides of the cake with the white ganache. Carefully smooth the ganache over the entire surface. It is best to do this with a thin and long knife or a special spatula.

Take the chocolate characters out of the refrigerator. Remove the paper drawing from the file, and place the file with the chocolate image on the cake in such a way that your characters fit on the baked good. Then, carefully remove the file from the cake, separating it from the chocolate image. Use the remaining melted chocolate to touch up the edges of the cake.
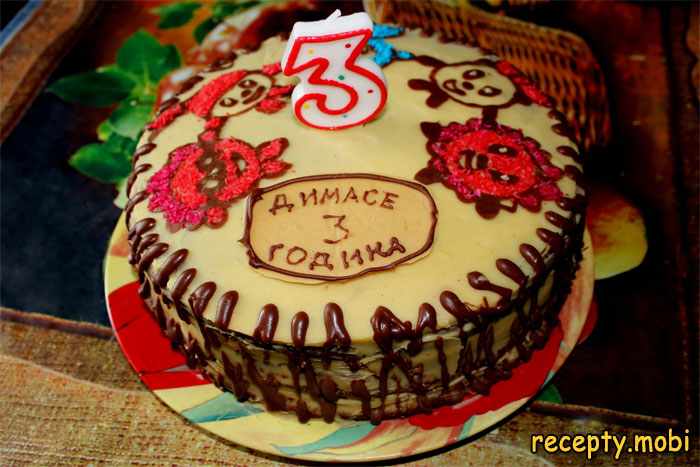
Paint the characters with coconut flakes. Remember that this is quite a meticulous job, best done with tweezers. Melt the remaining white chocolate, pour it into a pastry bag, and draw a small sign on a clean file. Place the sign in the refrigerator for 2–3 minutes to let the chocolate set. Use dark chocolate to write the desired inscription on the sign (happy birthday, congratulations). Remove the sign from the file and place it on the cake, then put it in the refrigerator for 2–3 hours. The cake for the children's birthday 'Baby Sharks' is ready. After the necessary time has passed, it can be served at the festive table.
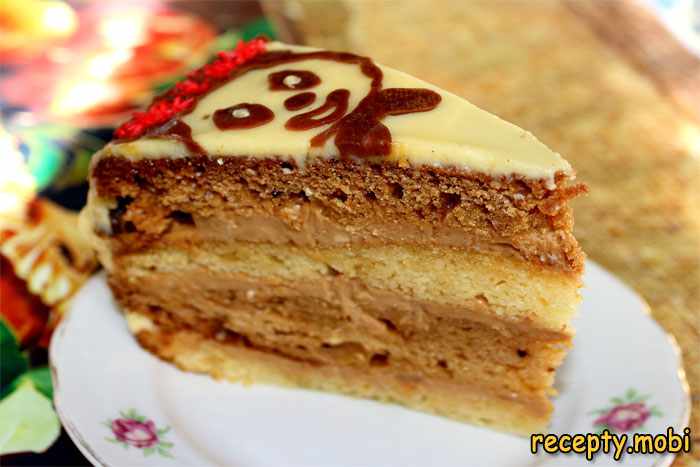
By the way, the vanilla base of the cake turns out light. However, the nut base has a different, slightly darker shade, resulting in a very interesting appearance when cut.The cake for the children's birthday 'Baby Sharks', made according to this recipe, turns out delicious, tender, and impressive. Thanks to the bright decoration, it is very much liked by both children and their parents. Enjoy your meal!


- Comment
or post as a guest
Be the first to comment.


