
avg —
Cake 'Natasha' – classic recipe from Soviet times
Instructions
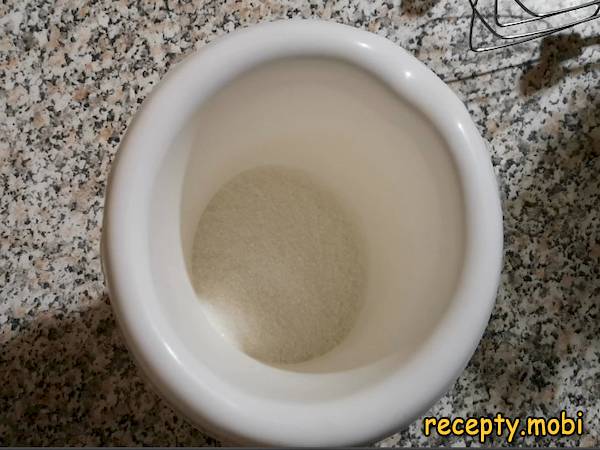
To prepare a sponge layer, pour 100 grams of sugar into a deep bowl. I use ordinary white sugar, as it suits this classic Soviet recipe best.
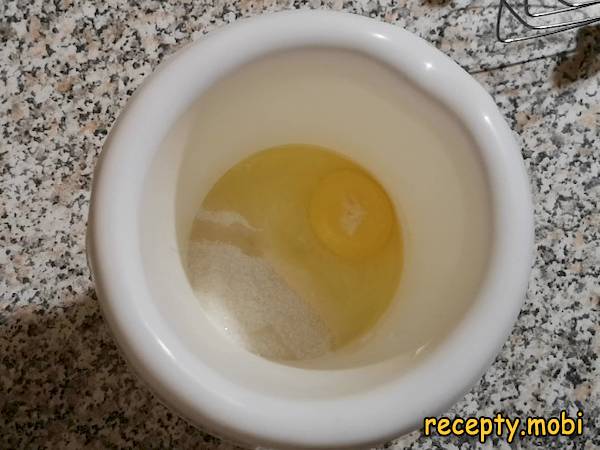
Crack in one chicken egg. A fresh egg gives the batter better lift; you can check freshness in a glass of water (a fresh egg sinks, an old one floats).
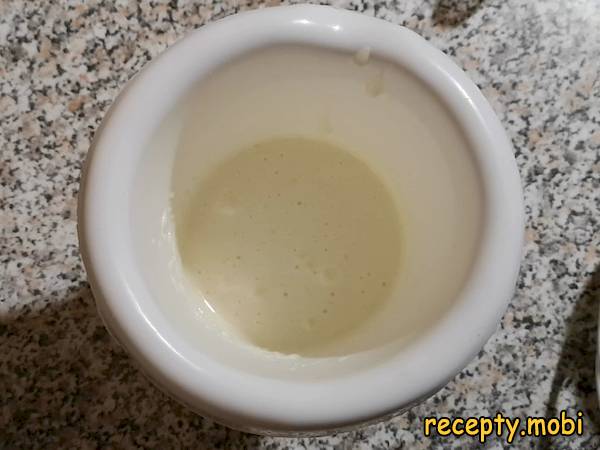
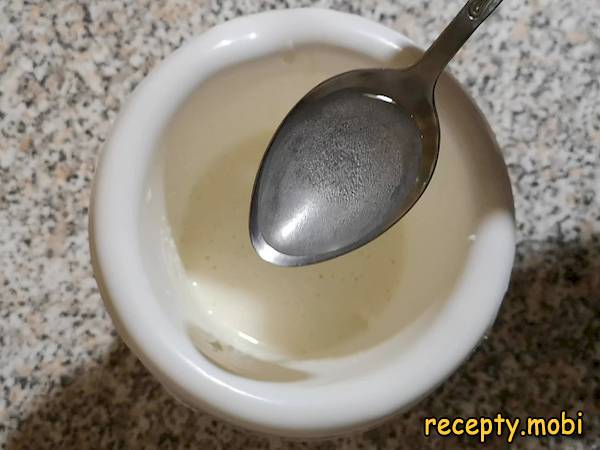
Using an electric mixer, beat the sugar with the egg well until you have a pale, fluffy mixture. This is the secret to an airy layer; you will not get the same result without a mixer.
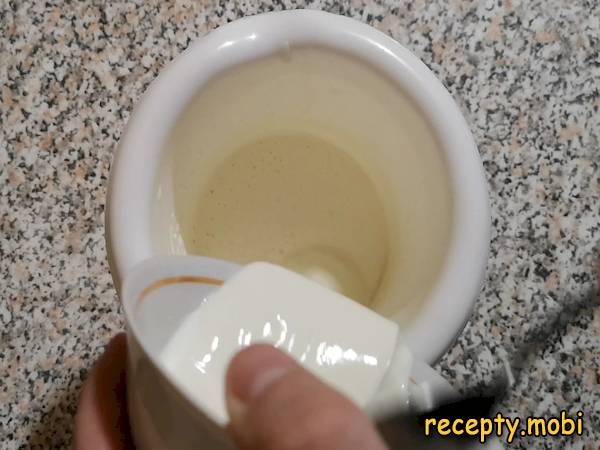
Add 100 grams of sour cream. The sour cream gives the batter a soft, creamy texture and its characteristic taste.
Add the slaked baking soda: mix 1/2 teaspoon of baking soda with 1/2 tablespoon of vinegar. Slaking the soda releases CO₂, which makes the batter rise and turn fluffy.
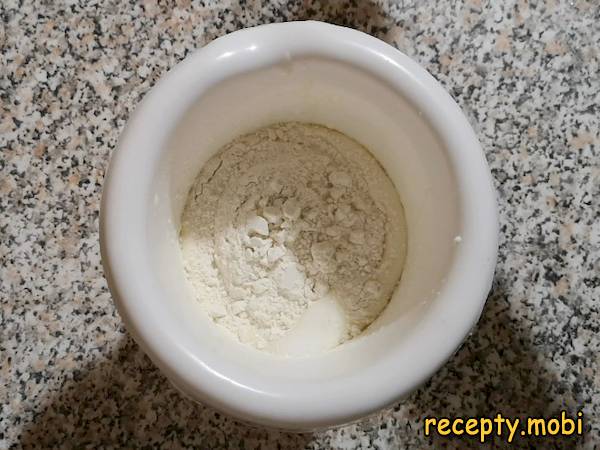
Sift in 100 grams of flour. Sifting is essential, as it aerates the flour and helps the layer turn out fluffy.
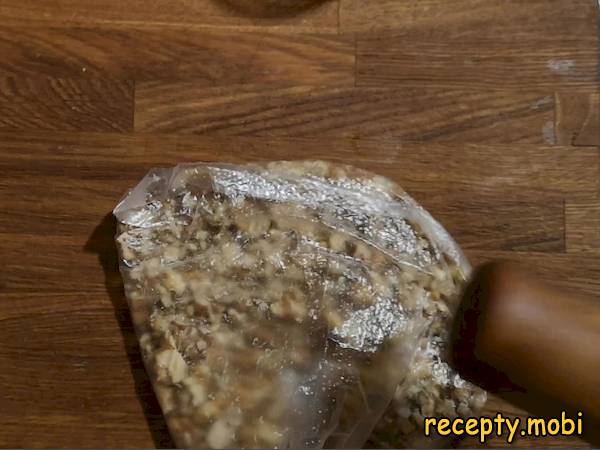
Chop the walnuts in any convenient way: with a blender, a rolling pin or a knife. Aim for pieces about the size of a pea.
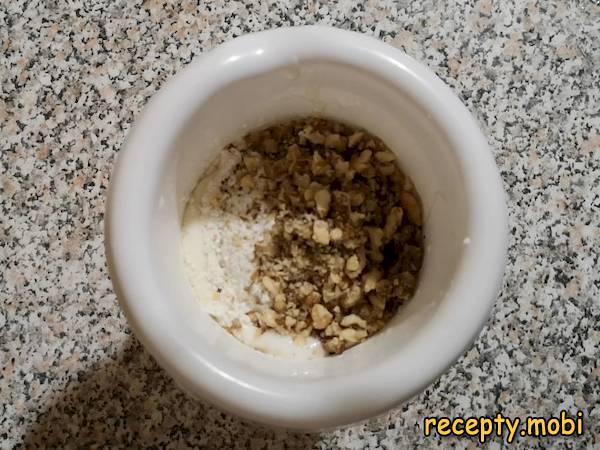
Add 50 grams of the chopped walnuts to the rest of the ingredients and mix everything thoroughly with the mixer. Prepare all the layers in the same way, changing only the filling.
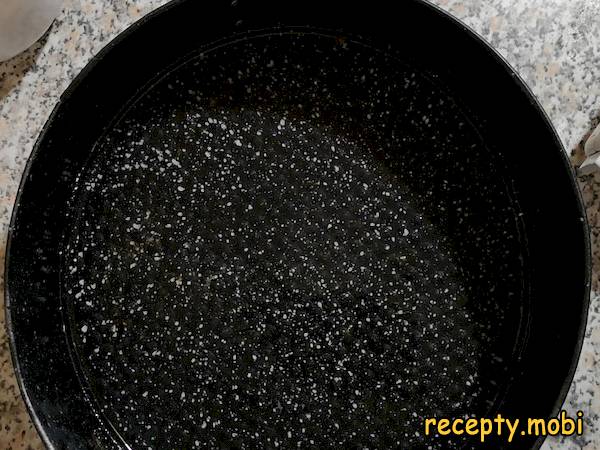
Grease a baking dish with vegetable oil so that the layer comes out easily after baking.
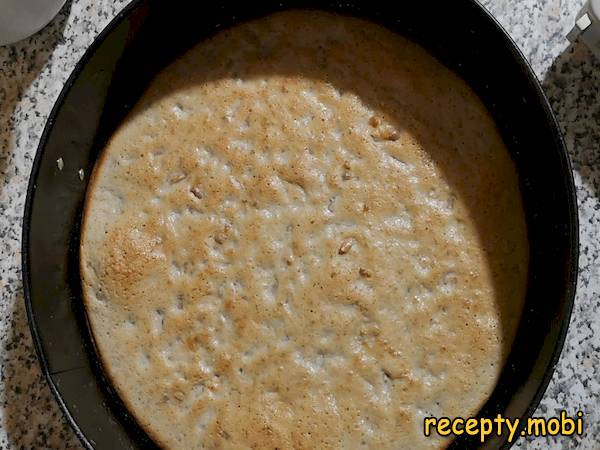
Spread the prepared batter into the dish. Level the surface with a spatula for even baking.

Place the dish in a preheated oven. Bake at 180 °C for about 10–15 minutes until done. Check doneness with a toothpick: if it comes out dry, the layer is ready.
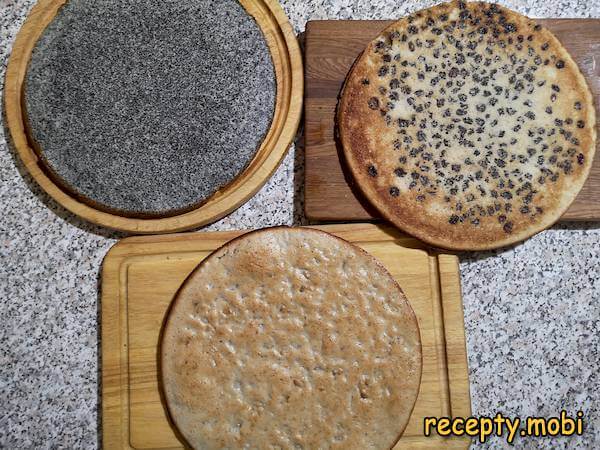
Prepare the other two layers in the same way: with poppy seeds (100 g) and with raisins (50 g). The result is three layers with different fillings, the signature feature of this cake.
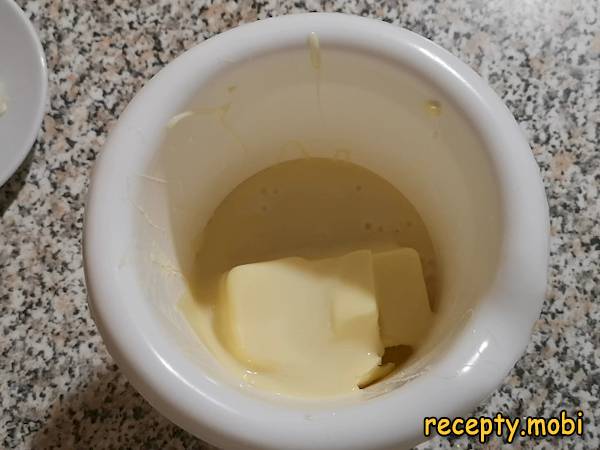
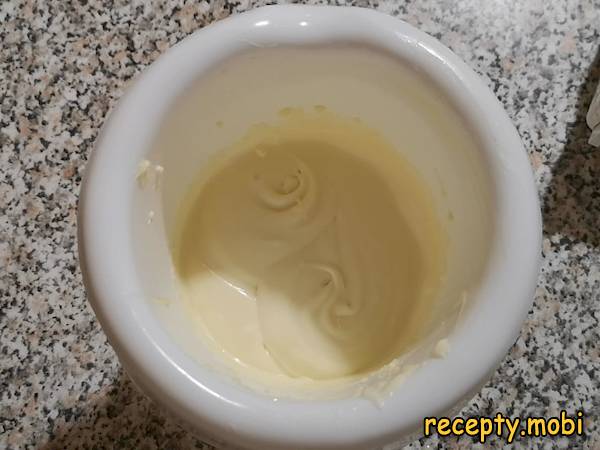
Prepare the cream for the cake. Mix one can of condensed milk with softened butter. The butter must be soft; straight from the refrigerator it will not whip.
Whip the cream with a mixer until smooth and uniform. The result is a classic condensed-milk and butter cream: tender and sweet.
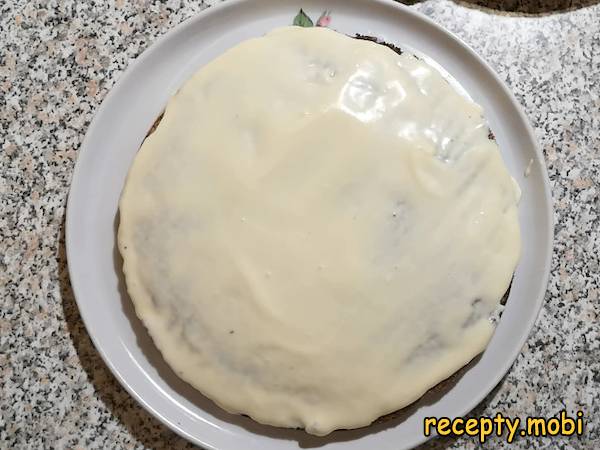
Once the layers have cooled, start assembling the cake. The order of the layers can be any you like. Place the first layer and spread it with cream.
Place the second layer on top of the cream.
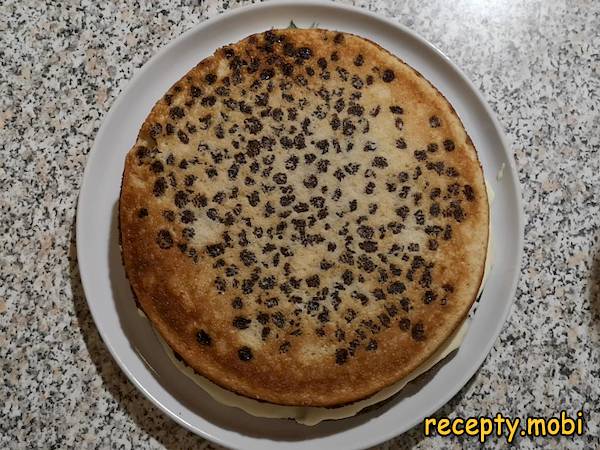
Spread the second layer with an even layer of cream.

Place the third layer, the final one.
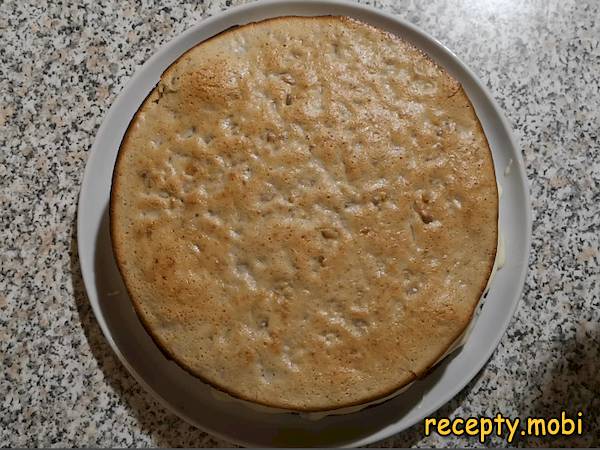
Spread cream over the last layer.
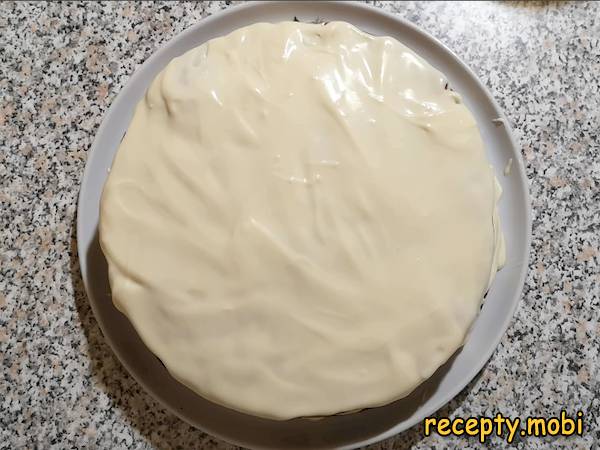
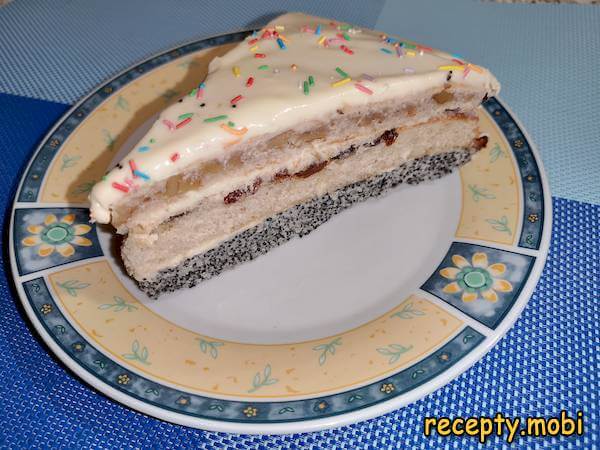
Sprinkle the finished Cake Natasha with coloured sprinkles or any other confectionery decoration. To let it soak, place it in a cool spot for a few hours, ideally from the evening until the morning.

Cut the cake into pieces and serve. Do try this classic Cake Natasha recipe!


Tips
- 1
Bake each layer in turn in the same dish; this is the secret to making all three layers the same size. If you use several dishes, make sure they are all the same diameter.
- 2
The butter for the cream MUST be soft (at room temperature); cold butter will not whip into a cream and will stay in lumps.
- 3
Let the cake soak for 6–8 hours in the refrigerator so the layers absorb the cream and the cake turns tender. I use a similar principle in other multi-layer cakes.
- 4
You can use boiled condensed milk instead of ordinary condensed milk for a "caramel" version of the cake with a richer flavour.
Video
FAQ
Can the fillings in the layers be swapped? +
Yes. Possible swaps: instead of walnuts, use almonds, hazelnuts or cashews; instead of poppy seeds, use cocoa powder (2 tablespoons will give a chocolate layer); instead of raisins, use dried apricots or prunes. The main thing is to keep the proportions (50–100 g of filling per layer). You can also make all three layers with one filling for a "uniform" cake. The classic three different fillings are exactly what makes Natasha special, giving the characteristic "striped" effect in the cut.
What can replace the sour cream in the batter? +
Alternatives: plain unsweetened yoghurt (a "lighter" version), kefir (gives a fluffier layer thanks to its acidity), or ryazhenka (a more "caramel" taste). It will not work without a dairy component, as the sour cream gives the batter its soft structure. A fat content of 15–20% is best; a richer one (25%) makes the layer too dense, while fat-free makes it bland.
How long does Cake Natasha keep? +
In the refrigerator it keeps for 3–4 days in a closed container or under cling film. On the second or third day the flavour is at its brightest, as the layers are fully soaked with cream. I do not recommend freezing it, as the butter cream separates when thawed. It is better to plan on eating it within 2–3 days. I serve it chilled, so the flavour comes through more fully.
Why might the layers fail to rise? +
Reasons: (1) the soda was not fully slaked, so check with vinegar that it bubbles; (2) the soda is old (more than 6 months), so its activity drops; (3) cold ingredients, as the eggs and sour cream should be at room temperature; (4) the eggs and sugar were not whipped enough, as you need a pale, fluffy mixture. To be safe, use fresh products and follow the order of adding the ingredients exactly as in the recipe.
- Comment
or post as a guest
Be the first to comment.


