
avg —
Cap Cake with Chocolate Ganache
Instructions
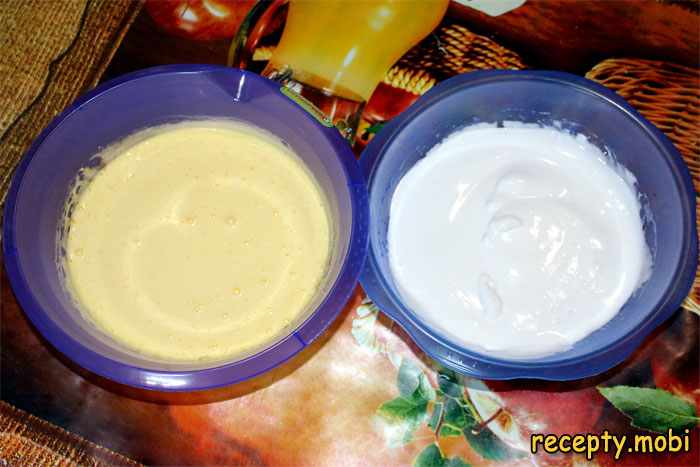
Start by preparing the liquid honey dough. For this, separate the whites and yolks. Perform this procedure very carefully. If a drop of yolk accidentally gets into the bowl with the whites, the whites will not whip into foam and the biscuit will not turn out. Add 1 cup of sugar to both the whites and yolks.

Using a mixer, thoroughly beat the yolks with the sugar. Beat the ingredients on maximum speed for about 5 minutes. As a result, you should get a fairly stable yolk mass. Do the same with the whites.
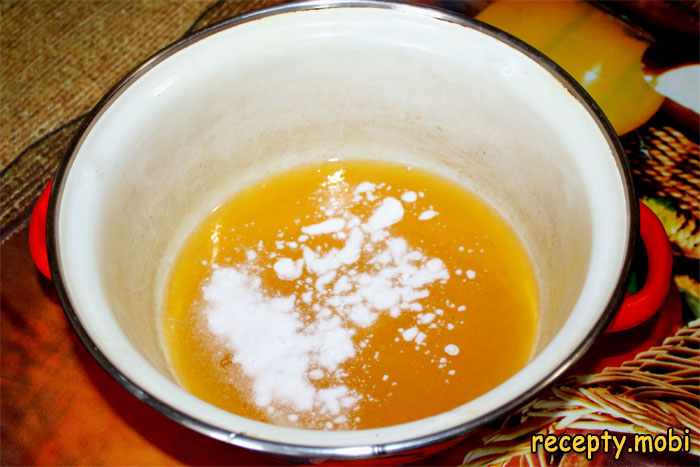
Place the honey in a sufficiently deep but small saucepan. Put the saucepan with honey on the fire. When the honey completely melts, add a spoonful of baking soda into it.
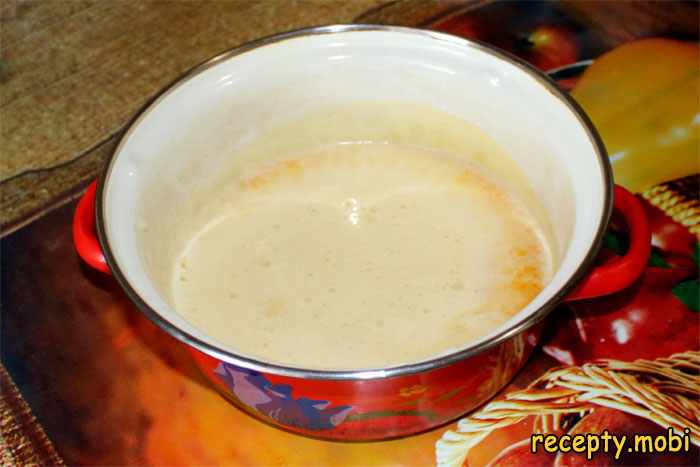
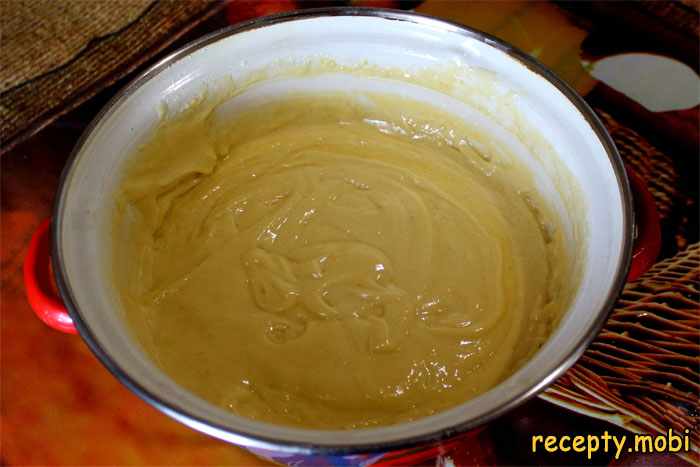
Again, put the saucepan with honey and baking soda on the fire. Boil the contents of the saucepan for about 30 seconds more. During this time, the honey should be stirred constantly. As a result, the contents of the saucepan should increase in volume by about 3 times and lighten slightly in color.
Carefully combine the whipped yolks with the whipped whites, then sift the wheat flour into them. Gently mix all the components with a spoon.
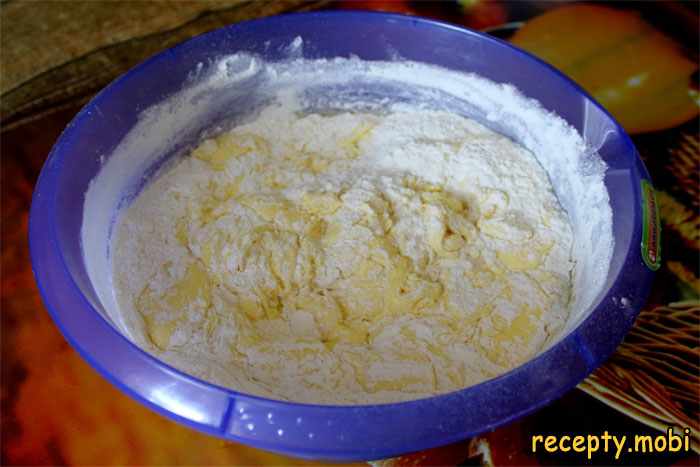
Transfer the resulting mass into the saucepan with melted honey. Once again, mix the components using a spoon. This should be done as slowly as possible so that the foam does not flatten. As a result, you should get a quite thick, but not tough honey dough.
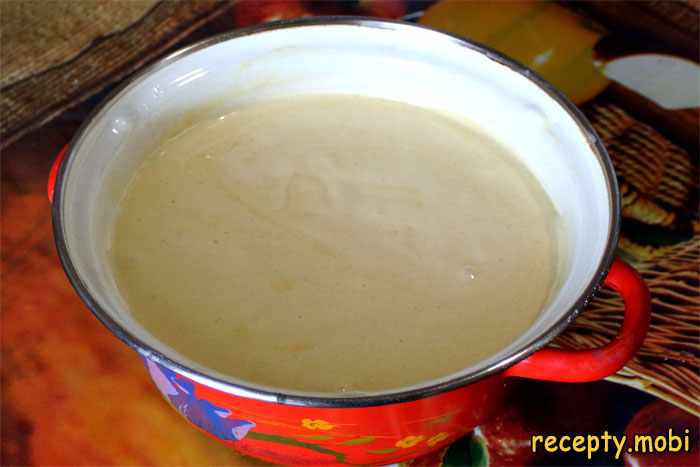
Add the kefir to the resulting dough and mix the components once more. The dough for the honey biscuit is ready. Turn on the oven to preheat, and engage in preparing a semicircular mold.
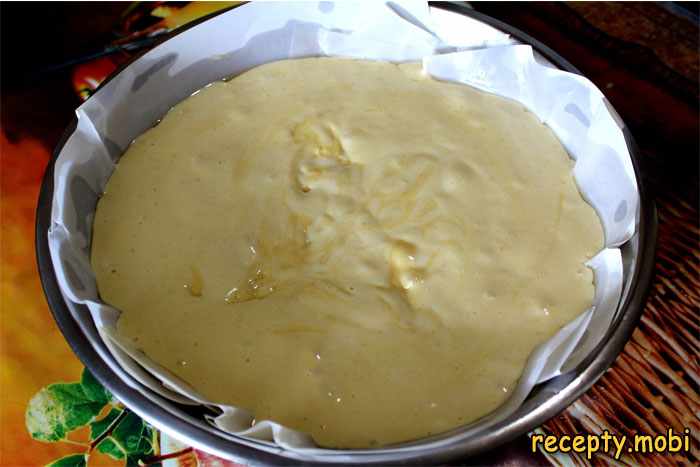
It is important to use a semicircular mold for this cake so that you have a beautiful even cap. Line the mold with parchment and grease it with vegetable oil using a silicone brush. Pour the honey dough into the mold and send it to the oven. The biscuit is baked at 160 degrees for 1 hour.
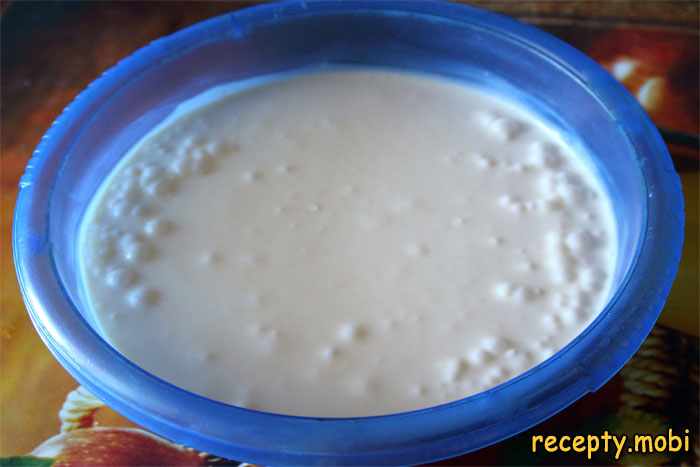
Check the readiness of the cake with a toothpick. If you see that the top of the biscuit has already browned, but it is still not baked in the middle, you can cover it with foil. While the cake base is baking, engage in preparing the cream. For this, pour sour cream into a separate deep container, and then add the condensed milk to it.
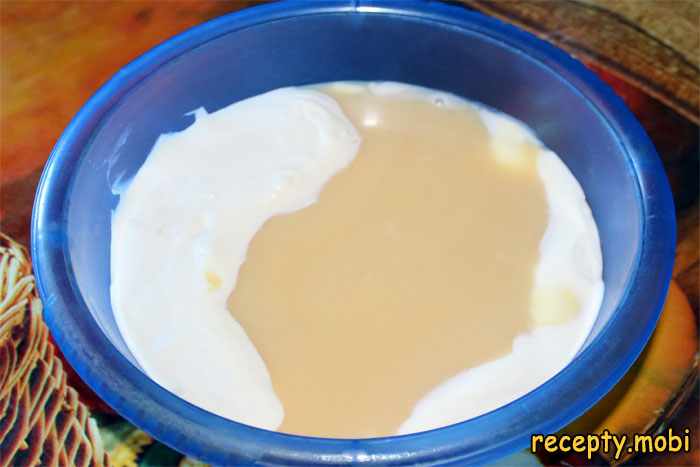
Thoroughly beat the ingredients with a mixer. By the way, for this cream, you need to use homemade sour cream. Otherwise, the cream will be liquid and will drip off the cake. If you cannot buy homemade sour cream, be sure to add a thickener for cream to the mixture.
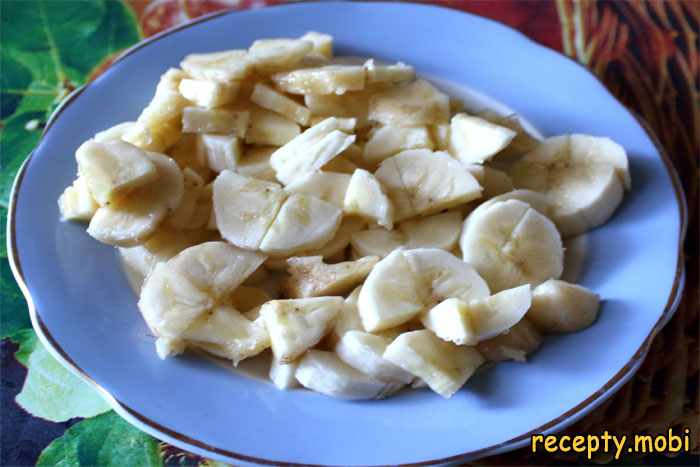
When the biscuit is ready, take it out of the oven and let it cool. While the Cap cake base is cooling, prepare the banana: peel it and cut it into thin small slices.
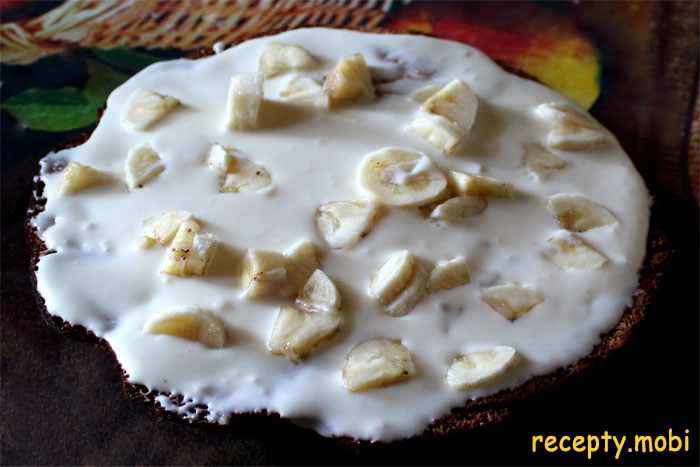
Cut the cooled honey biscuit lengthwise into 5 layers. On a wide board or tray, place the bottom layer, generously spread it with sour cream and arrange some of the sliced banana pieces on top.
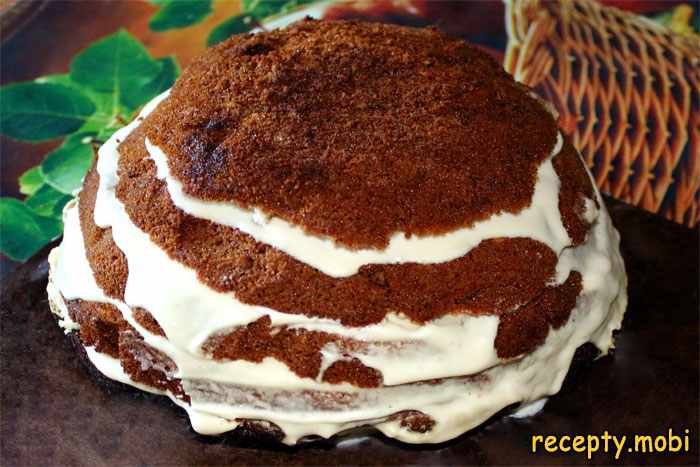
On top of the smeared bottom layer, place the next layer and repeat the actions. Do the same with the remaining layers. There is no need to spread sour cream on the top layer.
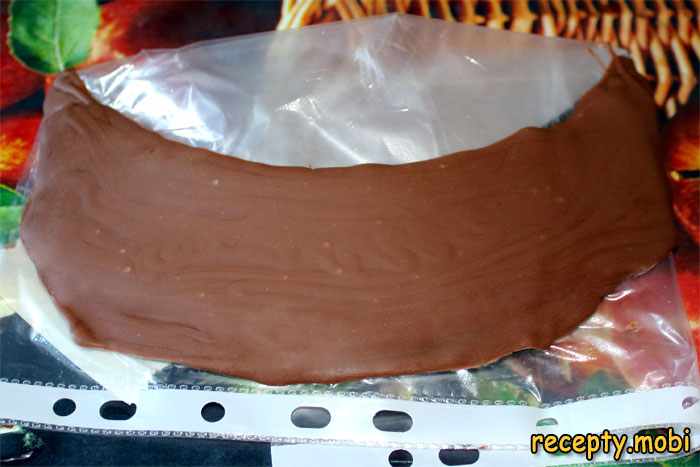
Place the base of the Cap cake in the refrigerator and start preparing the visor. It's best to find an old baseball cap and cut out the visor from it. But if you don't have an old baseball cap, draw the visor on cardboard and then cut it out with scissors, bending it slightly to give it the desired shape. Place the visor in a file and carefully secure it with tape. Melt dark chocolate (100 g.) in a water bath and pour it into a pastry bag. Lay a layer of melted chocolate on the prepared visor, trying not to go beyond the contours of the visor. Keep in mind that this is not so easy, as the chocolate is liquid and the visor is semicircular. When applying the chocolate, it starts to drip off the visor. Therefore, you need to do this as quickly as possible. Also, the chocolate must be applied in a thick layer. After all, the thicker the visor, the easier it will be to work with it later. Then place the prepared piece in the freezer to let the visor set.
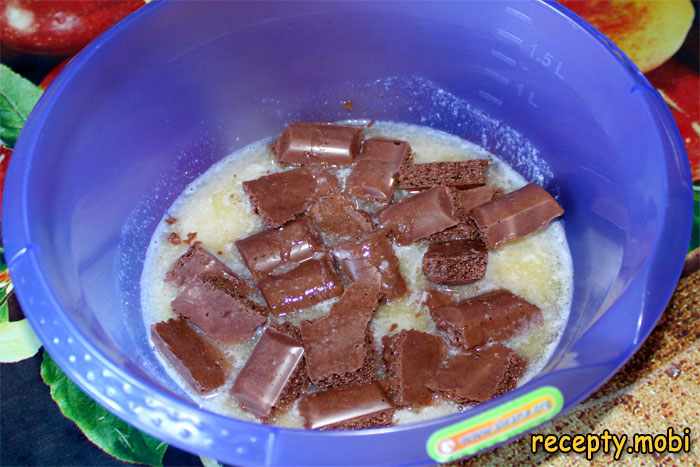
While the chocolate visor is cooling, start preparing the chocolate ganache. For this, place 100 g. of butter in a clean and dry container.

Melt the butter in the microwave, then heat it. Add the remaining dark chocolate to the container with the melted butter. Remember that the butter must be hot enough; otherwise, the chocolate will not dissolve in it.
Constantly stir the butter with the chocolate using a spoon. As a result, you should have a uniform chocolate mixture.
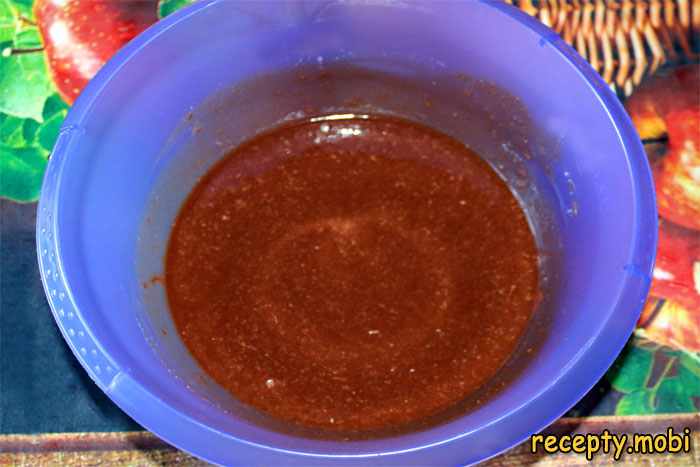
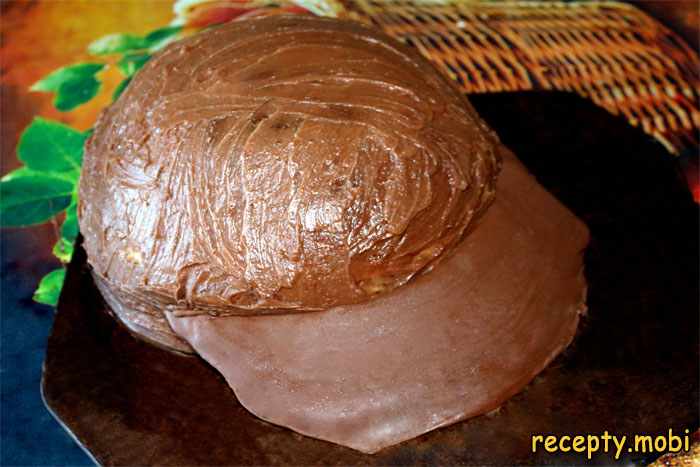
If the ganache turned out to be liquid, you can put it in the refrigerator for 2-3 minutes. As a result, it will thicken very quickly. Then take the cake base out of the refrigerator and generously coat it with chocolate ganache. It's best to do this with either a special spatula or a wide knife.
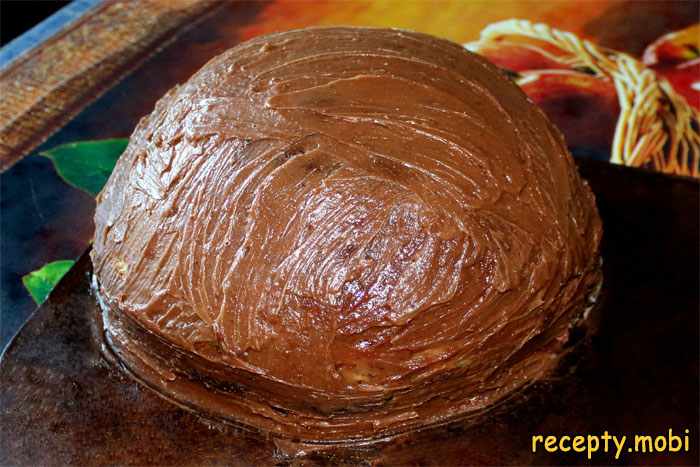
Next, take the hardened chocolate visor out of the freezer. Carefully detach it from the file and attach it to the base. You can make a neat thin semicircular cut on the cake and insert the visor into it.
Start preparing the white chocolate. Crush it and place it in a small enameled container.
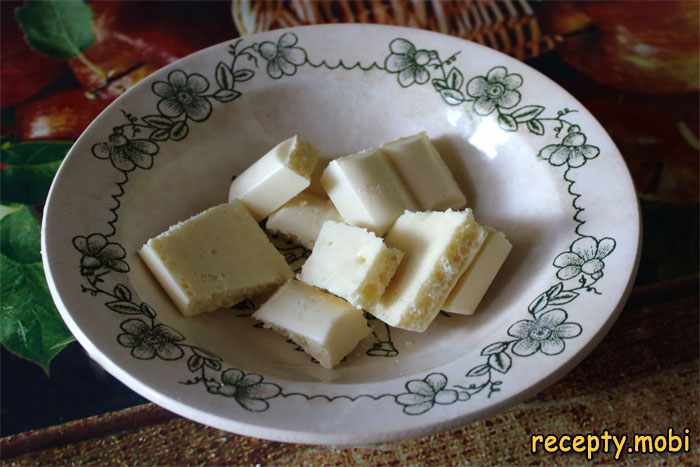
Melt the white chocolate by placing the dish in a water bath. Don't forget to stir the chocolate constantly during this process.
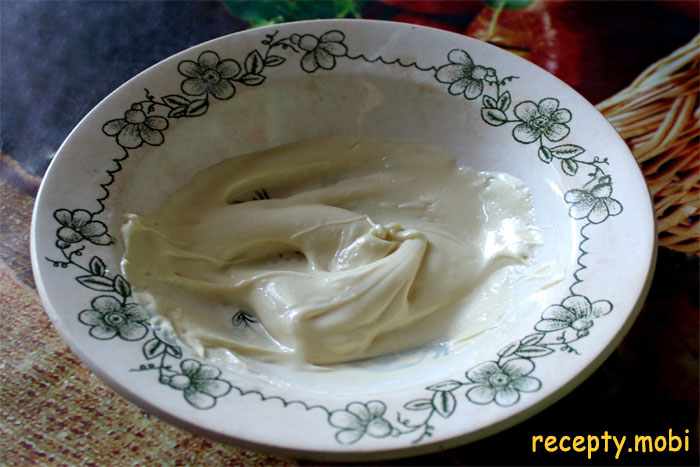
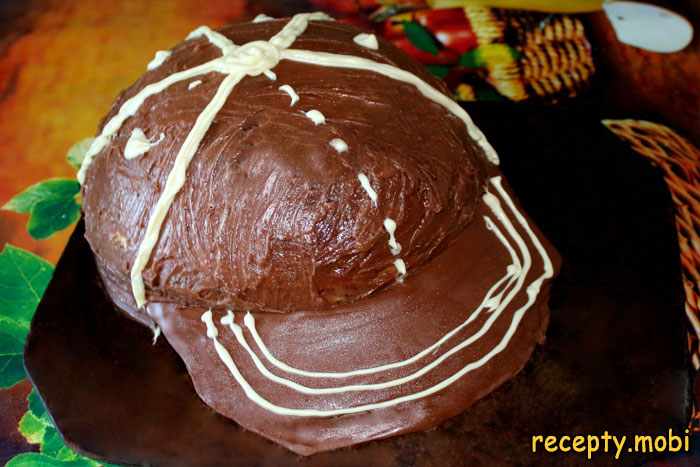
Transfer the melted white chocolate to a pastry bag and make the corresponding patterns on the cake: mark the seams and buttons. You can even draw some emblem. It all depends on your imagination. The Cap cake is ready.The Cap cake with chocolate ganache looks simply fantastic on the table. But its main advantage is that the base absorbs the cream in just a few minutes. After all, the honey biscuit turns out to be very tender and airy. Enjoy your meal!


- Comment
or post as a guest
Be the first to comment.


