
avg —
Custard dough cake with custard "Plombir"
Instructions
I make the custard cream. I take a heavy-bottomed saucepan or a non-stick frying pan and break the eggs into it. I add the regular sugar, the vanilla sugar, and the starch. With a whisk I stir the cream base until the lumps disappear. The corn starch can be replaced with potato starch or flour.

I pour the cold milk into the saucepan and keep stirring. I put the cream over medium heat and start to thicken it, stirring constantly with a spatula. As soon as I feel it beginning to thicken, I reduce the heat to minimum and keep stirring vigorously. After the first bubbles appear, I remove it from the heat.
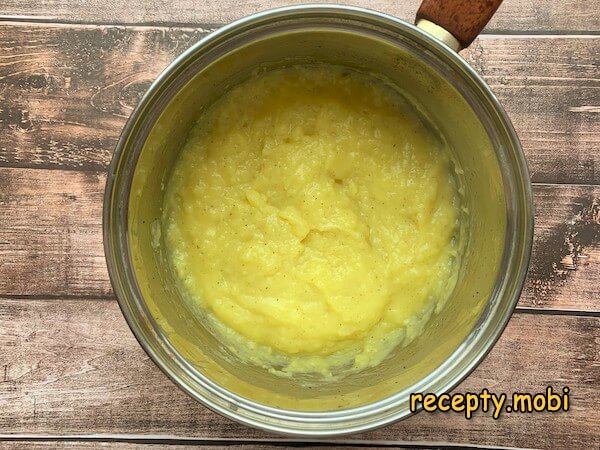
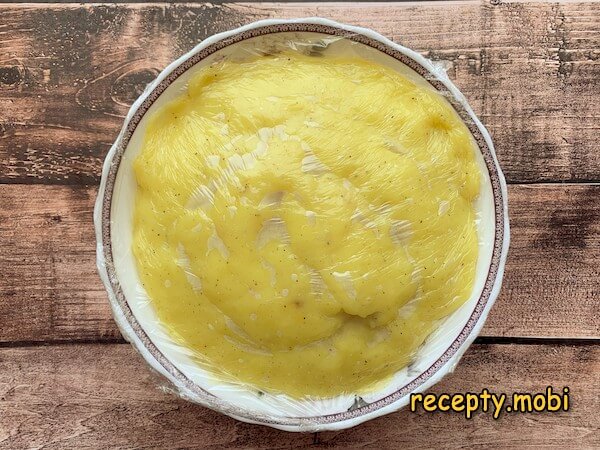
I transfer the cream to a bowl and press cling film into close contact with the surface – to prevent a tough skin from forming. I leave it to cool at room temperature.
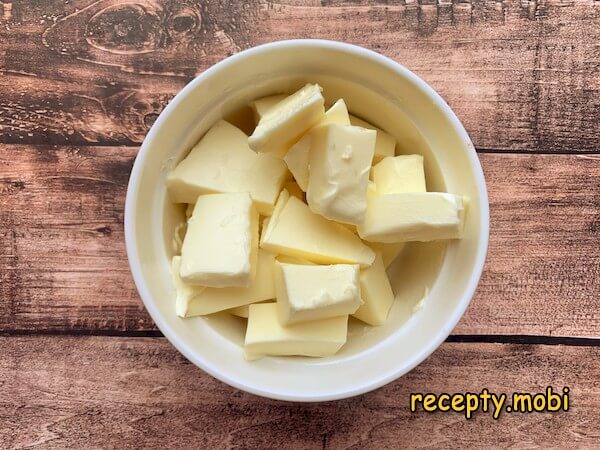
Meanwhile, I cut 160 g of butter into a bowl and leave it to warm to room temperature.
I move on to making the layers. Into a heavy-bottomed saucepan I pour the milk and water, add the salt and the butter for the layers. I put it over medium heat and wait for the butter to dissolve.
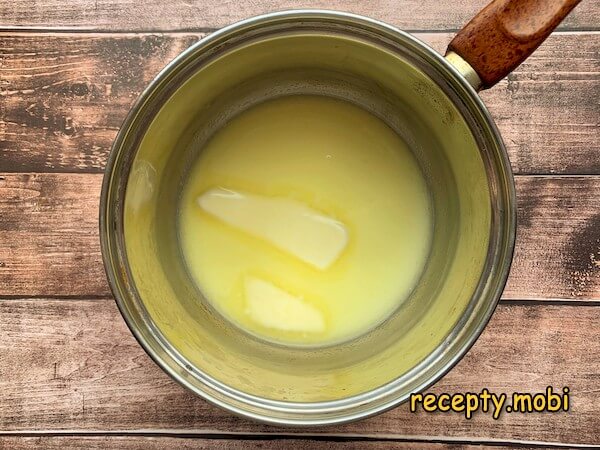
As soon as the butter has melted, I add the flour and, without removing it from the heat, mix the contents well with a spatula until smooth. While stirring, I keep it on the heat for another 1–2 minutes to drive off the excess moisture. This whole process is called scalding, and dough made this way is choux pastry.
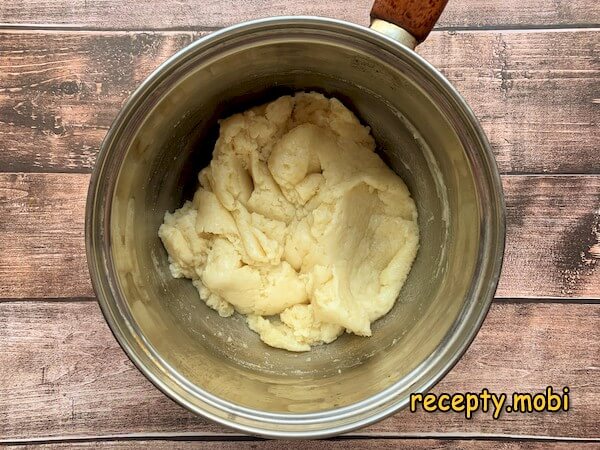
I transfer the choux pastry to a bowl and let it cool for 3–4 minutes. You can speed up the process by stirring with a spatula. The dough should be warm, but not hot! I add the eggs one at a time, stirring with the spatula. At first it seems the eggs will not mix in, but after a minute everything turns into a smooth mass. The finished dough slides easily off the spatula.

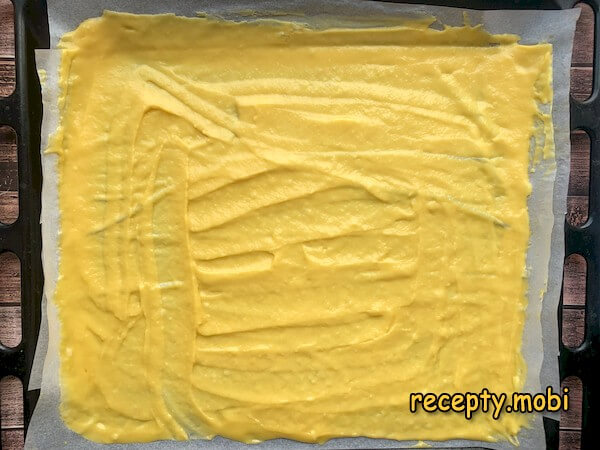
I divide the dough into two parts right in the bowl. I take a sheet of parchment measuring 30×40 cm (a standard baking tray). For convenience, I set the tray on a kitchen towel and the parchment on the tray. I spread half the dough over the parchment with a spatula or palette knife into an even layer.
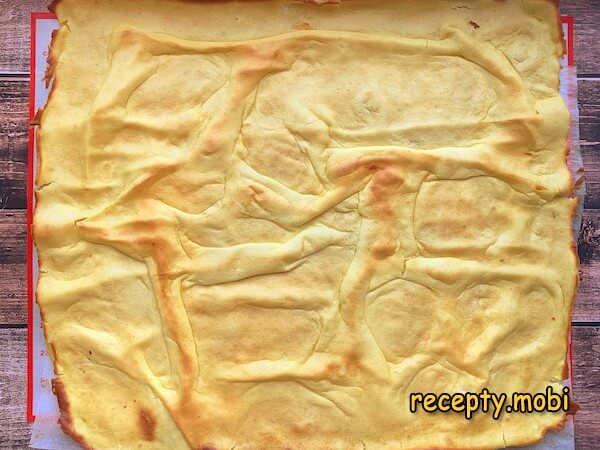
I put the layer into a hot oven at 200 °C for 10–15 minutes (depending on your oven). I lift the hot layer off the tray and press it flat with my hands, smoothing out any bumps on the surface. I bake the second layer in the same way.
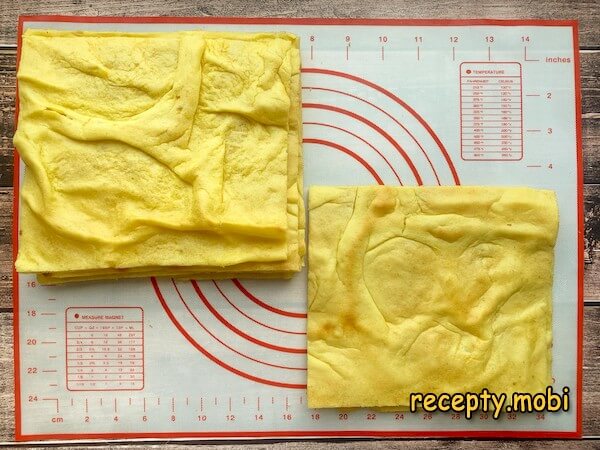
I trim the layers and divide them into 4 parts. This gives 8 small layers – soft, with an uneven structure.
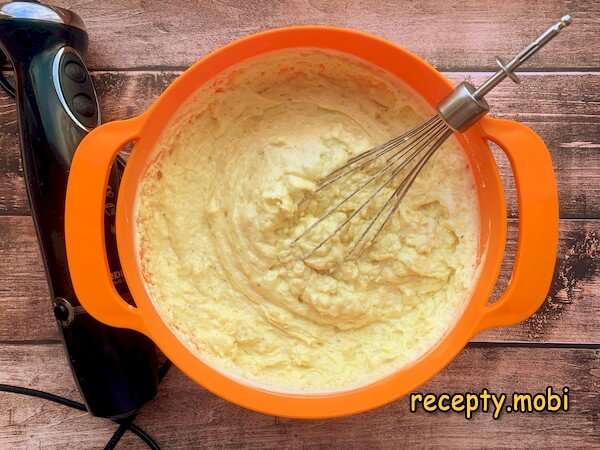
I whip the softened butter with a mixer for 3–4 minutes until it lightens. I add the cooled custard cream in portions, continuing to whip. To keep the cream free of grains, it is important to combine the butter and cream at the same temperature.
I move on to assembling the cake. As the first layer I place a sheet and spread 2 heaped tablespoons of custard cream over its surface. I assemble the whole cake in the same way.
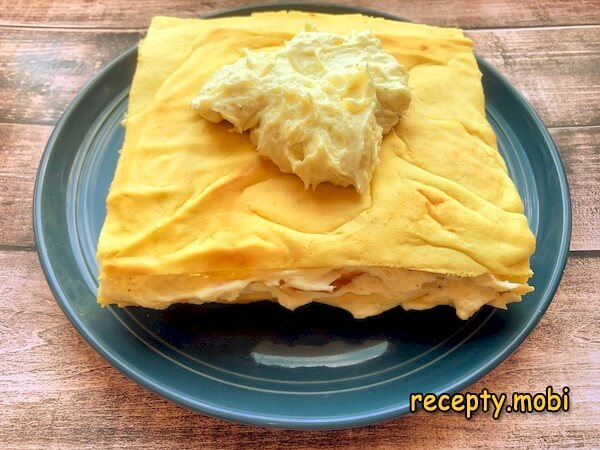
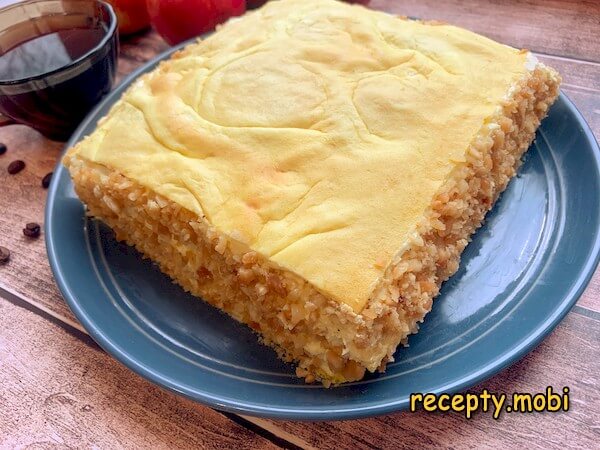
I coat the sides of the cake with cream; the top does not need to be coated. If you like, I decorate the edges with nut crumbs – I lightly toast the nuts in a hot pan and sprinkle them over the edges of the cake. You can use coconut flakes or grated chocolate. I leave the cake in the refrigerator for 6 hours to soak and stabilise. I cover the top with film – to keep out other odours.
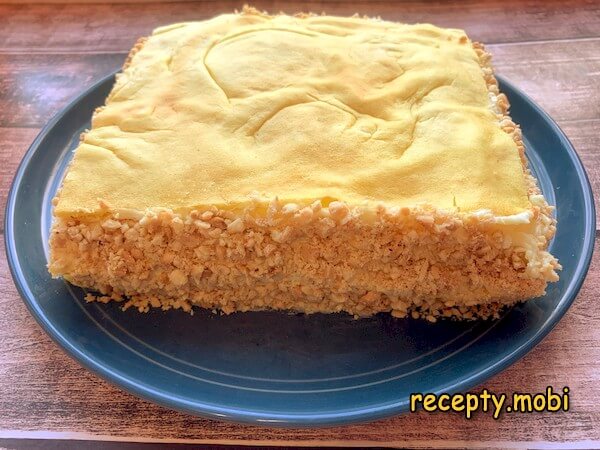
The custard dough cake with custard "Plombir" is ready. It is perfect for any family gathering. The approximate weight of such a cake is 1.2 kg.Bon appétit!


Tips
- 1
CREAM AND BUTTER AT THE SAME TEMPERATURE – the key to a smooth cream without grains. Both should be at room temperature.
- 2
EGGS INTO WARM (not hot!) DOUGH – hot dough will "cook" the eggs. The dough should be warm, but not scalding.
- 3
SMOOTH THE HOT LAYER with your hands – this gives an even surface for assembling the cake. A cooled layer will not take the shape.
- 4
6 HOURS IN THE REFRIGERATOR – an essential soak. It is better to leave it overnight. The same principle works in other multi-layered cakes with custard cream.
FAQ
Why did the cream turn out runny? +
The reasons: the custard cream was undercooked (remove it from the heat only after it has thickened), cold butter when whipping (lumps), or cream that was too hot when the butter was added (it melts the butter). The fix: return the cream to the heat and cook it again with 1 tablespoon of starch (dissolved in 2 tablespoons of cold milk). If the cream has seized into lumps – blitz it with a blender. To be safe: use a thermometer, cook the cream to 85 °C, and combine the butter and cream at room temperature.
Can it be baked in an ordinary round tin? +
You can, but the texture will be different. In a rectangular 30×40 cm tin the dough spreads into a thin layer. In a round tin you get a thicker layer, like a "Napoleon". Adaptation: a diameter of 20–22 cm, bake for 15–20 minutes at 200 °C, then divide into 2–3 layers. The classic method (on a tray) gives more layers – 8 layers from two sheets. That is precisely the "trick" of this cake.
How long does the cake keep? +
In the refrigerator in a closed container – 3–4 days. The longer it stands, the tastier it gets – the layers soak through completely. On the 2nd day it is at the perfect stage. It can be frozen (up to 2 weeks), but the texture changes after thawing. Thaw it in the refrigerator for 6–8 hours, not at room temperature. Store it under film or in a closed box – so it does not absorb the smells of other foods.
How do I decorate the cake nicely? +
The options. Classic: nut crumbs around the sides (walnut or almond), chocolate shavings, coconut flakes. A berry presentation: fresh berries on top (strawberries, raspberries). For a "festive look" – melted chocolate in patterns on top. For a children's birthday – coloured confectionery sprinkles. A professional touch is a glaze (100 g of Belgian dark chocolate + 30 ml of cream = a glaze for coating). Decorate with fresh mint before serving.
- Comment
or post as a guest
Be the first to comment.


