
avg —
Graph's Ruins Cake with Sour Cream
Instructions
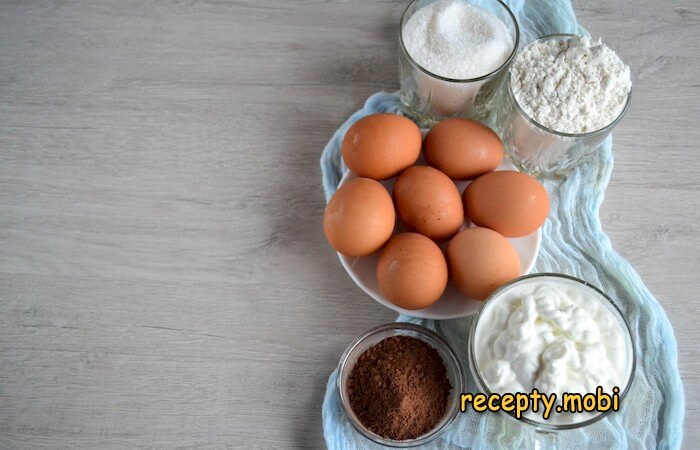
Prepare all the ingredients you need.
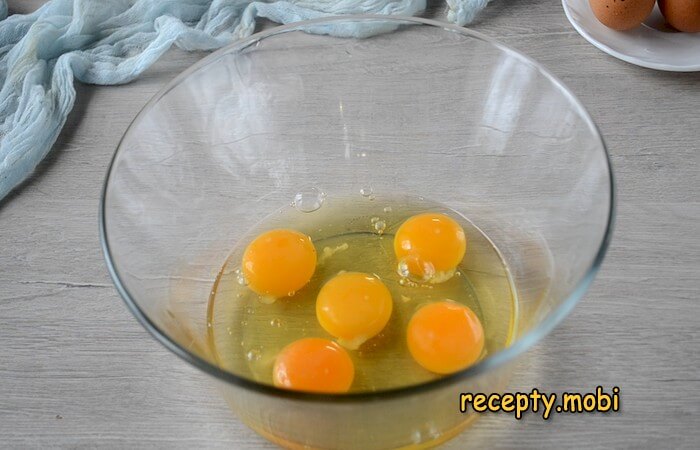
Make the dough for two layers – a plain one and a chocolate one. For the first, crack 5 eggs (cold from the fridge), add 5 tablespoons of sugar and whip with a mixer at maximum speed for at least 10 minutes, no less. This matters: it is the long whipping that gives a fluffy, tender sponge with no baking powder. And one more thing – crack the eggs into a clean, dry bowl, or they will not whip up.
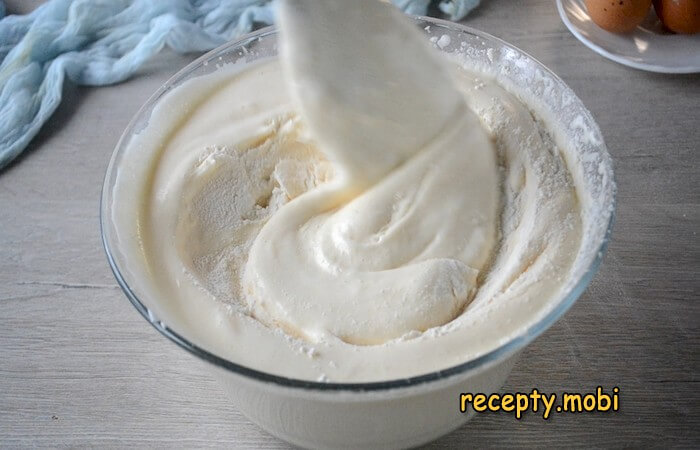
Once the eggs are whipped and have increased several times in volume, add 5 tablespoons of flour in a few additions (it is best to sift it several times). Fold it in gently with a spatula in one direction, lifting the batter.
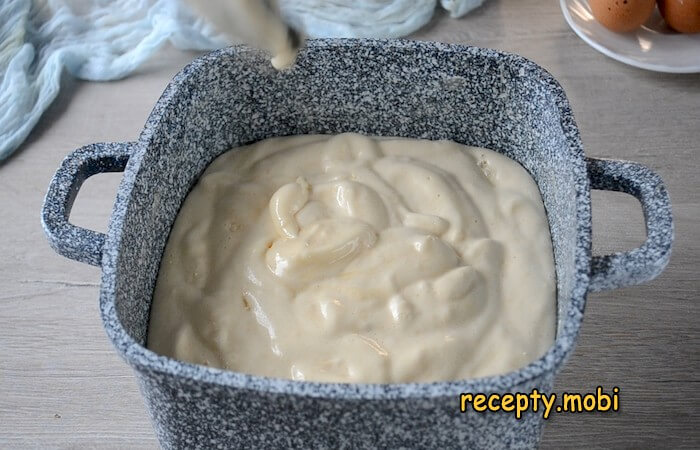
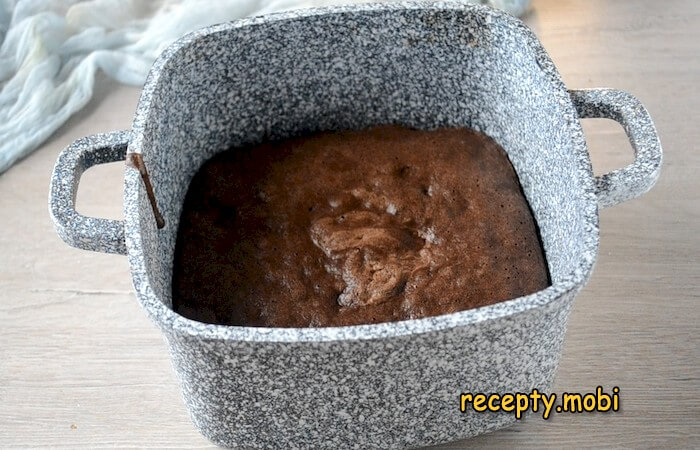
Pour the finished batter into a baking pan greased with butter, both the bottom and the sides. Put it into an oven preheated to 180 degrees and bake for 25 minutes, depending on its power.
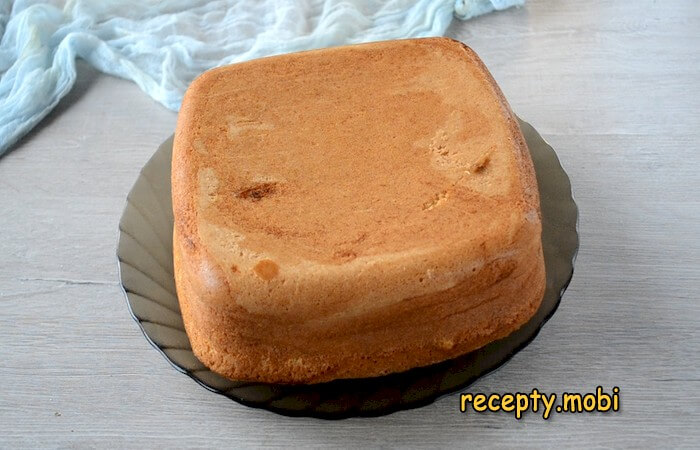
Check for doneness with a skewer – if it comes out dry, the layer is ready. The first layer rose well and barely loses shape after cooling. Leave it to cool completely while you work on the chocolate layer.
Whip 4 eggs with 4 tablespoons of sugar the same way – for 10 minutes. The bowl must be completely dry.

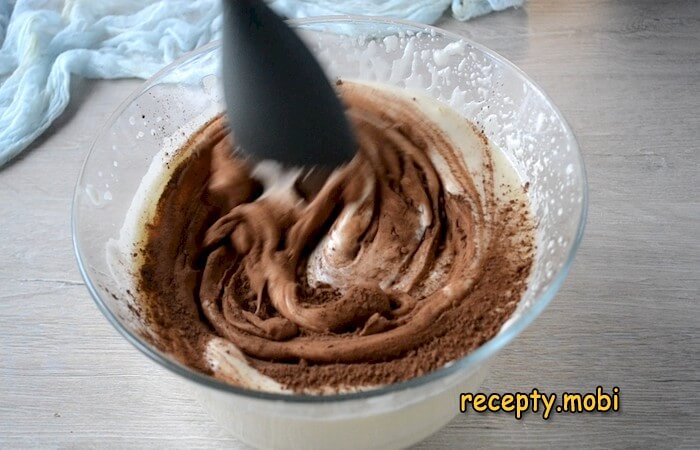
Add 1 tablespoon of cocoa to the whipped eggs and fold it in gently.
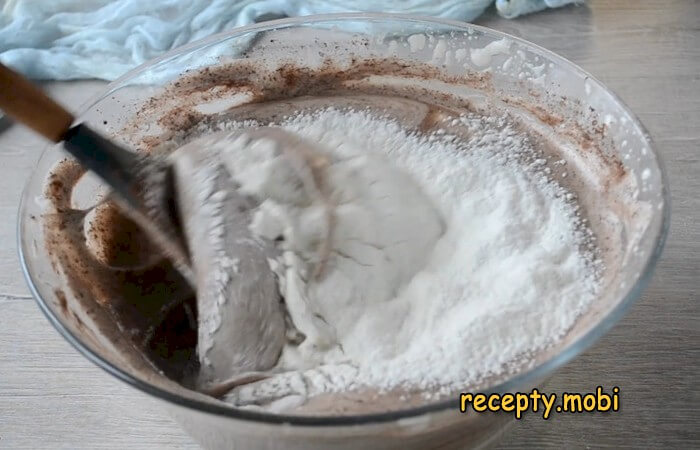
Sift in 3 tablespoons of flour and fold it into the eggs.
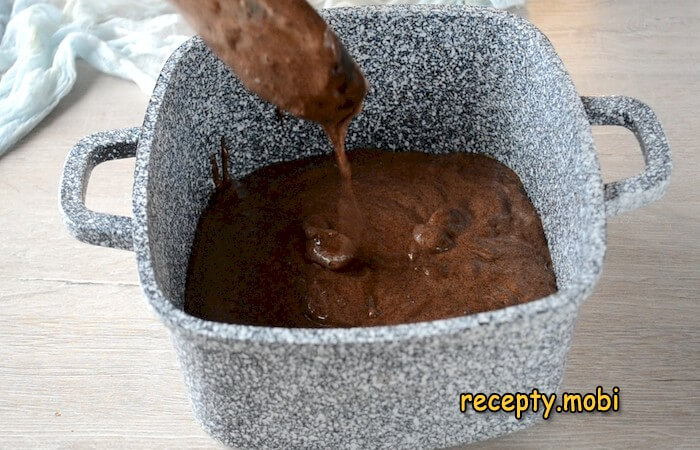
Pour the resulting mixture into a greased pan and bake it like the first layer.
Leave the finished chocolate layer to cool completely.
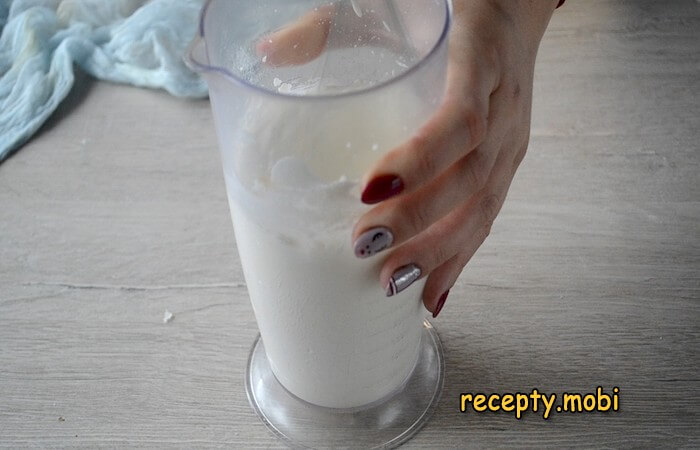
While the layers cool, make the cream. Mix the sour cream with the sugar and vanilla sugar and whisk. If the sour cream is too thin, add 1 teaspoon of thickener. But you should not make the cream too thick – it needs to soak into the cake.
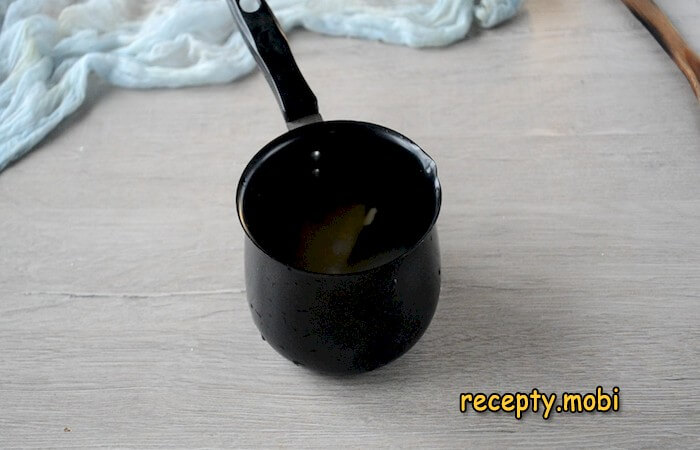
Make the chocolate glaze by any convenient method. You can simply melt a bar of dark chocolate. I make a simple water-based one: mix 50 ml water, 30 g butter and 50 g sugar, and bring to the boil. Add 2 tablespoons of cocoa, stir and reduce over low heat for 5 minutes. Take it off the heat and let it cool – it will thicken once cooled.
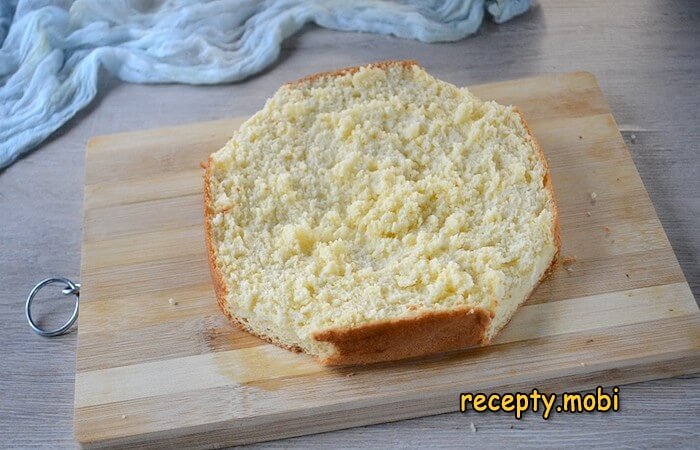
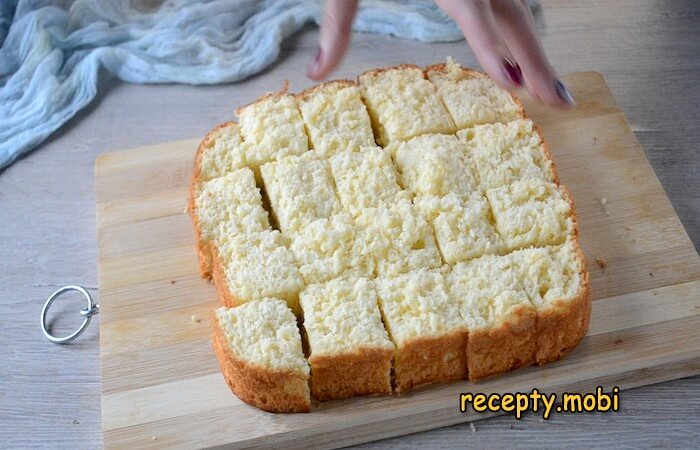
Once the layers have cooled, cut each one in half lengthwise. The bottom of the white layer will be the base of the cake. Since I baked in a square pan, I trim the corners to give it a rounder shape.
Cut one white half and two chocolate halves into large cubes.
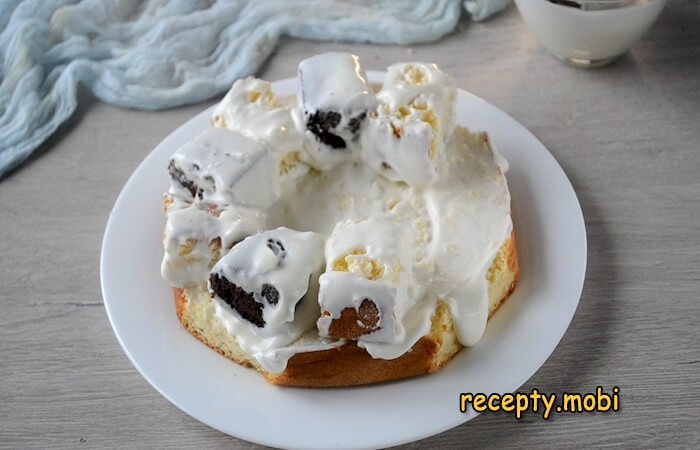
Spread the base of the cake with sour-cream cream, then lay down white and chocolate sponge cubes one after another, dipping each in the cream. Build up a mound.
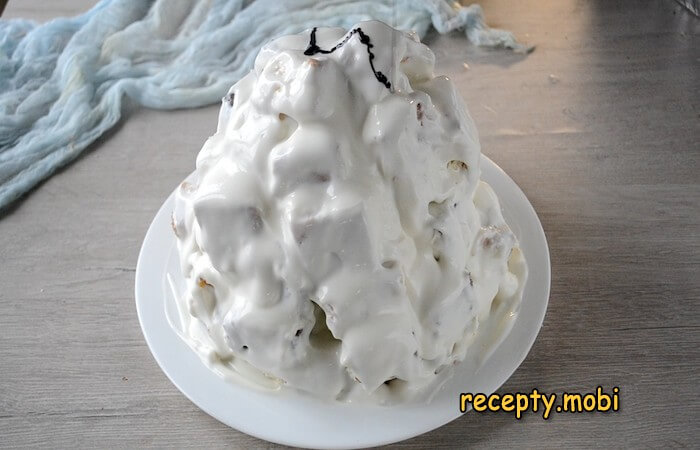
Pour sour-cream cream over the mound you have formed.
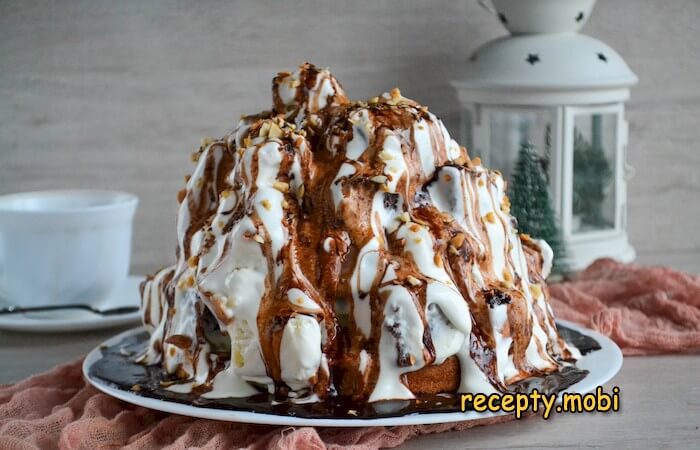
Drizzle the prepared chocolate glaze over the top.
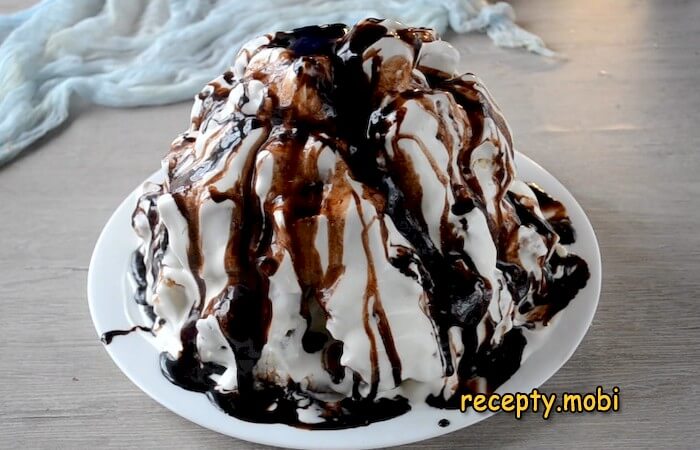
Sprinkle with crushed peanuts or walnuts.
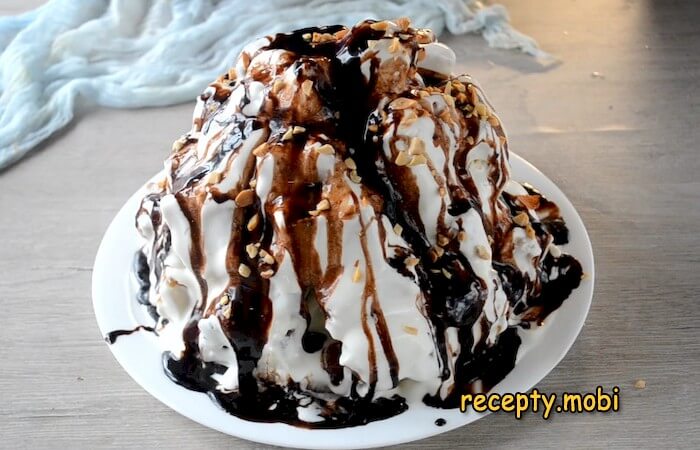
The Graph's Ruins cake is ready. Leave it for at least 2 hours to soak – it will then cut easily into neat pieces and will not fall apart. At the same time it becomes very tender, soft and juicy. Delicious!Enjoy your tea!


Tips
- 1
WHIP THE EGGS FOR AT LEAST 10 MINUTES – this is exactly what gives the sponge its fluffiness without baking powder. A short whip = a flat layer.
- 2
KEEP THE BOWL AND WHISKS DRY – not a drop of water or fat. Otherwise the egg foam will not rise to the volume you need.
- 3
FATTY SOUR CREAM, 20–30% – gives a thick cream without wateriness. Thin sour cream (10–15%) needs more thickener and may "run".
- 4
SOAK FOR AT LEAST 2 HOURS – the cream will soak into the cubes and the cake will "set" into a single whole. Without soaking it will fall apart when cut. The same principle works in other layered cakes with sour-cream cream.
Video
FAQ
What can replace the thickener for sour cream? +
Alternatives: starch, 1 tbsp per 500 g of sour cream (dissolve it in a spoonful of sour cream and stir it in); gelatine, 5 g dissolved in 50 ml of hot water (cool to warm and stir into the cream); mascarpone cream cheese, 200 g + 500 g sour cream (an Italian variation); or whipping cream with 33% fat, 200 ml + 500 g sour cream (more tender and more stable). A classic thickener such as "Dr. Oetker" is the simplest option. Or choose a higher-fat sour cream (25–30%) – it is thick enough on its own. The most hardcore option is to "drain" sour cream through cheesecloth in the fridge overnight, leaving a thick "sour-cream base".
Which nuts are good for decoration? +
The classics are roasted salted peanuts (a contrast with the sweet cake) or walnuts (a more "Russian" choice). Alternatives: roasted almonds (a delicate aroma), hazelnuts (premium), cashews (a mild flavour), pecans (buttery and slightly sweet). For a children's version, replace the nuts with desiccated coconut or confectioner's crumb. Toast the nuts in advance in a dry pan for 3–5 minutes to bring out the aroma. Chop them coarsely with a knife or in a mortar (not in a blender – they will turn to paste). For a "festive" version, add chocolate shavings, fresh berries, candied fruit, sugar confetti or poppy seeds. Pretty and appetising.
How long does the cake keep? +
In the fridge under cling film or in a cake box – up to 3 days. The first 12–24 hours are the peak of soaking, and the second day is the tastiest. After 3 days the sour-cream cream may start to turn sour and the cake loses its freshness. In the freezer – up to 2 weeks whole or in portions, but on thawing the sour-cream cream may "separate" (lose its fluffiness). Freezing is a last resort. The best option: make it 5–6 hours before serving, keep it in the fridge and serve it fresh. Before serving, leave it for about 15 minutes at room temperature (the cream and sponge will soften).
What to serve the cake with? +
A classic for tea time: with black, green or herbal tea, or espresso or cappuccino coffee. With a glass of sparkling or sweet white wine (Riesling, Muscat). With a berry fruit drink or a dried-fruit compote for the children's version. With a scoop of vanilla ice cream – a "dessert duet". With fresh berries (strawberries, raspberries, blueberries) – a summer option. With a little extra light cream cream added to each portion. For the festive table, decorate with fresh flowers or fresh berries. For a New Year table, add a candle and fondant figures. A 100–120 g portion is enough (the cake is filling).
- Comment
or post as a guest
Be the first to comment.


