
avg —
Honey Cake with Sour Cream
Instructions
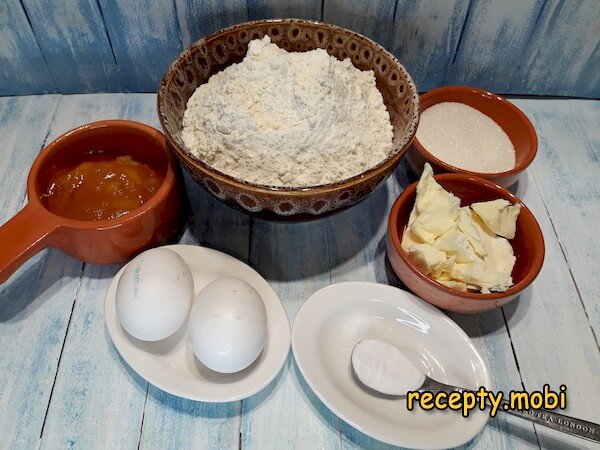
Prepare the ingredients for the honey dough. The temperature of the products in this case does not matter. You may need a bit more or less flour.
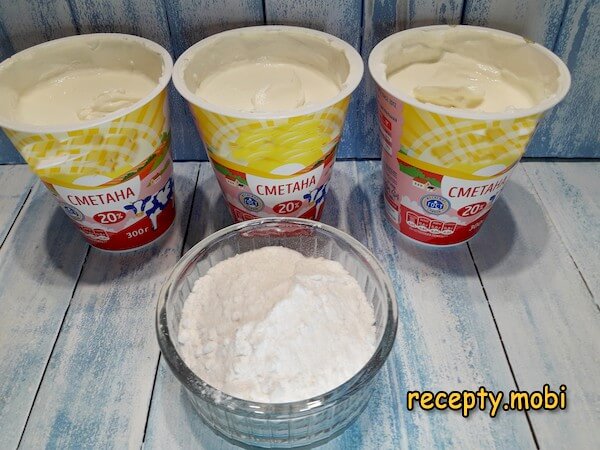
Stock up on ingredients for the cream. The fat content of the sour cream should be no less than 20%.
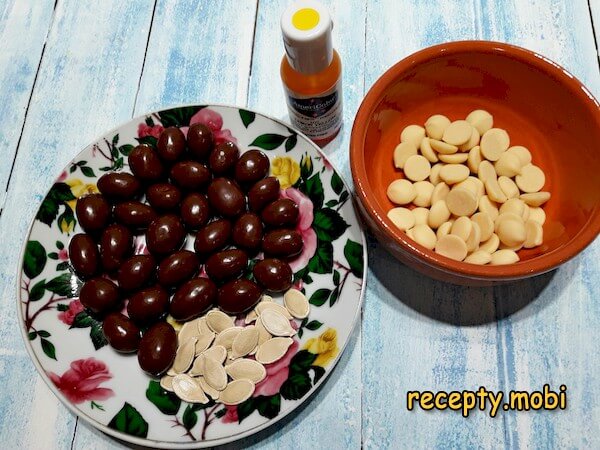
Buy the components for decoration in the shape of bees. It is better to use gel food colouring.
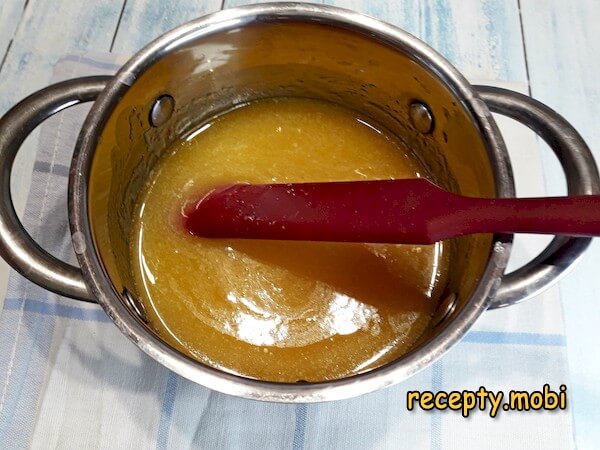
In a small pot, combine honey, butter, sugar, and a pinch of salt.
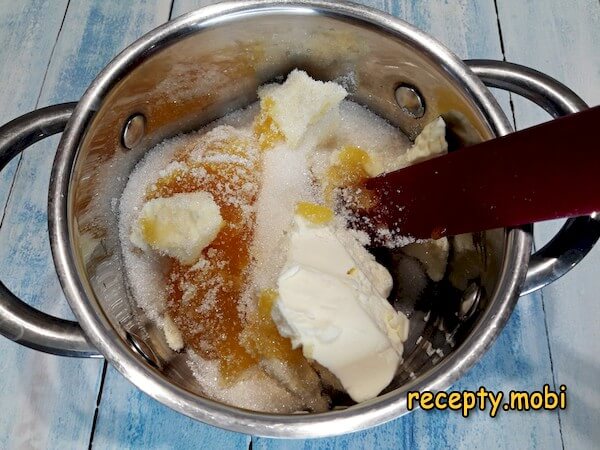
Over low heat, constantly stirring, wait for the butter to melt (you don't need to achieve complete dissolution of the sugar).
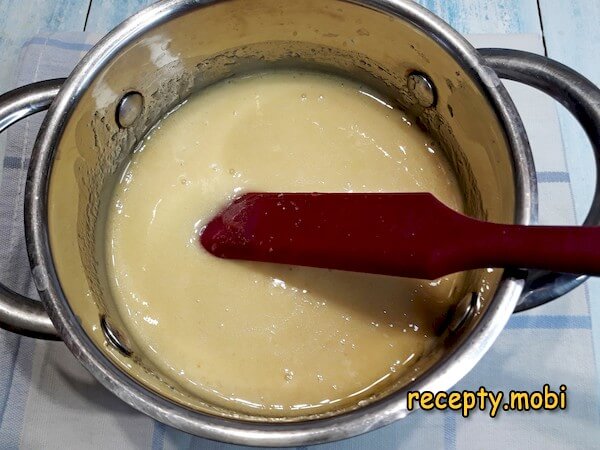
Remove the pot from the heat and add the baking soda. After mixing, a reaction will start, creating many small bubbles. The mixture will become oxygenated and turn white.
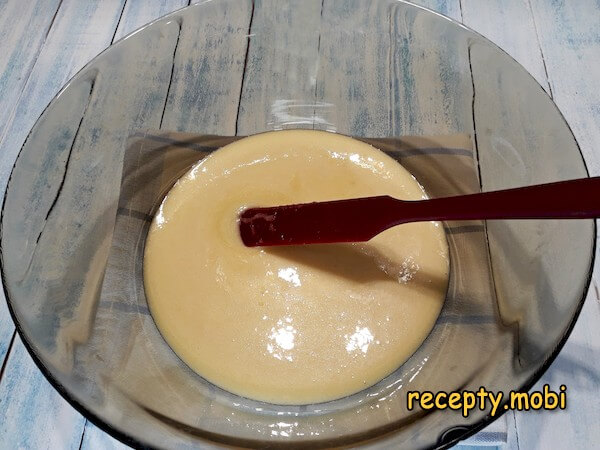
To cool it faster, pour the contents of the pot into a bowl.
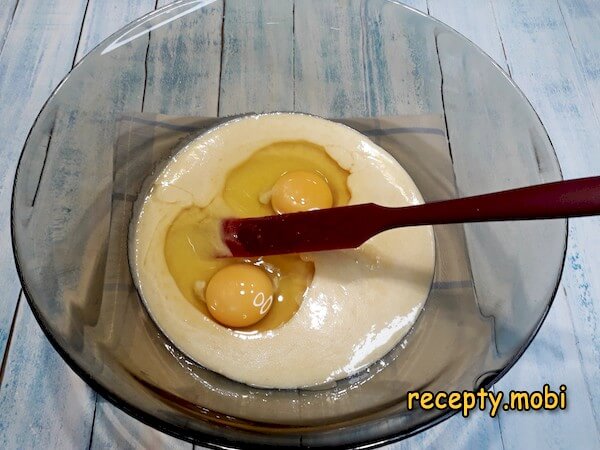
After reaching room temperature, add the eggs and mix everything.
Then start gradually adding flour and mixing it in, until it's no longer possible to do so with a spoon or spatula. You can turn on the oven to 190 degrees right away.
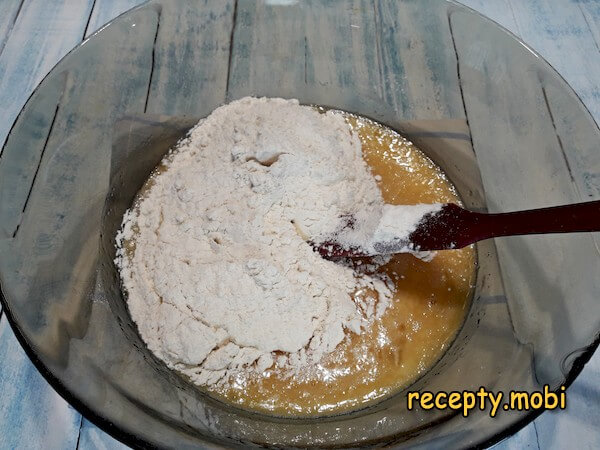
When all the flour is used up, continue kneading by hand.
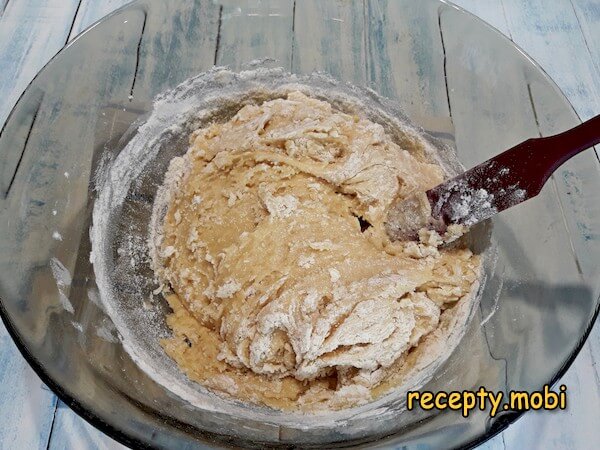
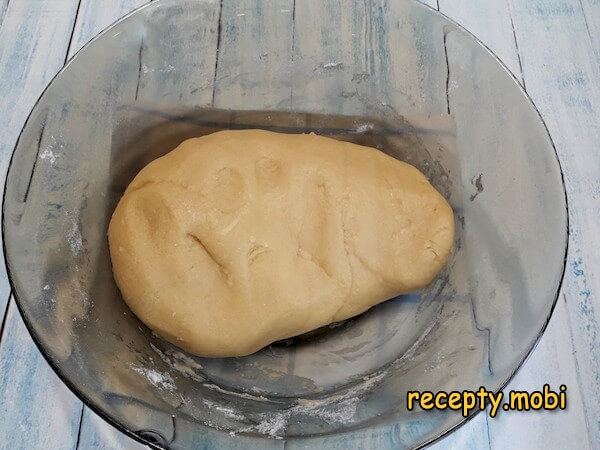
The dough should be soft, elastic, and not stick to your hands. If the kneaded dough is still wet and sticky, add a little more flour.
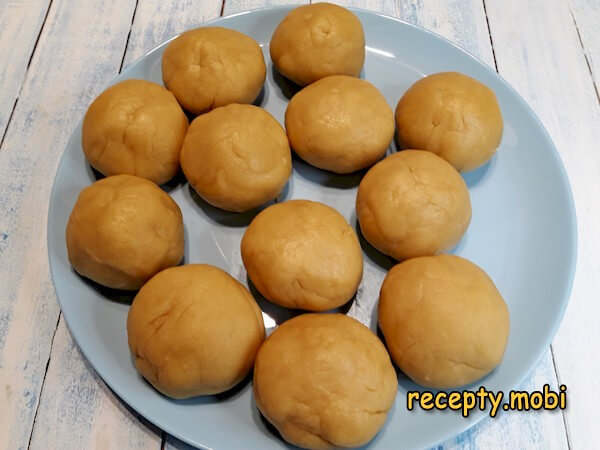
Next, divide the entire amount into 12 equal parts. It is convenient to do this by weighing the pieces on a scale. The total weight of the dough was 907 grams, so the pieces should be 75–76 grams each. After weighing, roll them into balls and cover them with plastic wrap to prevent drying out.
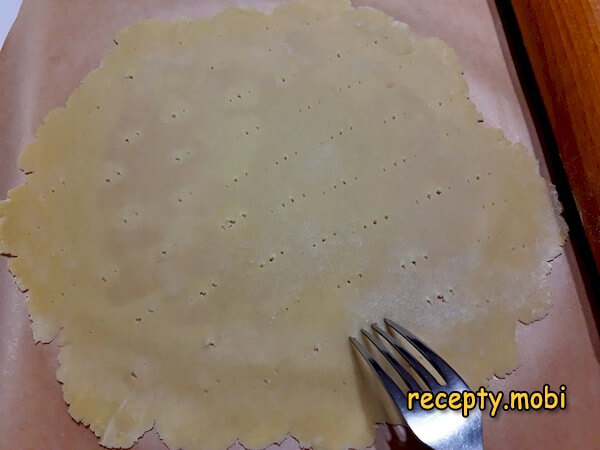
The honey dough is very delicate and can easily tear when being moved. Therefore, roll out the cakes directly on parchment paper dusted with flour. The thickness of the layer should be very thin – about 2 millimetres, and the edges should be left uneven (they will be trimmed later).

To avoid too many air bubbles, prick the layer thoroughly with a fork and transfer it along with the parchment to a baking sheet. Bake the layer until golden brown for about 4 minutes.
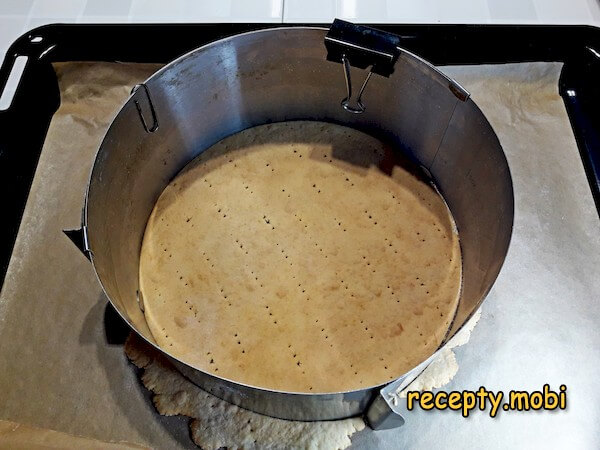
After baking, the layer will be very soft and flexible, but once it cools down, it will become brittle. Therefore, while it is still warm, it should be trimmed to the desired size. It is convenient to do this with a detachable form with sharp edges, but you can also remove the excess with a regular knife, using a plate or lid of the appropriate size as a template.
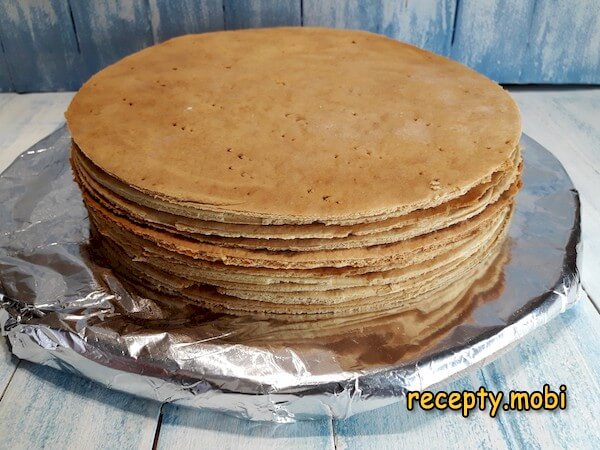
For cooling, stack the layers on a flat surface on top of each other.
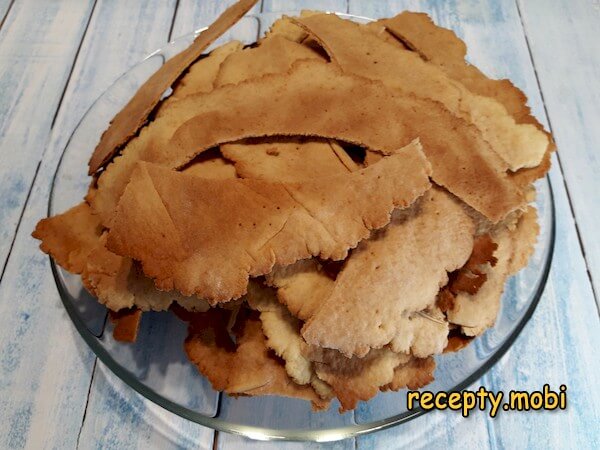
Do not throw away the trimmings under any circumstances – they are needed to sprinkle the cake.
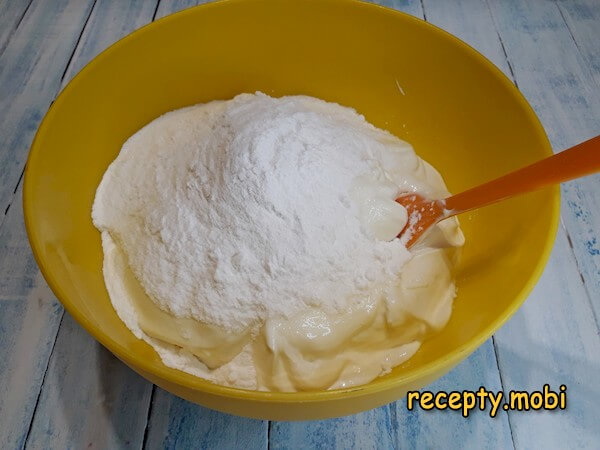
While the layers and trimmings are cooling, prepare the cream. It is done simply – mix all the sour cream and powdered sugar.
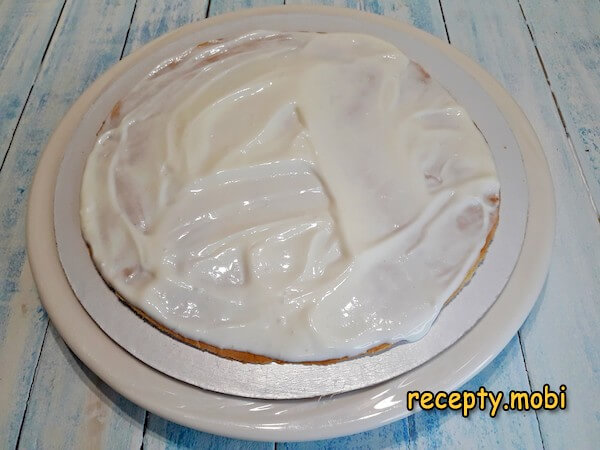
Place the first layer on a plate and spread 3–4 tablespoons of cream on it (it is not very thick, but thanks to this, the layers will be soaked perfectly, and the cake will just melt in your mouth).
If you have a detachable ring, set it around the layer and continue assembling the cake, alternating layers and cream.
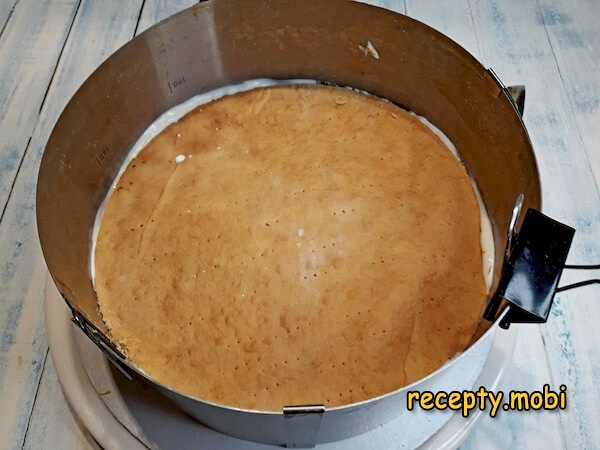
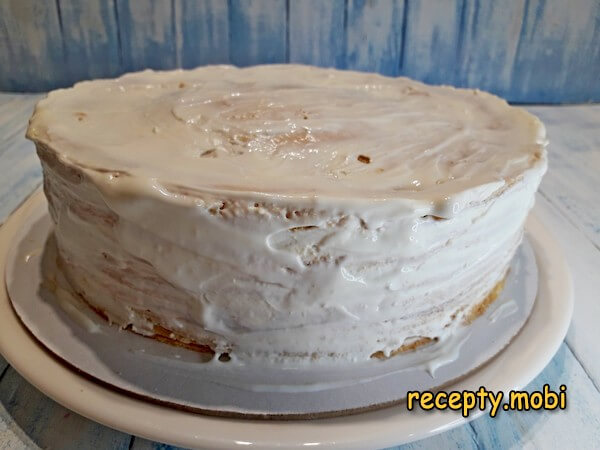
The top layer should be cream, but it's worth saving about 50 grams of it for further levelling. The cake must be covered with plastic wrap and placed in the refrigerator for at least 2 hours.

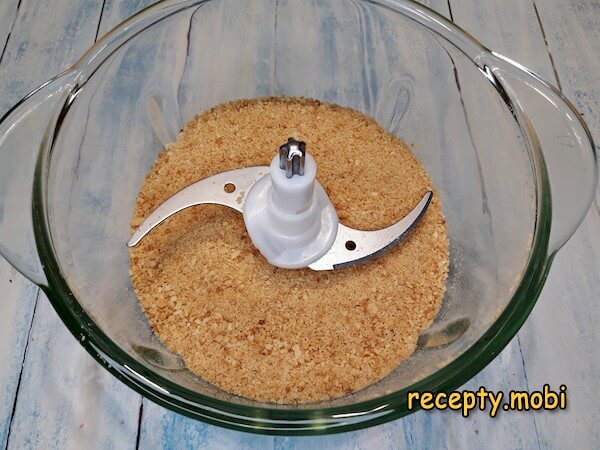
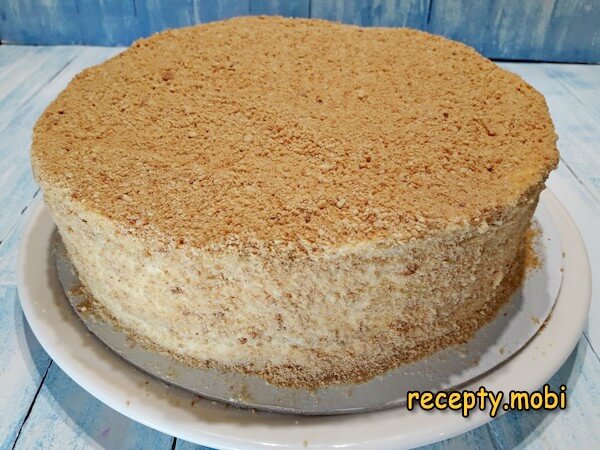
Fold the cake scraps into a food processor and grind them.
After the specified time, take the cake out. Run a sharp knife along the edge of the sides and remove the mould.
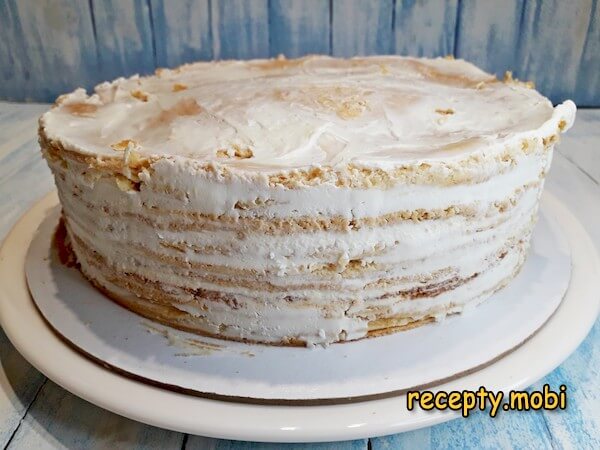
Even out and refresh the sides and top with the remaining cream.
Cover the entire cake with sprinkles.
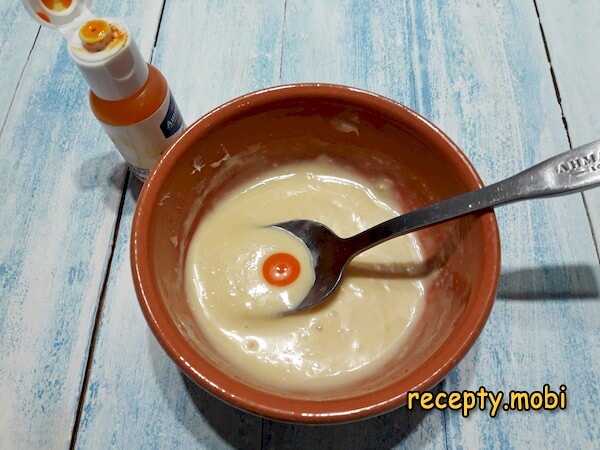
Melt the white chocolate in a double boiler, then add a drop of yellow gel food colouring and mix.
Transfer the coloured chocolate into a small cone with a tiny opening. Place oval candies on a strip of parchment, attaching them for stability with a drop of chocolate. Use the cone to decorate the bee – stripes, eyes, and stinger. Attach wings on the sides.
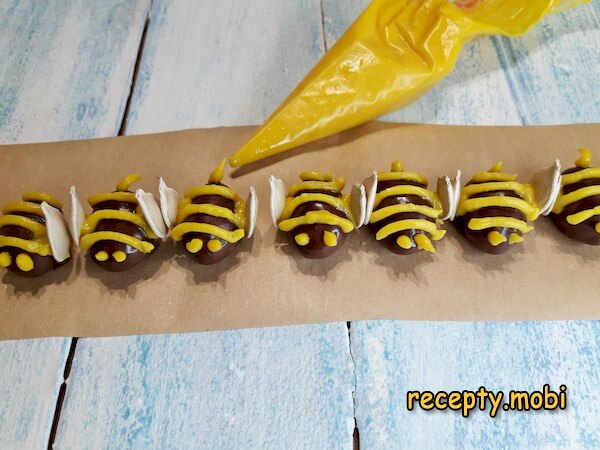
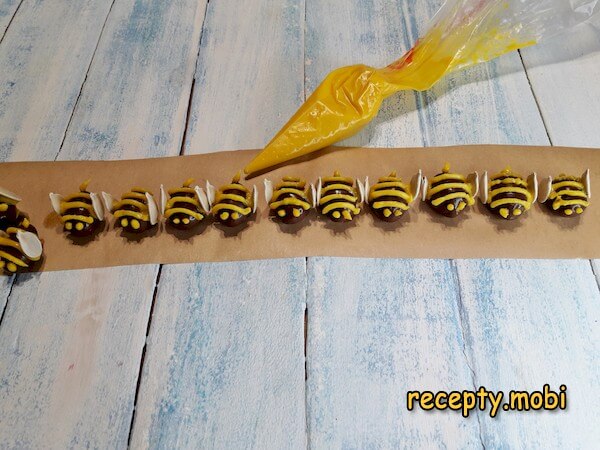
Prepare the desired number of honey-making insects in this way.
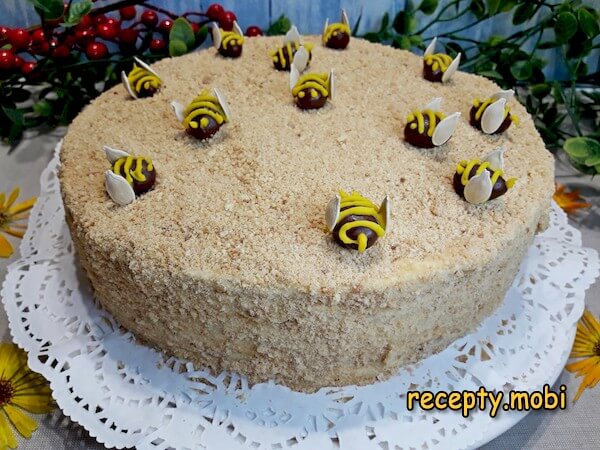
Distribute the bees all over the top of the cake.And now, the festive and elegant Medovik cake with sour cream is ready. The layers have soaked up the sour cream perfectly, making an ideal pair. The pieces are easily cut and simply dissolve in your mouth. All that's left is to brew tea and invite guests. Give it a try, bon appétit!


- Comment
or post as a guest
Be the first to comment.


")