
avg —
Japanese Cotton Cheesecake
Instructions
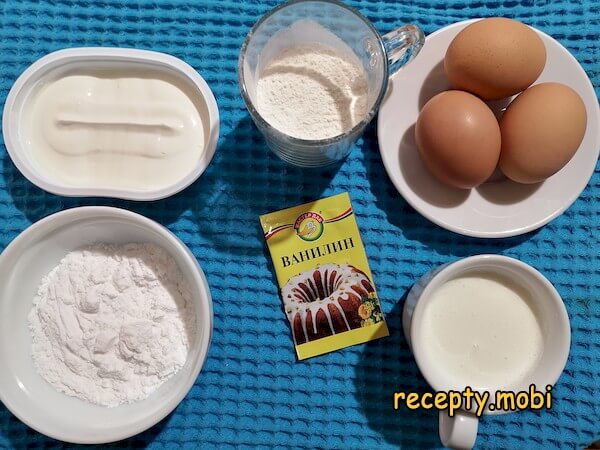
I prepare the ingredients. The cream cheese can be any fat content – in my case, Ricotta 40%. As for the cream, a lower fat content will work too. I wash the eggs thoroughly under running water and pat them dry.
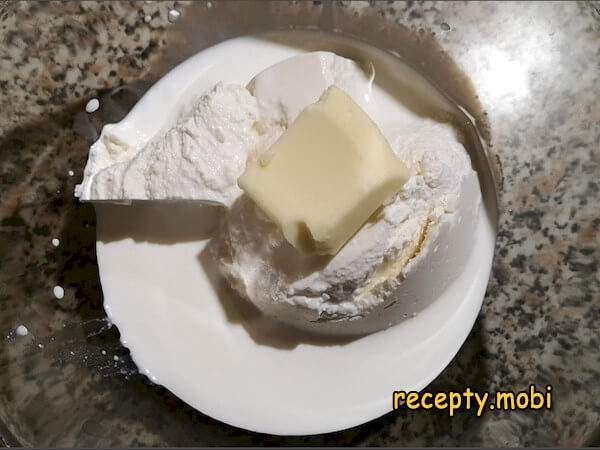
I put 250 g of cream cheese into a deep bowl, pour in half a cup of cream, and add 20 g of butter.
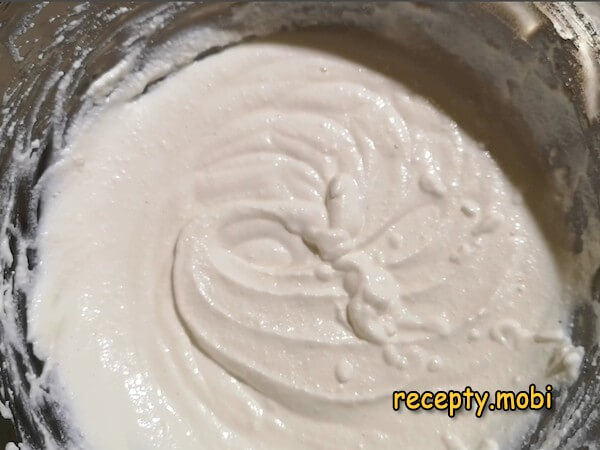
Next, the mixture needs to be brought to a smooth, uniform consistency. There are two ways to do this. 1) I put the mixture in the microwave for 15 seconds, take it out and stir everything, then microwave it again for 15 seconds and stir again. I repeat this several times until the mixture is completely smooth. 2) I stir the mixture over a water bath until smooth. No lumps should remain in the mixture.
I carefully separate the yolks from the whites. I put the whites in the fridge.

I add the yolks to the cooled cheese mixture and mix everything well.

I sift 60 g of flour into the cheese and yolk mixture, add one gram of vanillin, and mix everything to a smooth consistency. No lumps should remain.

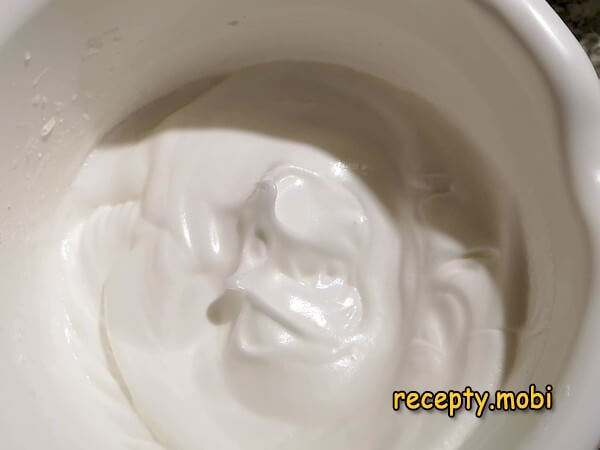
I pour the whites into a convenient bowl, add a pinch of salt, and beat until foamy. Then I gradually add the sugar and beat everything to soft peaks. To make sure the whites are beaten enough, I carefully turn the bowl upside down. It is important not to over-beat the whites, otherwise the Japanese dessert will turn out too dense.
I add a little of the whipped whites to the cheese mixture. I mix everything in with gentle movements. Then I add all the remaining whipped whites and mix to a uniform batter.

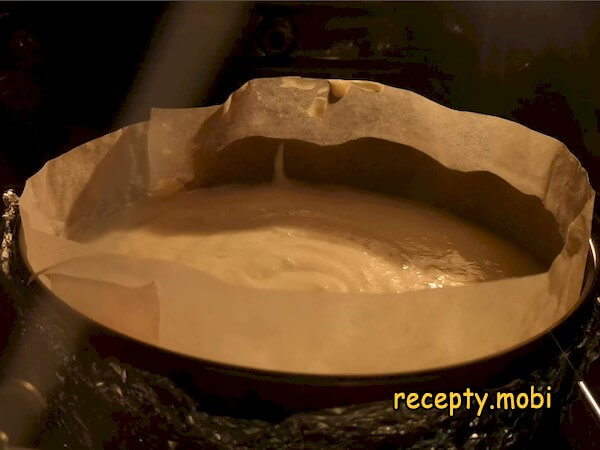
It is best to use a solid tin rather than a springform one. If you do not have a solid tin, cover the bottom of the springform tin well with several layers of foil. It is important that no moisture gets in through the bottom. I line the sides and bottom of the tin with baking paper and pour in the batter.

To distribute the batter evenly and remove large air bubbles, I dip a wooden stick into the centre of the batter and draw it in a spiral, with circular movements from the centre to the edges. To burst the large bubbles, I gently tap the tin on the table a few times. I pour water into a baking tray and put it in the preheated oven. I place a wire rack on top and set the tin with the batter on it. If you do not have a rack, put the tin into the tray with water. There should be about 2–3 cm of water.

I bake the cotton cheesecake at 140 degrees for 25 minutes, then reduce the temperature to 110 degrees and bake for another 60 minutes. I switch off the oven and leave the dessert in the closed oven for a further 20 minutes.
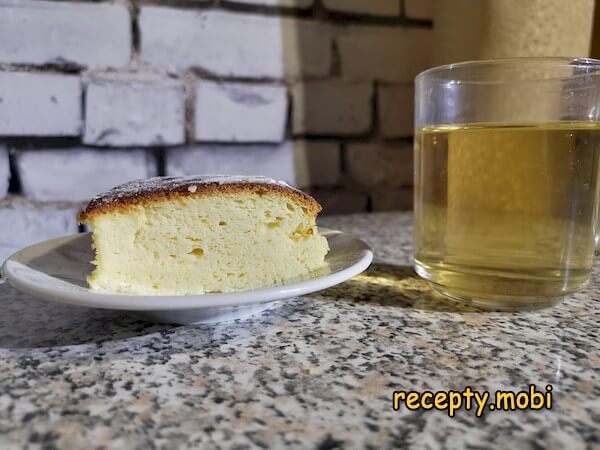
I take the dessert out of the oven and, once it has cooled enough, I remove it from the tin and dust it with powdered sugar.

The Japanese cotton cheesecake is ready. You can serve it right away, or put it in the fridge for a few hours – then it will become a little denser. After that, I cut it into pieces and serve.


Tips
- 1
A water bath in the oven is the "secret" to the cotton texture. Without the bath, the top will crack and the texture will be dense. Steam from the water keeps the moisture in, so the cheesecake stays "cottony".
- 2
Soft peaks for the whites are the "secret" to airiness. Stiff peaks give a dense texture. Soft peaks let the cheesecake rise evenly and stay fluffy.
- 3
Cooling it in a closed oven is the "secret" against sinking. A sudden change in temperature will make the cheesecake "deflate". Twenty minutes in the switched-off oven lets it cool gradually.
- 4
Foil under a springform tin is the "secret" against water getting in. Through the gaps in a springform tin, water from the tray will get into the batter and ruin it. The same principle works with other kinds of delicate cheesecakes.
Video
FAQ
Which cream cheese should I choose? +
A soft cream cheese such as Ricotta 40% or Philadelphia is ideal, as it gives a delicate texture. You can also use mascarpone, which is richer, or a 50/50 mix of ricotta and mascarpone. Do not use processed cheese, which will run, or salty cheeses and cheeses with herbs. For this dessert you need a soft, unsalted cream cheese.
What can replace 20% cream? +
You can use 33% cream diluted 50/50 with milk, or 20% sour cream. Avoid sweetened coffee cream. For a proper cotton cheesecake, use cream that is 20% fat or higher.
How long does the cheesecake keep? +
In the fridge, in a tightly closed container, it keeps for 3–4 days; any longer and the cheesecake loses its tenderness and the top sinks. Before serving, let it stand for 15–20 minutes at room temperature so it becomes soft and fragrant. In the freezer it keeps for up to 1 month; thaw it in the fridge for 8–10 hours. The cheesecake is at its best 4–6 hours after baking, once it has settled in the cold and the texture has stabilised, and on the second day the flavour is deeper. Do not leave it at room temperature for longer than 4 hours, as the egg-based mixture spoils quickly.
What do you serve Japanese cheesecake with? +
In the Japanese style, it goes well with green matcha or sencha tea. It is also good with a glass of milk, with fresh berries such as strawberries, raspberries or blueberries, with vanilla ice cream, or with a berry sauce made from raspberries or blackcurrants. A cup of latte or cappuccino works too. It is a light dessert that suits a tea party with guests.
- Comment
or post as a guest
Be the first to comment.


