
avg —
No-Bake Chocolate Biscuit Cake Without Gelatin
Instructions
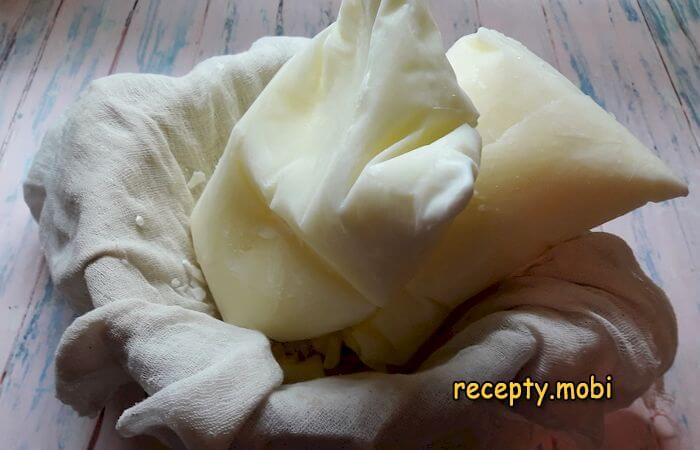
I freeze the kefir, then remove it from the packaging. I place the frozen kefir into a colander lined with 4 layers of cheesecloth.
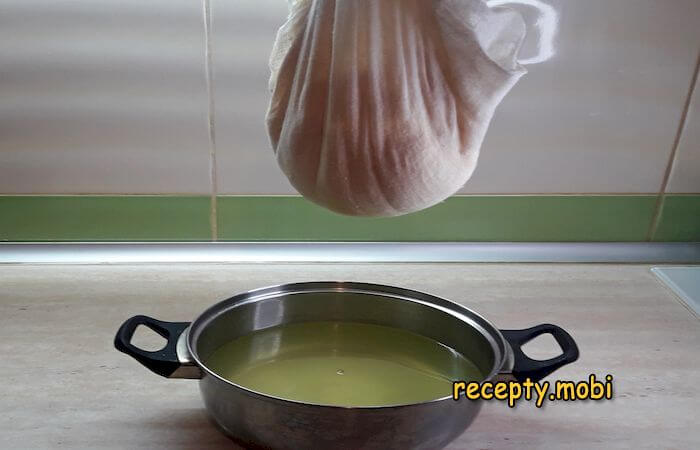
Once it has thawed, I hang the bundle with the contents for 4 hours so the whey can drain into a separate container.
To make the cottage cheese denser, I do not unwrap it but leave it under a light weight for another couple of hours.
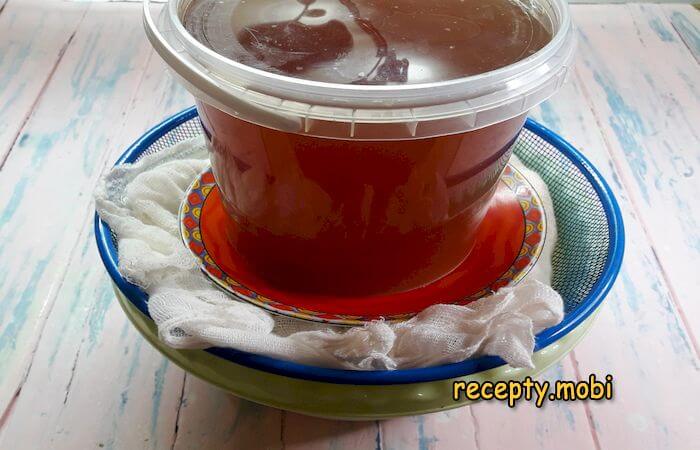
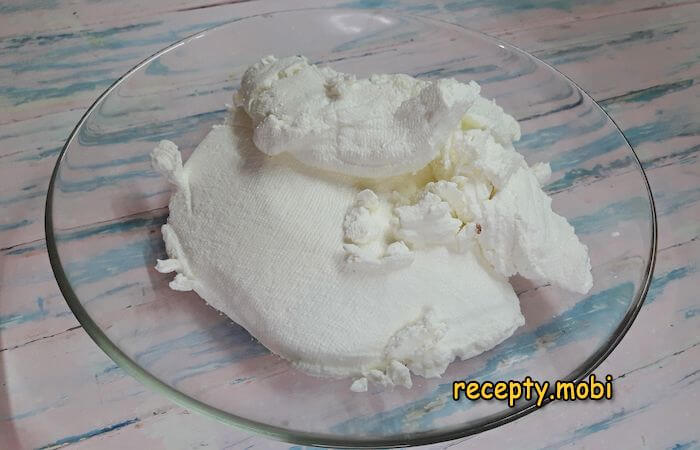
I take the tender paste-style cottage cheese out of the cheesecloth – its weight is roughly 400 g. The whey that has separated out can be used for pancakes or pies.
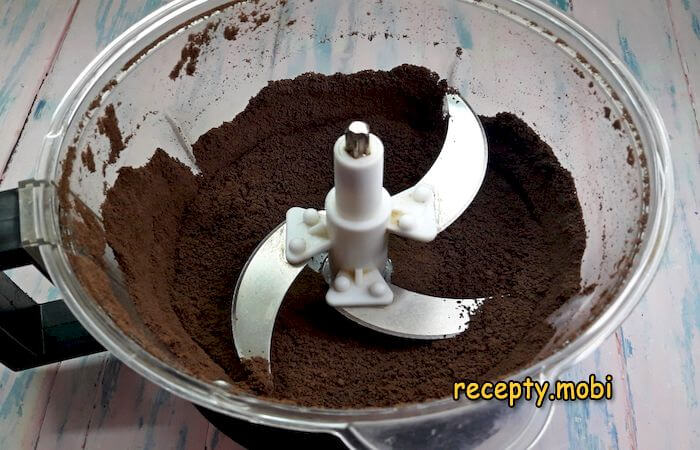
The fastest way to crush the biscuits is in a chopper. If you do not have one, you can crush the biscuits with a rolling pin while they are packed in a bag.
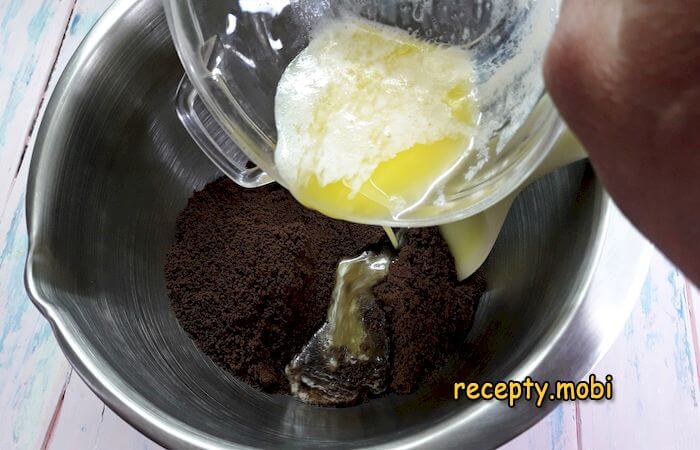
I add warmed butter to the crumbs. I rub everything together until smooth.
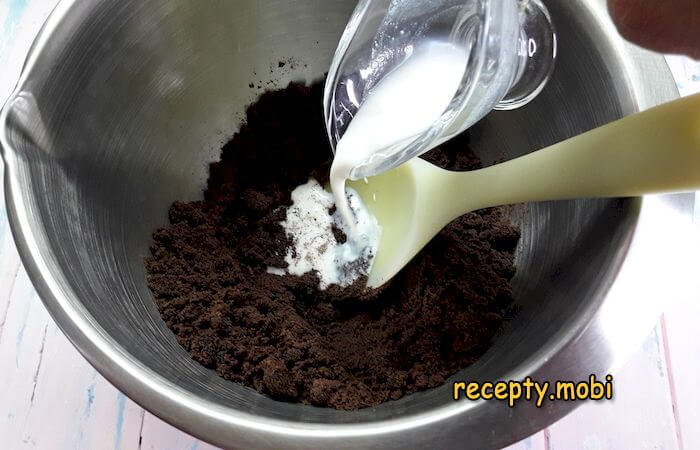
I pour in the milk. The structure of the base should become pliable, yet at the same time crumble easily when pressed.
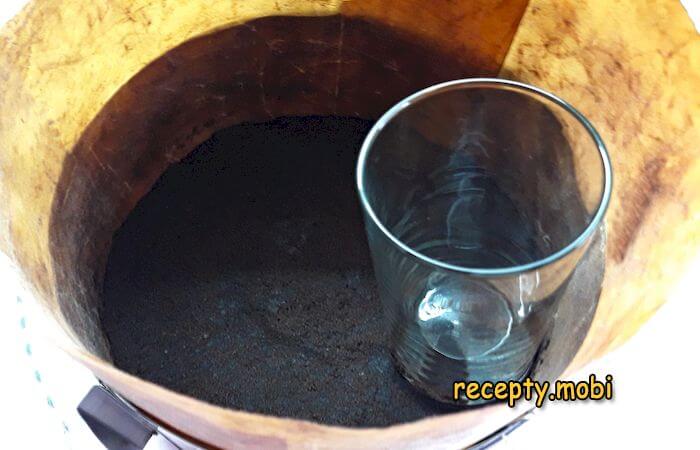
I line the sides of the mould with silicone strips or baking film. The diameter of the mould is 18 cm. I tamp the biscuit base down moderately with a flat object. I put the base into the refrigerator.
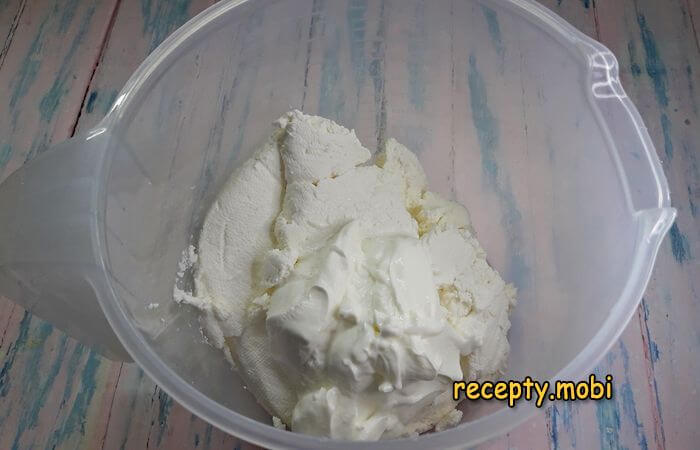
Meanwhile, I get on with the cream. I combine the cottage cheese with the sour cream.
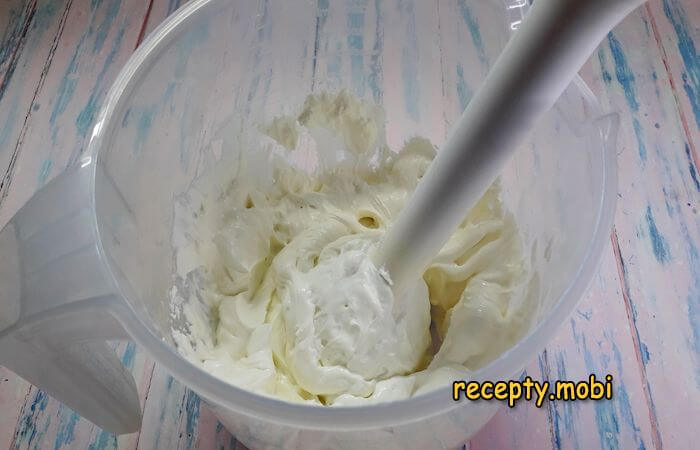
I blend everything with a blender until silky-smooth.
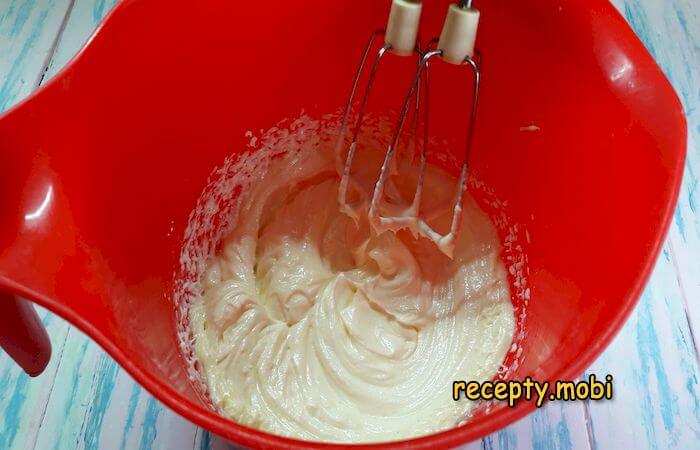
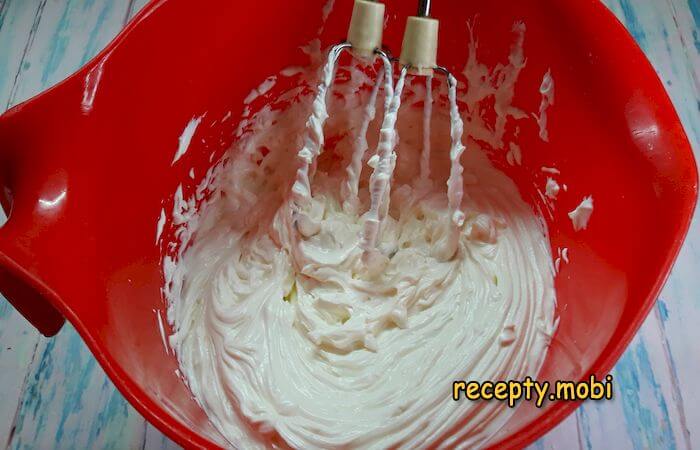
Separately, I whip the soft butter with the vanillin and powdered sugar. You should get a pale, airy mass.
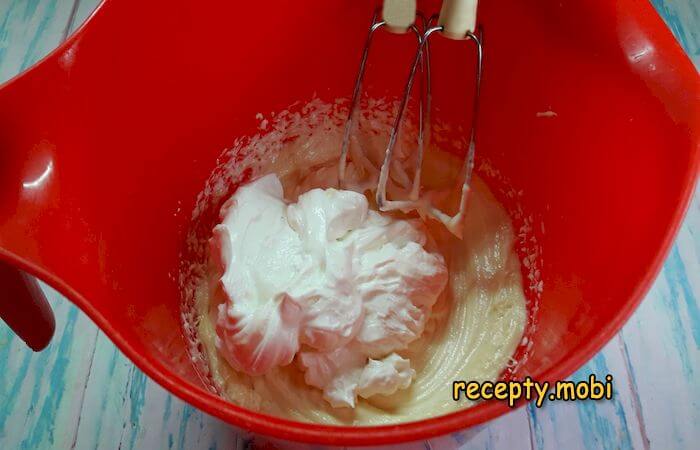
I add half of the cottage cheese mixture to it and switch the mixer back on.
After that, I combine everything with the remaining cottage cheese.
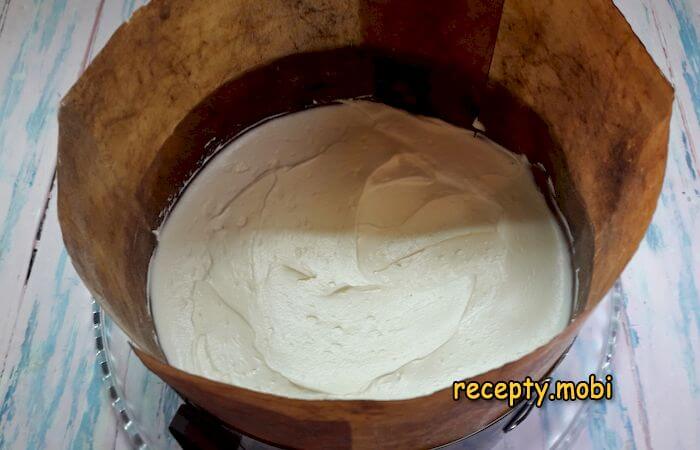
I spread the cream over the prepared shortbread base.
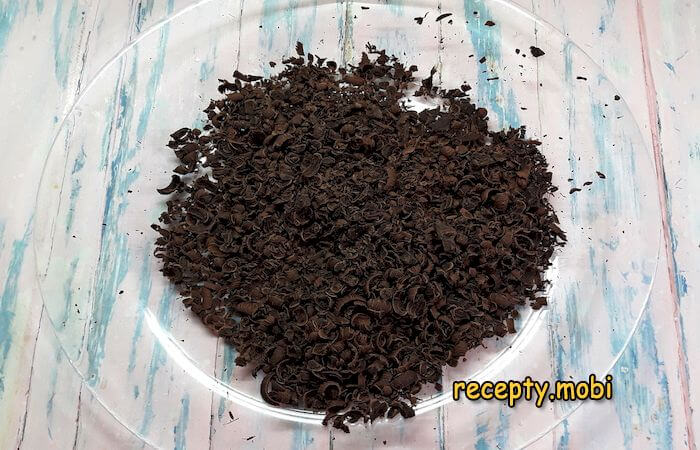
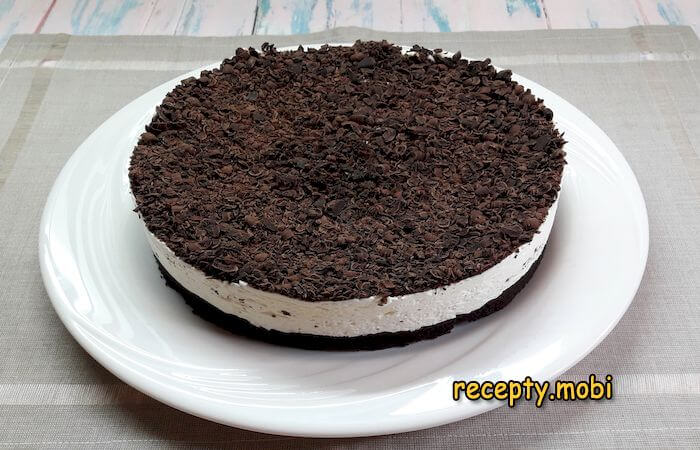
I grate the chocolate.
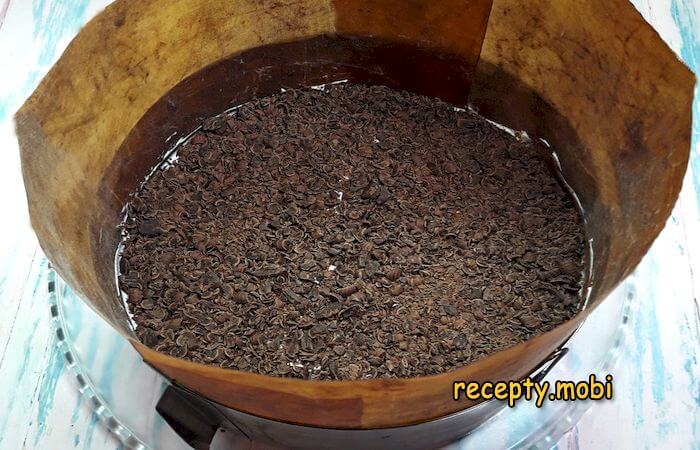
I sprinkle it over the cake and put it back into the refrigerator.
After 2 hours I remove the side film – and it is time to brew the tea.This quick-to-make no-bake chocolate biscuit cake without gelatin can be varied by adding some berries to the cream – strawberries, cherries, raspberries. But even without a filling this quick dessert leaves nothing to be desired – it is moderately sweet, with an airy, non-cloying cream and a shortbread base whose flavour echoes the chocolate-shaving decoration.Enjoy your meal!


Tips
- 1
PASTE-STYLE COTTAGE CHEESE is the key to a tender cream without grains. Shop-bought "soft" cottage cheese, or cottage cheese made from frozen kefir, is ideal.
- 2
BUTTER WITH 82.5% FAT – real butter, not a spread. Only this kind of butter gives the right texture and stability to a cream without gelatin.
- 3
SILICONE STRIPS or BAKING FILM are a must. Without them the cake will stick to the mould and you will not be able to remove it neatly.
- 4
AT LEAST 2 HOURS IN THE REFRIGERATOR – so the cream "sets". It is better to leave it overnight. A similar principle works in other no-bake cakes.
FAQ
Which biscuits should I choose? +
The ideal choice is shortbread biscuits with cocoa, for example chocolate-flavoured "Jubilee" biscuits, "Oreo" (without the cream), or "Savoiardi with cocoa". You can also use: ordinary biscuits such as "Maria" (in that case add 2 tablespoons of cocoa powder to the base), chocolate biscuits without filling, or sponge biscuits (like "Savoiardi"). Avoid: cream crackers (too salty) and shaped biscuits with a filling. For an "adult" version, add 1–2 teaspoons of Amaretto or Baileys liqueur to the base.
Can I make it without paste-style cottage cheese? +
You can, but it will need some processing. Blend ordinary 9% cottage cheese with 2–3 tablespoons of sour cream into a smooth paste. Rub it through a fine sieve twice and you will get a similar texture. To speed things up, use cream cheese (Almette, Violette) – it already has no grains, 300–400 g. Cottage cheese desserts such as "Danissimo" or "Rastishka" also work as a substitute. The main thing is that the cream should be smooth, without grains.
How long does the cake keep? +
In the refrigerator in a closed container – 3–4 days. The next day the flavour is brighter, as the base soaks up the cream. Without gelatin the cake depends on the cold – do not keep it at room temperature for more than 1 hour. It can be frozen (up to 1 month), but the texture becomes denser. Defrost it in the refrigerator for 6 hours. Best of all, make it in the evening and serve it the next day. For a festive table, decorate it with chocolate 3–4 hours before serving.
Which chocolate should I choose for decoration? +
Dark chocolate at 55–70% is the most "delicious" for decoration, a contrast with the tender cream. Milk chocolate is sweeter, for children's versions. White chocolate looks beautiful on a dark base. Make the grated chocolate "snowy" – grated on a fine grater. For "shavings", use a coarse grater. For a "restaurant" presentation, melt 50 g of chocolate and pour it over the top in a decorative pattern. For children, decorate with colourful sugar sprinkles. For a berry version, arrange fresh berries (strawberries, raspberries) plus grated chocolate.
- Comment
or post as a guest
Be the first to comment.


