
avg —
Cottage Cheese Cookies Roses with Meringue
Instructions
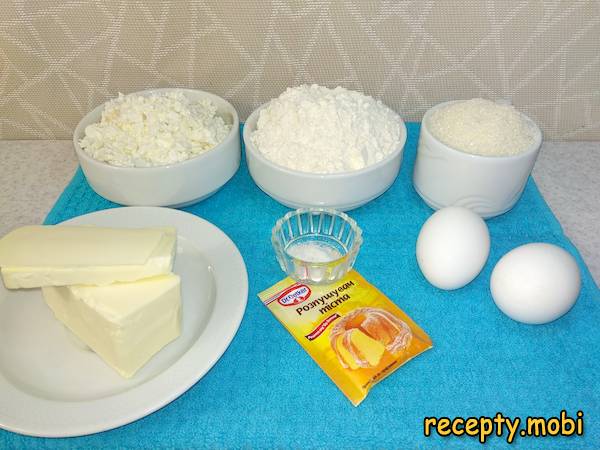
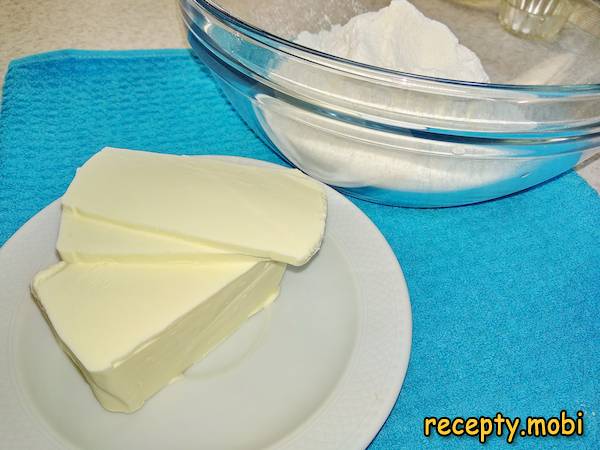
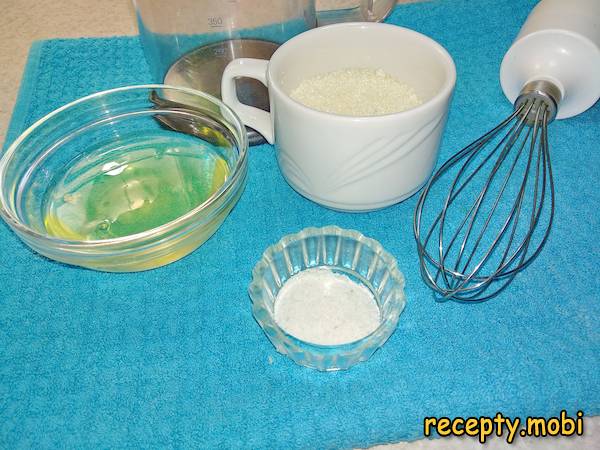
I prepare all the ingredients for making the cottage cheese cookies "Roses" with meringue. The cottage cheese can be of any fat content and any consistency. The butter must be very cold, straight from the refrigerator. The eggs should be at room temperature.
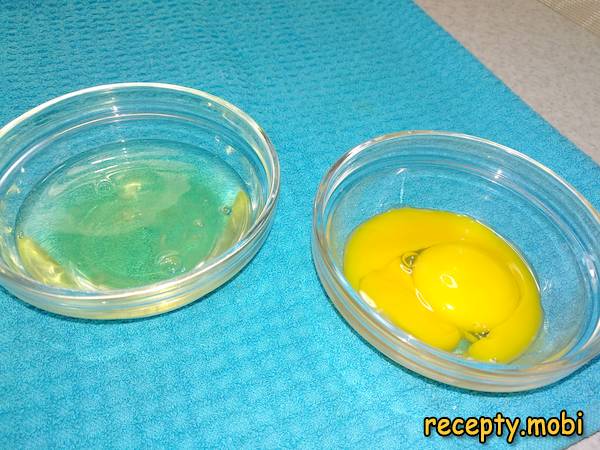
I separate the eggs into whites and yolks. Carefully – even a drop of yolk in the whites will keep them from whipping into meringue.
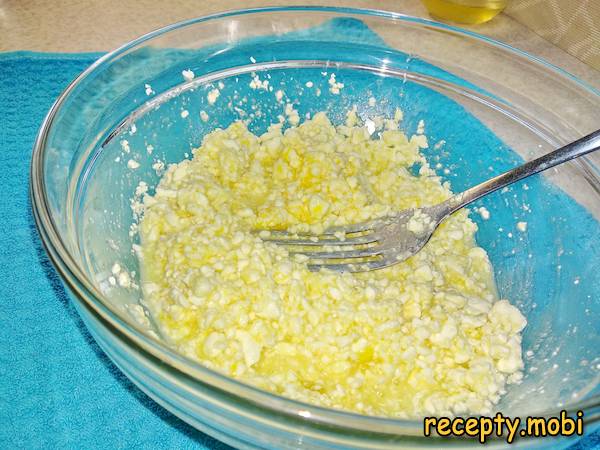
I put the cottage cheese, 100 g of sugar and the prepared yolks into a deep bowl. I mash everything until smooth with an ordinary fork.
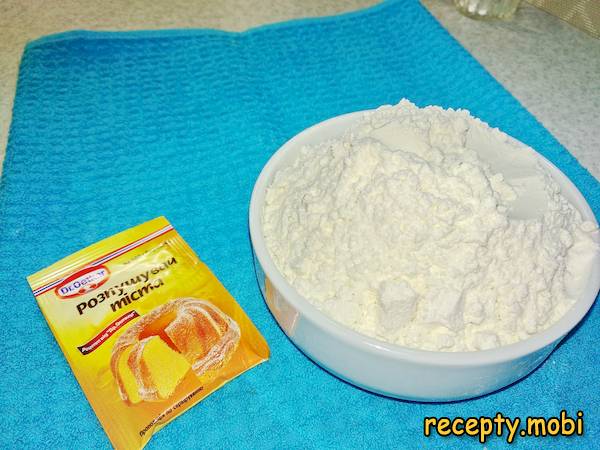
I add the baking powder to the flour. Mixing it through the dry flour is the "secret" to distributing the baking powder evenly through the dough.
I sift the dry ingredients into a large bowl. I take the butter out of the refrigerator – it needs to be COLD for the right dough texture.
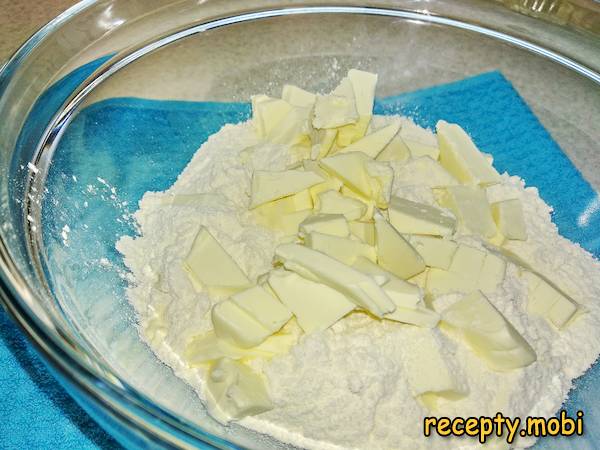
I finely chop the butter and transfer it to the bowl with the flour. Cold butter cuts into pieces and does not smear – that is important for a flaky texture.
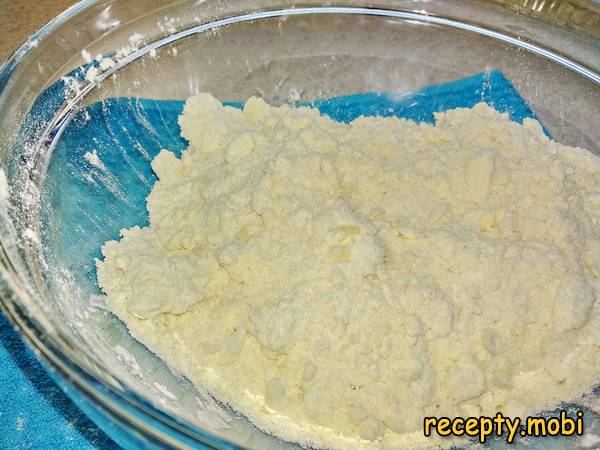
I rub the flour and butter into an even crumb. This is the "shortcrust" technique for the dough – it gives the characteristic crumbliness.
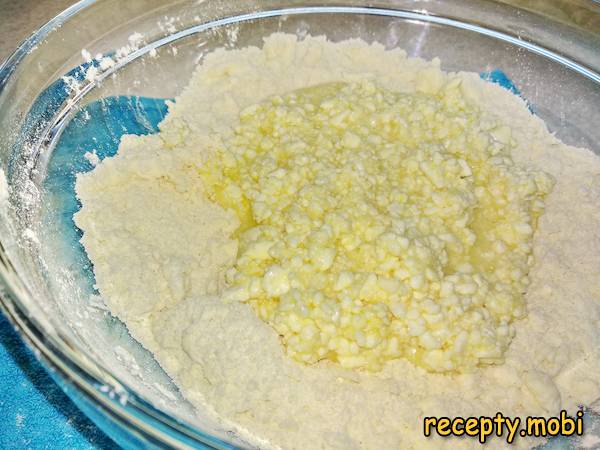
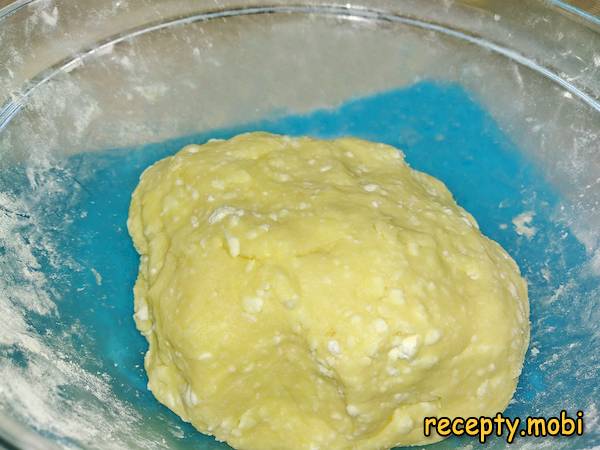
I transfer the cottage cheese mixture into the bowl with the flour. All the ingredients are brought together in one bowl.
I knead the dough. If small lumps of cottage cheese turn up in the dough, that is even more interesting. I put the finished dough into a bag and place it in the refrigerator for 20 minutes – this stabilises the structure.
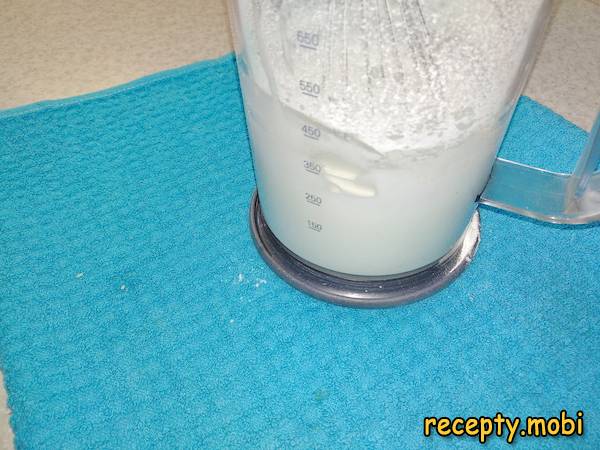
Meanwhile, I prepare the meringue. I put the prepared whites and a pinch of salt into the blender cup. I whip the whites into a foam. I add 100 g of sugar to the whites in small portions, continuing to whip at maximum speed.
The whites are whipped into a fluffy foam – "stiff peaks". This means the meringue is ready.
I take the dough out of the refrigerator and divide it into 2 parts. It is more convenient to work with halves.
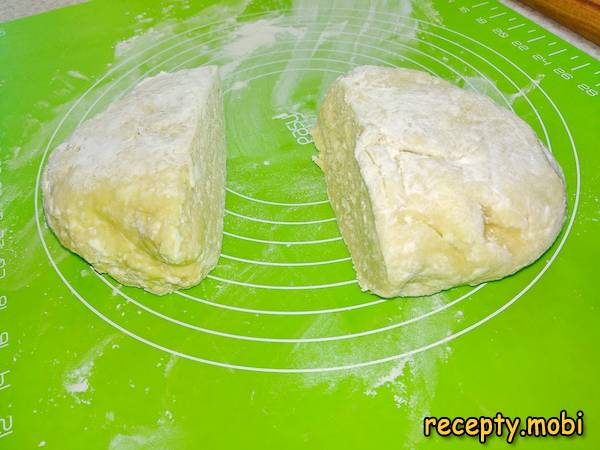
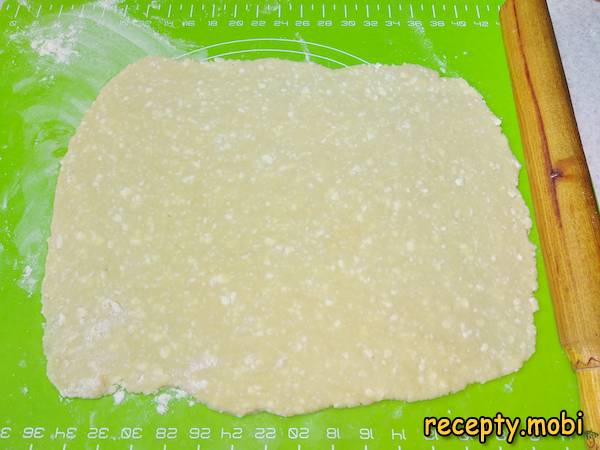
I roll one part into a rectangular sheet. I put the second part of the dough in the refrigerator for now. I roll the dough out to 5 mm – the ideal thickness for the roses.
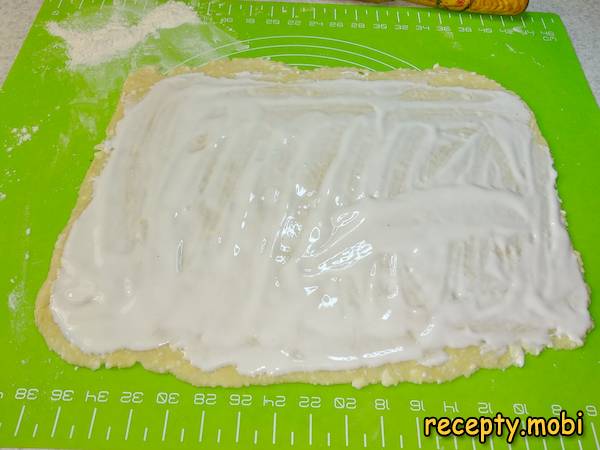
I spread half of the meringue over the rolled-out dough. I distribute it evenly with a spatula – so each rose will have a "sweet" layer.
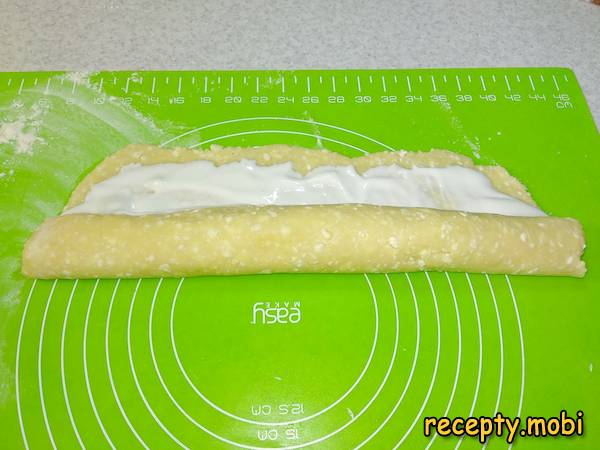
I roll it up into a not very tight log. Not tightly – so the meringue is not squeezed out.
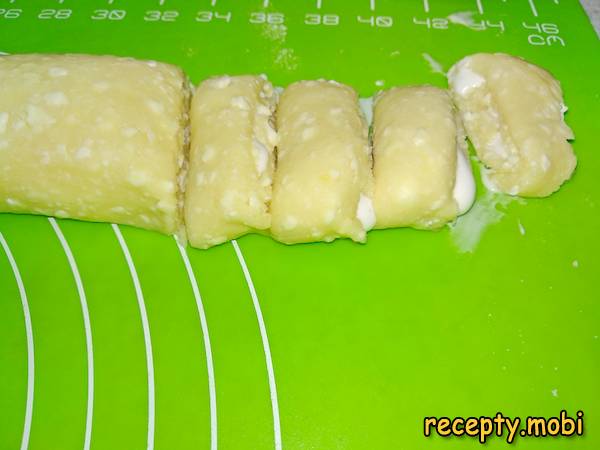
Using a knife, I cut circles 2 cm wide. These are the "roses" in cross-section.
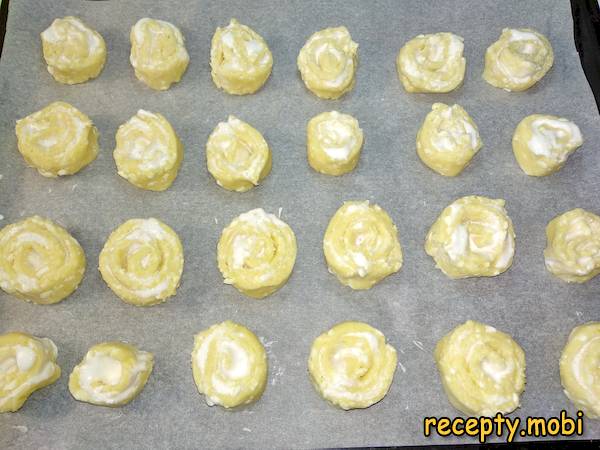
I round off each piece with my hands. I gently squeeze it from the sides to make a round shape.

I transfer them to a baking sheet. The distance between the roses should be at least 2-3 cm – they grow during baking. The oven is already preheated to 180 °C.
The cottage cheese cookies "Roses" are ready – they bake for up to 40 minutes. In the finished cookies, the cottage cheese lumps look like crushed nuts. I serve them with any drink: tea, coffee, compote or milk.


Tips
- 1
The butter must be COLD from the refrigerator – this is the "secret" to the right shortcrust texture. Soft butter will make the dough dense and heavy.
- 2
Roll the log up NOT TIGHTLY – otherwise the meringue will be squeezed out when you slice it. Loose rolling keeps the "rose" shape in cross-section.
- 3
The distance between the cookies is 2-3 cm – the "secret" to even baking. Too close and they will stick together. I use a similar principle with other kinds of cookies.
- 4
When separating the eggs, BE VERY CAREFUL – even a drop of yolk will keep the whites from whipping into meringue.
Video
FAQ
Which cottage cheese is best for the cookies? +
In this recipe you can use any cottage cheese – with a fat content from 0% to 18%. A fattier one (9-18%) will give a more "creamy" cookie, a low-fat one a "lighter" cookie. Grainy cottage cheese will also do – the small lumps in the finished cookies will be like a little highlight. Shop-bought cottage cheese in briquettes is ideal. Cottage cheese in packs (like a paste) also works. I do not recommend: cottage cheese product (with vegetable fats) and cottage cheese mass (with butter and sugar – it will add extra sweetness).
What can replace baking powder? +
Alternatives: slaked soda (1/2 tsp + 1/2 tbsp vinegar) – it gives a similar effect but needs to be controlled; a mix of self-raising flour and plain flour (125 g each) – self-raising flour contains its own leavening; without baking powder – the cookie will be "dense" but still tasty (only the texture will change). Baking powder is the most convenient and reliable option. Buy it fresh: old baking powder loses its strength after 6-12 months.
How long do the finished "Roses" keep? +
In an airtight container at room temperature – 5-7 days. In the refrigerator – up to 10 days. If the cookies have gone soft, warm them in the oven for 2-3 minutes at 100 °C and they will regain their crispness. They can be frozen for 1-2 months – defrost in the refrigerator for 2-3 hours. Before serving you can warm them slightly – fresh, warm "Roses" are especially tasty.
Can the meringue be replaced with another filling? +
Yes, the options are: jam (apple or apricot butter that is not too runny), jam, nut paste (Nutella or peanut butter), boiled condensed milk, poppy seed filling, chopped marmalade, grated chocolate. Each substitute will give its own character: meringue is airy and crispy, jam is sweet and juicy, chocolate is rich. For classic "Roses" it is meringue. For variety, try the alternatives one by one.
- Comment
or post as a guest
Be the first to comment.


