
avg —
Easter Cake in a Slow Cooker
Instructions
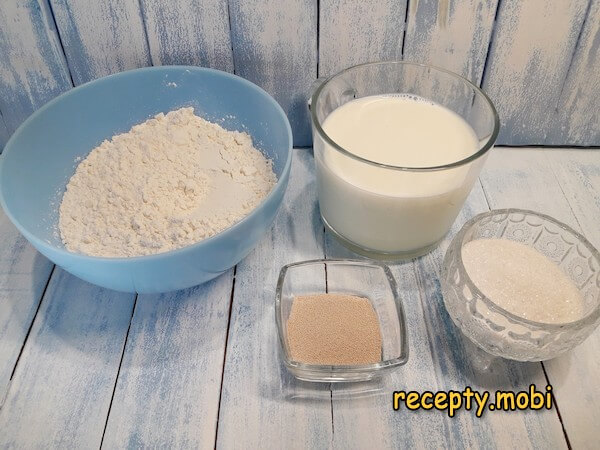
Prepare the ingredients for the sponge. The flour should be of the best quality. Dry yeast can be replaced with fresh yeast, of which you will need three times as much, that is 30 g.
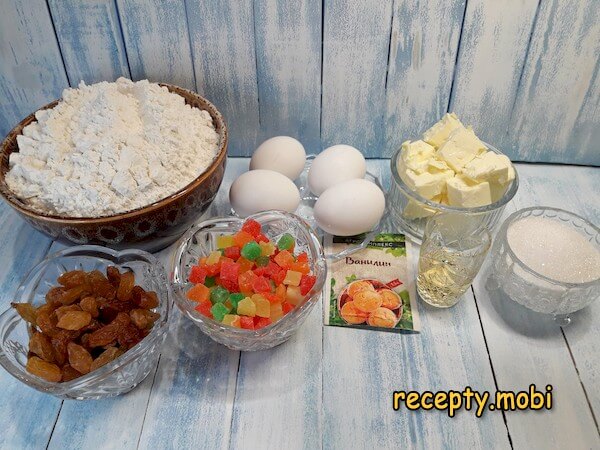
Gather all the dough components as well. Cut the butter into cubes so it softens to room temperature more quickly.
In a large bowl, stir the sugar together with the yeast, then add the milk warmed to 35–40 °C.
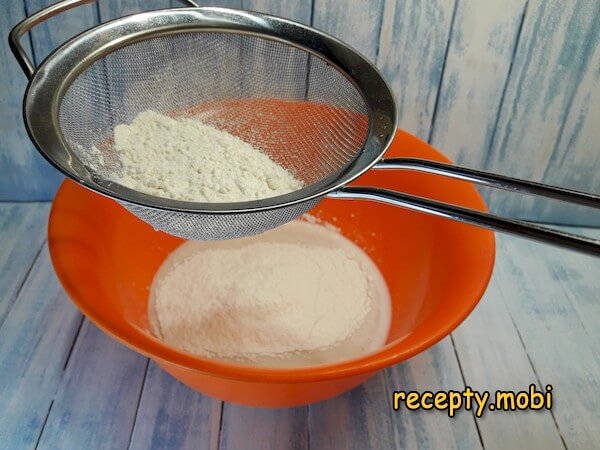
Sift the flour into the same bowl.
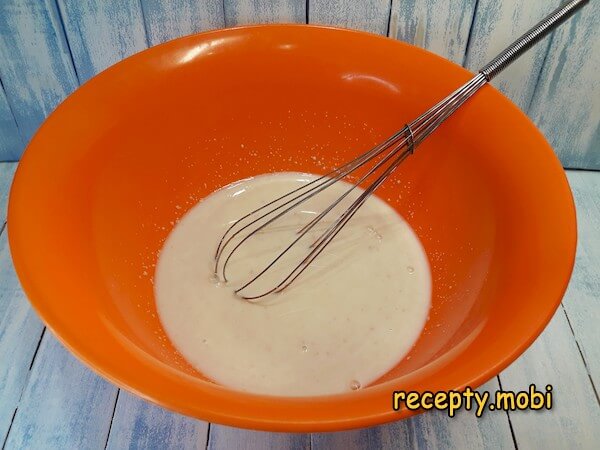
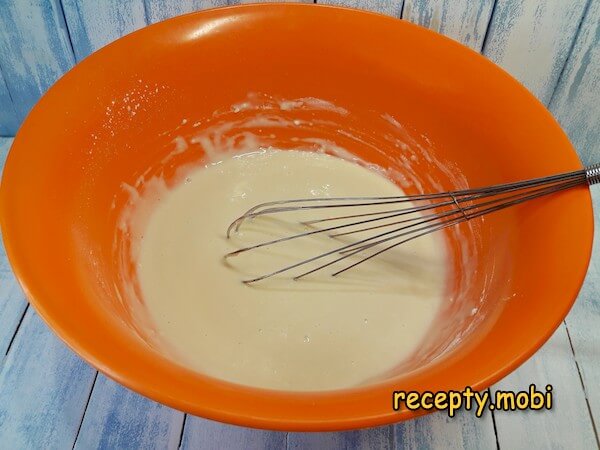
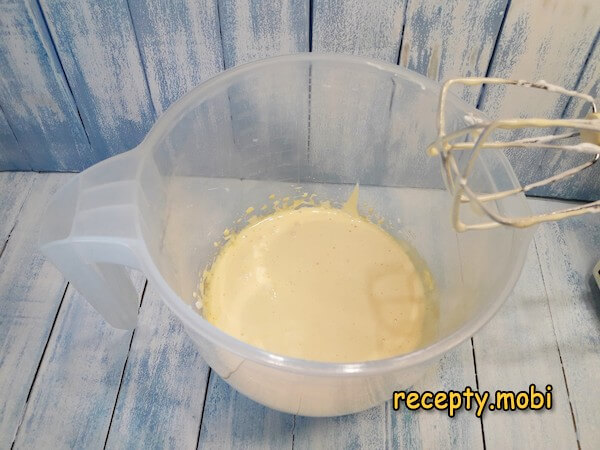
Whisk the sponge until the lumps disappear. Cover the bowl with a lid and leave it in a warm spot for half an hour.
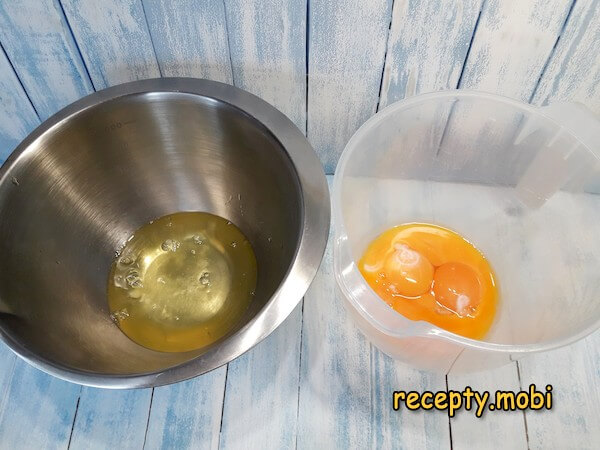
Meanwhile, set about making the dough. Separate the whites from the yolks, placing them in deep bowls for whisking.
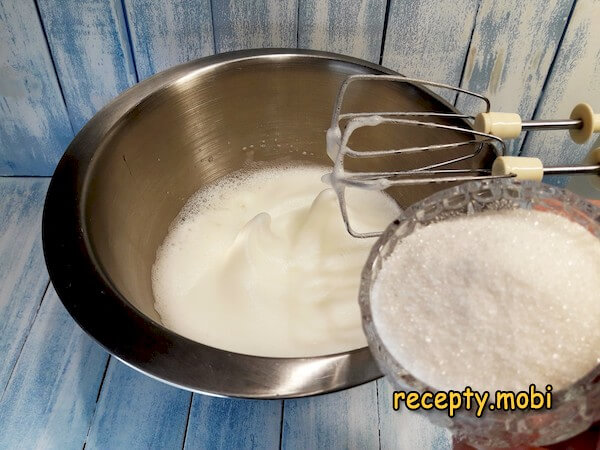
To stabilise the whites better, add a pinch of salt to them. Beat everything with a mixer until a light foam forms. Then pour in half of the stated amount of sugar.
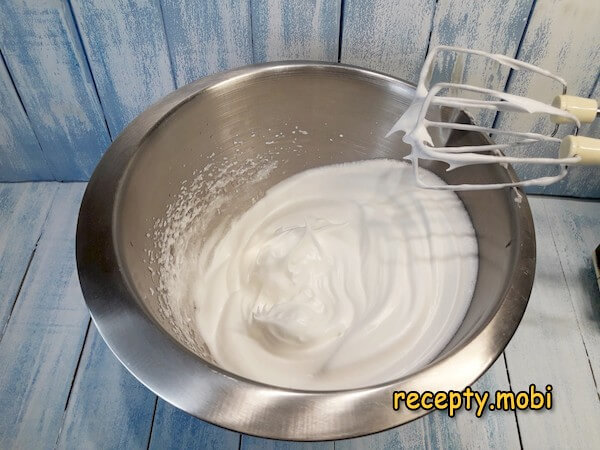
This time beat until stiff peaks form.
Tip the remaining sugar and the vanillin into the yolks. You can use the mixer with the same whisks that still have egg white on them. But unlike the yolks, the whites must be beaten only with perfectly clean and dry whisks. The beaten yolks should turn pale.
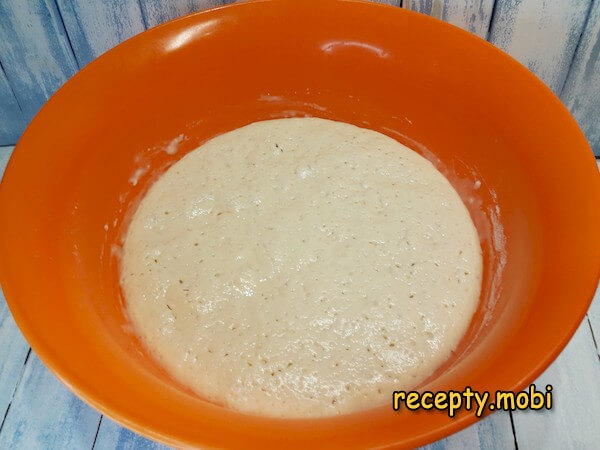
In the stated time the sponge will rise noticeably.
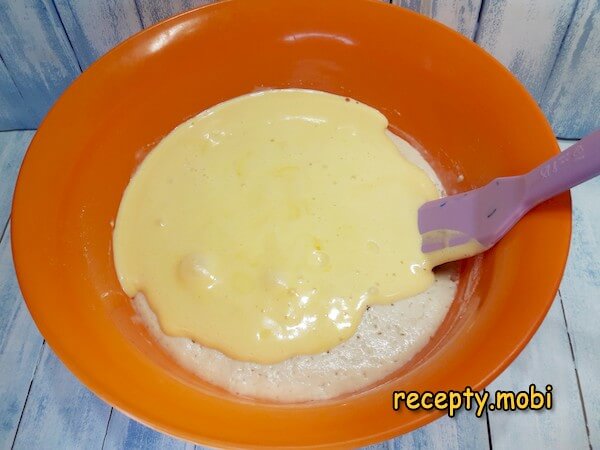
Transfer the beaten yolks into it and stir.
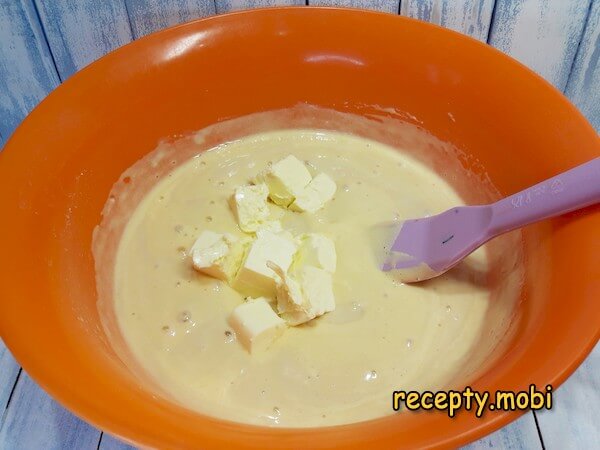
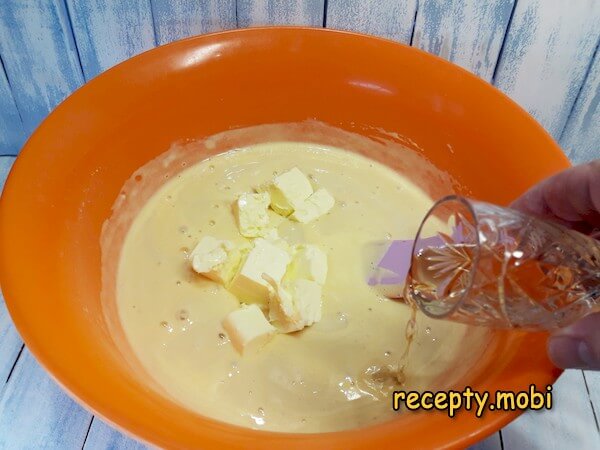
Add the softened butter to this mixture.
Pour in the rum.
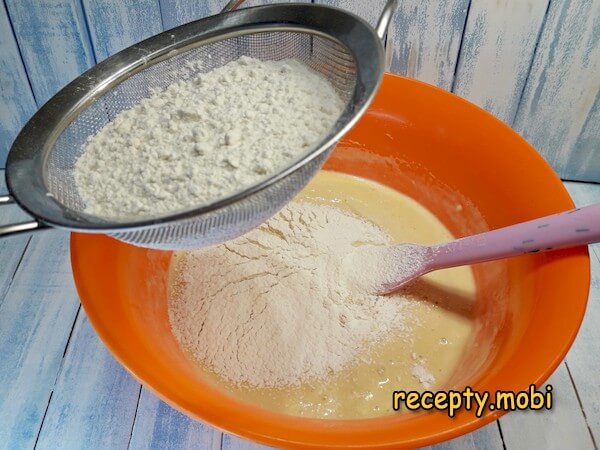
Sift a third of the flour into the same bowl and stir.
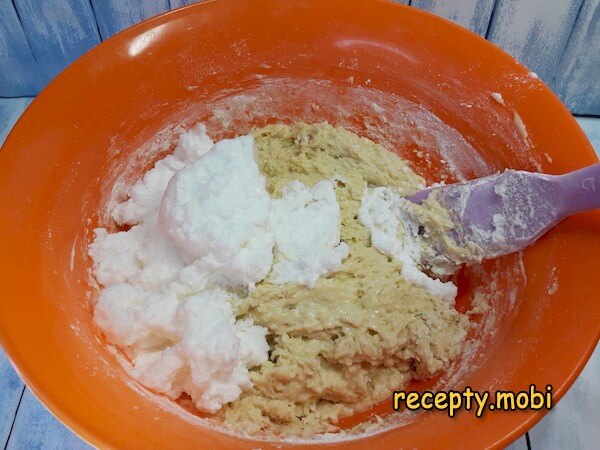
Now add the fluffy whites in batches, stirring the mixture after each addition.
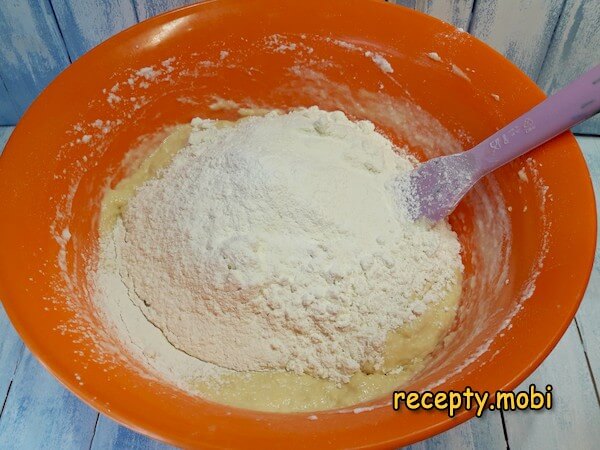
Sift the rest of the flour into the resulting mass, not all at once but in parts. Stir everything with a spoon. The dough should turn out sticky, but do not add any more flour, otherwise the cake will be heavy, dense and have little of its airy crumb.
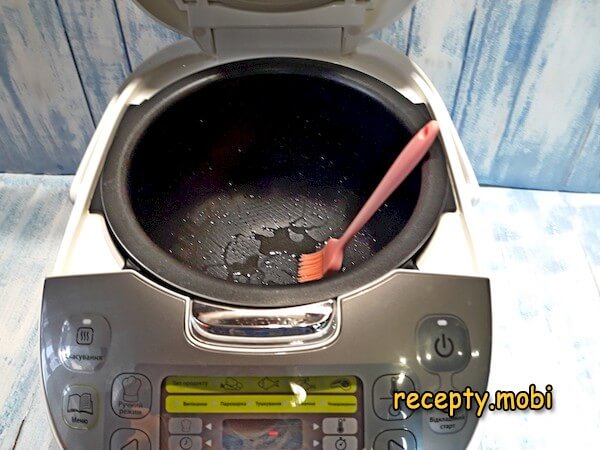
Grease the slow cooker bowl with refined oil.
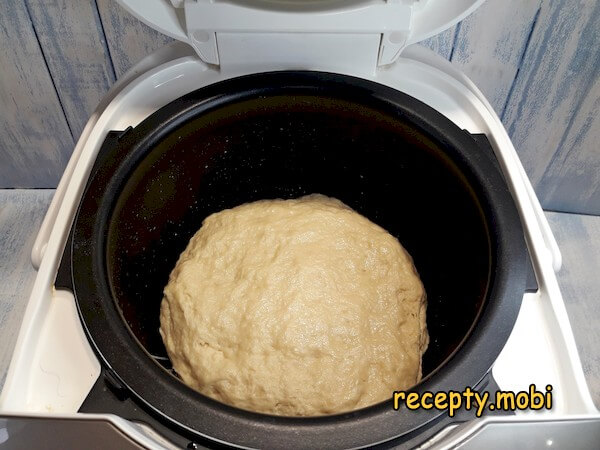
Shape the dough into a round and set it in the bottom of the slow cooker.
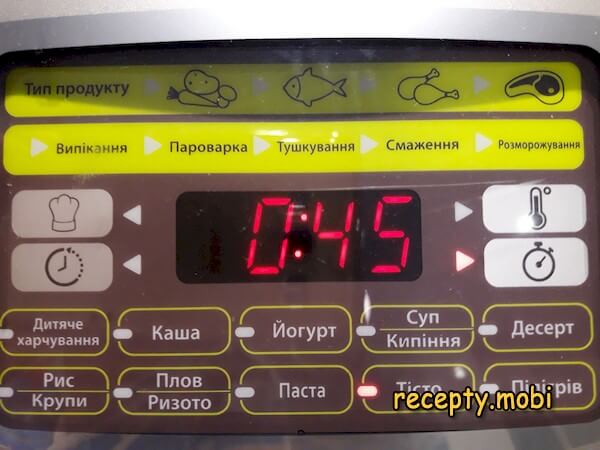
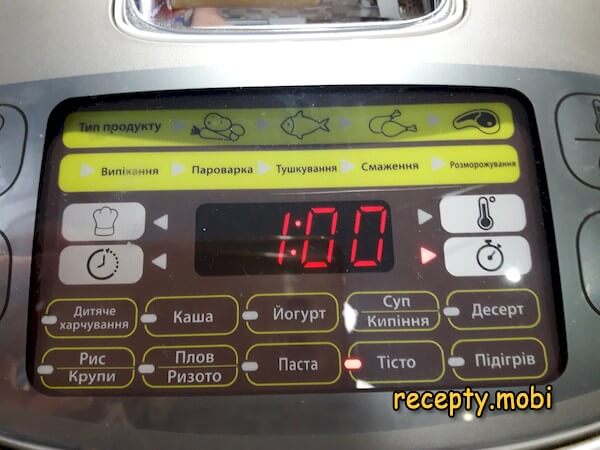
Close the lid and select the Dough mode for proofing. On other models this may be Heating, Yogurt or Multicook. The default temperature of these modes is 35–40 °C, and I set the time to 45 minutes.
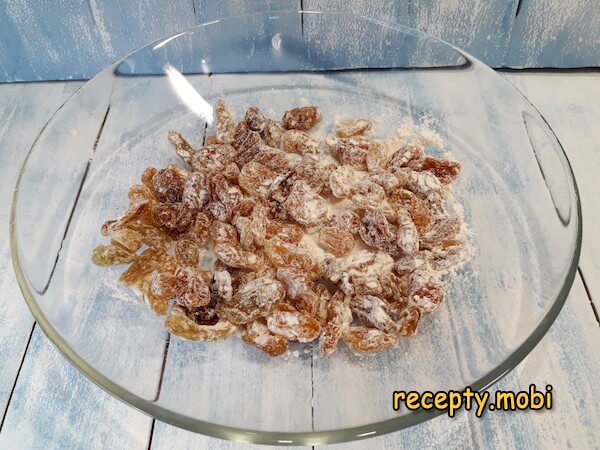
Meanwhile, pour boiling water over the raisins and leave them to dry on paper towels.
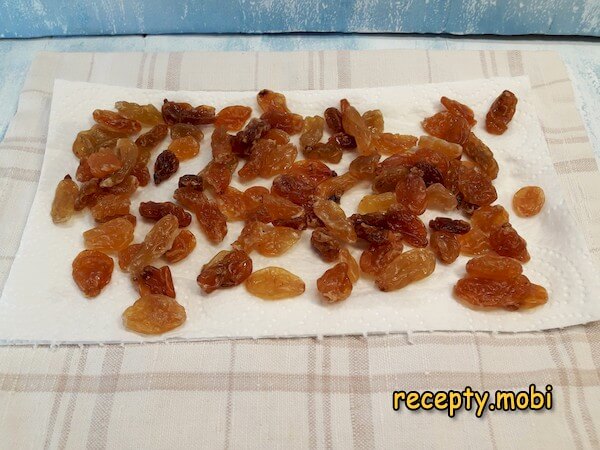
Once they have dried, toss the berries with a little flour so they spread evenly through the dough.
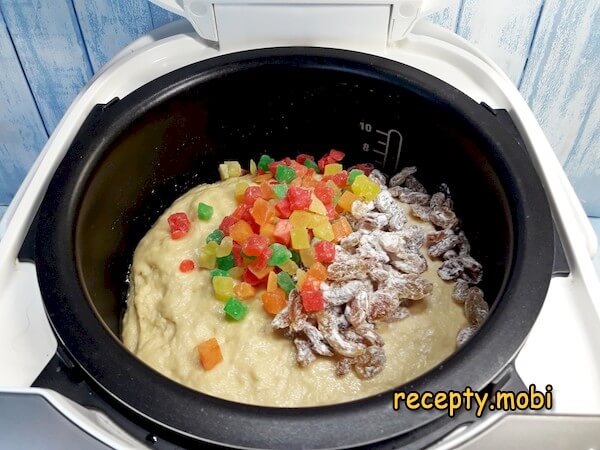
In the stated time the dough has doubled in size.

Add the raisins and candied fruits to it.
Grease your hand with vegetable oil and mix all the contents of the bowl, trying to spread the filling evenly through the dough.
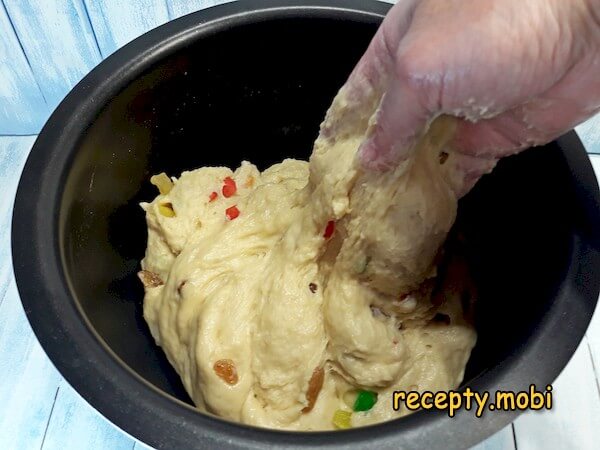
Shape the dough into a round and close the slow cooker lid.
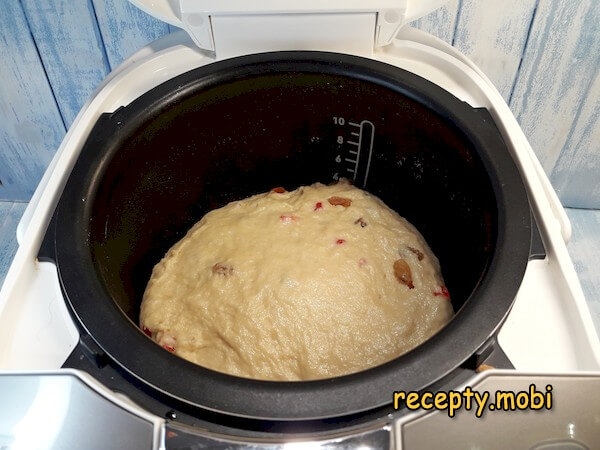
Leave the dough for a second proofing. Set the Dough mode again, but this time set the time to 1 hour.
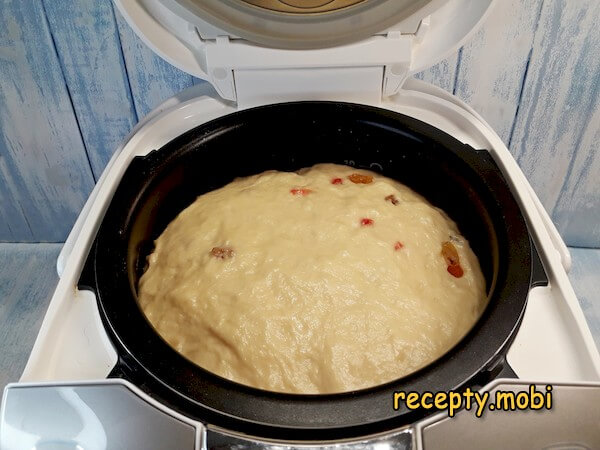
As a result the dough has risen well, roughly threefold.
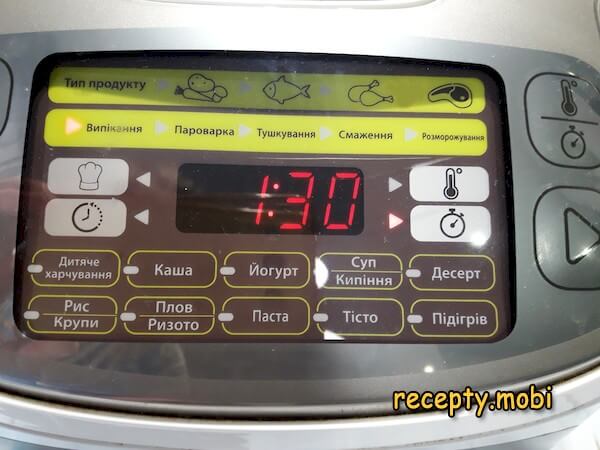
Close the slow cooker and set the Baking program, time – 1.5 hours, temperature – 140 °C.
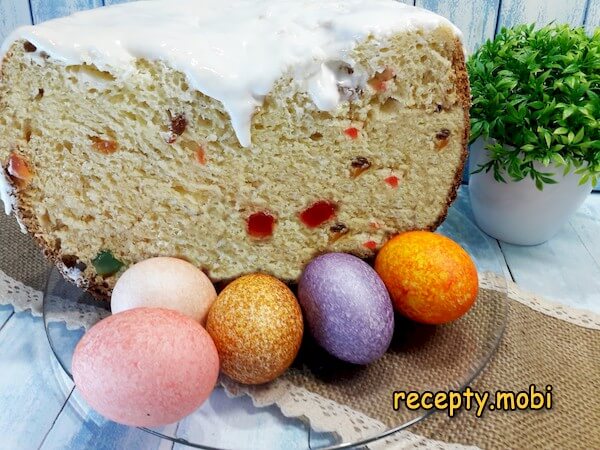
When the set time is up, do not open the lid straight away; leave the bake to stand for another 20 minutes. After this the Easter cake in the slow cooker will be ready. From a model with a cylindrical bowl it comes out easily, but from one that tapers towards the top it is easier to do with a helper, who presses the soft walls of the cake slightly inward so the cake slides out of the form by itself. You can decorate the cake with the traditional egg-white icing.


Tips
- 1
TWO PROOFINGS are the secret to a light texture. With a single proofing the crumb is dense. After two (45 minutes + 1 hour) it is porous and tender, like an Italian panettone.
- 2
BAKING AT 140 °C FOR 1.5 HOURS is the secret to even baking. At 180 °C the top would burn while the bottom stayed raw. At 140 °C the slow cooker bakes the cake through evenly.
- 3
OPEN AFTER 20 MINUTES is the secret to keeping it from collapsing. A sharp difference in temperature would make the cake sink. Gradual cooling under the lid helps it hold its shape.
- 4
RUM IN THE DOUGH is the secret to the aroma. Without alcohol you get an ordinary cake. With rum, cognac or whiskey you get a deep, spiced aroma that soaks into the crumb. The same principle works in other kinds of Easter cakes.
FAQ
Which slow cooker modes are suitable? +
The ideal choices are the Dough mode (35–40 °C for proofing) and the Baking mode (140 °C). Alternatives for proofing are Heating, Yogurt or Multicook set to 35–40 °C. For baking you can use Bread, Pies, Cake or Sponge at 140–150 °C. Not suitable are modes above 180 °C (the cake will burn on top), Frying and Stewing. Redmond, Polaris and Philips are tried-and-tested slow cooker brands. If there is no Dough mode, use Heating, as the temperature is right. For a classic slow cooker cake, low temperatures are a must.
Can it be baked without a slow cooker? +
Yes, in an ordinary oven. The dough is the same; fill the moulds one third full, proof for 1.5 hours in a warm place and bake for 30–40 minutes at 170 °C. If the cake browns quickly on top, cover it with foil. To check it is done, insert a skewer, which should come out dry. You can also use a bread maker with a Cake or Sweet Bread mode. Homemade cake moulds are made following a separate recipe. For a classic result, an oven with temperature control of 140–180 °C is a must.
How long does the cake keep? +
In an airtight box or bag at room temperature it keeps for 5–7 days. In the fridge, wrapped in film, it keeps for up to 10 days (but it becomes less aromatic). Before serving, let it stand for 30 minutes at room temperature. In the freezer (without glaze) it keeps for up to 2 months; thaw it for 8 hours in the fridge, then apply the glaze. A fresh cake is at its best one day after baking (once it has settled). On the second or third day the aroma opens up. Do not leave it out unwrapped, as it will dry out within a day.
What to serve the cake with? +
The Easter classics are coloured eggs and a curd paskha. It goes with a cup of black tea with lemon, a glass of Cahors wine, a glass of freshly squeezed juice, a cup of coffee with milk, berry jam or preserve, 25% sour cream, condensed milk, fresh fruit, a cup of herbal tea with mint, a milk liqueur, or hot cocoa with marshmallows for children. For an Easter breakfast it is a universal choice. It is festive baking for Bright Easter.
- Comment
or post as a guest
Be the first to comment.


")