
avg —
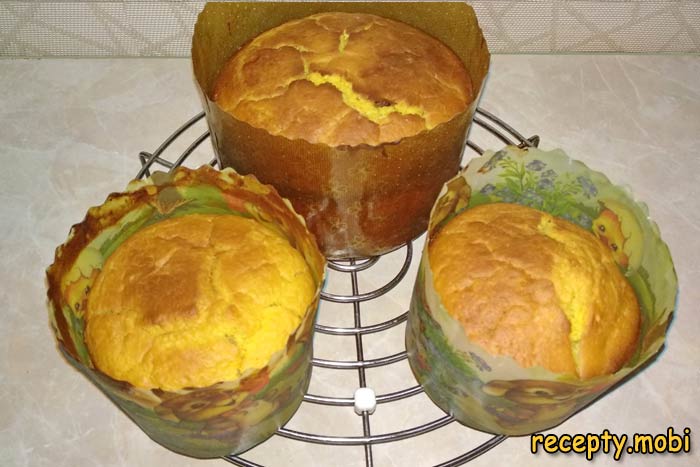
Easter Cake with Orange Zest and Juice
Instructions
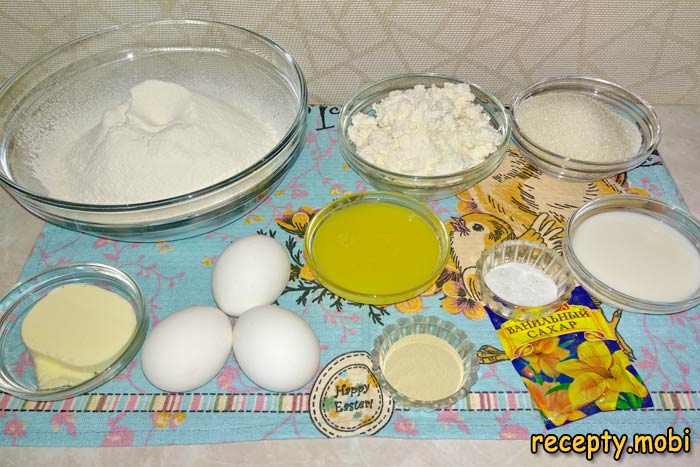
I get all the products ready an hour before I start – they should be at room temperature (18-22°C). Cold products slow down the activation of the yeast and the dough will rise poorly. Take the cottage cheese, eggs and butter out of the fridge in advance. The flour should be dry and free of lumps – sift it through a sieve for airiness.
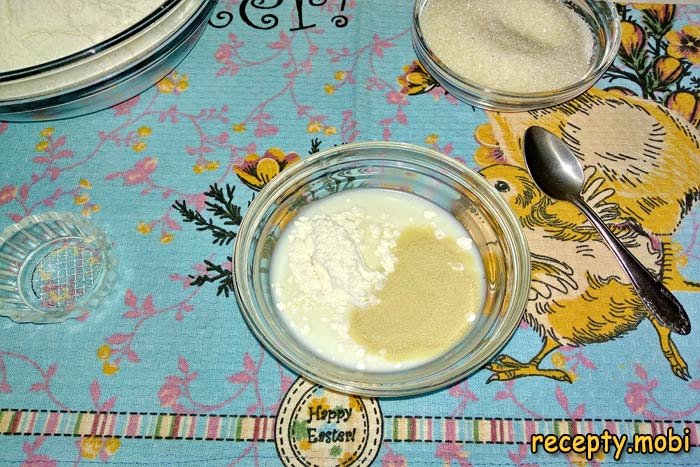
I make the sponge: in a small bowl I mix the warm milk (60 ml, at 36°C – “body” temperature), the fresh yeast (25 g), 1 tablespoon of flour and 1 teaspoon of sugar. I whisk thoroughly until smooth. The sponge gives the yeast a head start – it activates and the dough rises twice as fast.
I cover the bowl of sponge with film and put it in a warm place without draughts – ideally inside a switched-off microwave next to a cup of hot water. After 15-20 minutes the sponge will be covered with bubbles and foam – a sign the yeast has “activated”. Without this foam the yeast is dead, so start again.

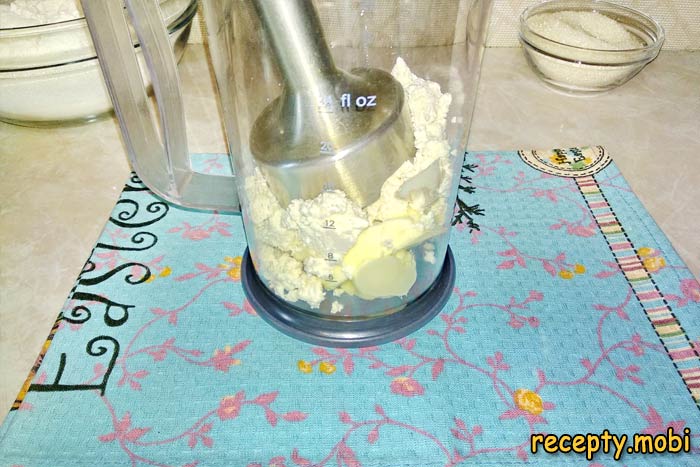
I put all the cottage cheese (200 g) and the soft butter (60 g) at room temperature into a blender cup. The cottage cheese should be homogeneous – without large lumps or excess whey. The quality of the cottage cheese affects the final result, so use a fresh product with no signs of souring.
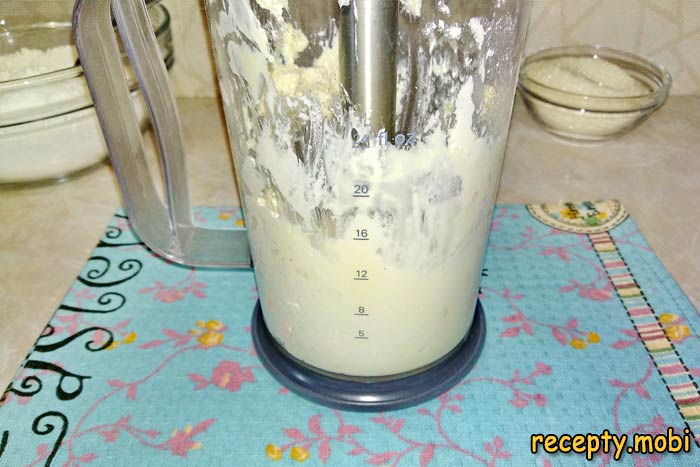
I blend the cottage cheese with the butter for 1-2 minutes until completely smooth and creamy – with no grains of cottage cheese left. A smooth cottage cheese mass gives a tender dough without “graininess”. If you have no blender, rub the cottage cheese thoroughly through a fine sieve and mix it with the butter using a fork.
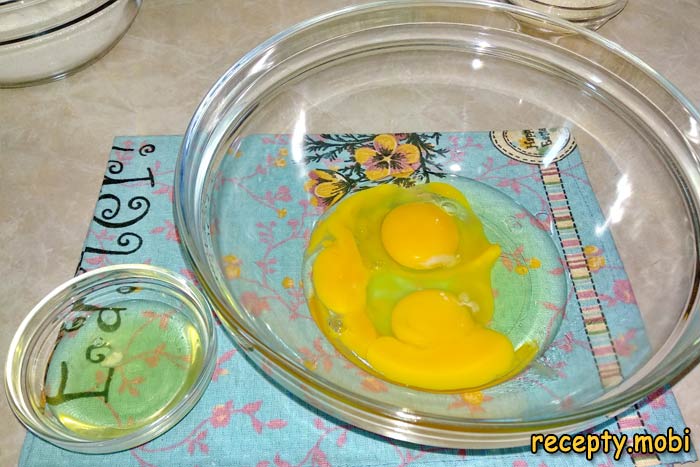
Into a large mixing bowl I crack 2 whole eggs and 1 yolk at room temperature. Warm eggs whip into a fluffier foam – they give the dough airiness. The extra yolk also gives the finished cake a lovely yellow colour and tenderness.
I add salt (1/2 tsp), vanilla sugar (2 tsp) and a pinch of turmeric for a nice colour (optional) to the eggs. I beat thoroughly with a mixer for 2-3 minutes until light and foamy – the egg mass should turn pale and double in volume.
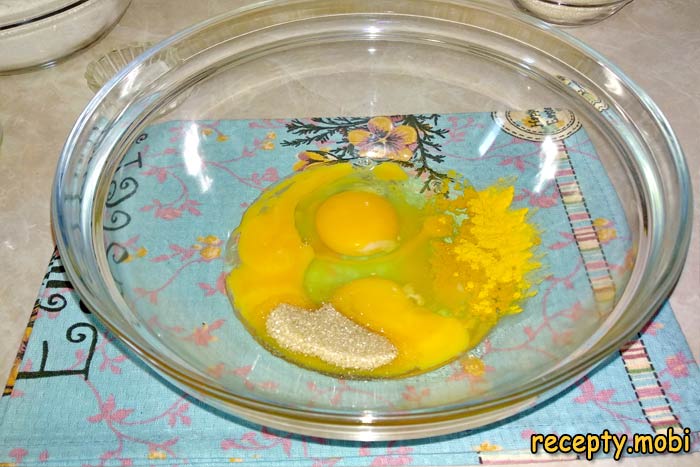
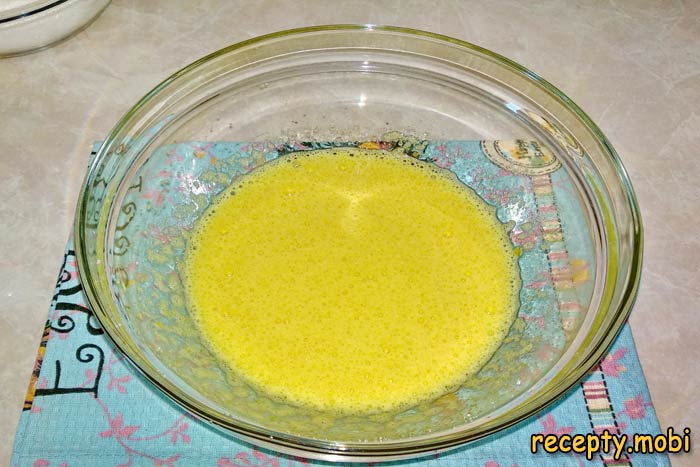
I gradually add the sugar (150 g) in a thin stream while continuing to beat with the mixer – the sugar should dissolve completely in the eggs. The finished mass should be fluffy, pale yellow and uniform. Do not overdo it at this stage – the eggs will “collapse”.
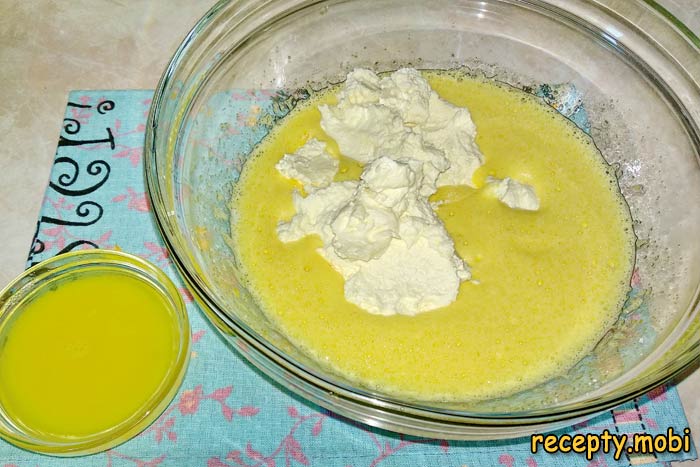
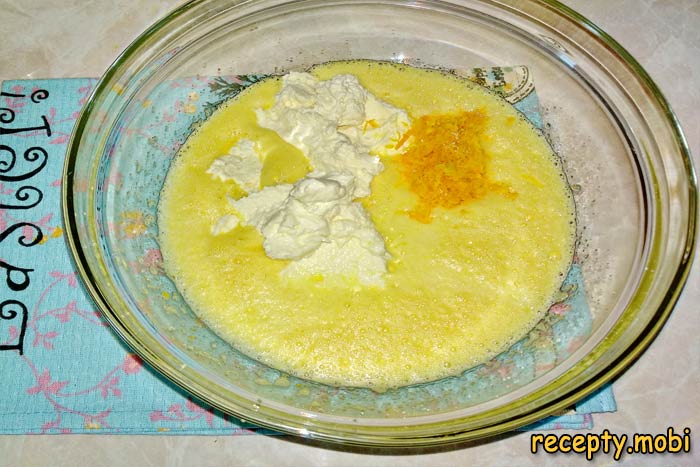
I add the whipped cottage cheese and butter mass to the eggs and mix thoroughly. Then I pour in the freshly squeezed juice of 1 orange (about 100 ml) – it gives the dough juiciness and aroma. Use a fresh orange, not shop-bought juice – the natural essential oils will come through in the bake.
I grate the zest of one orange on a fine grater – ONLY the orange part of the peel, not the white (which gives bitterness). Gently “shave” off the coloured layer without going into the white pith. I add the zest to the dough – it gives the cake its characteristic “orange” aroma.
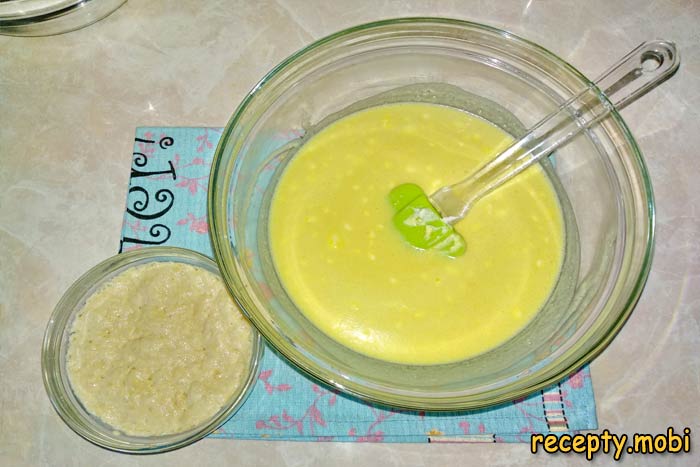
I carefully mix the whole mass until uniform and add the risen sponge. The sponge should be bubbly and increased in volume – this is the “active” yeast, ready to work in the dough. I mix from the bottom up so as not to “knock” the air out of the yeast.
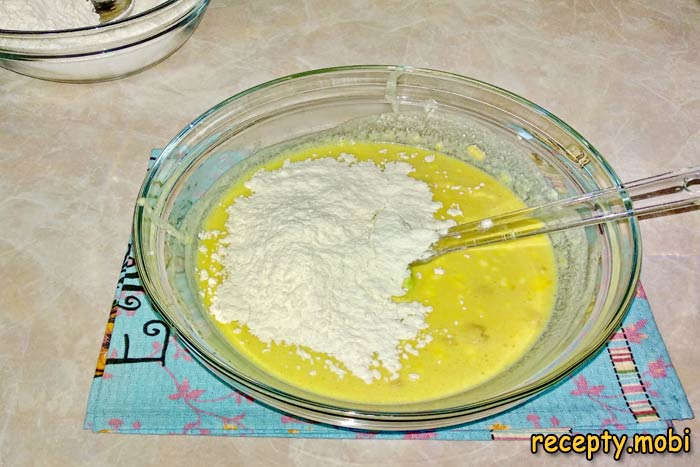
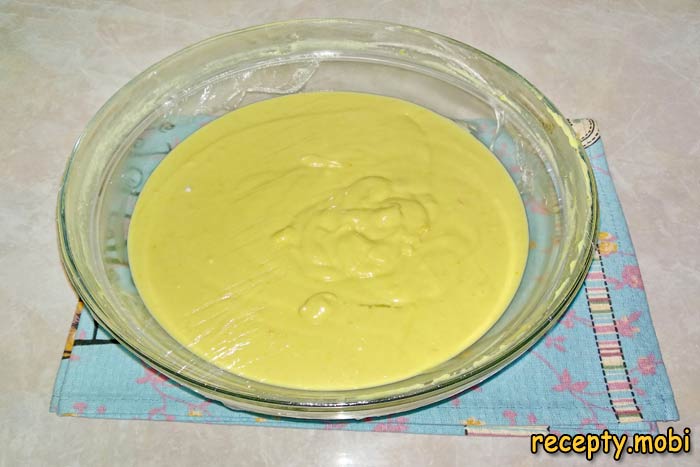
I gradually introduce the sifted flour (350 g) in batches, kneading thoroughly after each portion. The dough should become smooth, elastic and slightly sticky to the hands – do not “clog” it with extra flour! Too much flour will make the cake “stony” instead of tender.
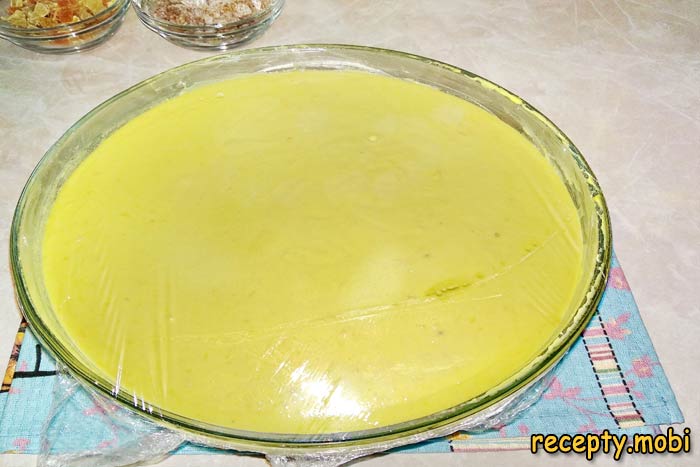
I cover the bowl of dough with film or a clean towel and put it in a warm place (25-26°C) for 2-2.5 hours. The dough should increase in volume 2.5-3 times – a sign it is ready for baking. The ideal spot is a switched-off oven with only the light on.
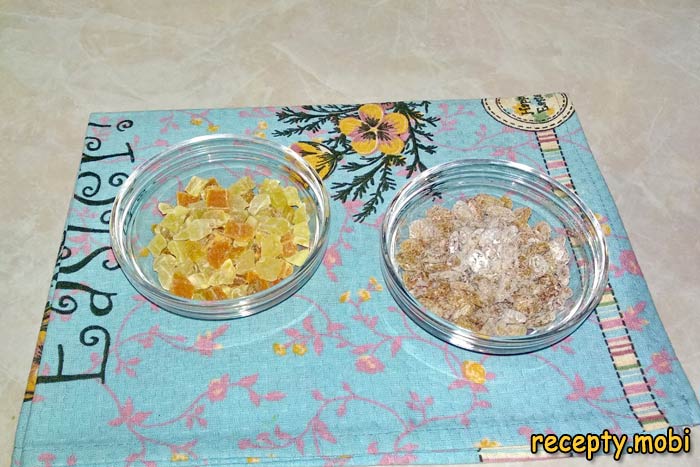
In parallel I prepare the raisins (100 g) and the candied orange peel (100 g): I rinse them thoroughly under cold water, dry them with a paper towel and dust them with 1 tablespoon of flour – the flour will “stick” to the dried fruit and stop it “sinking” to the bottom of the cake.
The dough has risen beautifully – it has increased in volume almost 3 times. I gently “knock it back” with my fist, releasing the excess air. This redistributes the yeast and gives the finished cake a more even crumb structure.
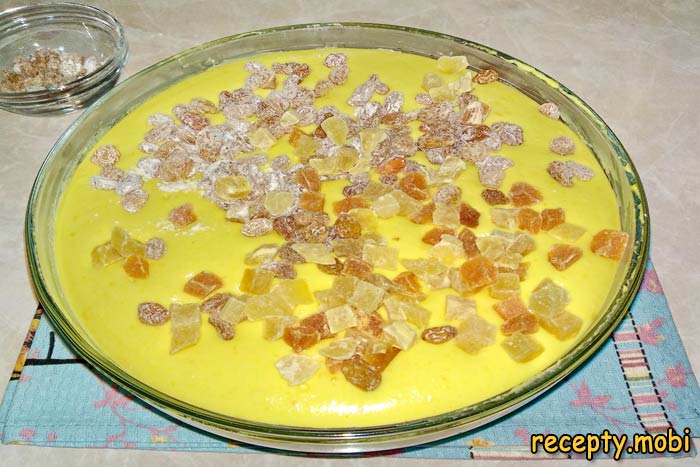
I add the prepared raisins and candied peel to the dough and gently mix until evenly distributed. Do not mix for long – the more you work the dough, the denser it becomes. About 1-2 minutes of mixing from the bottom up is enough.
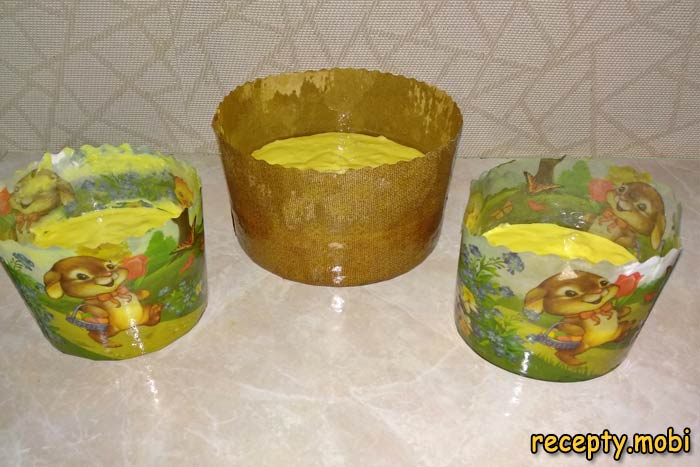
I grease the cake moulds with vegetable or butter and dust them lightly with flour. I divide the dough between the moulds, filling them exactly halfway (50% of the height) – the dough will rise considerably during baking.
I leave the moulds to proof for 30-40 minutes at room temperature – the dough will rise to the edges of the mould. Then I bake in an oven preheated to 170°C for 50-60 minutes until golden. I check readiness with a skewer – it should come out dry.
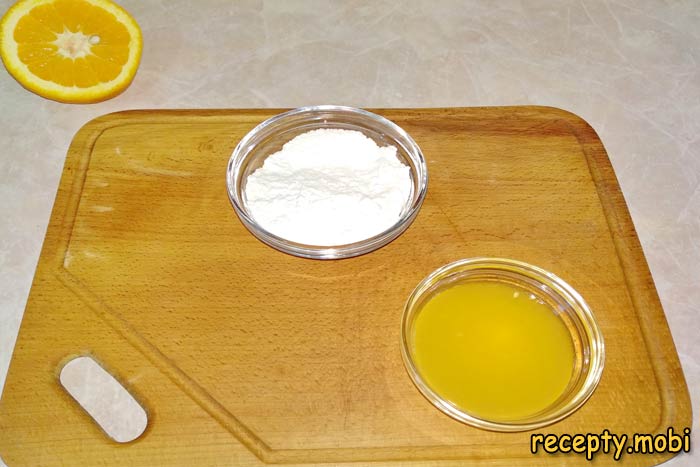
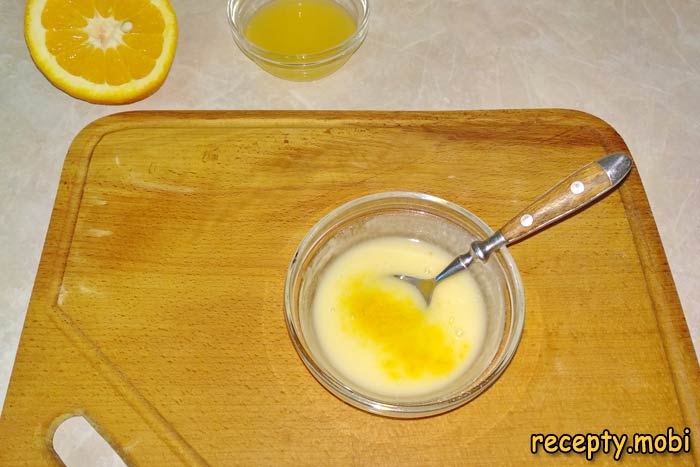
I make the orange glaze: I mix the powdered sugar (100 g) and fresh orange juice (1.5-2 tsp) until smooth and thick. The glaze should run off the spoon in a thick “ribbon” – too thin and it “runs away”, too thick and it “won’t spread”.
Optionally I add a pinch of turmeric to the glaze for a nice “orange” shade – a natural, safe colouring. I mix thoroughly until the colour is even. The glaze is ready to be applied to the cooled cakes.
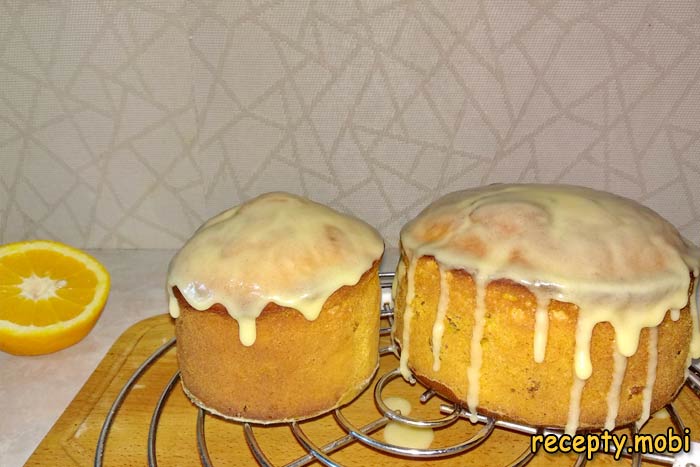
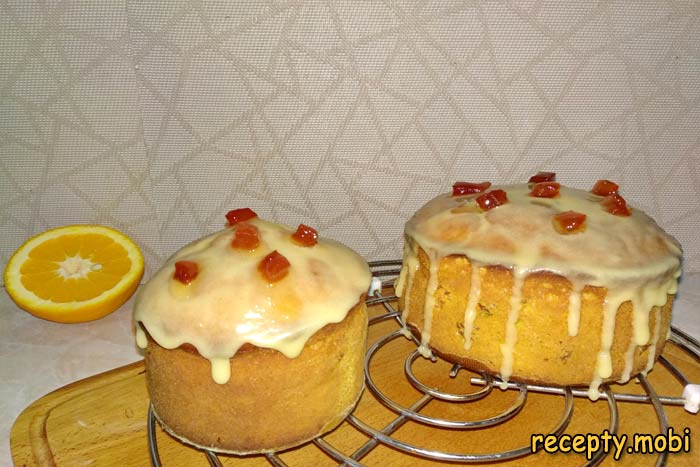
I cover the cooled cakes with the orange glaze before it sets – it “grabs” quickly on contact with the air. I decorate straight away with confectionery sprinkles, candied peel or nuts – the glaze will fix the decoration in place. If the glaze has set, warm it in a water bath.
The Easter cake with orange zest and juice is ready! I serve it on the Easter table with cottage cheese pascha, dyed eggs, tea, coffee or cocoa. The cakes can be given to loved ones – beautifully packed in a gift box with a ribbon, they make a touching Easter present.


Tips
- 1
All the products should be at the same (room) temperature – this is the “golden rule” for yeast dough, otherwise it will rise poorly.
- 2
Be sure to toss the raisins and candied peel in flour before adding them to the dough – they will distribute evenly and will not “sink” to the bottom of the cake.
- 3
The glaze sets very quickly – decorate immediately after applying it, otherwise the sprinkles will not “stick”. I bake the classic Easter cake on a similar principle.
- 4
Turmeric gives the glaze a lovely “orange” shade without artificial dyes – a natural and safe alternative.
FAQ
Can the cake be made without cottage cheese? +
Yes, you can leave out the cottage cheese – the dough will turn out more “classic” yeast dough (like in shop-bought cakes). The texture will be less tender and more “bread-like”, but still tasty. Replace the cottage cheese with 100 ml of sour cream or 50 g of softened butter – this will give the dough a similar richness. The cottage cheese gives a unique tenderness and keeps the cake fresh for up to 5 days (without it the cake goes stale in 2-3 days). If you have no cottage cheese, soft ricotta or mascarpone (200 g) will also work as Italian alternatives.
Which yeast is better – fresh or dry? +
Fresh (pressed) yeast gives a better rise and a more “classic” yeast aroma to the cake – experienced cooks prefer it. Dry (instant) yeast is more convenient to use, does not require a sponge and keeps longer (up to 1 year against 2 weeks for fresh). The ratio is: 25 g of fresh = 10 g of dry. For Easter baking, fresh is better – the “grandmother’s” recipe. For everyday baking, dry yeast is a handy stand-by. The main thing is to check the use-by date and the activity before using it in the sponge with warm water and sugar.
How long do the finished cakes keep? +
Cakes with cottage cheese keep in a tightly closed container at room temperature for up to 5 days without losing their softness – the cottage cheese gives long-lasting freshness. In the fridge they keep for up to 7 days (but go stale faster). They can be frozen for 1-2 months in airtight bags – defrost in the open air before eating. Do not reheat in the microwave – they will turn “rubbery”. Ideally, eat them during Bright Week after Easter. Add the glaze 1-2 hours before serving – it “spreads” during long storage in the warmth.
What to serve the orange cake with? +
An Easter table with the cake is part of the “triad”: the cake, cottage cheese pascha and dyed eggs. For drinks – orange juice (to emphasise the citrus flavour), tea (black, green or fruit), coffee with milk, cocoa with marshmallows. For adults – Easter Cahors (sweet red wine) or brut champagne. In addition – honey, homemade orange jam, marmalade, chocolate. It is perfect for a family Easter breakfast after the night service and the blessing of the cakes at church. They can be given to relatives and godparents as a symbolic Easter gift.
- Comment
or post as a guest
Be the first to comment.


