
avg —
Banana Pancakes PP
Instructions
I prepare the ingredients. You can use overripe bananas – they are softer and mash easily with a fork. But a medium-ripe banana can also be mashed, with a little more effort. Moreover, compared with an overripe one, the taste and aroma of such a banana will be more noticeable in the finished pancake.
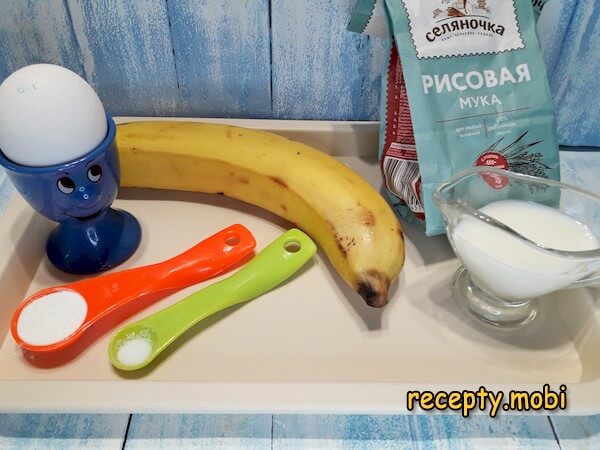
I peel the banana and cut it into pieces about 2-3 cm thick for easy mashing.

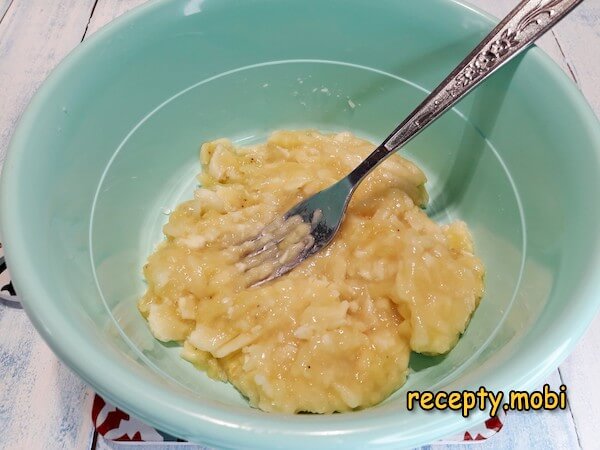
I mash them with a fork. You can do this with a blender, but then you get a uniformly smooth puree without any pieces – and it is precisely the small pieces that give the fritters a special refinement. This is the "secret" of the texture of PP pancakes.
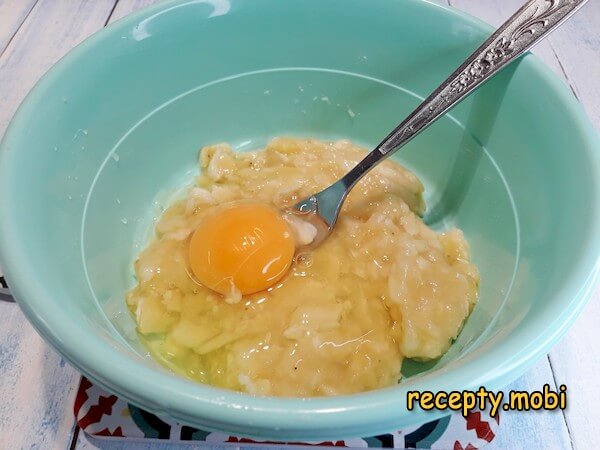
I add the egg to the bowl with the mashed banana and stir – the egg will act as a "binder" for the batter.
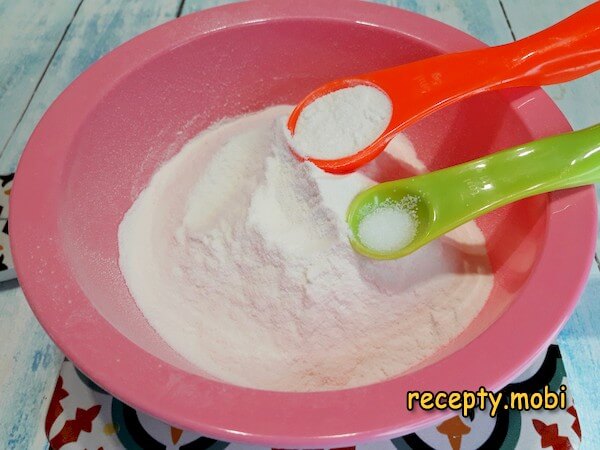
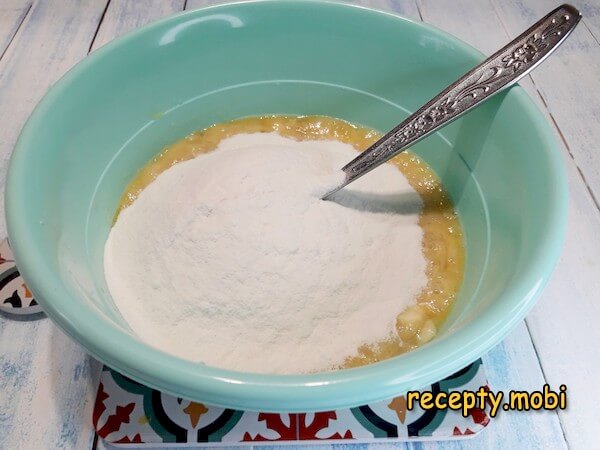
In a separate container I combine the rice flour, baking powder and salt – properly mixing the dry ingredients before the wet ones is the "secret" of an even rise.
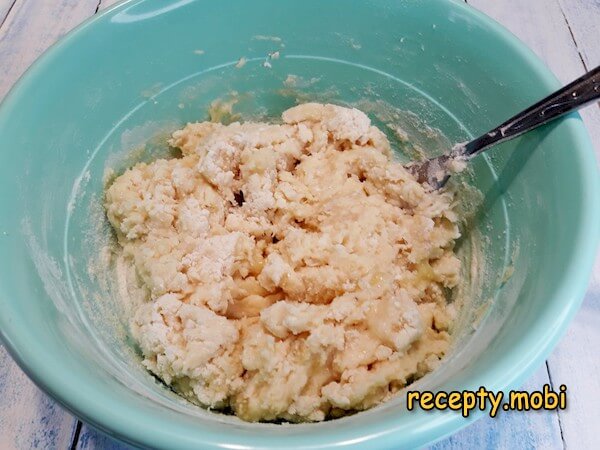
I add the resulting dry mixture to the banana one – I do this gradually to avoid lumps.
After stirring with a fork or spoon you get a thick mass – at this stage it is still too dense for baking.
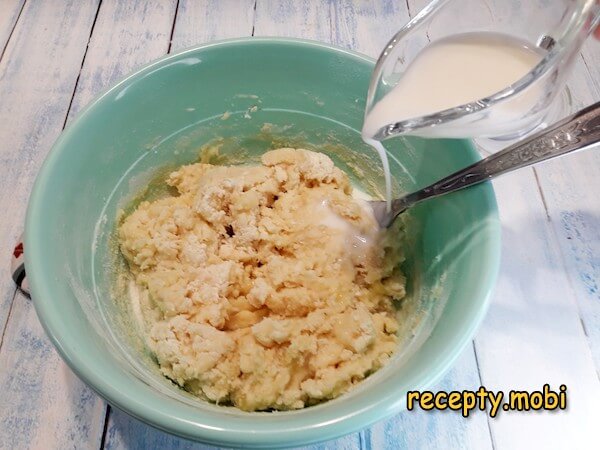
I thin it with the milk – it is the milk that brings the mass to the correct "thick sour cream" consistency.
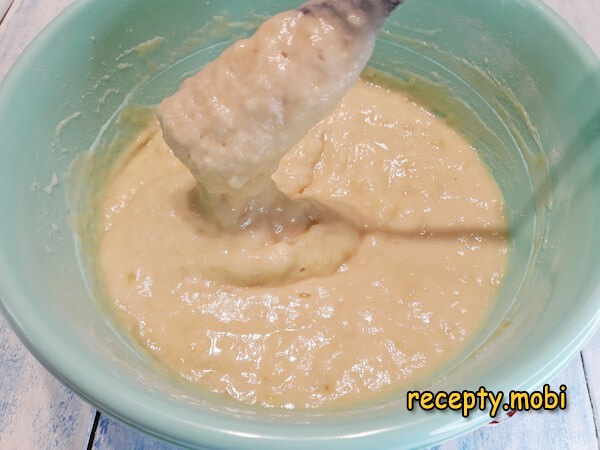
In the end you should get a fluffy (thanks to the baking powder) banana batter resembling thick sour cream in consistency – it should slowly run off the spoon, not pour.
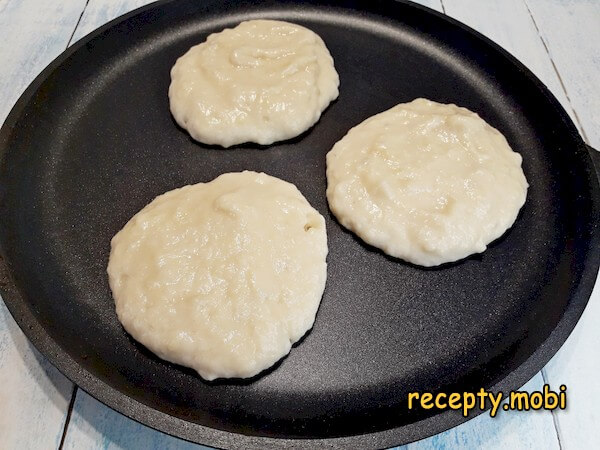
I heat a dry pan. I set the heat to medium. I spoon out 2 tablespoons of batter per pancake and cook them under a lid for 2-3 minutes – it is the lid that gives fluffiness thanks to the steam.
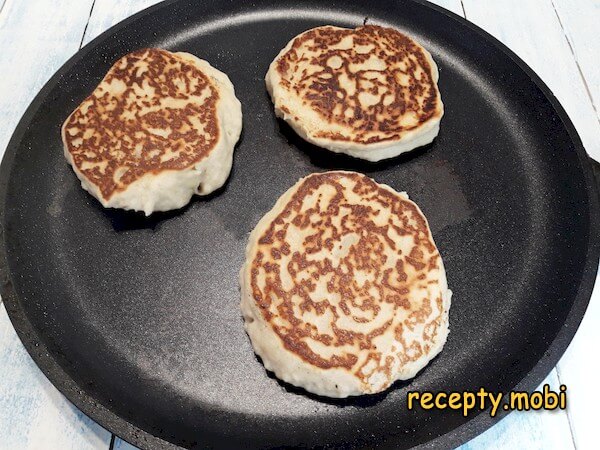
Then I flip the pancakes onto the other side, cover with the lid again and cook for another 2-3 minutes. After that I wipe the pan with a paper towel (if any crumbs remain) and lay out the next batch.I serve the PP banana pancakes with fresh berries, oat milk and a cup of coffee. These healthy fritters have a pronounced banana flavour, they are finely porous and incredibly tasty. A PP breakfast after which you don't want a second helping – the banana provides the needed sweetness and satiety without sugar or oil.


Tips
- 1
OVERRIPE vs MEDIUM-RIPE BANANA – the "secret" of flavour balance. An overripe banana with dark spots on the skin gives maximum sugar and aroma, but the banana "disappears" into the batter, leaving only sweetness. A medium-ripe banana has less sugar but more of the characteristic "banana" taste in the finished pancake. A completely green banana will not do – too little starch, too much astringency. The ideal compromise is a yellow banana with small dark spots: both the sweetness and the aroma are there.
- 2
RICE FLOUR vs WHEAT – the "secret" of the PP format. Wheat flour gives "downy" classic pancakes, but that is no longer PP. Rice flour is gluten-free (important if you are intolerant), gives a slightly "grainy" texture and a nutty hint of flavour. PP alternatives: oat flour (fluffier, but with an "oaty" aftertaste), coconut flour (requires more eggs and liquid), almond flour (richer, but very tender). For strict PP, rice or oat flour is best.
- 3
A DRY PAN – the "secret" of low calorie content. Ordinary pancakes are cooked in oil, which adds 100-150 kcal per serving. A dry non-stick pan (Teflon, ceramic, or cast iron with an ideal layer of patina) lets you cook without oil – the banana and egg in the batter create their own "natural" richness. The key conditions are: medium heat (on high the batter will burn), a lid during cooking (steam increases fluffiness), and wiping with paper before each batch. A similar "clean pan" principle works in banana pancakes with milk, only there a little oil is added.
- 4
BAKING POWDER IN THE BATTER – the "secret" of fluffiness without yeast. The PP format does not allow yeast dough (long proving + sugar for activation). Baking powder is a mixture of soda and acid (cream of tartar or citric acid) that activates on heating and gives an instant rise. 5 g is the optimal amount for 90 g of flour. Soda without acid cannot be used – it will give a "soapy" aftertaste. The principle of "baking powder + thick batter + lid" is also applied in sweeter recipes – for example, in pancakes with banana and chocolate.
FAQ
Can I replace rice flour with wheat flour? +
Yes, but then it will no longer be a "PP" version – wheat flour contains gluten and more calories. If gluten is not critical, the substitutes work: wholegrain wheat (the "healthiest" of the wheat flours), top-grade wheat (classic taste), spelt (harder to find, but an "ancient wheat"). The substitution ratio is 1:1, but you may need a little less milk – wheat flour "absorbs" less liquid. For strict PP and a gluten-free version, stay with rice flour or switch to oat flour.
What can I use instead of milk in the recipe? +
For the classic PP version: oat milk (the most neutral), almond (with a light nutty note), coconut (with an exotic touch), soy (universal), rice (for "fully rice" pancakes). From non-dairy options: water (neutral, but the creamy note is lost), 0% fat-free kefir (gives a light tang and fluffiness), whey from cottage cheese. Sweetened condensed milk or cocoa milk are absolutely unsuitable – they break the PP format. The amount is adjusted to a "thick sour cream" consistency.
Why do the pancakes come out flat and not fluffy? +
There are three typical reasons. The first is "dead" baking powder (old, damp, an open pack more than 6 months old). The solution: check its activity – a teaspoon in a glass of water should bubble immediately. The second is batter that is too runny (it "spreads" across the pan). The solution: the batter should be like "thick sour cream", not pouring but slowly running off. The third is too high a heat (the batter sets underneath before it rises). The solution: medium heat and definitely a lid – the steam raises the pancake evenly.
What to serve PP pancakes with besides berries? +
For strict PP without sugar. The best options: natural sugar-free yogurt (Greek or skyr) with vanilla, fat-free cottage cheese with a pinch of stevia, chopped nuts (almonds, walnuts, pecans), banana with cinnamon, avocado with lemon (a savoury option). For drinks: green tea, sugar-free coffee (with oat milk), chicory, herbal teas with mint and lemon. For "indulgences": natural honey (1 tsp), maple syrup (1 tsp), sugar-free berry puree. The main thing is to keep the PP balance and not turn a healthy breakfast into a dessert.
- Comment
or post as a guest
Be the first to comment.


")