
avg —
Pancakes from Sour Milk (Fluffy)
Instructions
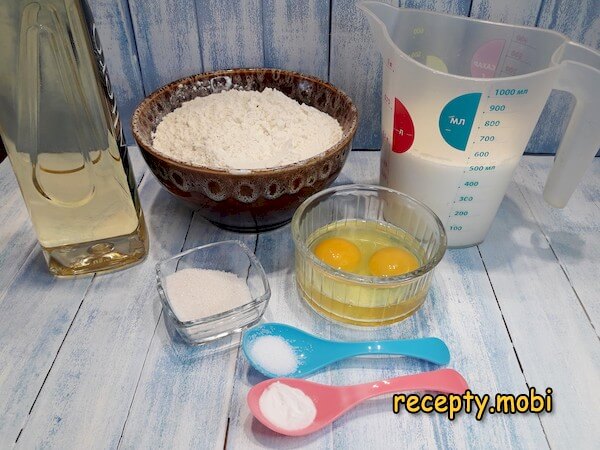
Get the ingredients ready for the sour-milk pancakes. The sour milk must not be cold, otherwise the pancakes will not turn out very fluffy.
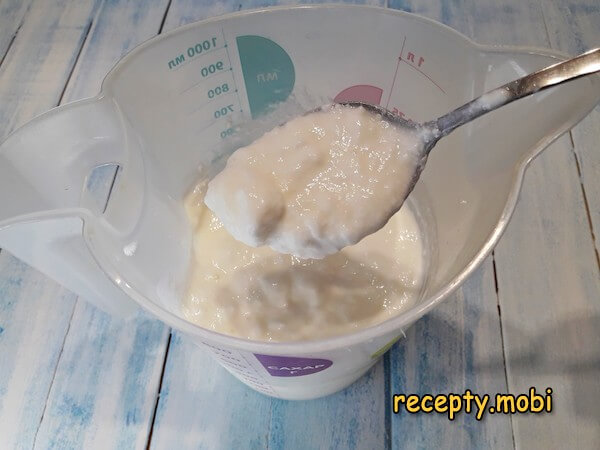
It is better to let the soured milk stand at room temperature for longer, so it thickens further and forms curd-like lumps; this is the best consistency for the batter.
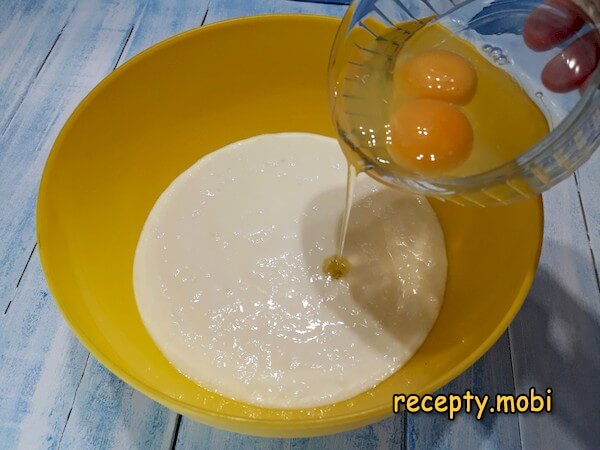
Pour the sour milk into a wide bowl. Add the eggs to it.
Add the salt and sugar. Do not increase the amount of sugar, or the finished pancakes will sink once they cool. You can make up for the sweetness later with jam or honey.

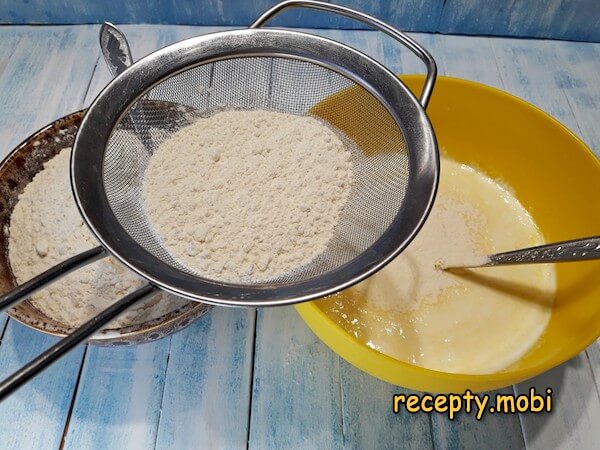
Mix everything with a fork and start sifting in the flour a little at a time.
After the final mixing, the batter comes out thick and slides off the fork only with difficulty.
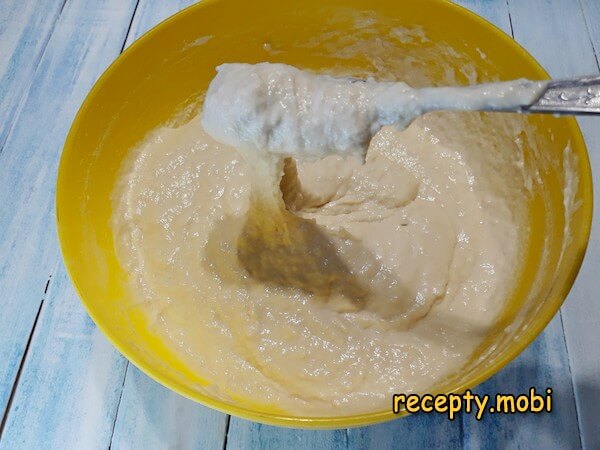
Mix a teaspoon of flour with the soda and sift them into the main batter, then stir. After this, nothing more should be added to the batter.

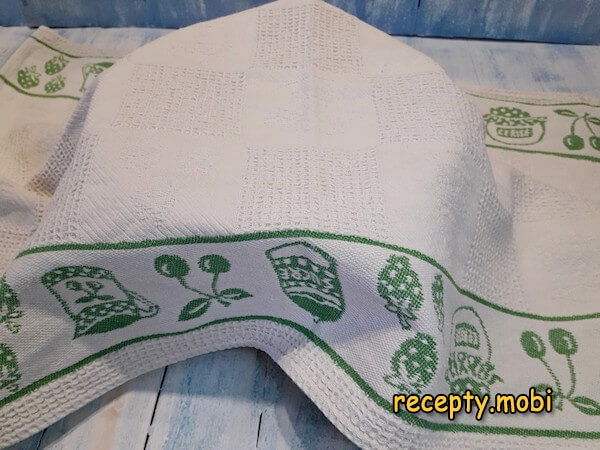
Cover the bowl with a towel and leave it for about 5 minutes.
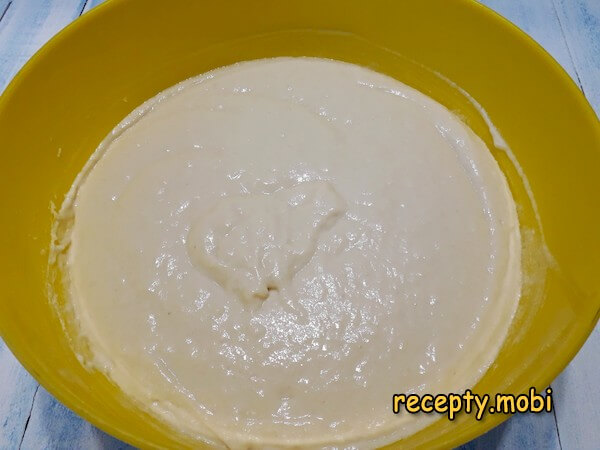
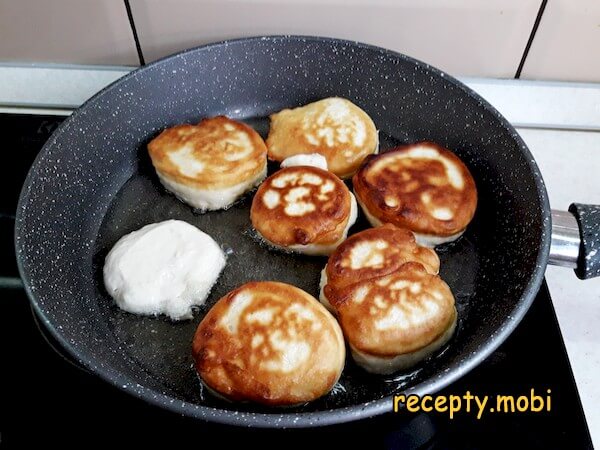
Pour a fairly large amount of oil into the frying pan; the pancakes should be half-submerged in it. While the oil heats up, the batter has puffed up a little and its consistency has become similar to yeast dough.
Once the oil is hot over high heat, reduce it to medium. Use a spoon to place the pancakes in the pan. They start to cover with bubbles and rise.
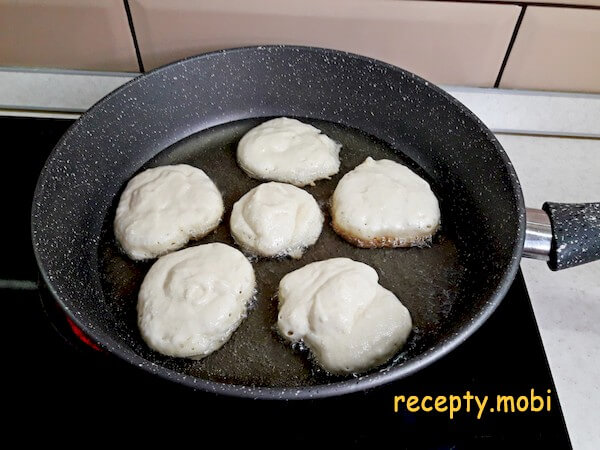
When a golden-brown edge appears at the bottom of the pancakes, flip them over to the other side.
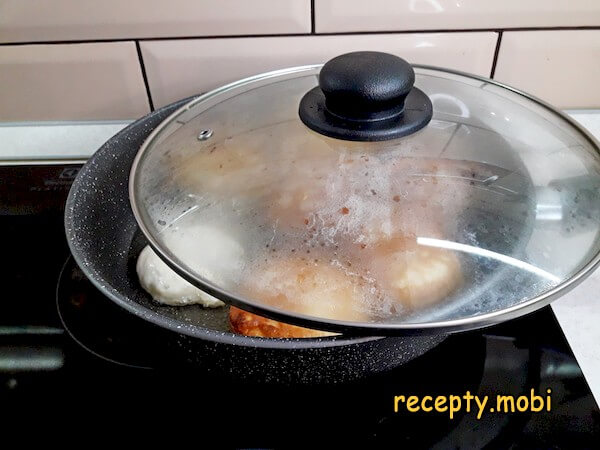
Cover the pan with a lid, leaving 1/3 of it open. For even frying, turn each pancake from side to side several times.
Place the finished pancakes on a paper towel to remove the surface grease.
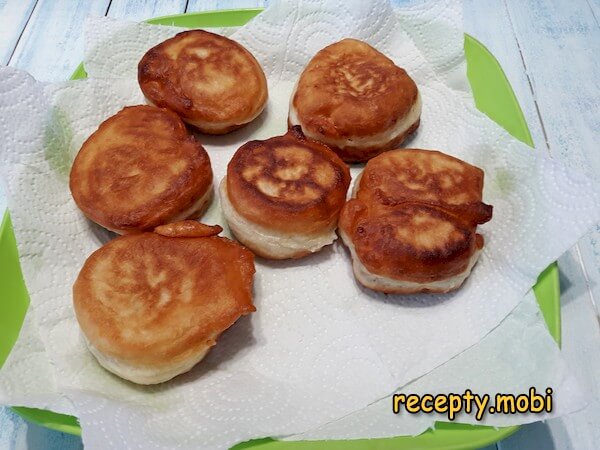
Then transfer the pancakes to a serving dish.The fluffy sour-milk pancakes turned out incredibly tasty. You can serve them with any jam, pieces of fresh fruit, berries or honey. They go especially well with strawberry jam. Bon appétit!


Tips
- 1
WARM MILK is the secret to fluffiness. Cold soured milk does not react with the soda, so the pancakes turn out flat. Warm milk that has set into lumps keeps the bubbles active, and the pancakes come out airy.
- 2
LESS SUGAR is the secret to keeping their shape. More than 15 g and the pancakes brown faster on the outside but sink after cooling. It is better to add sweetness with jam or honey on top.
- 3
SODA INTO FLOUR is the secret to even leavening. Soda added straight into the batter gives lumps and works unevenly. Sifted in with a spoonful of flour, it spreads through the whole mixture.
- 4
PLENTY OF OIL is the secret to the puffed edge. Too little oil gives a thin crust and flat pancakes. Half-submerged, they get a golden rim around the sides and turn out fluffy. The same principle works for other kinds of pancakes and fritters.
FAQ
Can the sour milk be replaced? +
Yes. Good alternatives are kefir of any fat content (500 ml), prostokvasha (500 ml), ayran (500 ml), ryazhenka (500 ml), buttermilk (500 ml), a mix of milk with 1 tbsp of lemon juice (500 ml, a quick option), or 15% sour cream thinned with water (250 g plus 250 ml water). Do not use milk that has gone truly rancid or has a foul smell, as it will spoil the flavour. The best result comes from freshly soured milk with a pleasant sour smell.
What can replace the soda? +
You can use baking powder (10 g), a mix of soda with lemon juice (0.5 tsp plus 0.5 tsp), or soda with 1 tsp of vinegar stirred into the milk (0.5 tsp). Fast-acting yeast (5 g) also works, though it gives a different type of dough. Do not use soda without an acidic base, as it will leave a metallic taste. For the classic result, the soda needs the acidic milk to react with.
How long do the pancakes keep? +
In the fridge, in a tightly sealed container, they keep for 2 days; any longer and they go damp and lose their fluffiness. Before serving, warm them on a dry pan for 2-3 minutes or in the microwave for 30 seconds. In the freezer they keep for up to 1 month; defrost in the fridge for 6 hours and warm in the oven for 5 minutes at 150 °C. They are at their best warm and fresh from the pan; on the second day the flavour holds but the texture is softer. Do not leave them at room temperature for longer than 6 hours.
What to serve the pancakes with? +
A breakfast classic is thick sour cream. They are also good with strawberry or raspberry jam, with honey, with fresh berries such as raspberries or blueberries, with a scoop of vanilla ice cream, with condensed milk, or simply dusted with icing sugar. They suit a family breakfast just as well as a weekend get-together.
- Comment
or post as a guest
Be the first to comment.


")