
avg —
Semolina Cutlets like in Kindergarten
Instructions
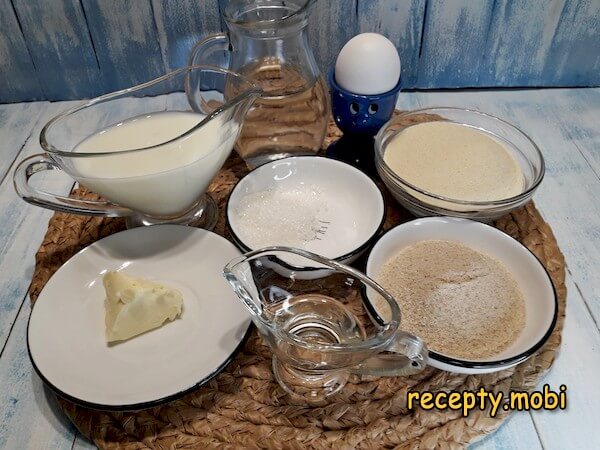
I prepare the ingredients. It is best to use brand "M" semolina (made from soft wheat) – then the cutlets come out more delicate in texture, and this grade also cooks faster than brand "T". You will use fewer bread crumbs than the recipe lists, but a larger amount is taken for convenience when coating. Milk of any fat content will do.
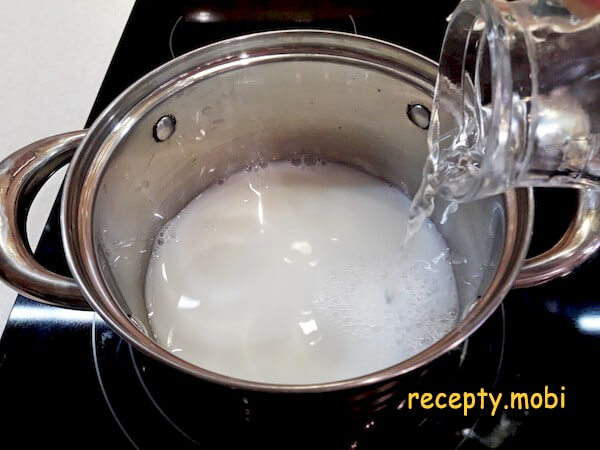
The main task is to cook a thick, viscous semolina porridge. For this I combine the water and milk in a saucepan and bring the mixture to a boil – it is precisely the blend of water and milk that gives the porridge the right texture, as porridge made on milk alone would be too rich for cutlets.
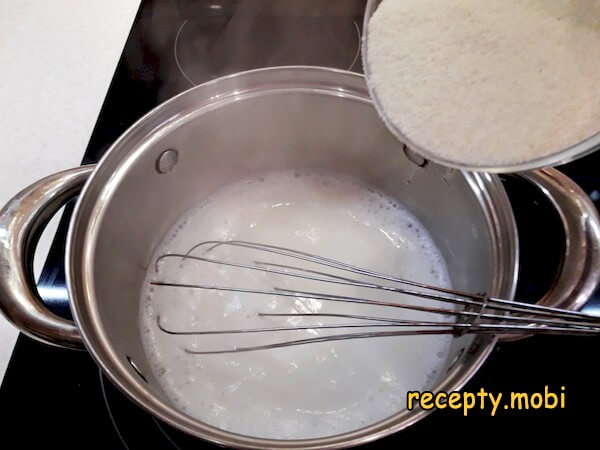
I add the salt, sugar, and vanillin. I stir and again wait for it to start boiling – the vanillin gives that characteristic "kindergarten" aroma, without which the cutlets would just be bland porridge in fried form.

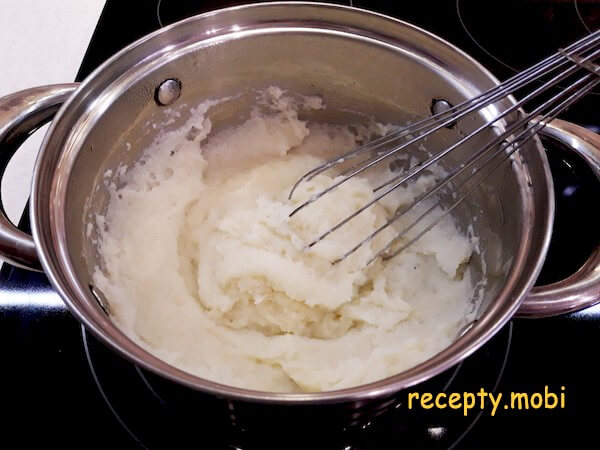
Next, whisking the boiling liquid, I pour in the semolina in a thin stream. And straight away I turn the heat down to minimum. Without stopping the whisking, I cook the semolina for about 5 minutes – continuous whisking prevents lumps from forming, the classic "grandmother's" technique.
As it cooks the porridge thickens considerably. Now it needs to be cooled to 40-50 °C so that you can take the mixture in your hands – at this stage the mass should cool down, but not go completely cold, otherwise the cutlets will be harder to shape.
I beat the egg with a fork – until completely smooth, so that the yolk and white combine into a single mass for even distribution through the porridge.
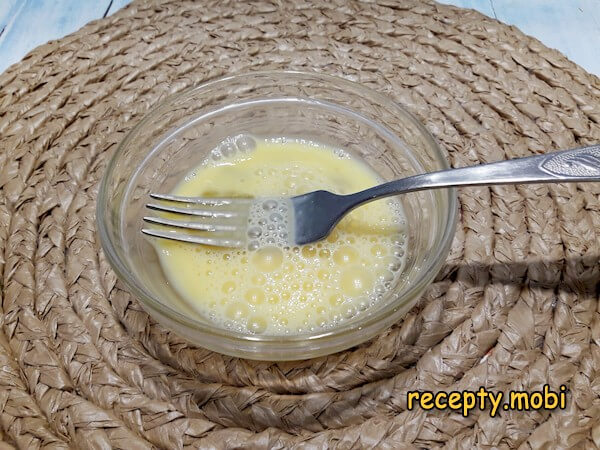
I add it to the cooled porridge – cooled to exactly 40-50 °C, otherwise the egg will "curdle" in the hot mass and leave unpleasant white specks.
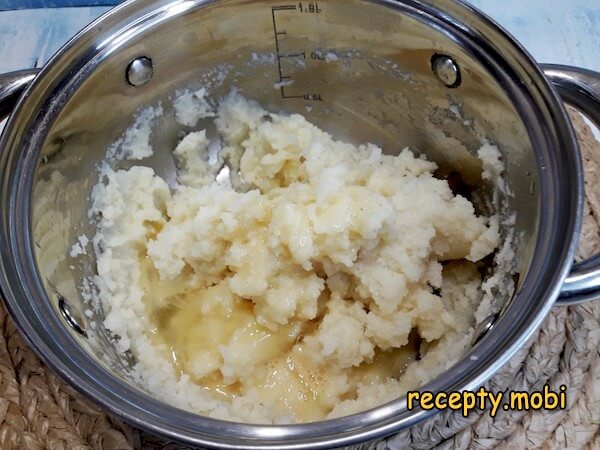
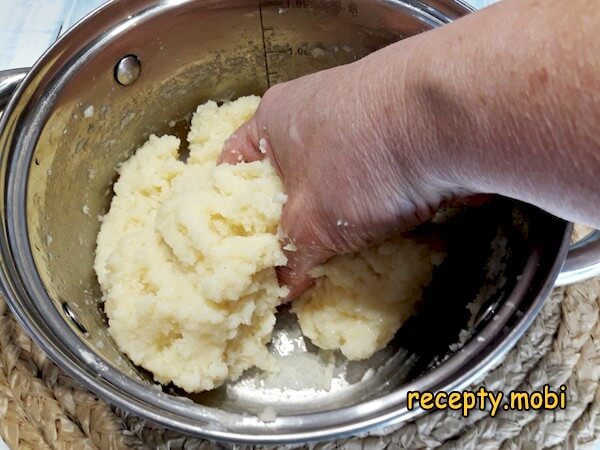
I thoroughly rub and work the mixture by hand until it becomes completely uniform – mixing by hand gives a better result than with a spoon. The warm porridge becomes pliable and easy to shape.
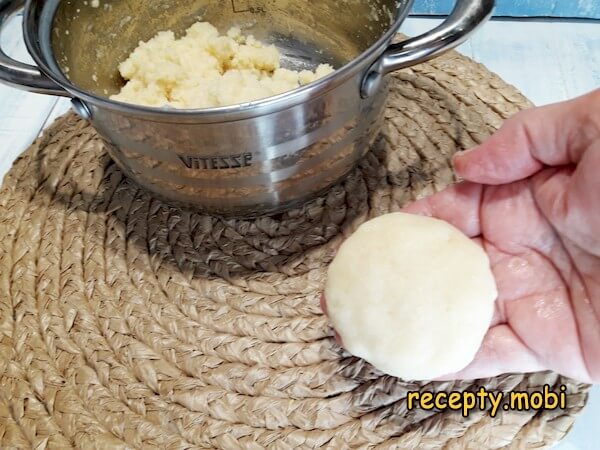
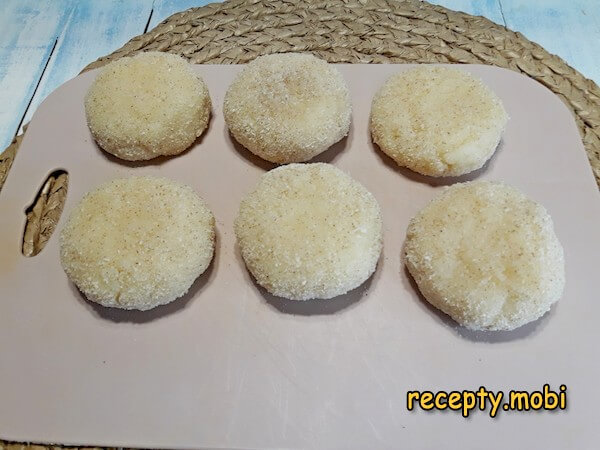
I wet my palms with water and start shaping the cutlets. This pliable mass makes 6 of them – wet palms keep the porridge from sticking to your hands, and the cutlets come out as neat, even discs.
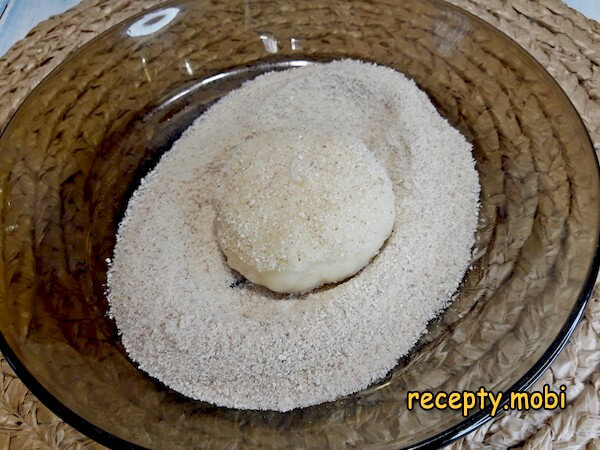
I roll the cutlets in bread crumbs on all sides, pouring the crumbs onto a rimmed plate for convenience. The bread crumbs give the characteristic crunchy crust that sets these cutlets apart from ordinary curd fritters.
I lay the shaped cutlets out on a board – in even rows, so they are easy to transfer to the pan afterwards. You can let them "rest" for 5 minutes for the breading to adhere better.
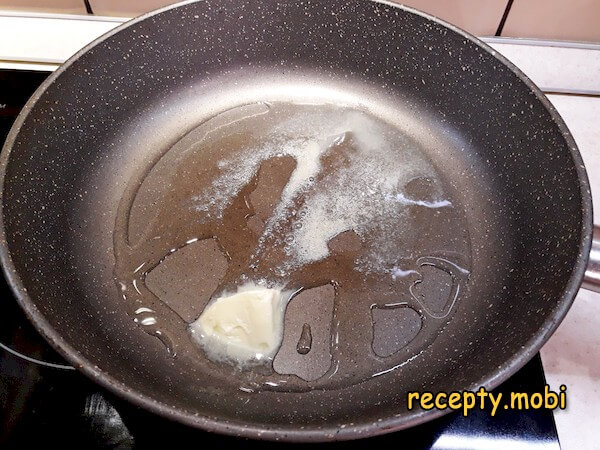
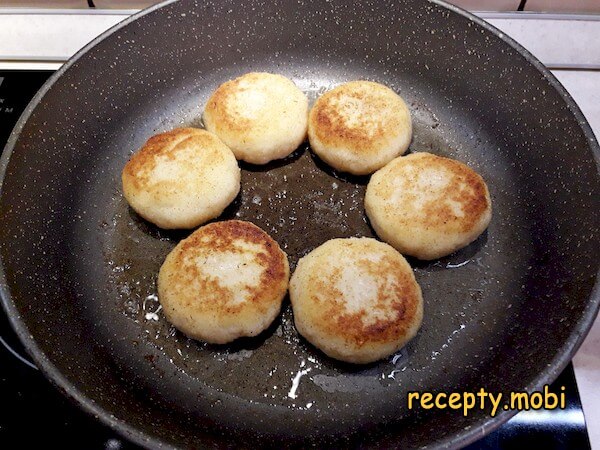
In a frying pan I first heat the vegetable oil, then add the butter – using two kinds of fat this way protects the delicate butter from burning. The butter provides aroma, the vegetable oil a higher smoke point.
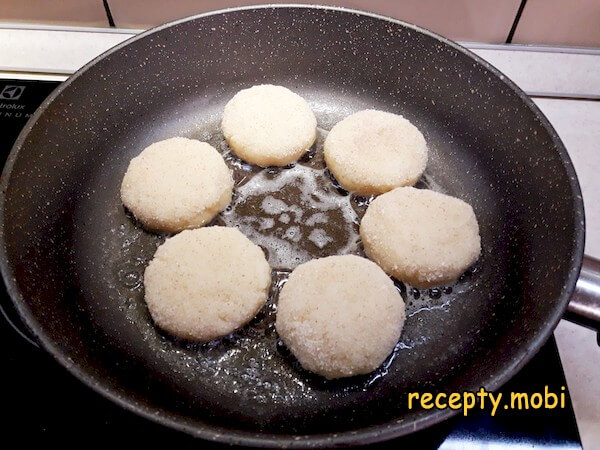
I lay the semolina cutlets in to fry over medium heat – on high heat the crumbs would quickly burn and stick to the pan, while on low heat the cutlets would stay pale without the characteristic crust.
After 4 minutes I turn the cutlets onto the other side and fry them for another 4 minutes – 8 minutes per batch in all, after which the cutlets are ready.
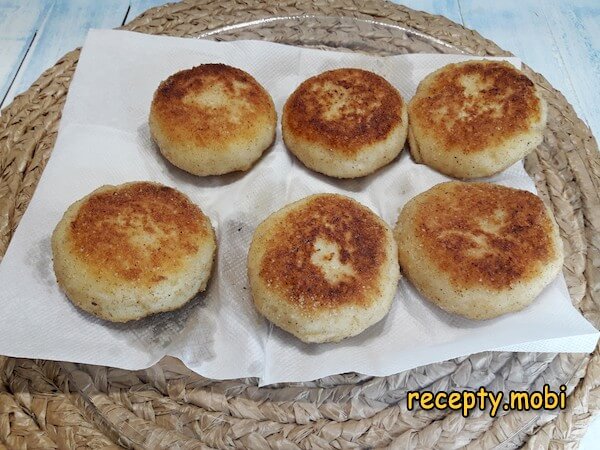
To remove excess fat, I transfer the cutlets from the pan onto paper towel – it soaks up the surplus oil so the cutlets are not "greasy" when served.The result is semolina cutlets just like in kindergarten – crispy on the outside and soft inside. They are such a pleasure to bite into and hear the golden crust crackle! On top the cutlets can be dusted with powdered sugar or spread with apricot jam, honey, or decorated with fresh or frozen berries. A wonderful dish from simple ingredients that is sure to please the whole family.


Tips
- 1
WATER + MILK HALF AND HALF – the "secret" to the right texture. On milk alone the porridge comes out too rich for cutlets, and they spread out in the pan. On water alone it is bland, with no creamy aroma. Combining water and milk in equal proportions (50/50) gives the ideal consistency: pliable, holding its shape, and not burning. The same principle works in semolina porridge on milk without lumps – grandmother's recipe.
- 2
A WHISK WHEN ADDING THE SEMOLINA – the "secret" against lumps. The main problem with semolina porridge is lumps. Pouring the grain in a thin stream while whisking continuously in the boiling liquid completely rules out their formation. Without stirring, lumps are guaranteed. The technique for cooking semolina porridge without lumps is covered in more detail in the article "How to cook semolina porridge properly".
- 3
WET PALMS – the "secret" to a neat shape. Dry hands instantly get coated in the sticky semolina porridge, and shaping the cutlets turns into a disaster. Wet palms (just water under the tap before each cutlet) keep the porridge from sticking – the cutlets come out even and smooth, rolled into perfect discs in your hands.
- 4
TWO FATS IN THE PAN – the "secret" to aroma without burning. Pure butter in the pan burns instantly – the cutlets take on a bitter taste and an unpleasant brown colour. Pure vegetable oil has no aroma, and the cutlets stay "bare". First I heat the vegetable oil (higher smoke point), then add the butter – it gives aroma without having time to burn.
Video
FAQ
Which brand of semolina is best for cutlets? +
Brand "M", made from soft wheat, is ideal – it gives the cutlets a more delicate and uniform texture. It cooks in 5 minutes and thickens easily to a pliable state. Brand "T", made from hard wheat, also works but requires longer cooking (10-12 minutes) and gives the cutlets a more "grainy" structure. Brand "MT" is the intermediate option, around 8-10 minutes of cooking on average. For classic "kindergarten" cutlets brand "M" is preferable – maximum tenderness and a uniform crumb.
Can vanillin be replaced with vanilla sugar? +
Yes, a substitution is possible. Vanillin is more concentrated than vanilla sugar – about 10 g of vanilla sugar to 1 g of vanillin. Accordingly, the 1 g of vanillin in this recipe can be replaced with 10 g of vanilla sugar (I reduce the total sugar by this amount so the cutlets do not turn out too sweet). Natural vanilla (a pod) gives the brightest aroma but is more expensive and not needed for everyday cooking. With no vanilla at all, the cutlets lose their recognisable "kindergarten" aroma, so something vanilla is a must.
How long do the finished semolina cutlets keep? +
In the fridge in an airtight container – up to 2 days without losing flavour. Before serving I reheat them in the microwave for 30-40 seconds, or in a dry pan under a lid for 1-2 minutes on each side. The semolina mass for the cutlets can be made ahead – it can be kept in the fridge for up to 24 hours in cling film. Before shaping I take it out and let it warm up a little at room temperature – cold mass shapes poorly. I do not recommend freezing the finished cutlets – after thawing the texture becomes less tender.
What to serve with semolina cutlets? +
The classic "kindergarten" serving is with a thick, fragrant jam (apricot, strawberry, raspberry), honey, boiled condensed milk, or chocolate sauce. On top I dust them with powdered sugar – it gives a "snowy" finish and a little extra sweetness. Berry toppings: fresh or frozen berries (strawberries, raspberries, blueberries), berry cream, berry preserves. Dairy additions: sour cream with condensed milk, vanilla yoghurt. For drinks: cocoa, milk, fruit drink, fruit tea. An ideal dish for a children's breakfast or a sweet supper for the whole family.
- Comment
or post as a guest
Be the first to comment.
")


