
avg —
Classic Rum Baba
Instructions
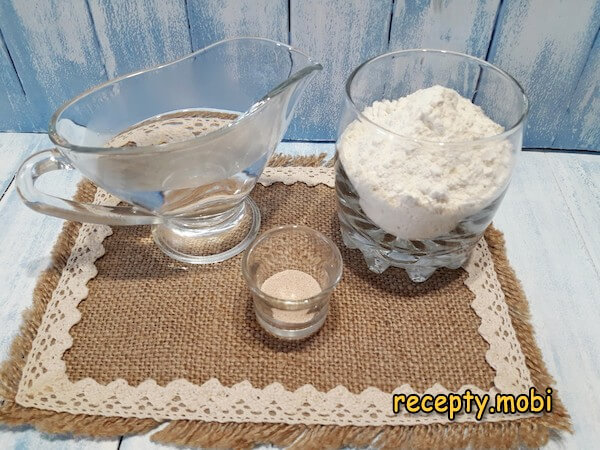
I prepare the ingredients for the dough starter. I use dry yeast specifically, of proven quality. The temperature of the water I use is 35-38 degrees.
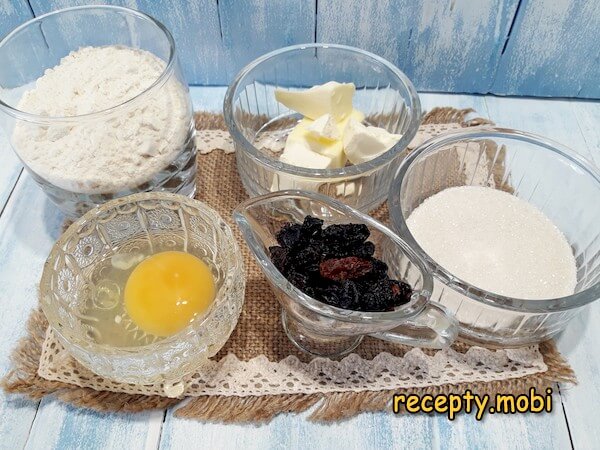
I gather the products for the dough. The butter should sit at room temperature for at least half an hour so that it becomes soft. The amount of ingredients is calculated for butter with 82% fat content, and to avoid recalculating the amount of water and the other components, it is better to stick to the stated percentage.
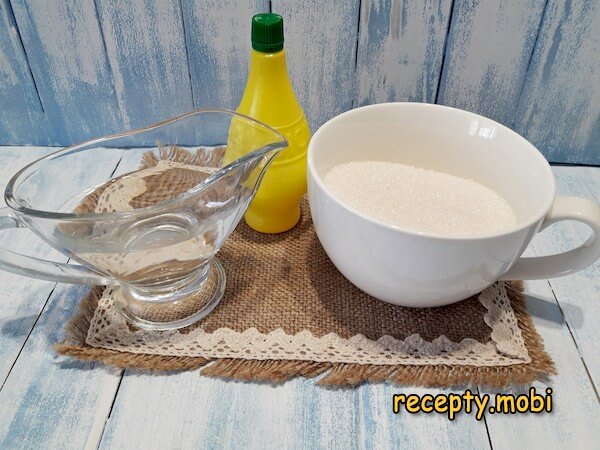
I prepare the ingredients for the soaking syrup. As a flavouring you can use not only rum, but also cognac or dessert wine.

I measure out the necessary amount of ingredients for the fondant. If you have a kitchen thermometer, it will come in very handy here, but you can manage without one too.
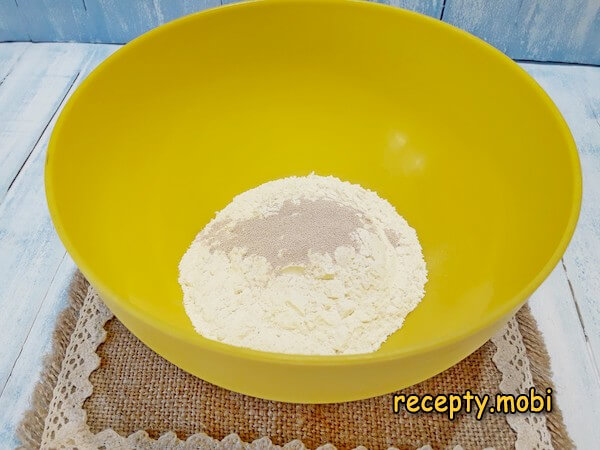
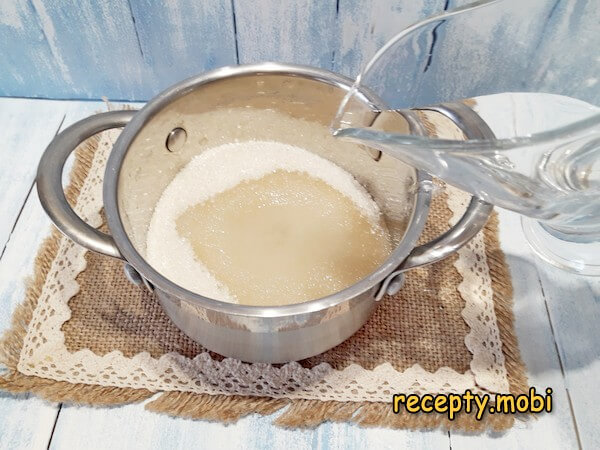
To make the dough starter, I mix the flour with the yeast.
I add the water.
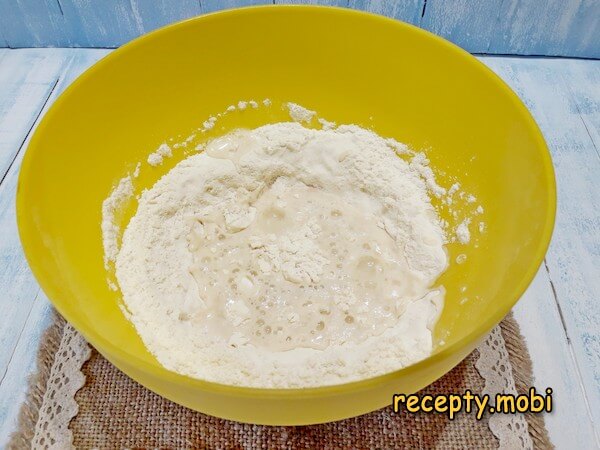
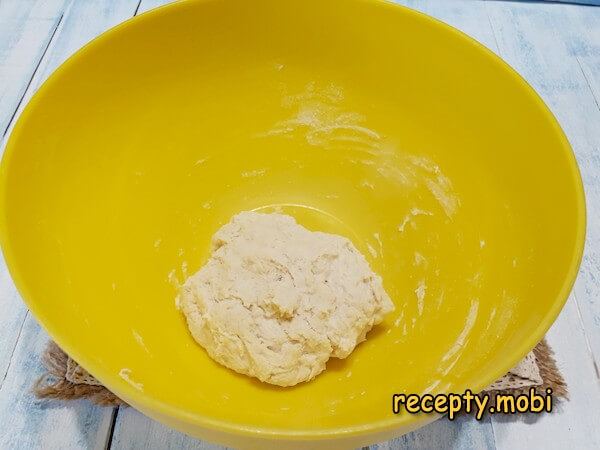
I bring everything together without kneading the mixture much. The main thing is to achieve uniformity, so that no dry, unmoistened flour remains.
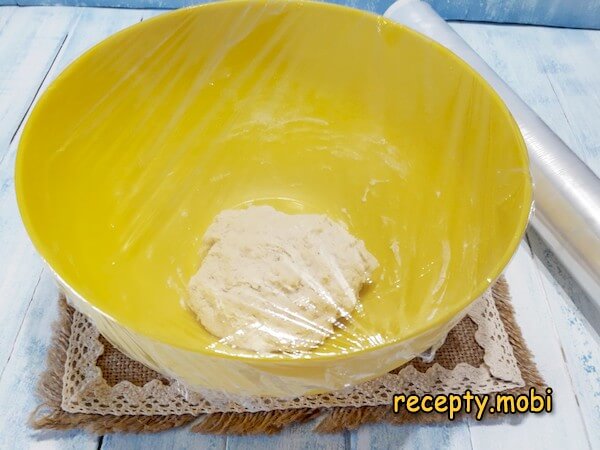
I cover the bowl with plastic wrap and place it somewhere draught-free (on a shelf in a cupboard, for example) to ferment for 2.5-3 hours.
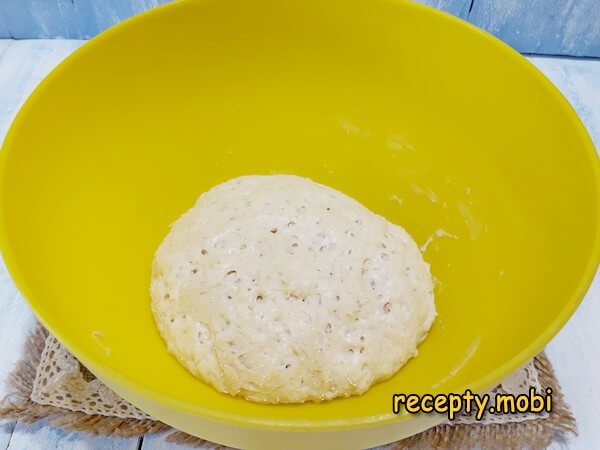
I judge the end of fermentation by sight – when the whole dough has bubbled up and swollen, and the middle starts to sink inward as soon as you touch it, the process is complete.
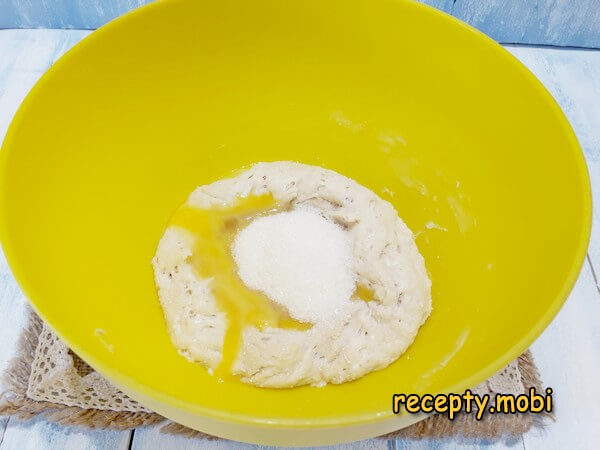
I make a well in the centre of the starter and place the beaten egg, salt, and sugar into it.
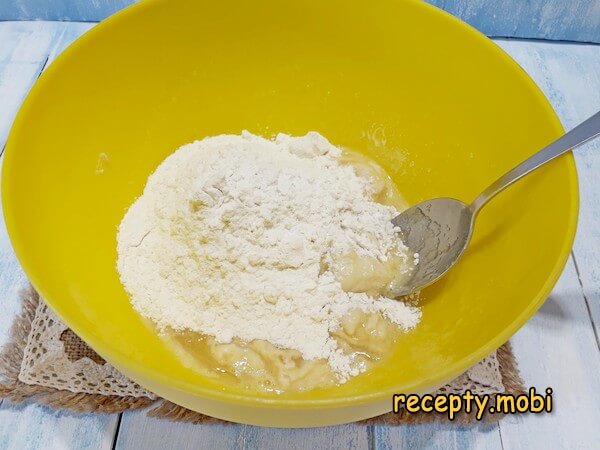
I add the flour – it should be fully incorporated into the dough, after which I knead it for about 3-4 minutes.
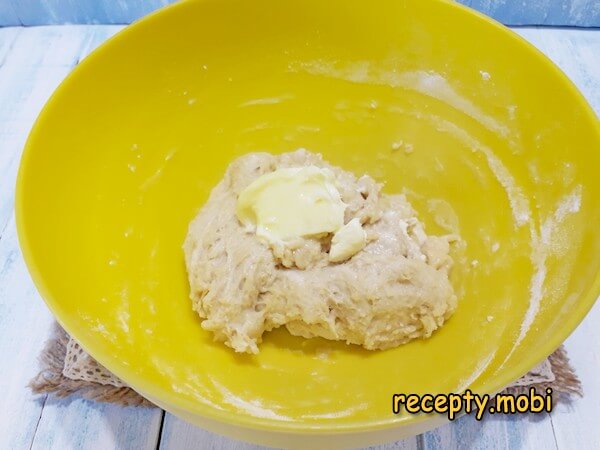
Next I work the soft butter into the dough in portions, each time achieving its complete absorption.
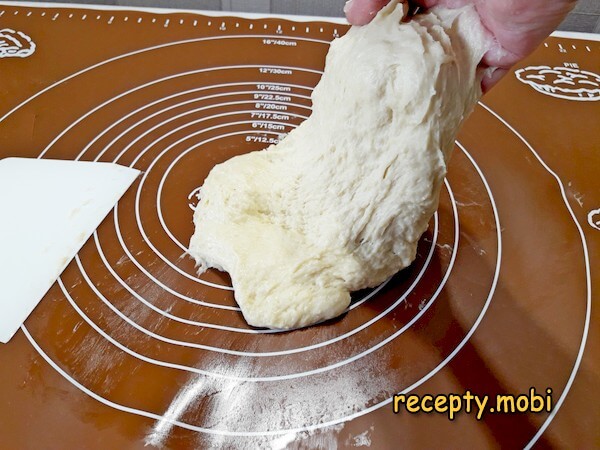
After this the dough becomes even softer and runnier – it needs to be kneaded very well. To do this I transfer the dough onto the work surface and begin kneading by hand, gathering up the lumps that stick to the table with a scraper.
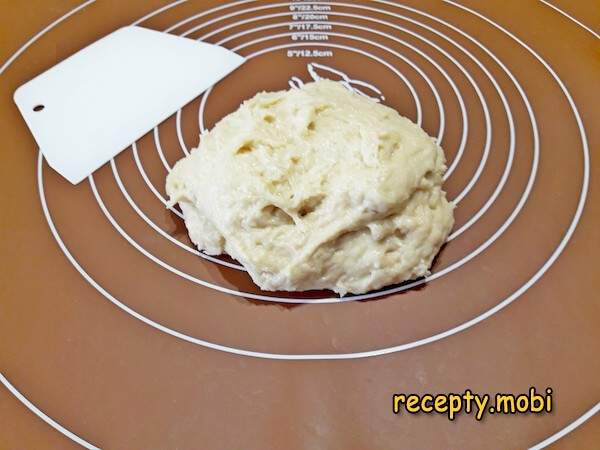
I keep turning the dough over, stretching and folding it, working towards a soft and elastic consistency. This takes about 7-10 minutes.
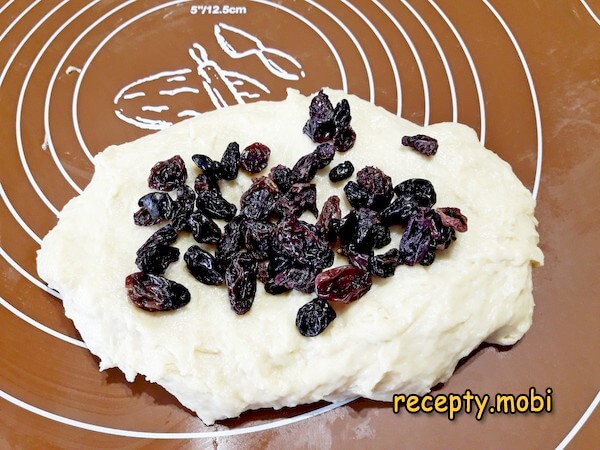
Now I add the raisins. If they are dry to begin with, I first pour boiling water over them and pat them dry with a paper towel (with soft raisins this can be skipped). I knead the raisins in so that they are distributed evenly throughout the dough.
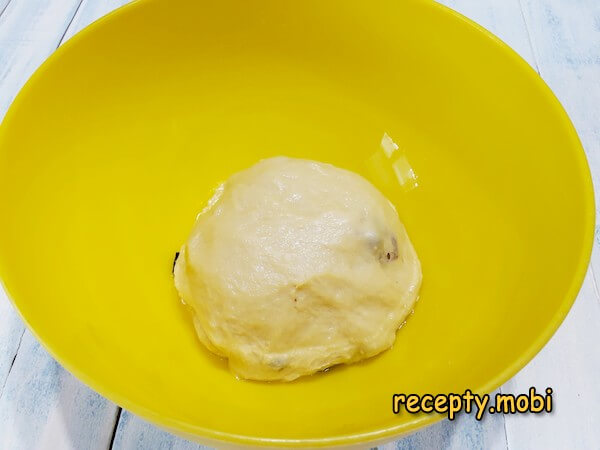
I round the dough into a ball, place it in an oiled bowl, and cover with plastic wrap. Then I put it all in the refrigerator for 1 hour – there the dough will rest and become firmer, will stop spreading, and will be more comfortable to work with afterwards.
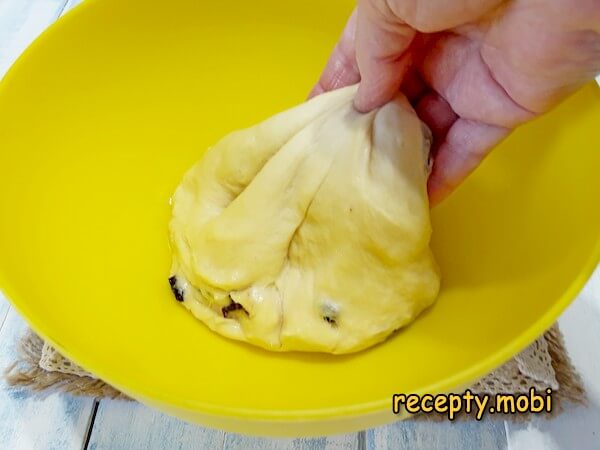
After the stated time I take the dough out and knead it a little, right in the bowl, for 2 minutes. And again I put it in the refrigerator for 1 hour.
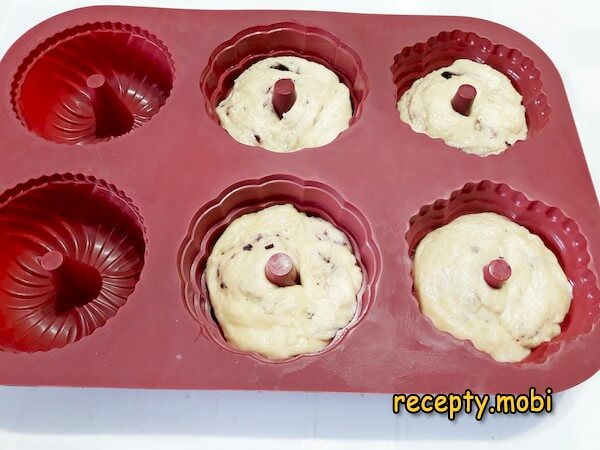
Once the stated time has passed, I move on to shaping. To do this I fill the moulds with dough to just below their halfway point. Silicone moulds do not need to be greased with anything, unlike metal ones.
I cover the moulds with plastic wrap and leave them to prove.
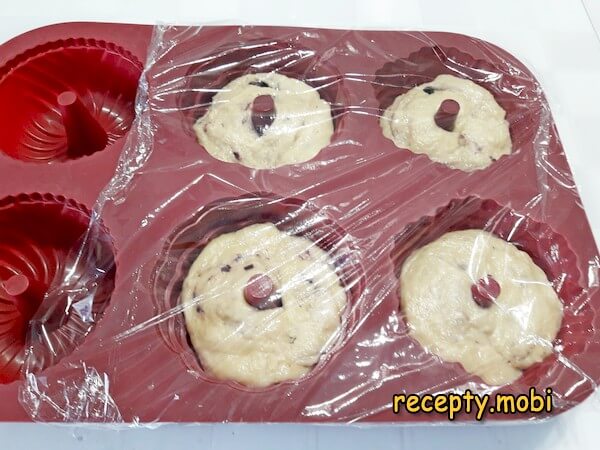
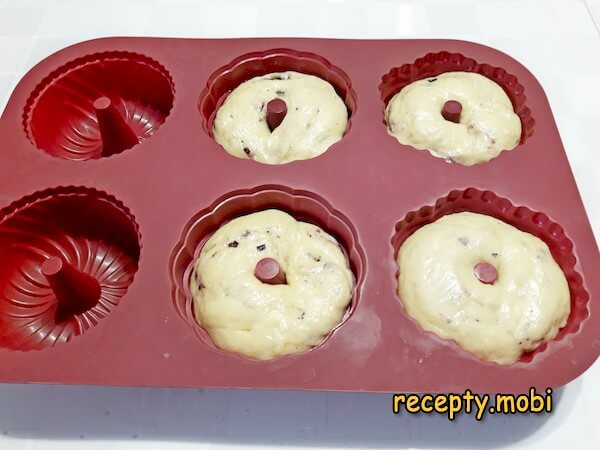
After 1-1.5 hours the dough rises. I preheat the oven to 190 degrees in advance.
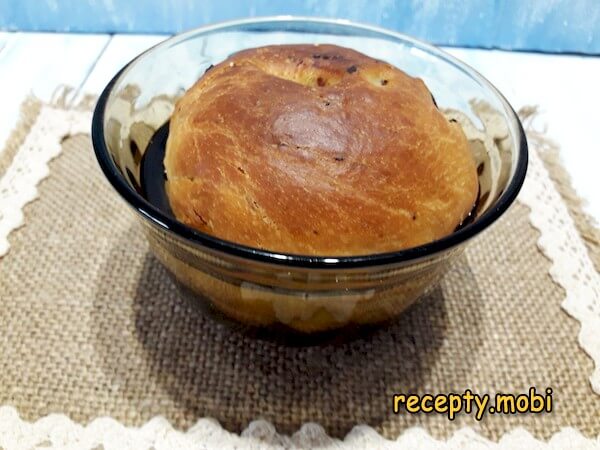
I place the moulds on the middle level of the oven and bake until golden (about 20 minutes).
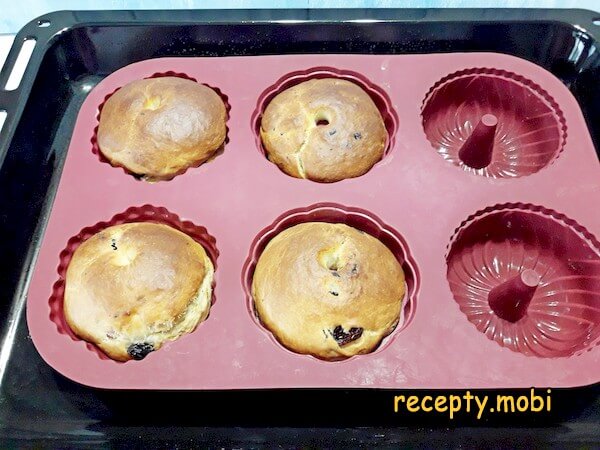
I let the cakes cool in the moulds until warm. Then I take them out, turning them narrow side (the base) up.
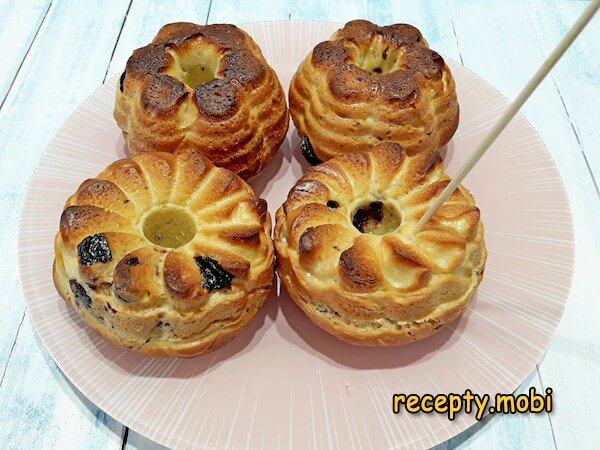
Now the cakes need to dry out for 4-8 hours, after which they should be pierced all over with a wooden skewer.
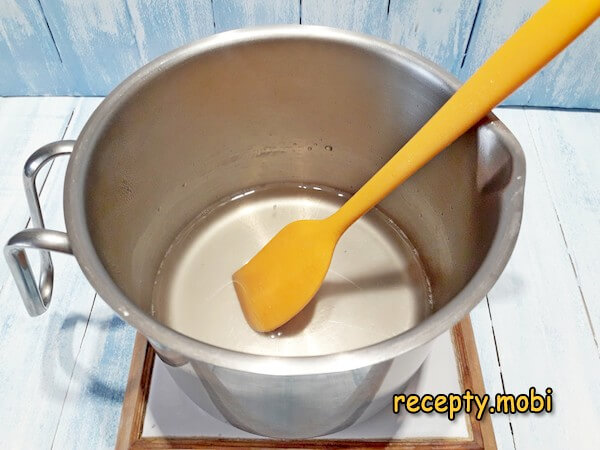
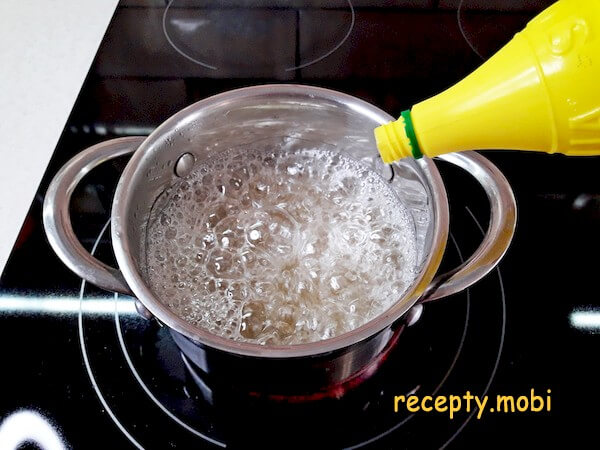
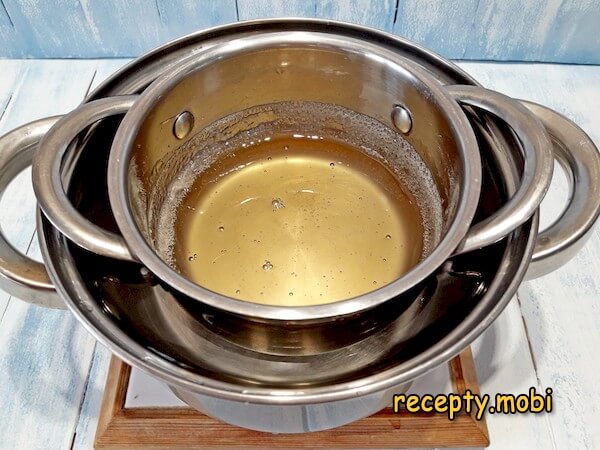
To make the soaking syrup, I combine the water with the sugar and boil for a couple of minutes, making sure all the sugar dissolves. I cool the syrup and add the flavouring (rum).
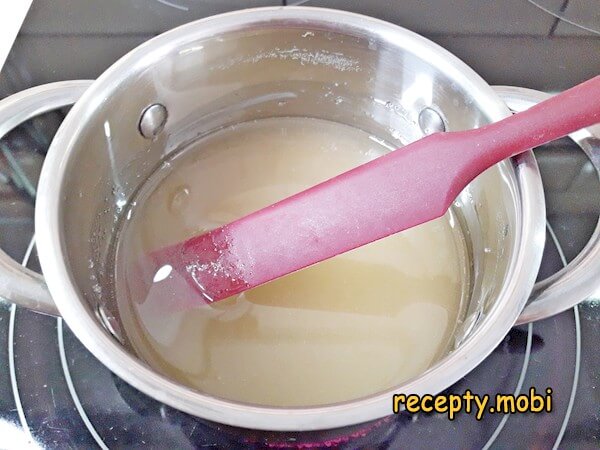
The fondant can be made in advance (it can be kept in the refrigerator for more than a month) and rewarmed in a water bath before use. Or I make the fondant right before using it. To do this I combine the water with the sugar in a small saucepan.
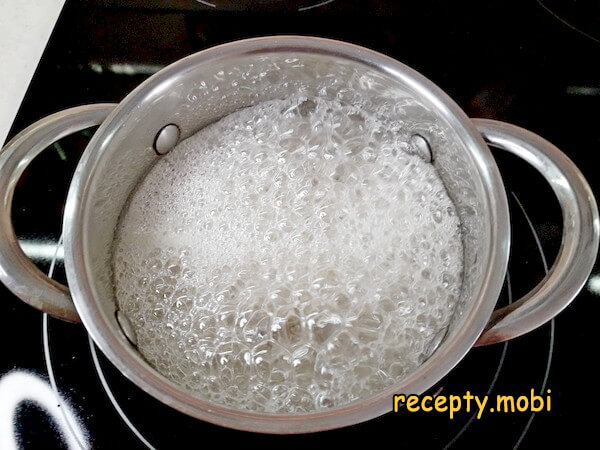
Over low heat I dissolve the sugar crystals completely, so that none of them remain by the time it comes to a boil. Because the solution is very supersaturated, even one crystal will trigger a chain reaction, and the set fondant will quickly turn back into sugar. If the sugar will not dissolve, I add a little water – this just means the syrup will have to be boiled down for longer.
When all the sugar has dissolved, I turn the heat up to maximum so that the boil is very strong, otherwise the fondant will turn out dark.
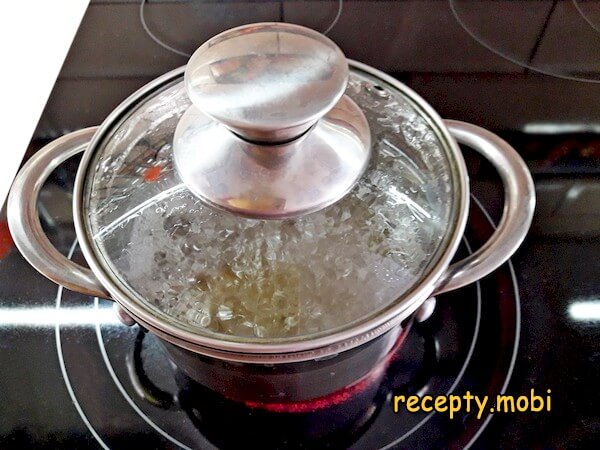
I cover the saucepan with a lid and boil the syrup like this for 1-2 minutes.
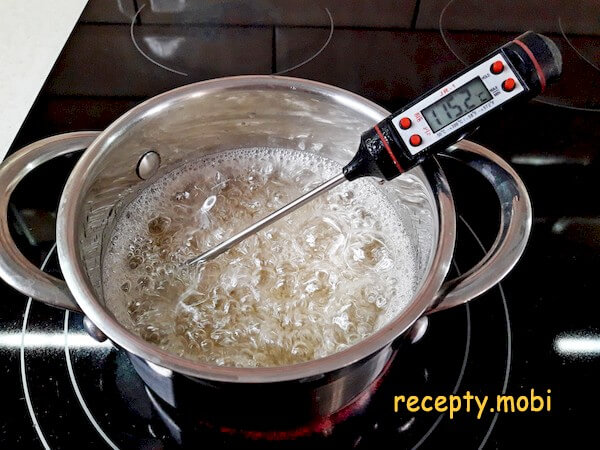
Next I remove the lid and put in the thermometer.
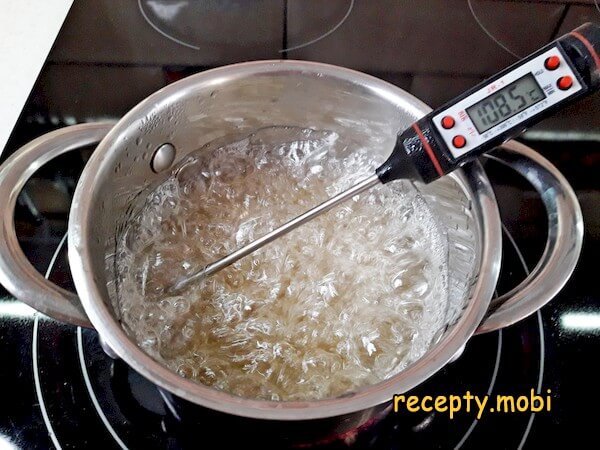
As soon as the temperature reaches 108 degrees, I pour in the lemon juice. If you have no thermometer, boil the mixture for another couple of minutes before acidifying it – this will save the syrup from spontaneous crystallisation.
I boil the syrup down further – to a temperature of 115-117 degrees.
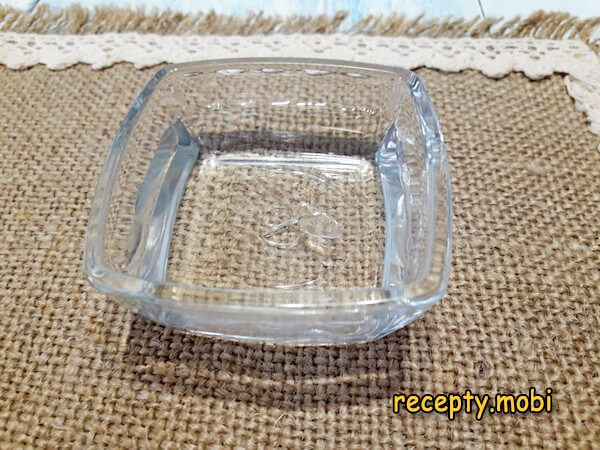
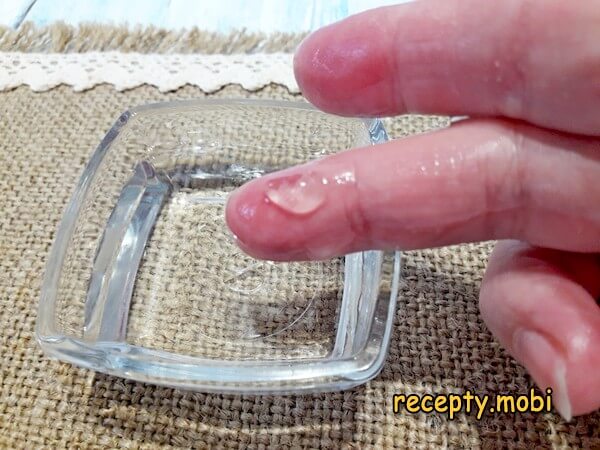
Without a thermometer I boil the fondant to the soft-ball test – I drop hot syrup into a small plate of cold water. The drop should not spread out, but gather into a lump.
You can pick this lump up in your hands and confirm that it has a rounded shape.
Next I quickly cool the mixture by placing it in a container of cold water.
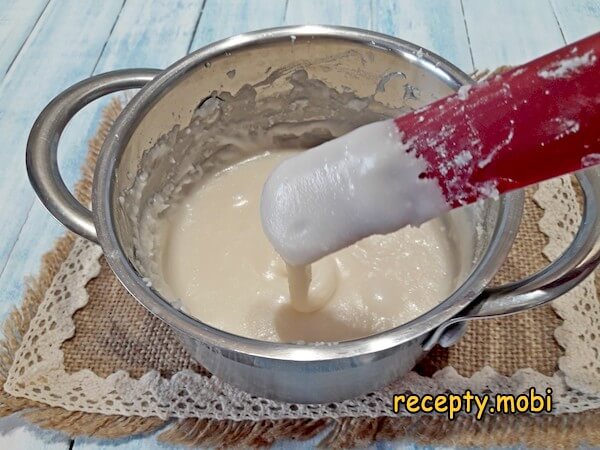
When the syrup cools to 60 degrees, I start whipping it with a mixer or simply with a spatula. Gradually the mass whitens and becomes stretchy. It is important not to over-whip the fondant, so that it does not turn back into sugar.
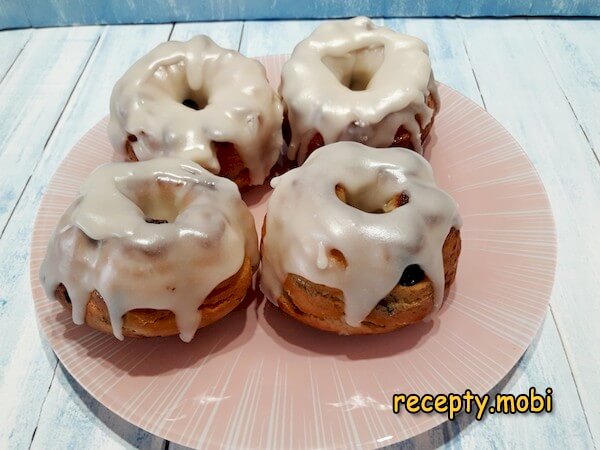
I pour the rum soaking syrup into a smaller container and dip the baba into it, pierced side down. I leave the cake there for about 10 minutes.
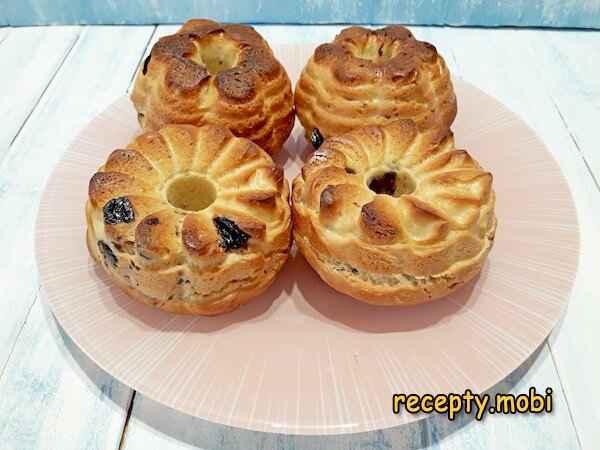
Once all the cakes are soaked, I cover them with the snow-white fondant.The delicious classic rum baba with its signature white cap is ready. The soft, moist, rich dough is soaked in rum syrup, which gives it a special charm, while the sweet fondant enhances the pleasant flavour.


Tips
- 1
82% BUTTER is the "secret" to moistness. Butter with 72.5% fat contains more water, and the dough becomes runny. Only 82% gives the correct moist, rich texture.
- 2
LONG KNEADING is the "secret" to the structure. Knead for 2-3 minutes and the dough runs, so the baba won't rise. Knead for 7-10 minutes of stretching and folding and the gluten develops, making the dough elastic.
- 3
DRYING FOR 4-8 HOURS is the "secret" to the soaking. A fresh, hot cake will fall apart in the syrup. A dried one absorbs the rum syrup better and does not crumble.
- 4
LEMON JUICE IN THE FONDANT is the "secret" to whiteness. Without acid the fondant is dark and crystallises into sugar. A teaspoon of juice gives a glossy, snow-white cap. The same principle works in other kinds of rich baked goods with fondant.
FAQ
What can I use instead of rum? +
Alternatives: cognac (25 ml – "the classic, milder"), Amaretto liqueur (25 ml – "an almond note"), brandy (25 ml – "premium"), "Muscat" dessert wine (25 ml – "gentler"), Madeira (25 ml – "premium"), a non-alcoholic rum essence (5 ml + 20 ml of juice – "the kids' version"), or orange juice + 1 tsp of vanilla extract (50 ml – "alcohol-free"). Do not use vodka (neutral flavour) or cheap flavourings. For "the classic" you really need a good-quality dark rum or cognac.
Can I bake it without a baba mould? +
Alternatives: silicone muffin moulds of 240 ml (4 pcs – "the classic"), corrugated metal moulds (4 pcs – grease them without fail), heatproof ceramic mugs (4 pcs – "the home version"), savarin moulds (4 pcs – "premium, the original"), muffin moulds (4 pcs, with increased baking time), a kulich mould (1 large "family-sized" baba), or heatproof glass tumblers (4 pcs – "budget"). Do not use thin plastic (it will melt) or paper cases (the dough runs). For "the classic" you really need rigid 240 ml moulds with a narrow base.
How long does rum baba keep? +
In the refrigerator in a tightly sealed container – 4-5 days (thanks to the soaking and the fondant). On the second day the flavour becomes richer as the rum soaks deep into the dough. Before serving, leave it for 10 minutes at room temperature. In the freezer without fondant – up to 2 months; defrost, soak, and cover with fondant. A fresh one with its white cap is at its "star" best 1 hour after icing (the fondant sets). Do not leave it at room temperature for longer than 2 days (the dough will dry out). It is ideal to make it "for 1-2 days".
What do you serve rum baba with? +
The French classic: with a cup of espresso or cappuccino. With a scoop of vanilla ice cream. With a scoop of plombir ice cream. With whipped cream. With a cup of cocoa made with milk. With cold milk. With "Earl Grey" black tea. With unsweetened green tea. With a glass of sweet "Sauternes" dessert wine. With a glass of the same rum or cognac. With strawberries or raspberries. With a liquid chocolate sauce. With caramel sauce. With apricot jam on top. With vanilla custard. As a "festive dessert" it is universally suitable. A French baba for a birthday, an anniversary, or a romantic evening.
- Comment
or post as a guest
Be the first to comment.


")
