
avg —
Cottage Cheese Pastries – Classic Recipe
Instructions
Start by preparing the dough. Get all the dough ingredients ready from the list above. Be sure to sift the flour (480 g) together with the baking powder (1 tsp) through a sieve – it enriches the flour with air for a light dough structure, and the baking powder is distributed evenly through all the flour.
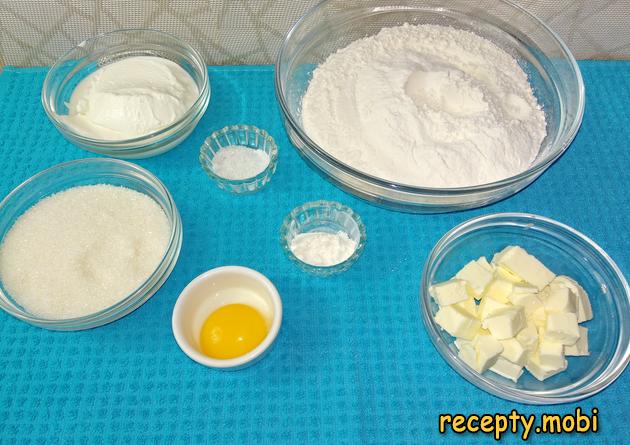
In a large mixing bowl, first combine the wet ingredients: sour cream 20% (200 g), sugar (200 g) and a pinch of salt. Sour cream at 20% fat is the "golden mean" for shortcrust dough. Less fatty sour cream gives a slightly sour taste, while a fattier one makes the dough too greasy.
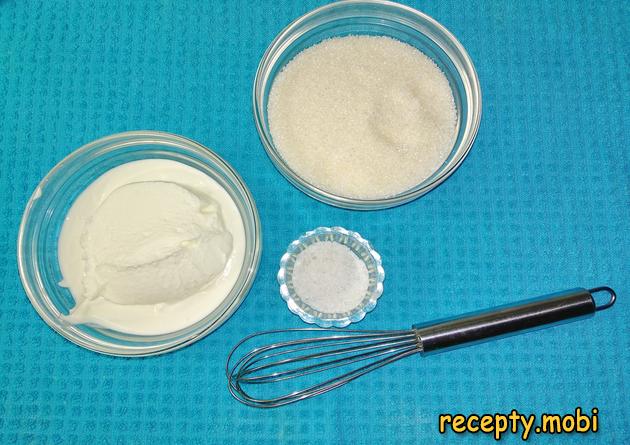
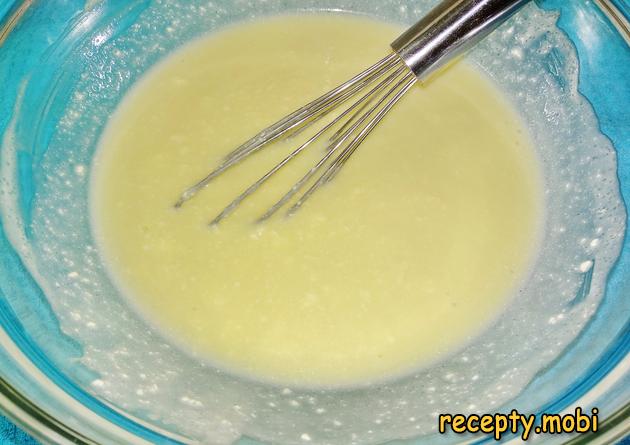
Mix the sour cream with the sugar and salt thoroughly using a balloon whisk for 1–2 minutes until smooth and the sugar has dissolved. The sugar should dissolve completely into the sour cream – check by feel, there should be no crystals left.
Add the sifted flour with baking powder to the wet ingredients. Knead the dough in stages (in 2–3 additions) for a more tender structure. Also add the soft butter (100 g) and the yolk (1 egg – keep the white for the filling!).
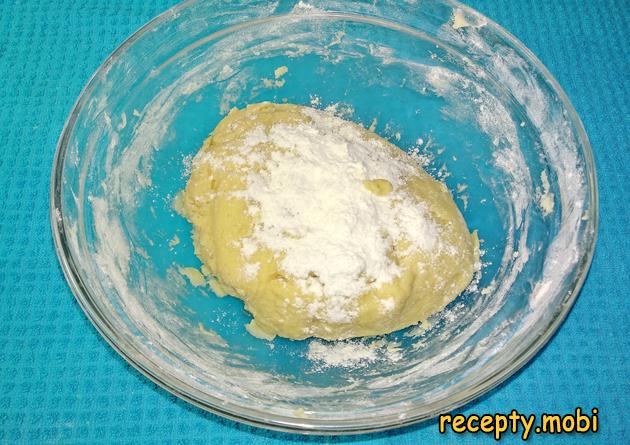
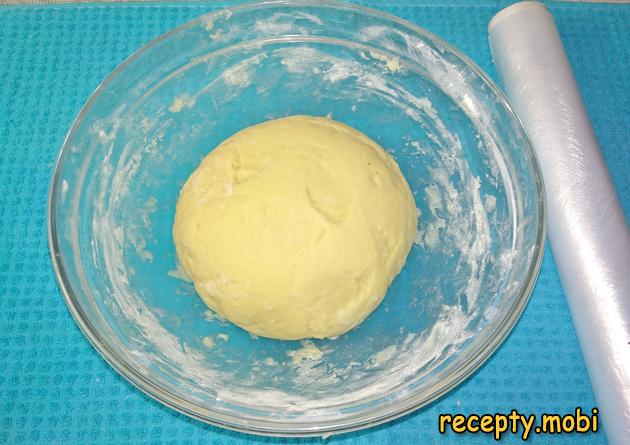
Knead the dough by hand for 3–5 minutes into a soft ball that is not overworked with flour. The dough should be soft, not stiff – the secret to tender pastries. If the dough sticks to your hands, add 1–2 tbsp of flour; if it is too dry, add 1 tbsp of sour cream. Shape the finished dough into a ball, leave it in the bowl, cover it tightly with cling film and set it aside to rest for 15–20 minutes – the gluten relaxes and the dough becomes easier to roll out.
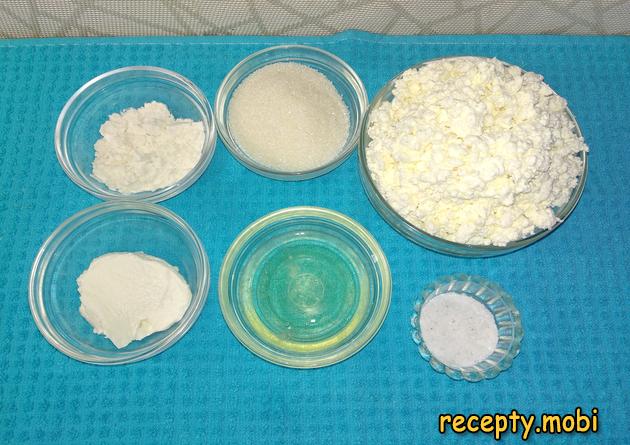
Meanwhile, prepare the cottage cheese filling – the secret of these pastries. Get the filling ingredients ready from the list. Use cottage cheese at 9% fat or homemade (homemade gives a richer flavour). Take the butter out of the refrigerator about an hour in advance so it is soft.
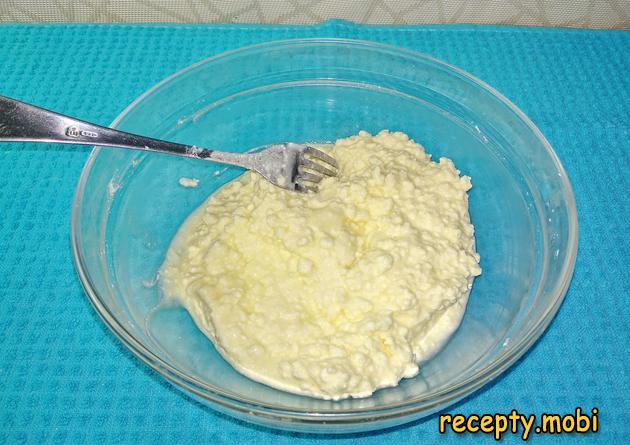
Put the egg white (the one left over from the dough yolk) into a large bowl, add a pinch of salt and whisk lightly for about 30 seconds – you do not need a fluffy foam. Add the sugar (3 tbsp) and mix for about 1 minute until the sugar dissolves. Now add the cottage cheese (350 g) and mix the mass using A FORK, not a blender. Do not beat the cottage cheese mass with a blender; otherwise it becomes very runny and creamy, whereas the filling for these pastries should HOLD ITS SHAPE with a slight graininess of the cottage cheese. Add the flour (1 tbsp) and sour cream (1 tbsp): the flour binds the filling and the sour cream makes it tender. Mix thoroughly with the fork until even. The finished filling is thick and holds its shape when squeezed, but with visible grains of cottage cheese.
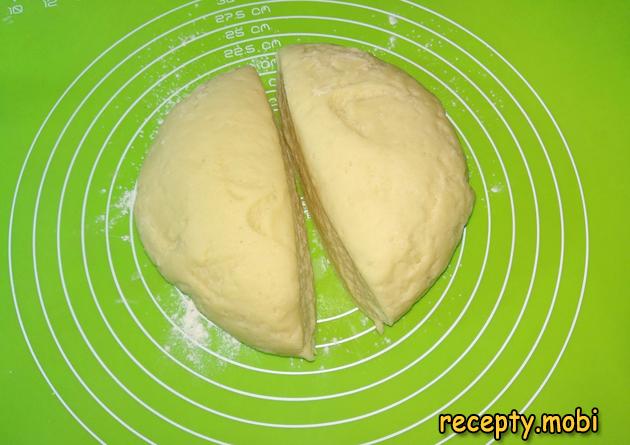
Now start shaping the pastries. Divide the rested dough into two equal parts on a floured work surface – it is easier to work with small portions than with one big piece.
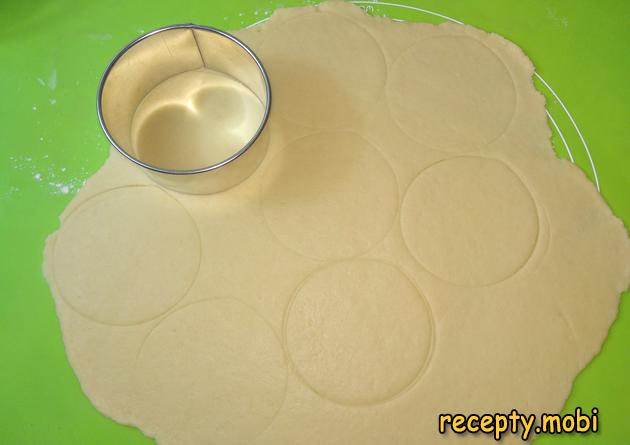
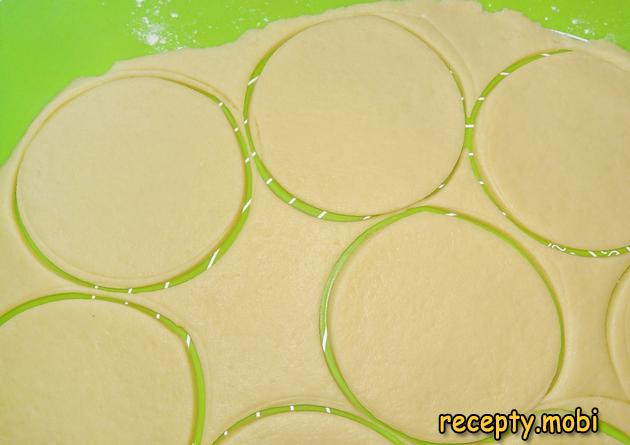
Shape one part into a ball and set it aside under cling film so it does not dry out; roll out the second part into a thin layer about 5 mm thick – the ideal thickness for these pastries. Using a round cutter (10–12 cm in diameter; you can use a glass or a large mug), cut out the blanks. One part of the dough makes 14 rounds, so both parts give 28 blanks in total.
Gather up the excess dough trimmings after cutting and roll them out again – do not throw them away, they will still come in useful. You can add them to the next portion of dough and cut out more rounds.
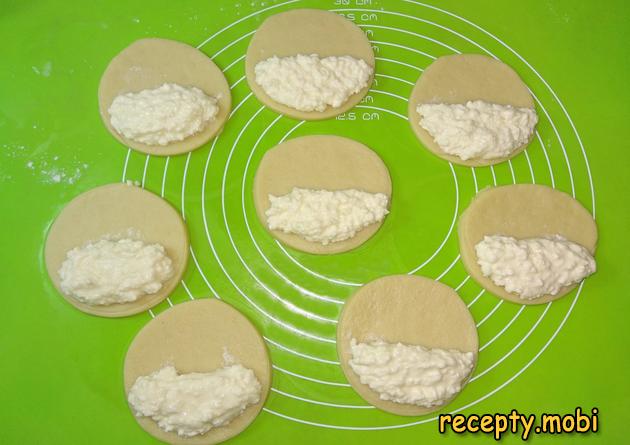
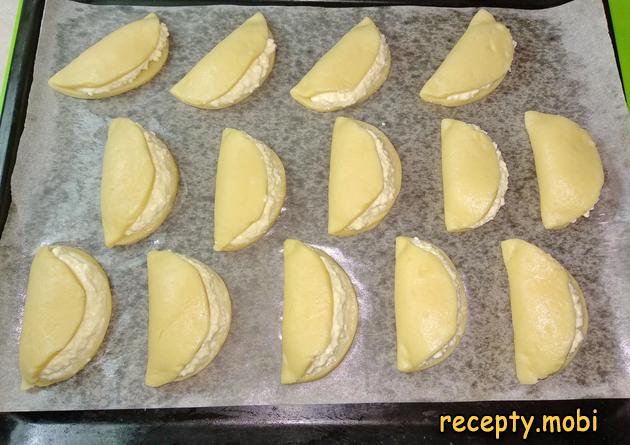
Visually divide each round into two halves. Place one tablespoon of cottage cheese filling on ONE half in an even mound, leaving the other half completely empty.
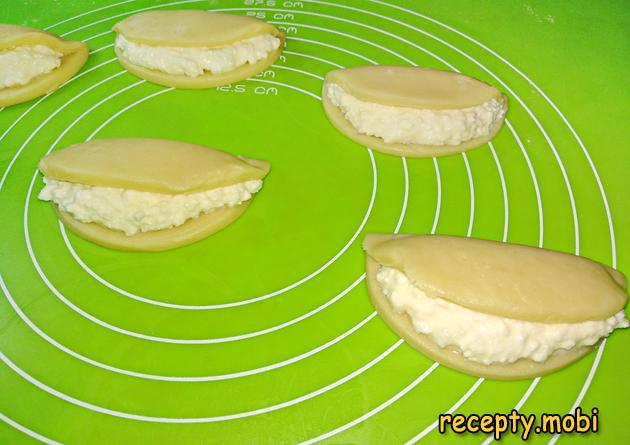
Cover the cottage cheese filling with the empty half of the round. Important: do not press it down hard – the filling should peek out slightly along the sides of the open pastry. Just gently "cover" the filling and lightly press the edges together on both sides at the fold to fix the shape.
Transfer the formed pastries carefully onto a baking sheet lined with parchment paper. If the paper is not greased, I recommend lightly brushing it with a little vegetable oil (1 tsp) so the baked pastries do not stick when you lift them off.
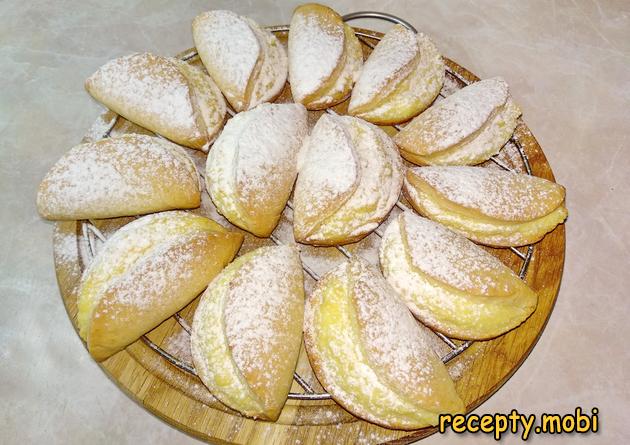
Preheat the oven to 180°C on the top-bottom mode. Bake the pastries for 25 minutes – watch that they turn golden but do not burn. According to the classic recipe, the cottage cheese pastries are now ready. Take them out of the oven, let them cool on the tray for 10 minutes, then transfer them to a nice serving plate. Before serving, dust them with powdered sugar through a sieve (30 g). For a glossy surface you can brush the pastries with beaten yolk before baking, but this is optional.Serve the finished tea-time treat with hot tea, cold milk or cocoa. If a child does not like to eat plain cottage cheese, make these pastries instead – they can win over even a fussy eater.


Tips
- 1
Mix the filling ONLY WITH A FORK, not a blender – this is the secret of a filling that holds its shape and does not leak.
- 2
Do not press down hard when shaping – the filling should peek out along the sides of the open pastry.
- 3
Let the dough rest for 15–20 minutes – the secret of a tender structure. I bake cottage cheese cheesecakes (vatrushki) on a similar principle.
- 4
The sour cream for the dough should be 20% fat – less fatty gives a sour aftertaste, fattier makes it greasy.
Video
FAQ
What can I use instead of cottage cheese in the filling? +
Several options work: Italian ricotta (a more tender texture), mascarpone (a more indulgent cream), Philadelphia cream cheese (for a modern version), a mix of cottage cheese and sour cream 70/30 (a more tender filling), or thick 10% Greek yogurt with a little starch (a lighter version). For a vegan option, use soy or coconut "cottage cheese". Cottage cheese at 9% is the classic choice for Soviet-style pastries thanks to its dense structure and characteristic cottage-cheese flavour, and homemade cottage cheese gives the richest filling of all. Each substitute brings its own character; for a premium version, use mascarpone with cottage cheese 50/50.
Can I freeze the finished pastries? +
Yes, you can freeze the finished pastries for up to 1 month in airtight bags with parchment between the layers so they do not stick together. Before serving, thaw them completely at room temperature for about 1 hour and warm them briefly in the oven for 5 minutes at 100°C to bring back their softness. You can also freeze the RAW blanks on a tray (1–2 hours in the freezer), then transfer them to a bag – a handy make-ahead option for up to 1 month. To bake them, do not thaw; put them straight into a hot oven and increase the baking time to about 30 minutes. Ideal for getting ready for guests in advance.
How long do the finished pastries keep? +
The finished pastries keep at room temperature in an airtight container for up to 2 days (thanks to the sour cream and cottage cheese they do not dry out quickly). In the refrigerator they keep for up to 4 days under cling film – before serving, warm them for about 30 seconds in the microwave to restore their tenderness, or serve them cold. You can also freeze them for up to 1 month as described above. Dust them with powdered sugar right before serving – it looks nicer on fresh pastries. They are best on the day of baking, when they are most fragrant and still warm.
What should I serve cottage cheese pastries with? +
They are ideal with hot drinks for family tea time. With tea – black with lemon or green with jasmine, herbal tea with mint, or tea with milk. With coffee – espresso, latte, cappuccino, or cocoa with milk. For children – with milk, cocoa, fruit drink or kissel. For a dessert table, grown-up drinks such as dessert liqueurs (Baileys, Amaretto), semi-sweet white wine (Moscato) or sweet sparkling wine (Prosecco) all suit them. For an Easter spread, serve them alongside kulich and coloured eggs. They also make a lovely gift in a pretty box with a ribbon.
- Comment
or post as a guest
Be the first to comment.


")
