avg —
Ajari Khachapuri at Home

Instructions
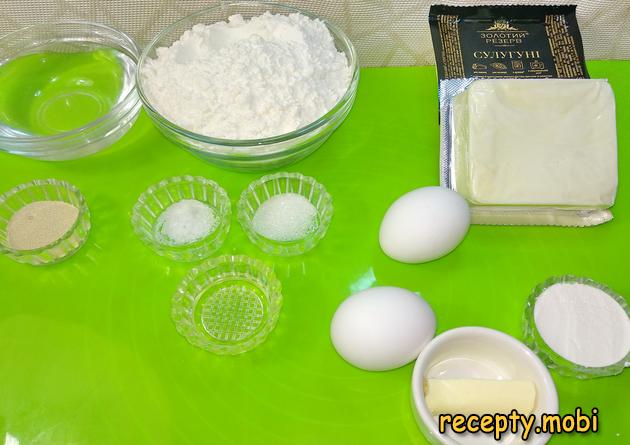
I prepare the ingredients from the list for Adjarian khachapuri at home. Everything should be at hand – working with yeast dough calls for accurate timing.
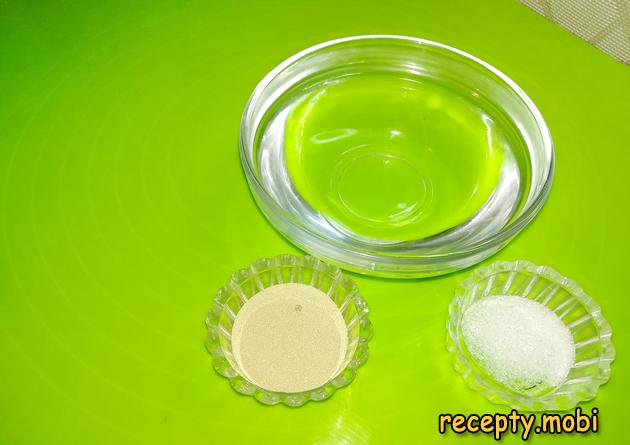
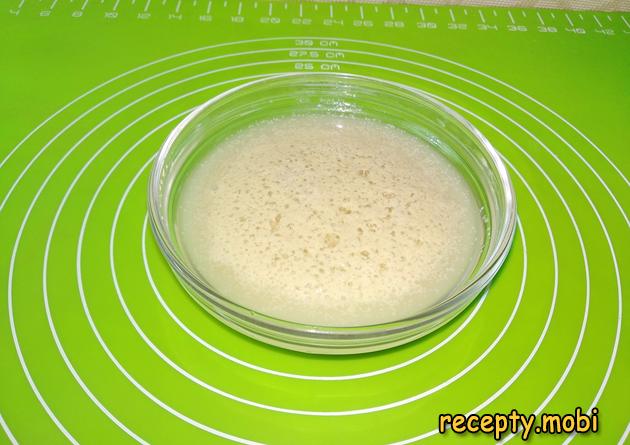
For the sponge the water must be exactly WARM (36–38 °C). I add the sugar and the yeast to the water and stir. I leave it for 10 minutes to activate the yeast. Hot water (above 40 °C) will "kill" the yeast, while cold water will not wake it up.
After 10 minutes a "cap" of foam has formed on the sponge – this tells you the yeast is good quality and you can carry on with it. If there is no foam, the yeast is "dead" and you need to take fresh yeast.
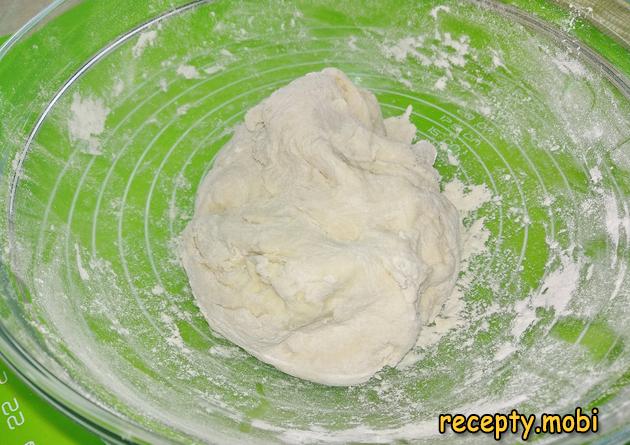
I sift the flour into a large bowl, add the salt and mix the dry ingredients well. I add the sponge and knead the dough – at first with a spatula, once the mass thickens.
Next I knead the dough by hand for 5–7 minutes on the work surface. Kneading develops the gluten – this is important for an elastic dough.
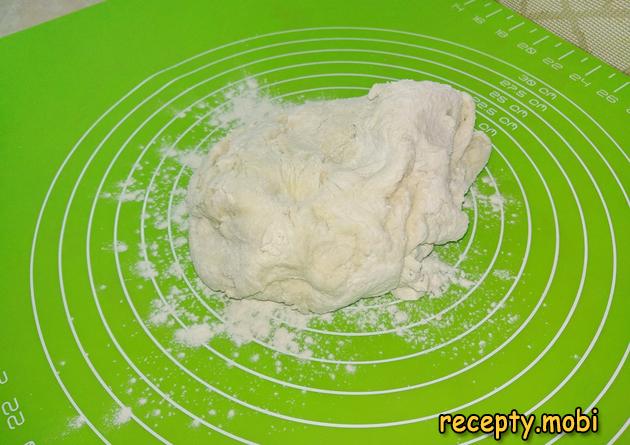
I add the vegetable oil to the dough in 2 additions. Oil at the end of the kneading makes the dough softer and more elastic, and easier to work with when shaping the "boats".
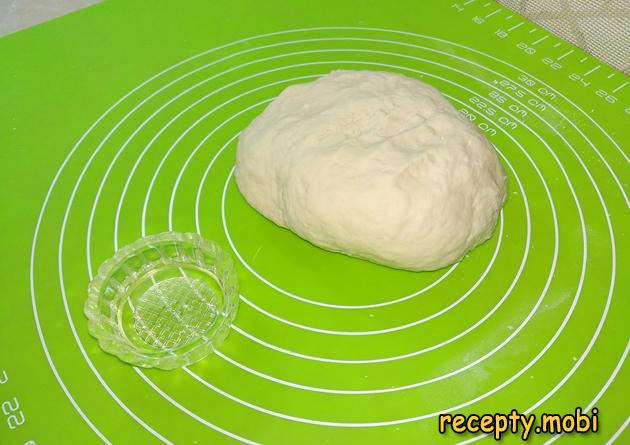
The dough has turned out soft and elastic. I roll it into a ball for the next stage – the rising.
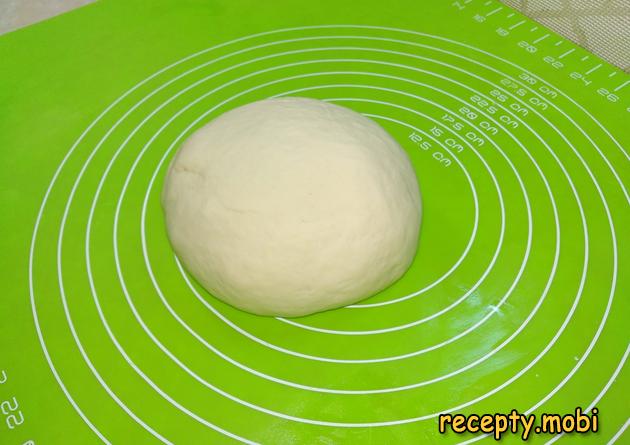
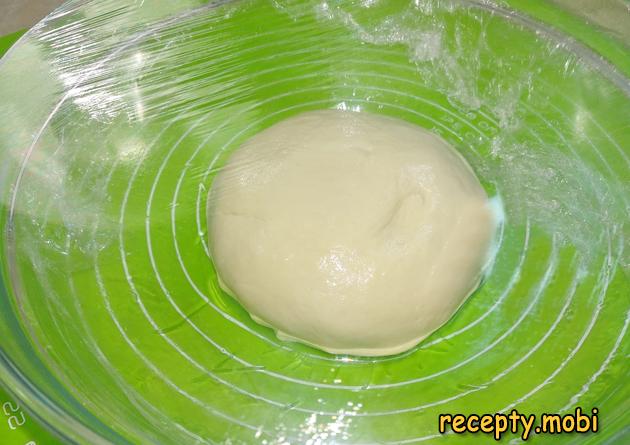
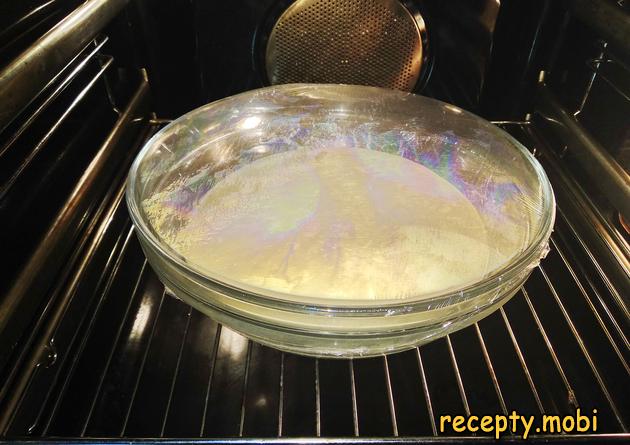
I grease the inside of the bowl with vegetable oil, coat the dough with oil too and transfer it to the bowl to rise. I cover it tightly with cling film. I put it in a warm place for 1 hour. As a "warm draught-free cupboard" I use the oven – ideal conditions for rising.
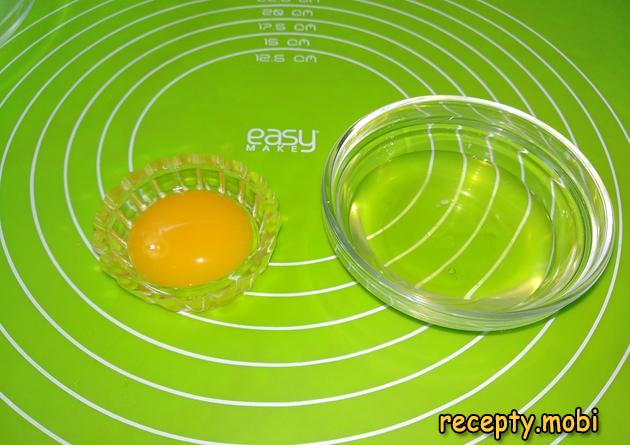
I separate the white from the yolk of one egg. The white will go into the filling, and with the yolks (2 pcs) I will brush the khachapuri before baking for an appetising golden crust.
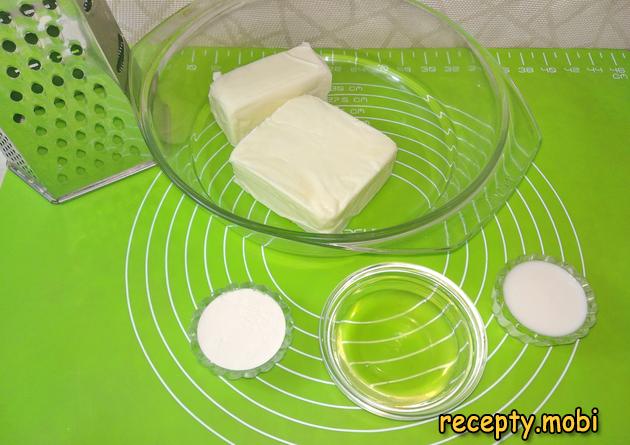
I prepare the ingredients for the filling: suluguni cheese, the white of one egg, flour, milk.
I grate the suluguni cheese on a coarse grater. A coarse grater gives the filling its characteristic "fibrous" texture in the cut – this is exactly how real khachapuri should look.
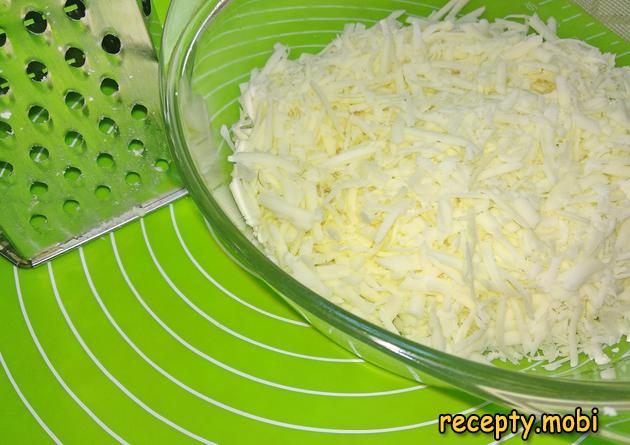
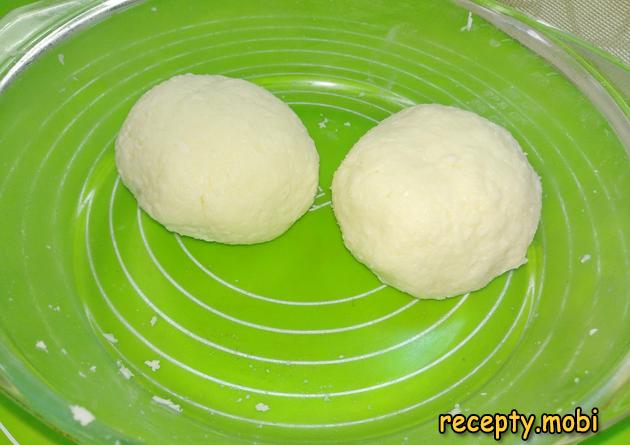
To the grated cheese I add the other ingredients: the white, the flour and the milk. I mix the mass well until uniform. If needed I add salt to taste. I divide the cheese filling into 2 equal parts for the two khachapuri.
An hour has passed – the dough has risen well and increased 2–3 times.
I also divide the dough into 2 equal parts – one for each khachapuri.

Without a rolling pin, I shape round bases simply by hand. Around the edge I lay out the cheese and fold over the cheese borders. I seal the "ears" well and form the "boat" – the characteristic shape of Adjarian khachapuri.
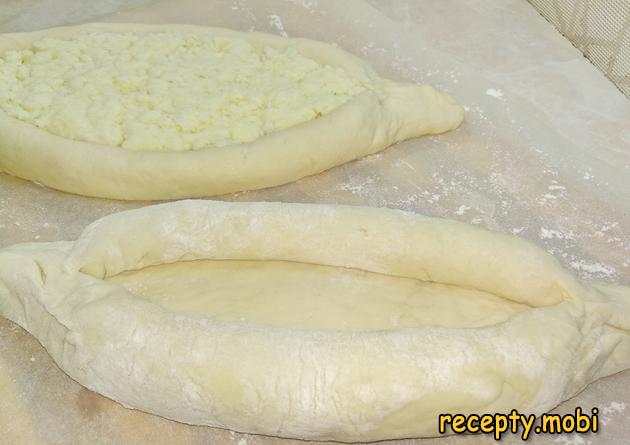
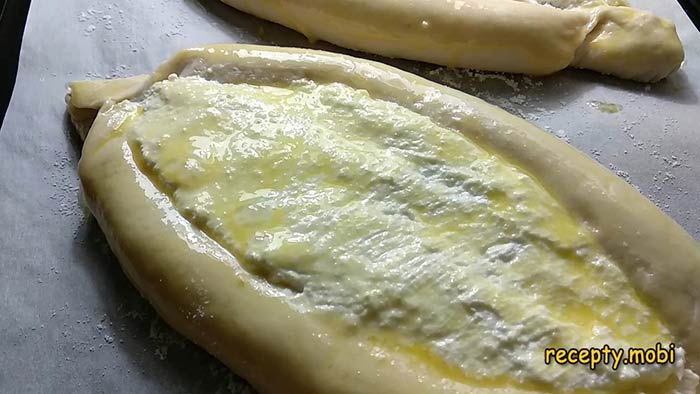
I fill the bases with the cheese filling. I brush the dough with yolk using a silicone brush – it is the yolk that gives the appetising golden-rosy colour after baking.
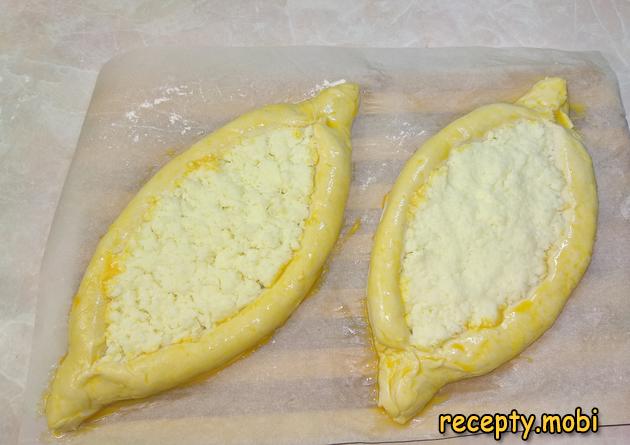
While I shape the khachapuri, the oven is already heating to its maximum temperature – for me that is 250 °C. I transfer the khachapuri onto the baking tray heated in the oven. I put them in the oven and bake until golden – it took me 20 minutes. The maximum temperature is the secret of classic cheese pastry with a quick cheese crust.
After 20 minutes I take out the golden khachapuri, make a hollow in the filling and pour one yolk into each. It is this runny yolk that is the characteristic touch of Adjarian khachapuri.

For a maximum of 1 minute I put the khachapuri back in the oven – the yolk should set slightly but stay runny inside so it can be "stirred in" while eating.

I dress the finished Adjarian khachapuri with pieces of butter – it melts on the hot cheese surface and creates a wonderful aroma.



Tips
- 1
The water for the sponge must be strictly 36–38 °C. Check with your finger: it should be "barely warm", not hot. Hot water will kill the yeast, cold water will not activate it.
- 2
Grate the suluguni on a COARSE grater – this gives the filling its characteristic "fibrous" texture in the cut. A fine grater will give a "purée".
- 3
The oven must be heated to the MAXIMUM (250 °C) – this is the secret of the proper crust and flavour. I use a similar approach for other kinds of cheese pastry.
- 4
Add the yolk into the middle of the boat at the very end – a minute before serving. The yolk should stay runny for the "stir-in" effect while eating.
Video

FAQ
What can I substitute for suluguni cheese? +
Suluguni is a traditional Georgian brined cheese with a characteristic fibrous structure. Substitutes: mozzarella (an Italian alternative, close in meltiness), Adyghe cheese (softer, neutral), Imeretian cheese (the closest relative of suluguni), brynza (saltier – reduce the amount of salt). For a "blend" you can mix suluguni with mozzarella 1:1 – this gives the best combination of flavour and meltiness. Processed cheese is NOT suitable – it gives a "rubbery" texture.
How do I eat Adjarian khachapuri properly? +
Traditionally it is eaten by hand: you break off a piece of the rim, dip it into the cheese-and-yolk mass in the centre and put it in your mouth. As you eat, the yolk mixes with the cheese, creating a "sauce". First the khachapuri is stirred a little with a fork – combining the yolk with the cheese and butter. The butter on top is added straight away or as you eat. It is served with a chilled glass of dry red wine (Saperavi, Mukuzani) – a classic Georgian pairing.
Can I make khachapuri without eggs in the filling? +
Yes, but then it is no longer "Adjarian" but a different kind of khachapuri. Without an egg in the centre it is simply a "boat with cheese" (resembling lazy khachapuri). The white in the filling can be replaced with cream cheese (30 g) or ryazhenka (2 tbsp) – they also give a binding effect. But it is exactly the combination of the runny yolk, the stretchy cheese and the butter on top that makes Adjarian khachapuri just as it is known. Without the egg the flavour turns out more "bland".
How long do khachapuri keep? +
Khachapuri are best eaten HOT on the day they are made – this is essential, only then does the flavour of the stretchy cheese and the runny yolk come through. In the refrigerator they can be kept for a maximum of 1 day – the cheese will "set" into a firm mass and the yolk will become rubbery. Reheat in the oven for 5–7 minutes at 200 °C, but the "just-made" effect can no longer be brought back. The dough can be made in advance (put it in the refrigerator overnight instead of rising) – in the morning shape it and bake.
- Comment
or post as a guest
Be the first to comment.