
avg —
Fluffy Semolina Cake with Milk in the Oven
Instructions
I prepare the ingredients for the fluffy semolina cake with milk. For the batter it is preferable to use hard-wheat semolina – it gives a more pronounced "grainy" structure in the finished cake. If you don't have it, you can take ordinary semolina. The lemon zest used as a flavouring may be replaced with vanilla (0.5 teaspoon) – the flavour will be different, but pleasant too.
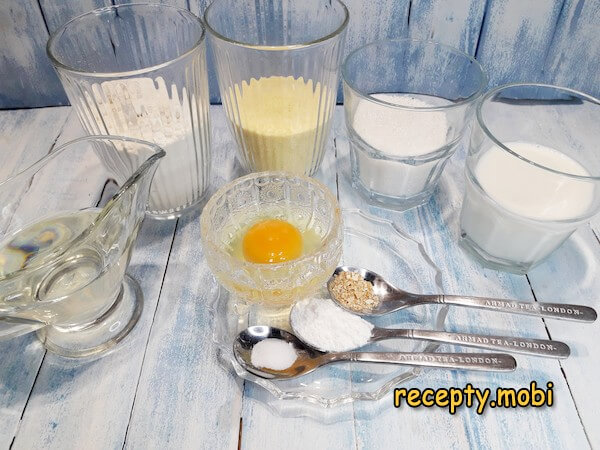
I prepare the products for the topping – sour cream and sugar. I take 20% sour cream; a fattier one gives too dense a glaze, a fat-free one too runny.

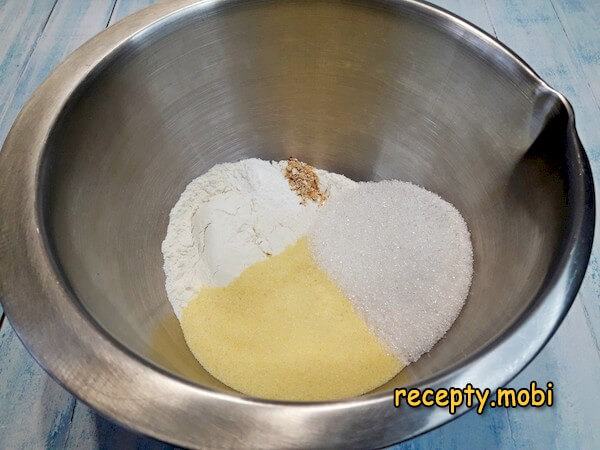
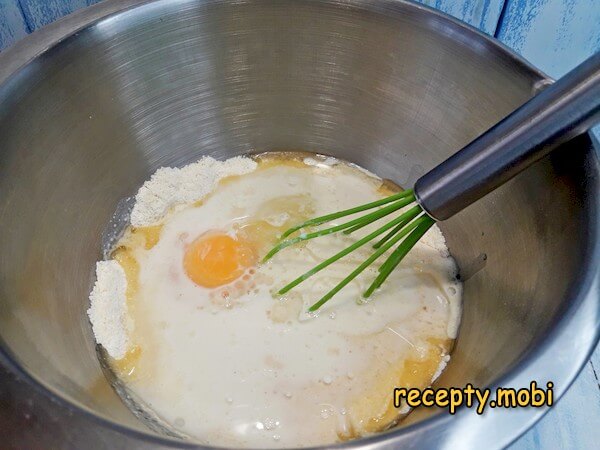
I put all the dry ingredients (flour, semolina, sugar, salt, baking powder, lemon zest) into a mixing bowl. I stir the mixture with a whisk so that all the components are spread evenly throughout – it is especially important that the baking powder doesn't stay in a lump in one spot, otherwise the cake will rise unevenly.
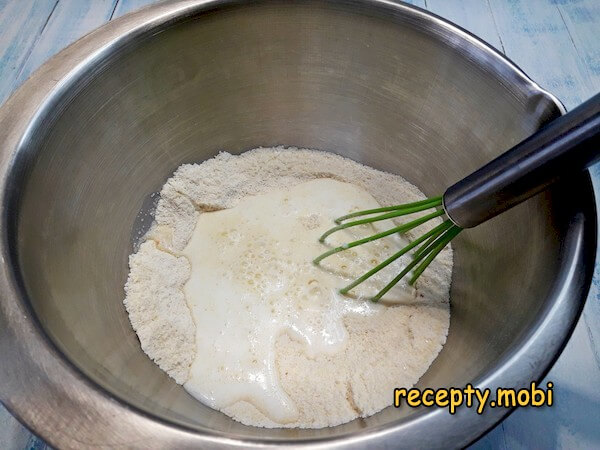
Into this mixture I pour the milk – at room temperature exactly, as cold milk disperses the oil poorly and the batter ends up with an uneven structure.
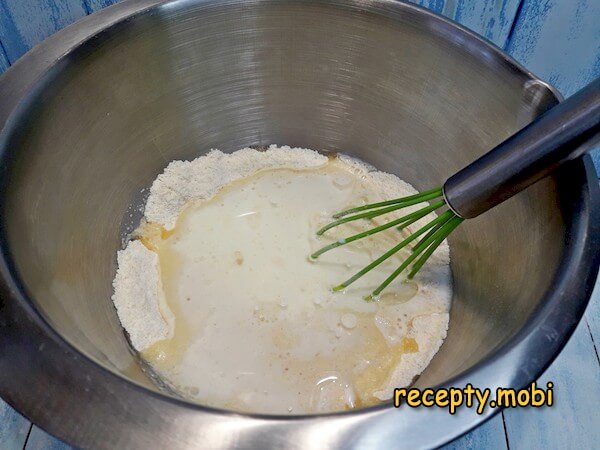
Next – the vegetable oil. It makes the finished cake soft and keeps it from going stale the next day.
And at the end I beat in the egg – it works as a binder and at the same time as a fluffing addition.
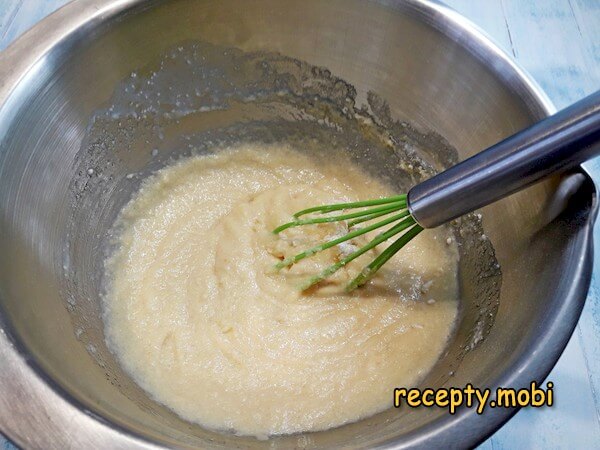
I combine the wet and dry components first with a whisk, so that no dry patches remain – it is precisely the dry spots that later leave "patches" in the texture of the finished cake.
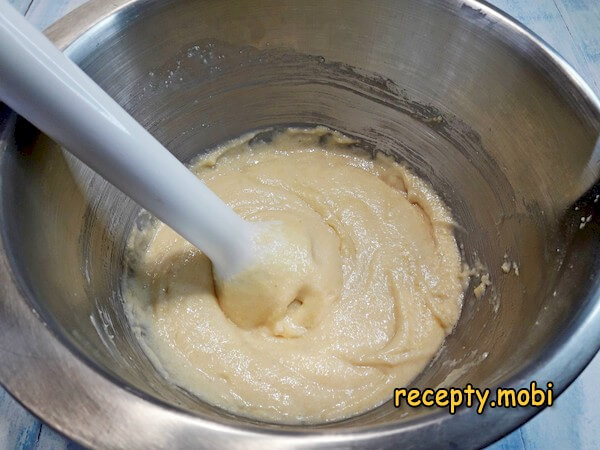
Next I beat the batter well with an immersion blender. After this it becomes fluffier and gets saturated with oxygen, which helps it rise easily during baking. This is the secret step of the recipe – without a blender the cake will still rise, but not as fluffy.
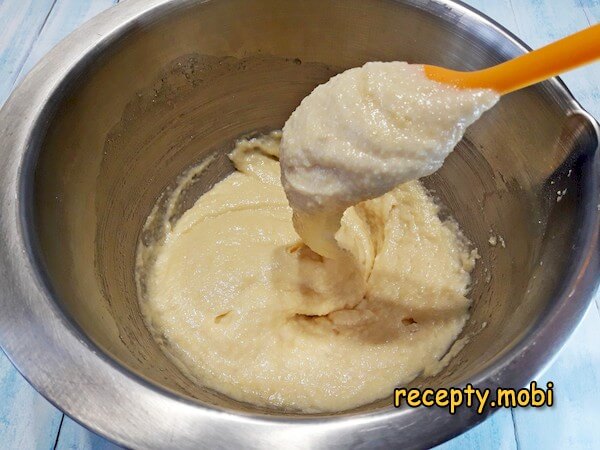
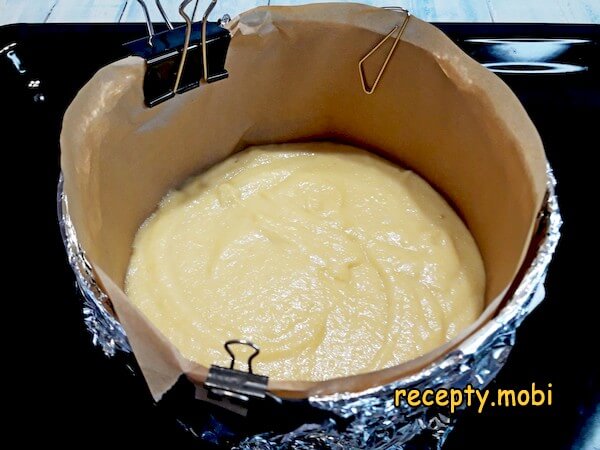
The batter turns out fairly thick – it slides slowly off the spatula, like very thick sour cream. It shouldn't be any thinner, otherwise the cake will sink after baking.
Next I transfer the batter into the form, level it and let it stand for half an hour so the semolina swells – without this stage the semolina grains in the finished cake will be hard and crunchy, like sand. During this time I heat the oven to 180 degrees.
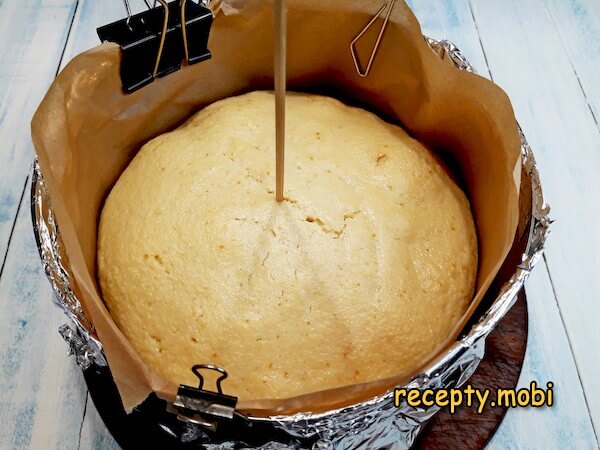
I bake the cake for about half an hour, checking doneness with a wooden skewer – after being plunged into the very centre, the stick should come out dry and clean. If the skewer is wet, I give it another 5 minutes, until I just barely overdry it.
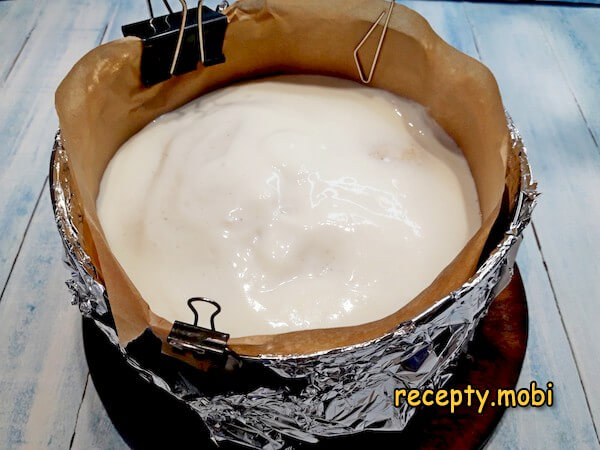
I make the topping by mixing the sour cream with sugar. I pour it straight onto the hot cake and level it – the hot surface of the cake partly dissolves the sugar and binds the topping to the upper layer.
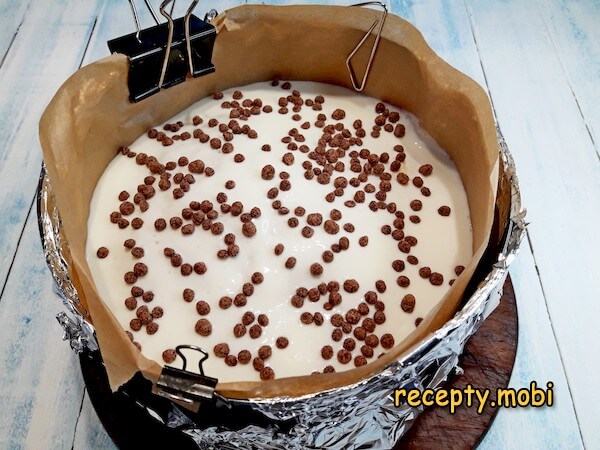
The top can be sprinkled with grated chocolate, rice balls or confectionery sprinkles. I put the cake back into the hot oven for literally 1.5–2 minutes – it is during this time that the sour cream sets, forming a glossy glaze. After this I cool it to room temperature and only then remove the form and take off the parchment.This fluffy semolina cake with milk in the oven slices easily into individual pieces that are lovely to serve at a family or friendly tea. The cake doesn't go stale for a long time, although it is unlikely to keep for more than one day – it's hard to resist such tender baking.


Tips
- 1
FLOUR IN ADDITION TO SEMOLINA – the "secret" of the rise. Made purely on semolina, the cake turns out dense, low, without the characteristic porousness. Flour + semolina in a ratio of 115:100 gives the classic rise and a fluffy structure.
- 2
A HALF-HOUR REST BEFORE BAKING – the "secret" of a tender texture. Without resting, the semolina doesn't have time to swell in the liquid, and in the finished cake the grains crunch like sand. With 30 minutes of rest, the semolina softens and the texture becomes velvety. The same trick works in fluffy apple charlotte in the oven.
- 3
AN IMMERSION BLENDER FOR THE BATTER – the "secret" of fluffiness. Mixing with a whisk gives a normal cake. Beating it additionally with a blender saturates the batter with air, and the finished cake grows taller and becomes airier.
- 4
SOUR CREAM ON A HOT CAKE – the "secret" of a glossy glaze. Sour cream on a cold cake stays runny and drips down the sides. Sour cream + sugar on a hot surface, plus 2 minutes in the oven, sets into a dense glossy glaze, like on professional cakes. The same principle is used in fluffy sponge pear cake with caramel.
Video
FAQ
Can the milk in the cake be replaced? +
Yes, and there are several options. The "classic" is cow's milk 2.5–3.2% (115 g, neutral flavour). Alternatives: kefir 2.5% (115 g, a little more sour, but works great with baking powder), ryazhenka (115 g, a richer creamy flavour), baked milk (115 g, a gently caramel note), plant-based milk – soy or oat (115 g, for a vegan version). Do not use: UHT fat-free milk (the batter turns out watery) or condensed milk (it upsets the sugar balance). For a premium version – homemade whole milk.
What can replace semolina if you don't have it? +
Hard-wheat semolina can be replaced with: ordinary semolina (100 g, a slightly less "grainy" texture), fine cornmeal (100 g, a brighter yellow colour), polenta (100 g, a premium option with an Italian accent), fine rice starch (80 g, for a gluten-free version). Do not use: rolled oats (a different texture, the batter becomes dense like a biscuit) or flour entirely (without semolina there is none of the characteristic "grainy" structure of a semolina cake). Semolina is the basis of this recipe; entirely without it you'll get not a semolina cake but an ordinary sponge.
How long does the finished cake keep? +
In an airtight container at room temperature – 2–3 days without loss of texture. On the second day the flavour becomes richer – the topping soaks deeper into the upper layer of the cake. In the fridge – up to 5 days, but the bottom crumb may dry out slightly; before serving it is better to take it out half an hour ahead so the cake warms to room temperature. Individual pieces can be put in the freezer for up to 1 month, defrosting in the fridge for 6–8 hours. Signs of spoilage: mould on the topping, a sour smell, the batter crumbling to sand. On a family table it usually "disappears" within one day.
What to serve with the semolina cake? +
The "classic" is hot black tea with lemon or milk. Also suitable: natural espresso coffee or cappuccino, cocoa with marshmallows, warm milk with honey, a berry or fruit compote. With the cake you can serve a scoop of vanilla ice cream or a spoonful of thick sour cream for a contrast of temperatures. For a children's table – with cocoa and whipped cream. For an adult one – with Sauternes dessert wine or Baileys liqueur. A universal homely dessert for a family tea or for hosting guests. For a morning breakfast it goes wonderfully with coffee and fresh berries.
- Comment
or post as a guest
Be the first to comment.


