
avg —
German Kuchen Pie
Instructions
To make the German Kuchen pie, I get the dough ingredients ready. I use thick sour cream, at least 20% fat, and always at room temperature.
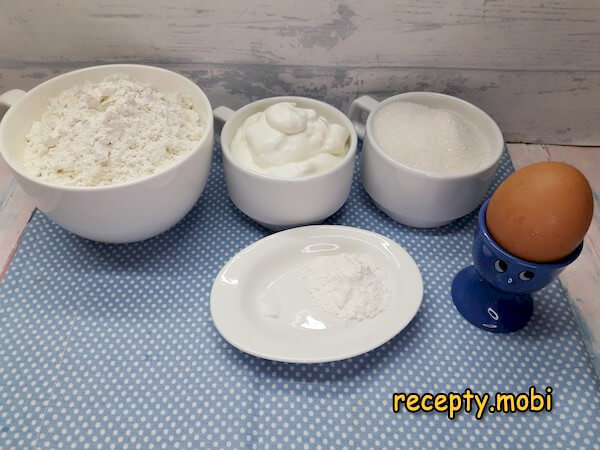
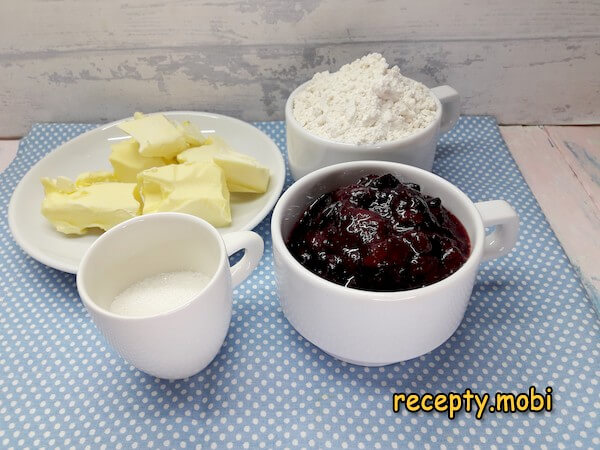
I gather the ingredients for the topping and the butter crumbs. The jam can be replaced with slices of fresh apple. I switch the oven on straight away to 190 °C (if it has the option, I use only the lower heating element, because the topping can scorch at a high temperature).
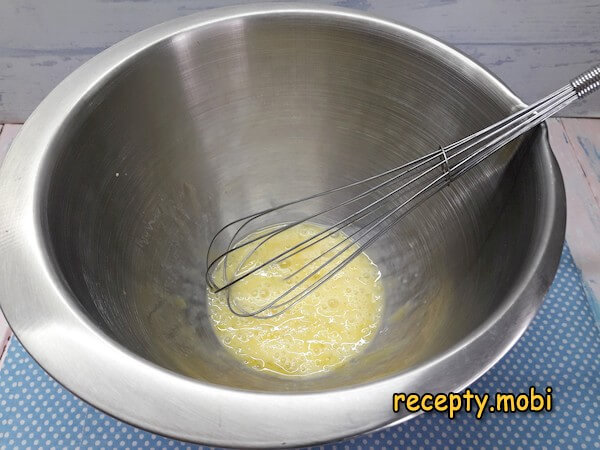
I put the egg in a deep bowl and whisk it well.
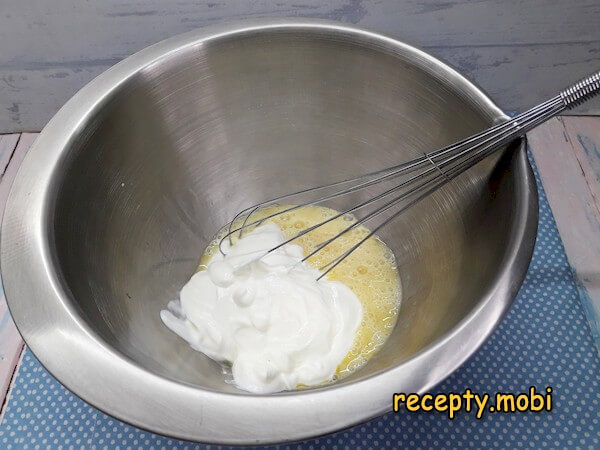
I add the sour cream.
I sprinkle in the baking powder and, to round out the flavour, the salt. Since the sour cream is not cold, the reaction starts straight away and the mixture rises a little in volume.

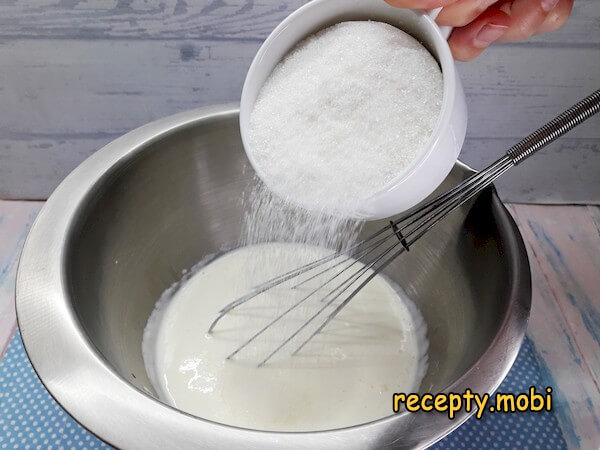
I add the sugar and stir.
I start adding the flour little by little, stirring the mixture with a whisk at first.
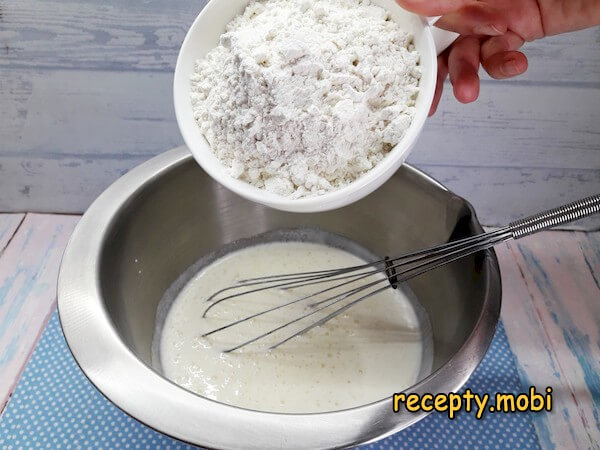
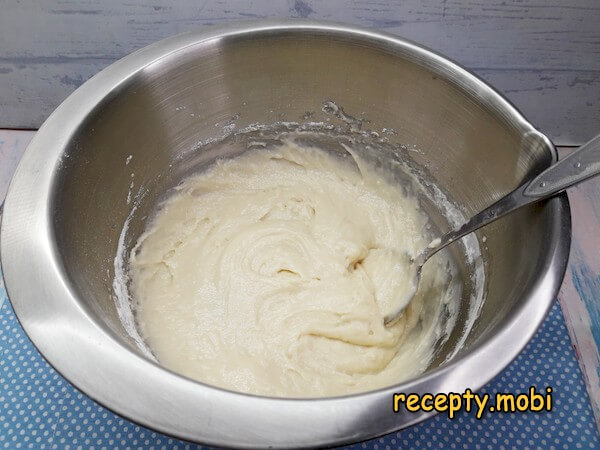
Then I take a spoon and work in the remaining flour. The dough turns out stretchy and sticky.
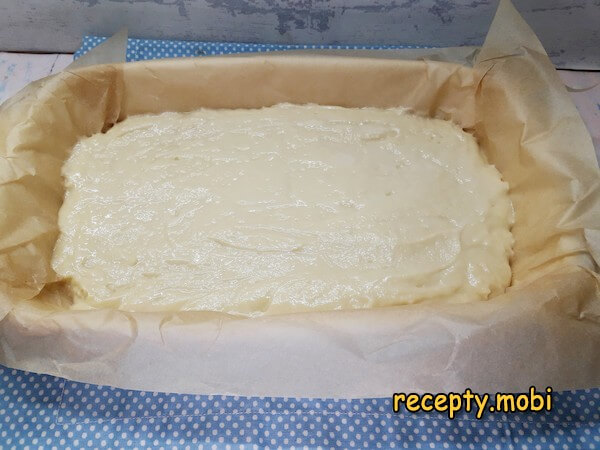
To make it easier to lift the pie out, I line the form with parchment. I transfer the dough into it and smooth it out with the back of a spoon.
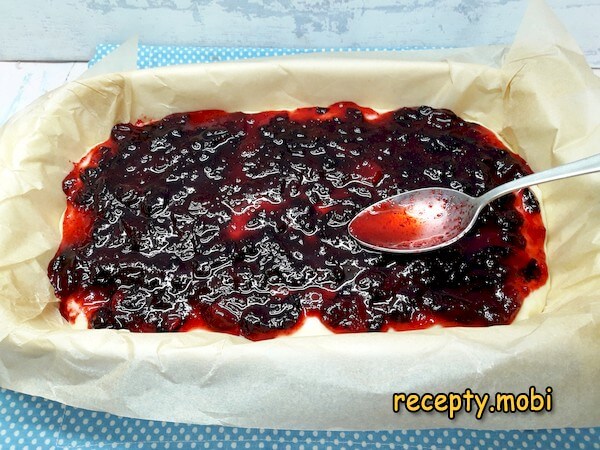
Over the levelled surface I first place the jam in small mounds, so it does not mix into the dough.
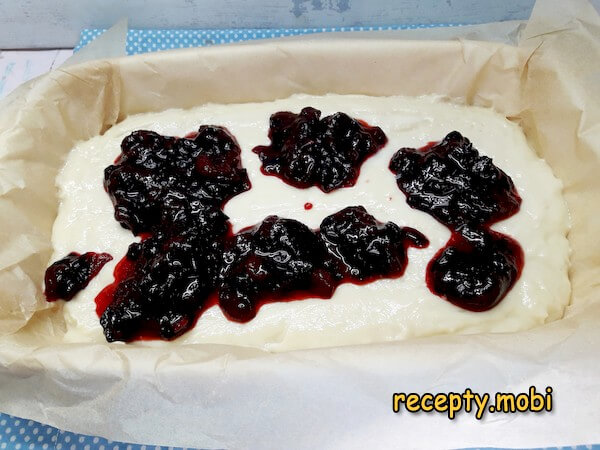
Then I spread the jam out with a spoon, evening out the thickness across the whole surface.
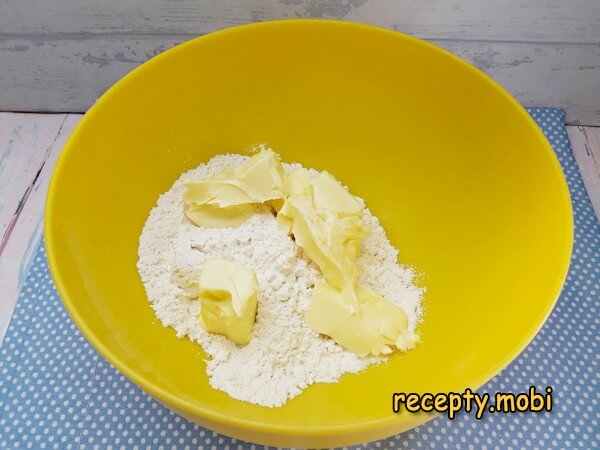
I quickly make the streusel crumbs. I put the flour (not all at once), the sugar, and the butter in a bowl.
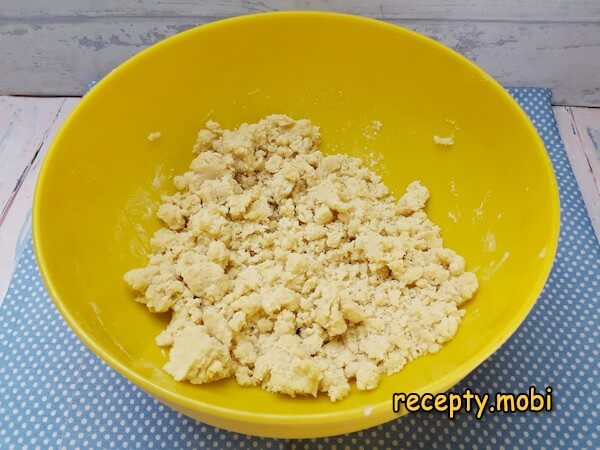
I rub the ingredients together by hand so that no dry mixture is left. I add the rest of the flour and rub the mass between my palms, forming lumps of various sizes.
I scatter them over the layer of jam.
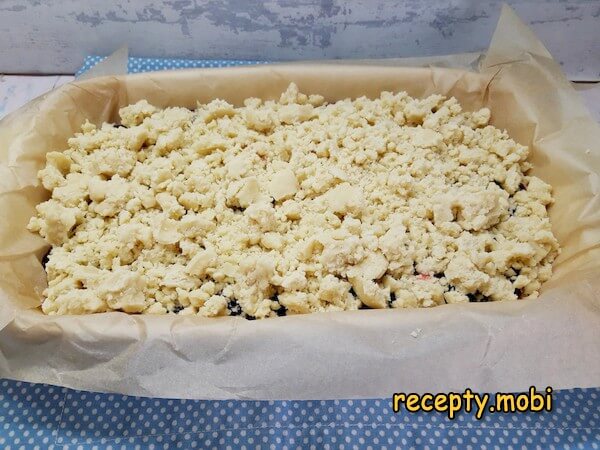
I put the form in the oven for 40 minutes (for this heavy dough that is the minimum baking time). Then I let the bake cool a little.
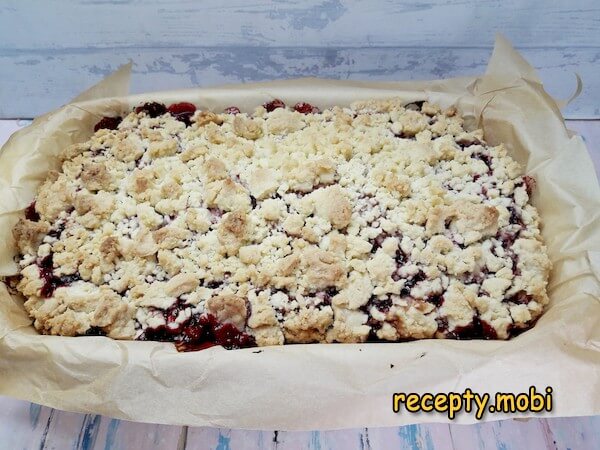
I take the finished pie out of the form. I cut it into portions and arrange the German Kuchen pie on a serving plate. The top can be lightly dusted with icing sugar. It is an indispensable dessert for a celebration, for a cup of your favourite drink, when the whole family gathers at the table.


Tips
- 1
Room-temperature sour cream is the "secret" to the rise. Cold sour cream stalls the reaction of the baking powder. Warm sour cream and the dough rises straight away.
- 2
Jam in mounds is the "secret" to evenness. Spread it straight on and the jam mixes into the dough and is lost. First the mounds, then spread it out with a spoon.
- 3
Lumps of different sizes are the "secret" to the crumb. Uniform flour gives a dense crust. Lumps of different sizes give an appetising, uneven crust with little hollows.
- 4
Lower heat only is the "secret" to the colour of the crumb. With top heat at 190 °C the streusel will burn before the dough bakes through. With lower heat the dough is done and the crumb is golden. The same principle works in other kinds of streusel-topped pies.
FAQ
Which sour cream should I choose? +
Ideally, thick 20% or 25% sour cream (200 g – it holds its shape on the spoon). Alternatives: home-made sour cream (200 g – a "premium" option), 30% "farmhouse" sour cream (200 g – thicker still), thick natural Greek yogurt (200 g – a "lighter" option), a 50/50 mix of 20% sour cream and curd cheese (100 g of each – a "delicate" version), sour cream made from plant-based cream (200 g – a "vegetarian" option). Do not use: runny 10% sour cream (the dough will not come together) or a sour-cream product with vegetable fats. For the "German classic" it must be 20% or above.
What can replace apricot jam? +
Alternatives: pitted cherry jam (250 g – a "German classic"), raspberry jam (250 g – a brighter tartness), apple butter (250 g – a "budget" option), plum jam (250 g – "German-style premium"), blueberry jam (250 g – "premium"), a 50/50 mix of jams (125 g of each – more interesting). Slices of fresh apple also work (300 g – as suggested in the recipe). Home-made jam is a "premium" option. Do not use: runny jam (it will spread into the dough) or jam with a lot of water in it. For the "classic" it must be thick.
How long does the Kuchen keep? +
In an airtight container at room temperature – 2-3 days. In the fridge under cling film – up to 5 days (but the streusel will soften). Before serving, warm it in the oven for 10 minutes at 150 °C to bring the crispness back to the crumb. The microwave is not suitable – the streusel will turn rubbery. In the freezer (cut into pieces) – up to 1 month; thaw for 2 hours at room temperature. The pie is at its best about 30 minutes out of the oven (once it has cooled a little). On the second day the flavour is deeper and brighter. Do not leave it out unwrapped – it goes stale quickly.
What goes with Kuchen? +
German-style classic: with a cup of Viennese coffee with whipped cream. With a cup of cappuccino or latte. With a glass of milk (family-style). With berry compote. With a cup of rooibos. With fresh berries on top (raspberries, blueberries). With floral honey on the side. With a cup of cocoa with marshmallows for children. For a "weekend family breakfast" – with coffee and fruit. A versatile dessert.
- Comment
or post as a guest
Be the first to comment.


