
avg —
Kubdari in Georgian Style
Instructions
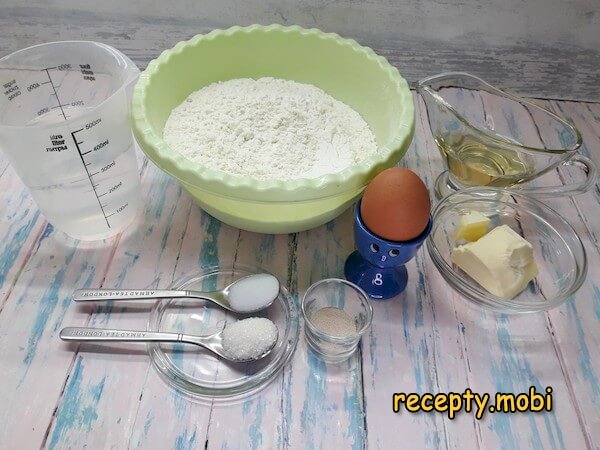
I prepare the ingredients for the yeast dough. The water should be warm, about 38 degrees. I take the butter out of the refrigerator ahead of time so it becomes soft.
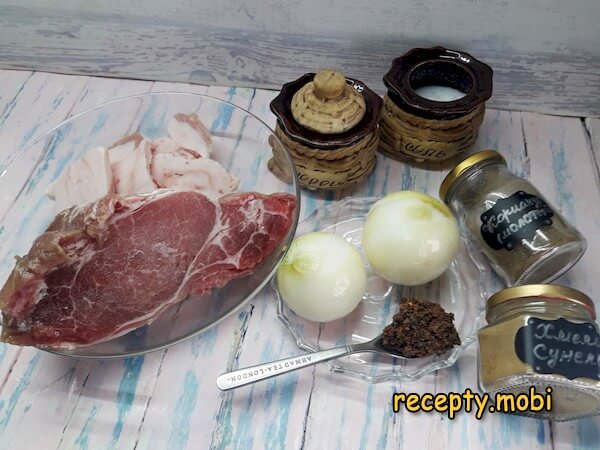
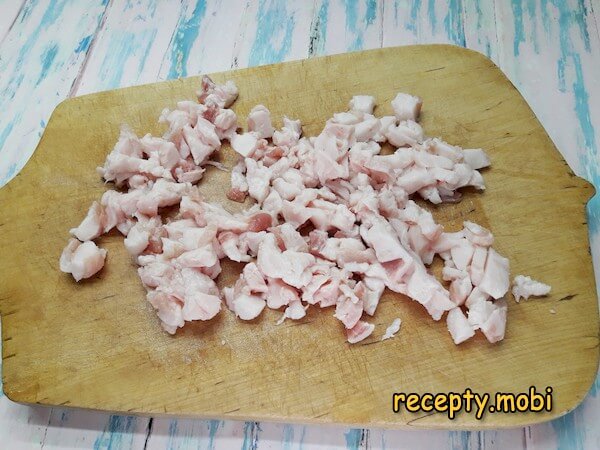
I gather the filling products from the list. It is better if the meat and fat are slightly frozen, then they are easy to cut into small pieces. Instead of Abkhazian adjika you can use a little chili pepper.
It is worth starting with the dough. I dissolve the yeast in the sweetened water. I leave the mixture to stand on the table. I don't add salt yet, as it slows down the fermentation process.
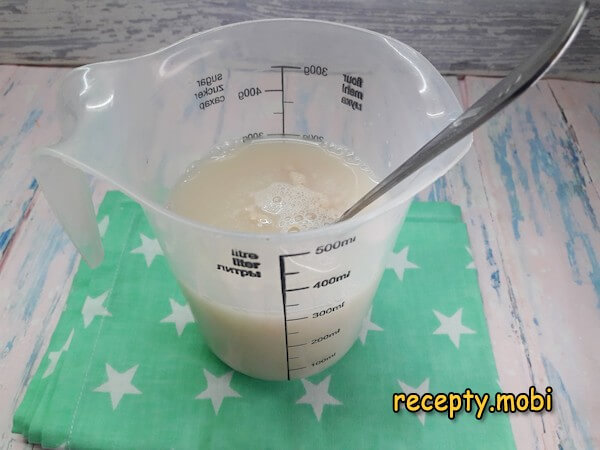
After about 10 minutes the yeast starts to work.

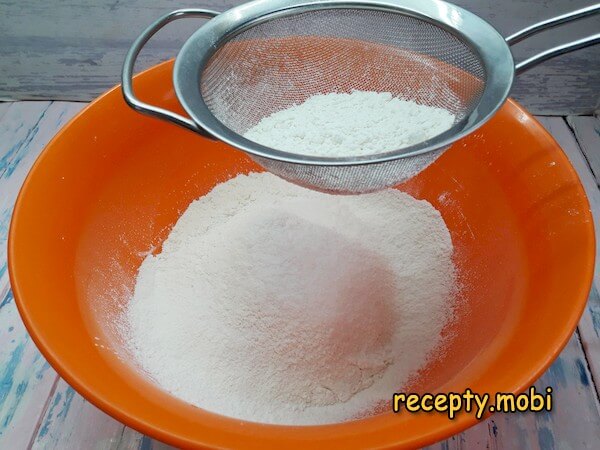
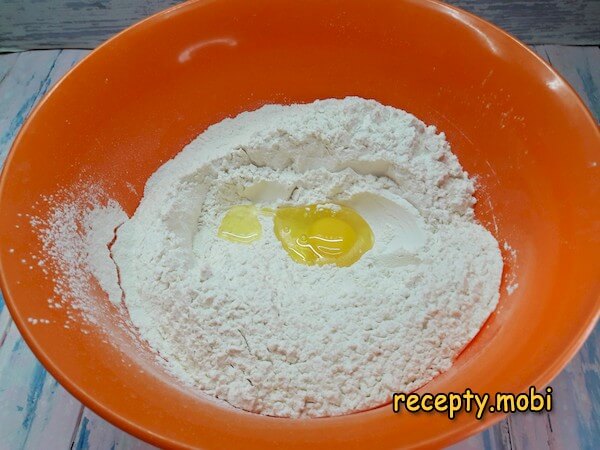
I sift the flour into a large bowl – this way it is enriched with oxygen and the dough rises better.
I make a well in the centre of the sifted flour and crack the egg into it.
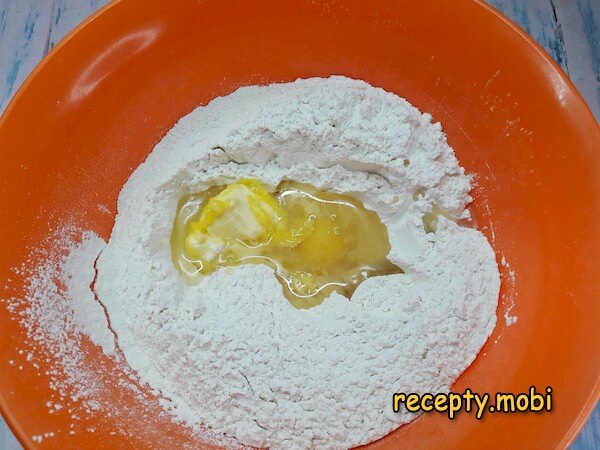
Then I pour the vegetable oil into the flour.
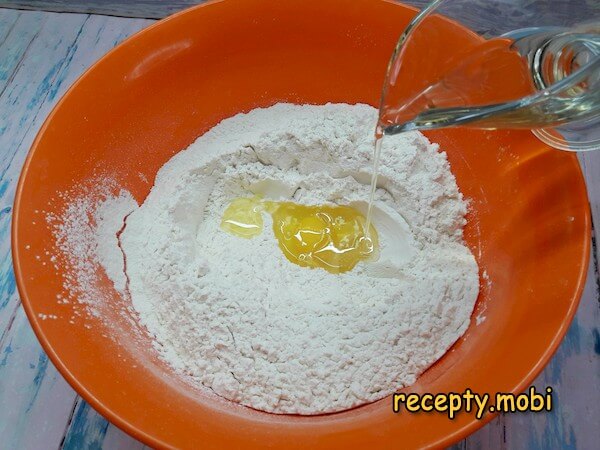
I add the softened butter.
I add the yeast starter here too.
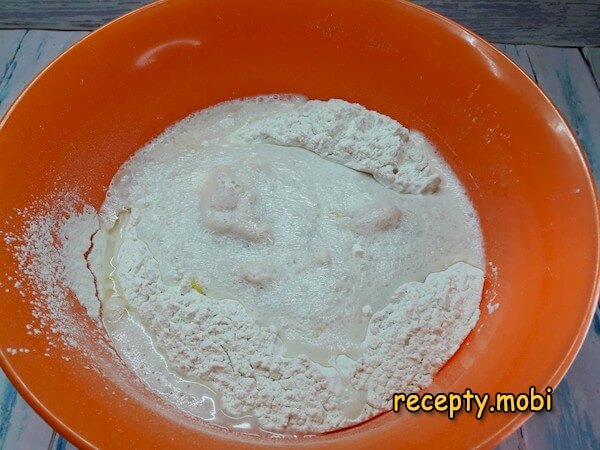
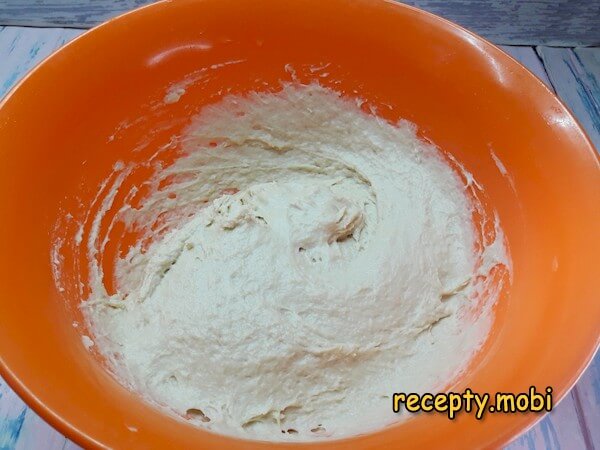
Now I can salt the mixture and start kneading it for 7 minutes right in the bowl. The dough won't be stiff at all; it is quite sticky and unsteady. But it is exactly this consistency that gives the most tender and delicious kubdari.
Next I generously sprinkle the work surface with flour and turn the dough out onto it.
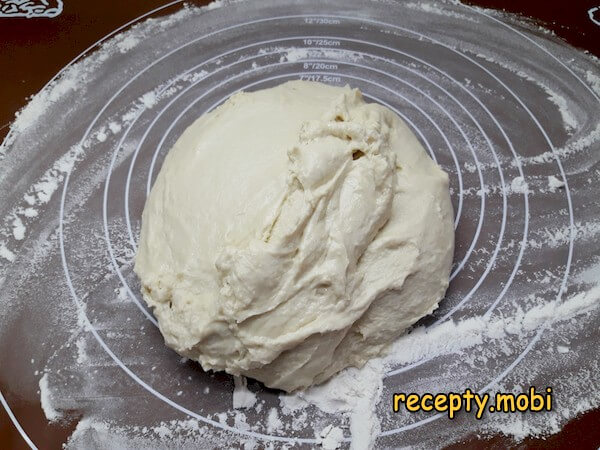
I knead it only a little – just enough to gather it into a heap. If necessary (when it sticks badly to the hands) I dust it with a little more flour.
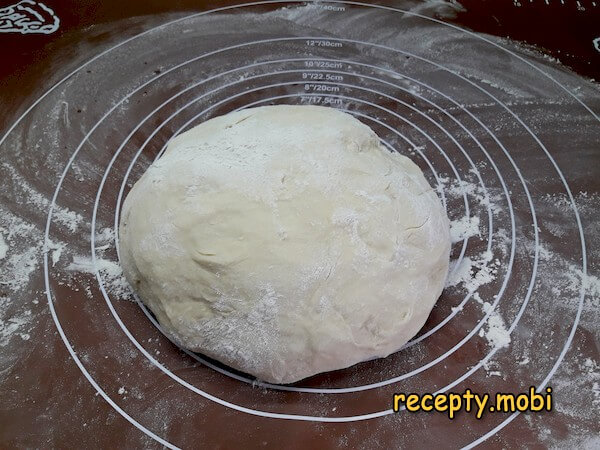
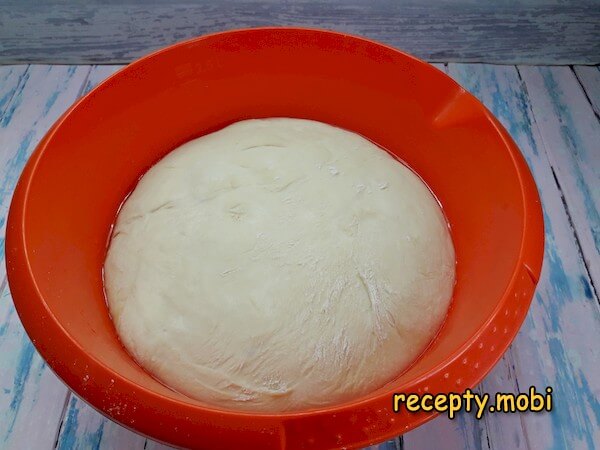
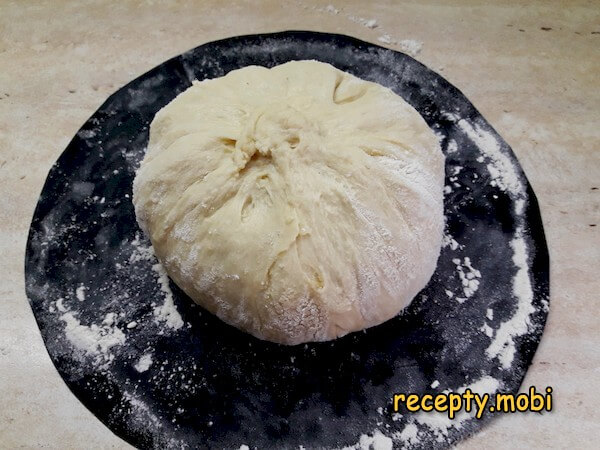
I transfer the dough to an oiled bowl, cover it with plastic wrap and leave it on the table like this.

I turn to the filling. I cut the meat first into thin strips and then into cubes.
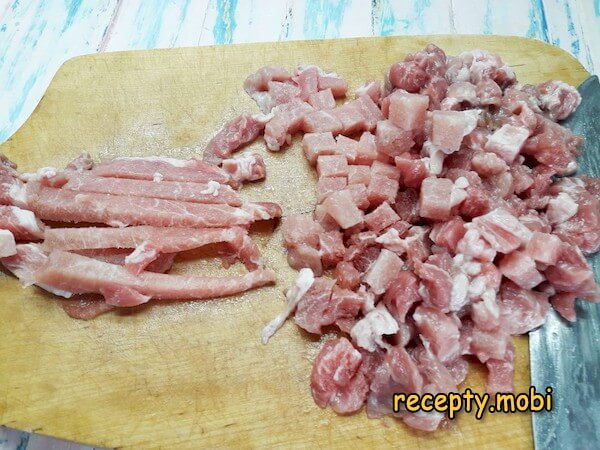
I do the same with the fat.
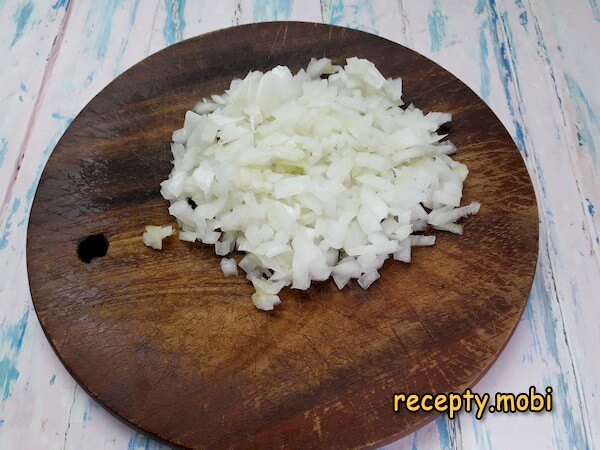
I chop the onion as finely as possible.
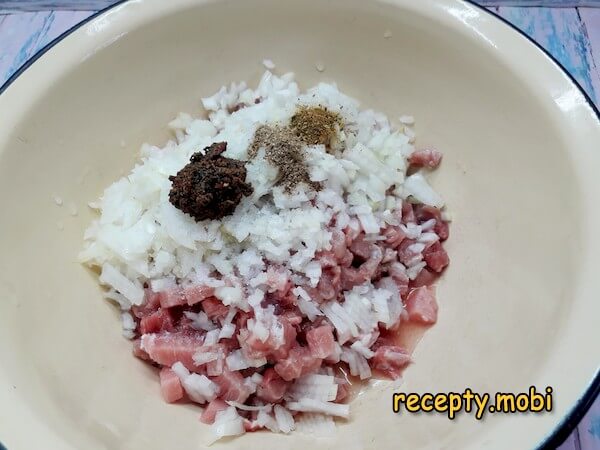
I put all the chopped ingredients into a bowl. I add the spices and salt.
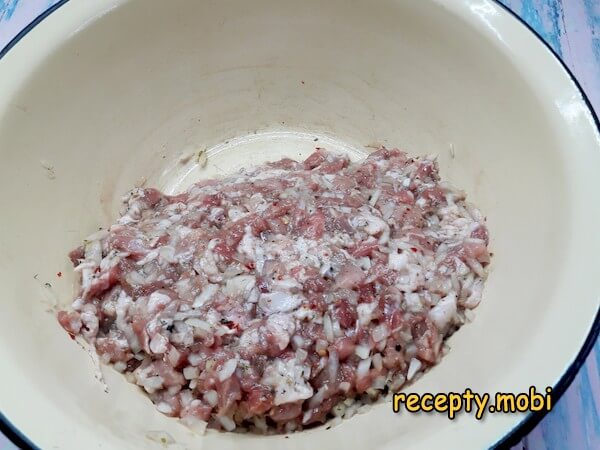
I mix the filling by hand, crushing the pieces of onion as I go so they release their juice. I set the mixture aside – let it stand and soak up all the seasonings while the dough rises.
After an hour the dough will have grown considerably in volume and you can carry on working with it. I turn the oven on to its maximum temperature (240 degrees).
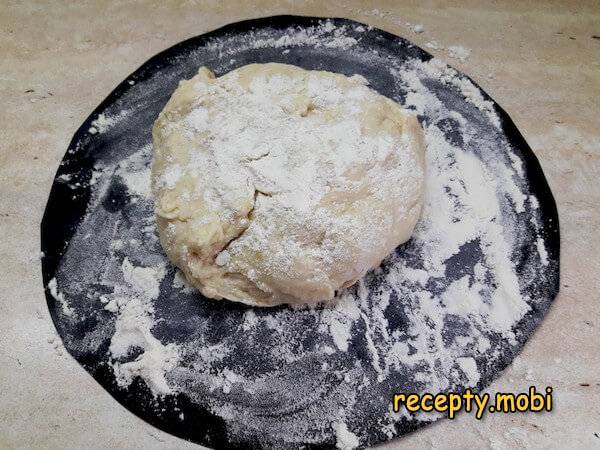
I generously sprinkle the table with flour again, turn the dough out onto it and divide it into 4 parts.

I knead three parts back down and return them to the bowl under the plastic wrap, leaving one part out. Since the dough is mobile and unsteady, it is more convenient to shape the flatbreads directly on a non-stick mat or on baking parchment, so as not to damage the piece when transferring it to the baking sheet. I sprinkle the mat with flour and place the dough on it.
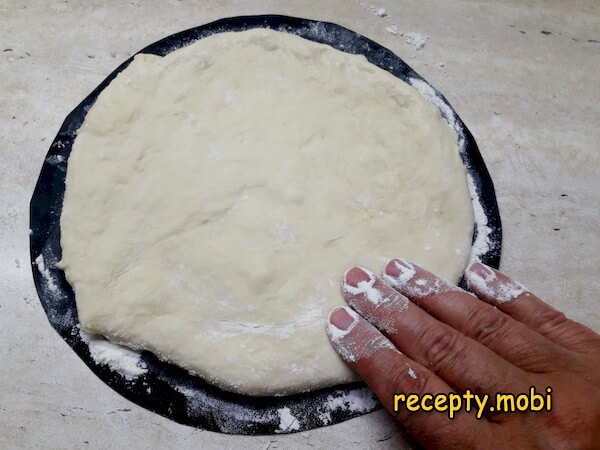
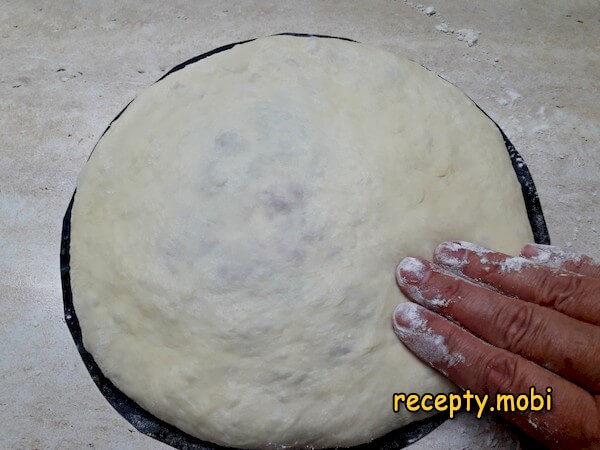
I flatten the flatbread with my palms to a diameter of 15 centimetres.
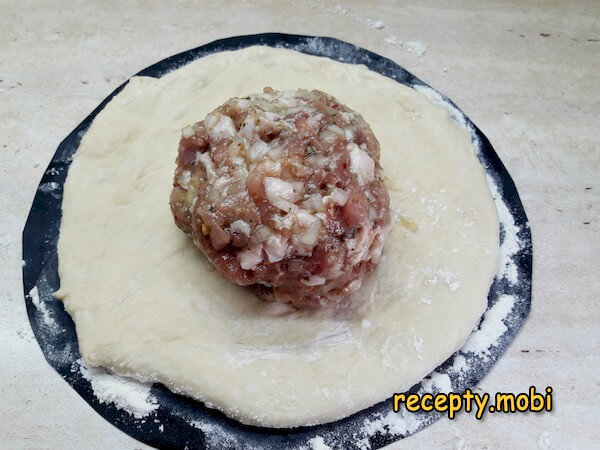
I shape a quarter of the filling into a ball and place it in the centre of the flatbread.
I lift the edges of the dough upward, gathering them at one point, like a knot.
I sprinkle the ball with flour and turn it over, seam side down. Carefully, starting from the middle, I begin to flatten the piece with my fingers, moving in a circle. I try to spread the filling evenly across the whole circle, which will eventually be about 20 centimetres in diameter.
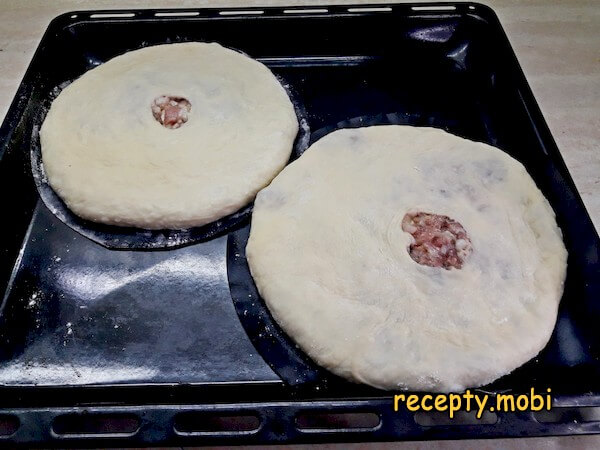
I make a small hole in the middle to let the steam out.

I drag the pieces, still on the mat, onto the baking sheet and put them into the oven.
After 15 minutes the flatbreads will be ready – they turn golden, and the boiling meat juice is visible through the hole.

I brush the hot kubdari with butter.
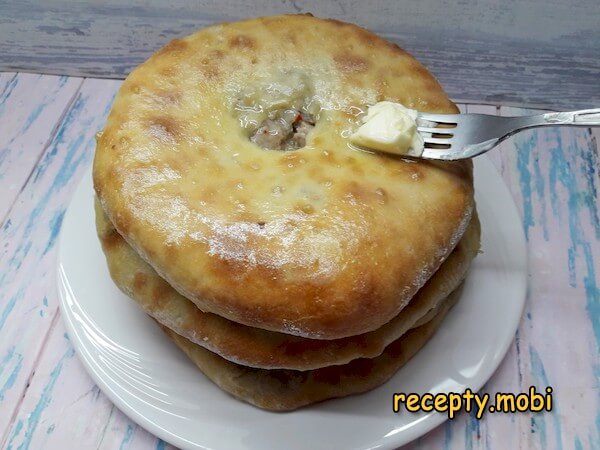
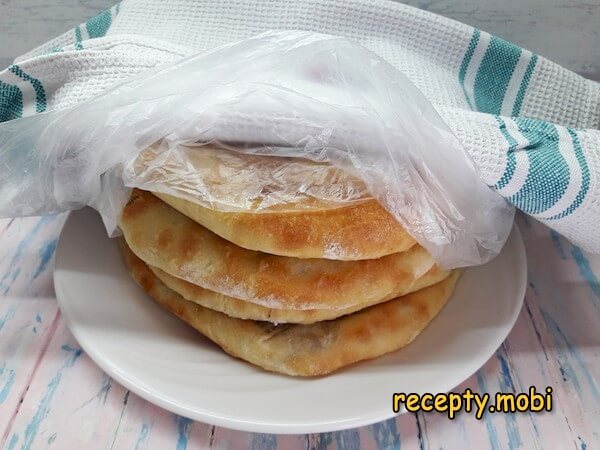
I stack the finished flatbreads on top of one another. I cover them with plastic wrap and then a towel – this way, thanks to their own heat, the flatbreads stay soft and warm for a couple more hours.Hot kubdari in Georgian style give off an incredible sharp, spicy aroma. The thin dough and plenty of juicy filling oozing with fat leave these flatbreads no chance of lasting until tomorrow – they will be eaten at once. I serve them with vegetables, herbs, fermented dairy products and, of course, with adjika; do give them a try.Bon appétit!


Tips
- 1
Meat by hand – the "secret" of authenticity. A grinder turns the meat into mush. Only small 3–5 mm cubes give the proper Svan texture.
- 2
Fat in the filling – the "secret" of juiciness. 100 g of fat added to the meat means broth inside the flatbread. Without fat the kubdari will be on the dry side.
- 3
A hole in the centre – the "secret" against bursting. Without an opening the steam will tear the dough. Just a small hole lets the steam out while the filling boils.
- 4
Butter after baking – the "secret" of tenderness. Brush the hot flatbread with butter and cover it with a towel, and it will stay soft for 2 hours.
FAQ
Which meat should I choose? +
Ideal is fresh pork or beef flesh (tenderloin, shoulder) – 500 g, for more aroma. Alternatives: lamb (500 g – the Svaneti classic), a 50/50 mix of beef and pork (500 g), or beef brisket (500 g – with streaks of fat). Don't use shop-bought mince (it breaks the idea) or chicken breast (it turns out dry). For the Svaneti classic, lamb or beef with tail fat is a must. Slightly freeze the meat for 30 minutes to make it easier to cut.
What can replace Abkhazian adjika? +
Alternatives: Georgian adjika (1 tsp), chopped chili pepper (1/2 tsp – simpler), khmeli-suneli plus cayenne pepper (1/2 tsp each), satsebeli (1 tsp – a Georgian sauce), or ground hot red pepper (1 tsp). Don't use tomato ketchups (they spoil the flavour) or sweet sauces. For the classic version it must be hot, without tomatoes.
How long do kubdari keep? +
In the refrigerator, wrapped in plastic – 2 days. At room temperature under a towel – 1 day. Any longer and the dough goes stale and the filling loses its juiciness. Before serving, reheat them in the oven for 5 minutes at 180 °C or in the microwave for 30 seconds. In the freezer, portioned – up to 1 month. Thaw in the refrigerator for 6–8 hours or reheat straight away in the oven. Don't leave them at room temperature for longer than 24 hours, as the meat spoils.
What to serve kubdari with? +
The Georgian classic: with fresh herbs (parsley, cilantro, tarragon). With ayran or matsoni. With adjika or tkemali for a spicy serving. With a Georgian red wine (Saperavi, Khvanchkara). With suluguni or brynza as a starter. With a garlic sauce. With fresh vegetables and salads. With pickled hot peppers. It is a versatile Svan flatbread for the table.
- Comment
or post as a guest
Be the first to comment.


