avg —
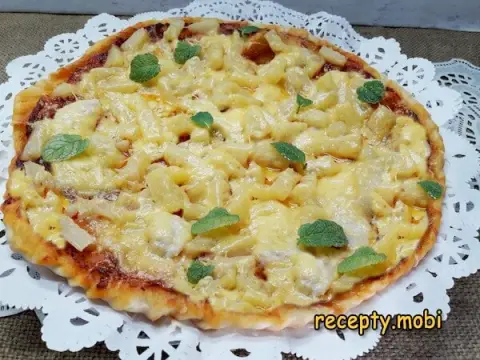
Shrimp and Pineapple Pizza

Instructions
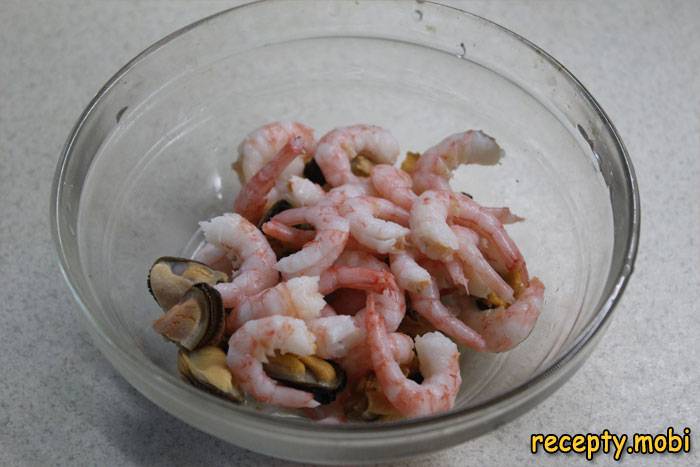
Prepare the seafood. Pour warm water over the frozen shrimp and mussels and leave them for 10 minutes to defrost. Clean the shrimp from the shell and the intestinal vein (the dark line along the back), and clean the mussels from any seaweed and the beard. The intestinal vein gives a bitter taste, so I always remove it.
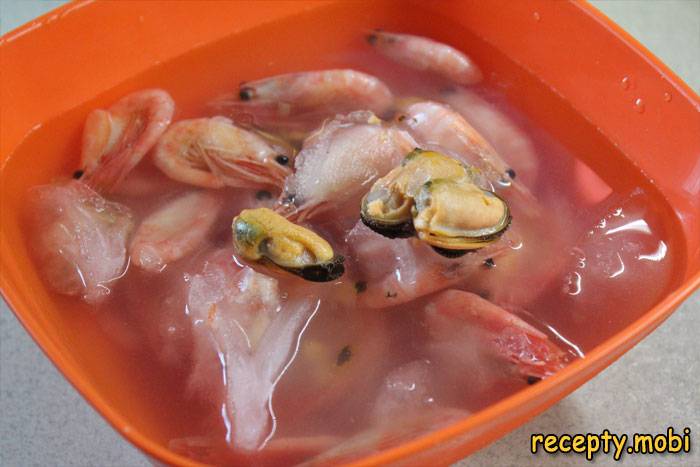
Sprinkle the cleaned seafood with freshly squeezed lemon juice – it removes the iodine smell of the sea and gives a more pronounced flavour. The lemon acid also lightly "marinates" the protein, making the texture firmer.
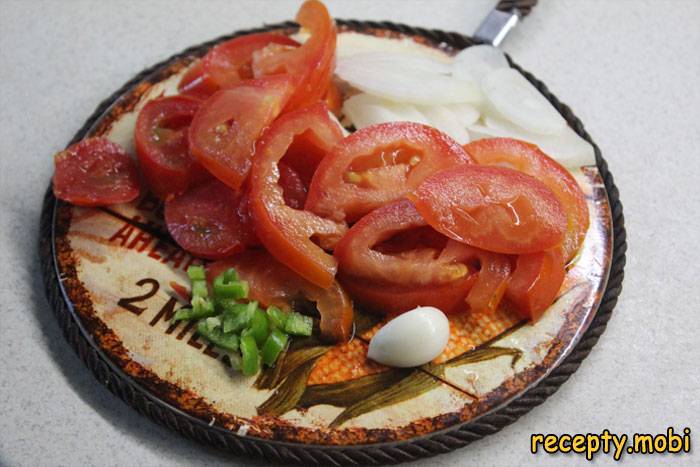
Chop the chili pepper into a small dice (without the seeds for a milder taste), cut the tomatoes into 5 mm rounds and the onion into thin 3 mm rings. Thin onion rings bake through evenly and give a pretty pattern on top.
Knead the elastic dough (let it release the air) and roll it out into an even layer to fit your baking form – 5–7 mm thick for a fluffy base or 2–3 mm for a thin one. Roll it out on a floured surface so the dough does not stick.
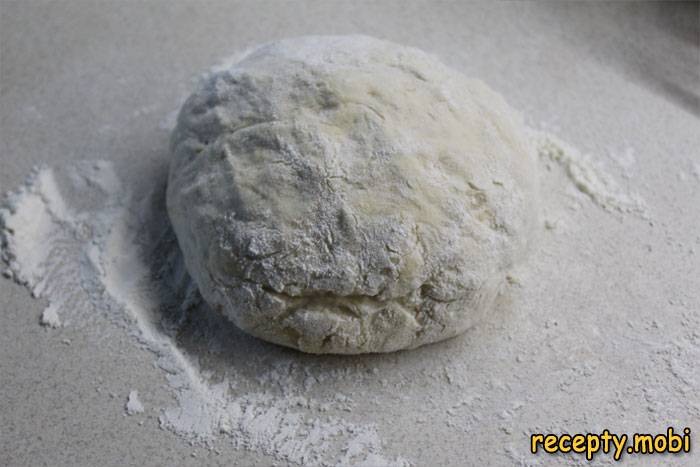
Lay the dough sheet into the greased form, folding up small edges to make a rim of 1–1.5 cm – it will hold the juices and cheese, preventing them from running onto the tray.
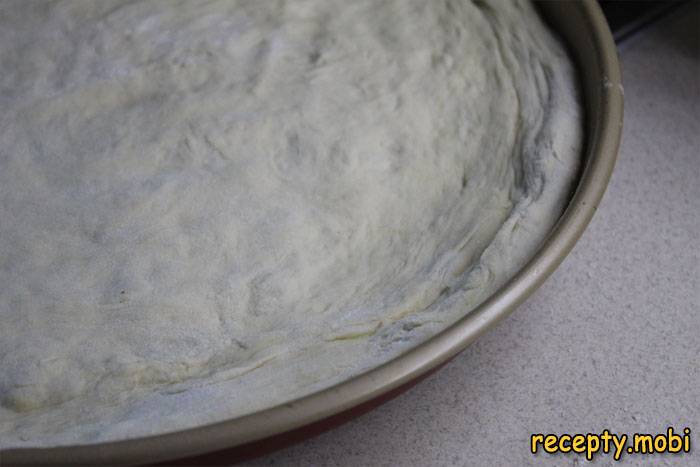
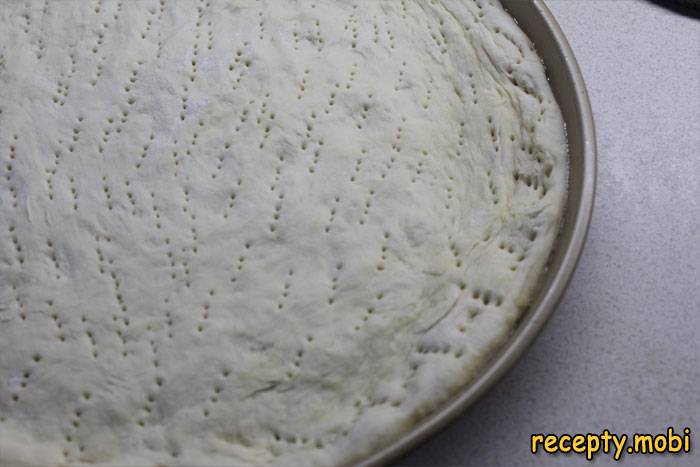
Generously prick the dough all over with a fork or a toothpick. This is necessary so that the dough does not swell into bubbles during baking – without the holes the central part can rise into a dome.
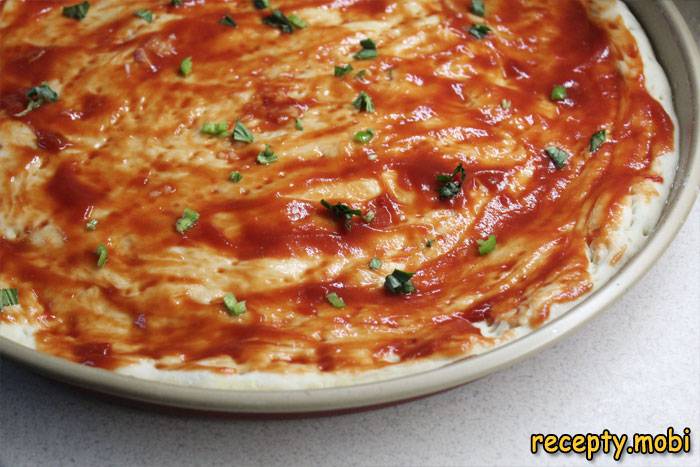
Cover the base with a thin layer of tomato sauce. Add the garlic through a press, the chopped basil and the chili pepper – they build the aroma right into the base.
Sprinkle the base with a first layer of grated cheese – it creates a "layer" between the sauce and the topping and protects the dough from getting soggy.
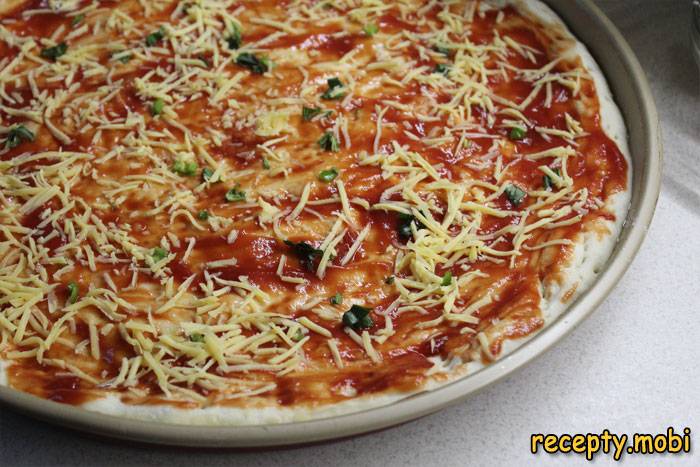
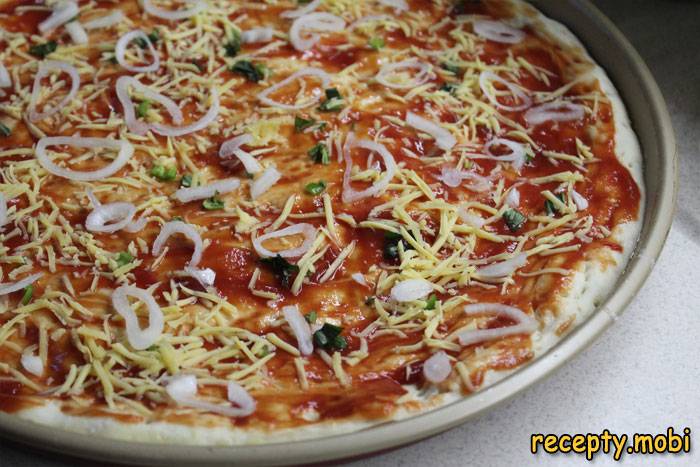
Add the onion rings to the pizza, distributing them evenly over the surface.
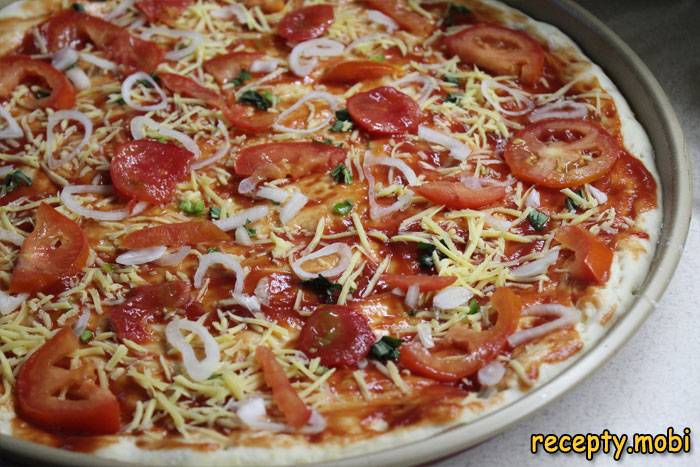
Cover the pizza with rings of fresh tomatoes – they add juiciness and a bright colour.
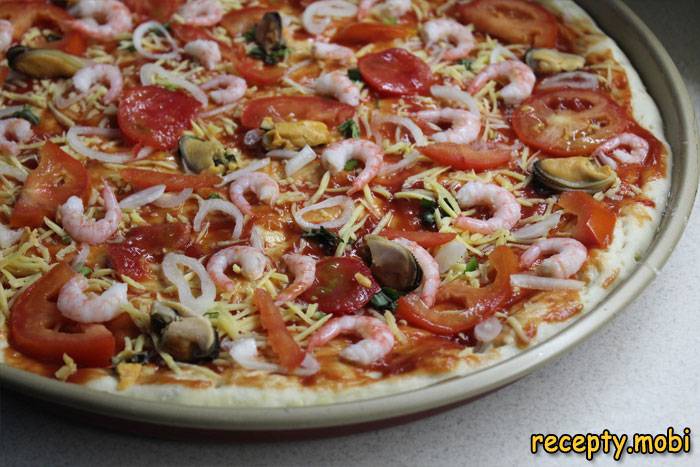
Add the shrimp and mussels evenly over the surface. Try not to pile them on top of each other – they will bake unevenly.
Fill the empty spaces with chopped pineapple. Be sure to drain the pineapple in a colander for at least 10 minutes – it releases a lot of liquid, and without draining the dough will get soggy.
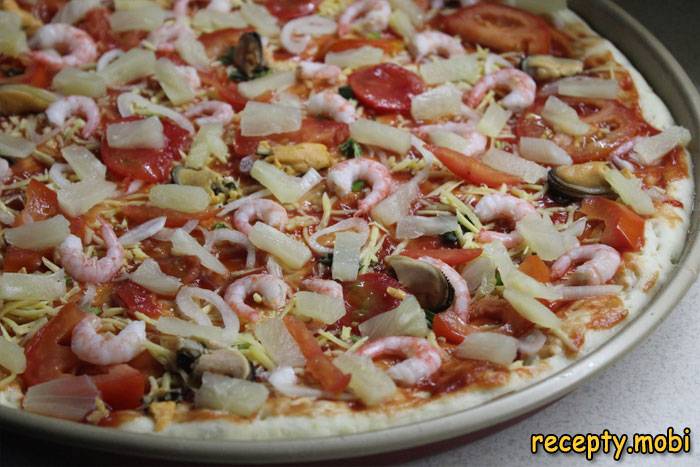
Cover the pizza with yogurt or creamy sauce – it adds a creamy accent that goes perfectly with seafood and pineapple. Sprinkle with a second layer of grated cheese.
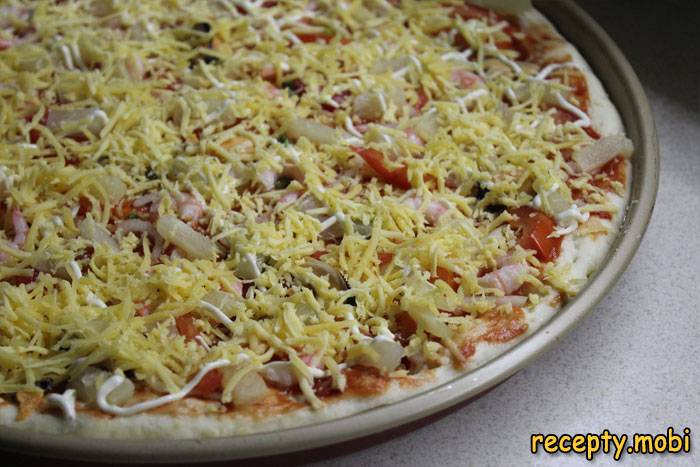
Send the pizza to the oven for 15–20 minutes at 200–220 °C. Bake until the edges are golden and an appetising cheese crust forms. You can tell it is ready by the rim – it should turn golden-brown.
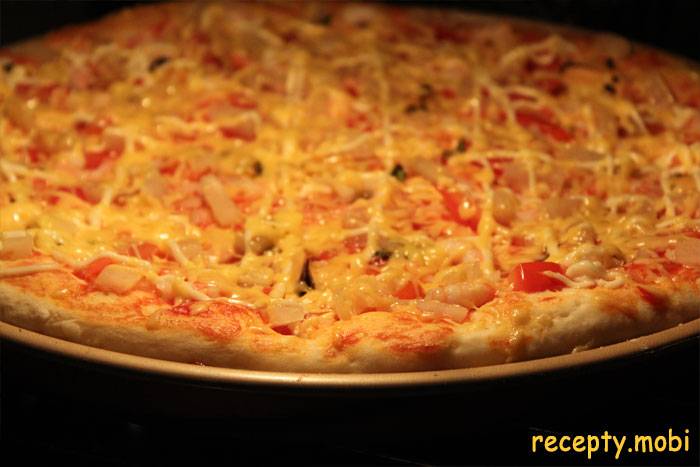
The tasty and juicy seafood pizza is ready! The aroma spreads through the whole flat and gathers everyone in the kitchen without an invitation.
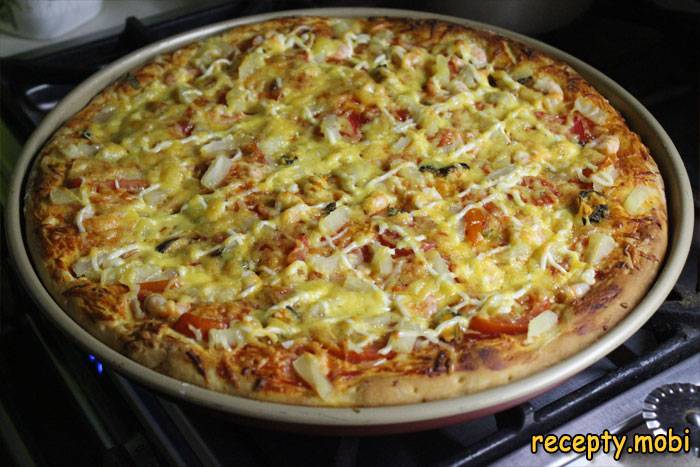
Take the pizza out of the form onto a wooden board. Let it rest for 3–5 minutes – freshly baked pizza is hard to cut, the topping will slide off.
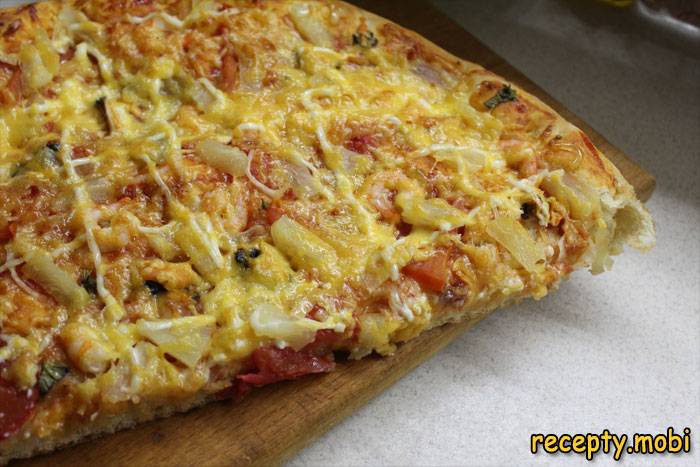
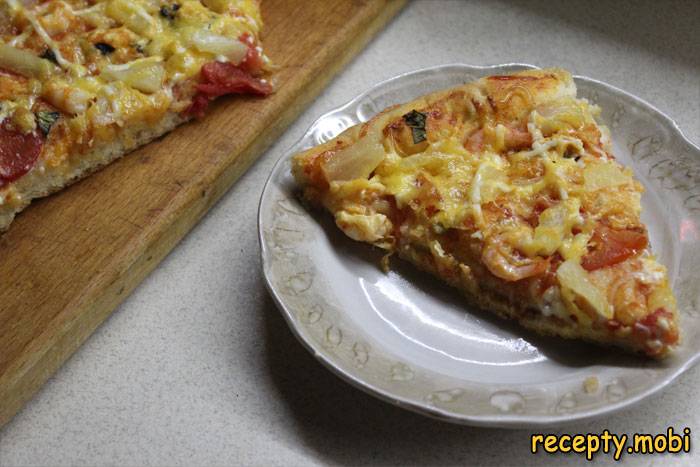
Cut the dish into 8 triangles with a special pizza wheel or a large sharp knife. Serve immediately, hot.


Tips
- 1
Be sure to sprinkle the seafood with lemon juice – this removes the iodine smell and gives a more pronounced flavour.
- 2
Drain the pineapple in a colander for at least 10 minutes – without draining, its liquid will soak the dough and the pizza will be "wet".
- 3
Prick the dough all over with a fork – this way it will not swell into bubbles. I bake margherita pizza on a similar principle.
- 4
Experiment with the seafood: calamari rings, baby octopus, scallops – everything works for a seafood pizza.
FAQ
What is the best temperature for baking pizza? +
Can I use frozen seafood?
Yes, frozen is the most convenient option for homemade pizza. The main thing is to defrost it properly: move it from the freezer to the fridge overnight, or cover it with cold water for 30 minutes. Never defrost it in hot water or the microwave – the seafood will lose its structure and become rubbery. After defrosting, be sure to pat it thoroughly dry with paper towels – excess moisture will soak the dough and spoil the pizza.
What can replace yeast dough? +
Puff pastry will work (it gives a crisp, flaky base), as will thin yeast-free dough made with sour cream (a quick 15-minute option), or a ready-made pizza base from the shop (the laziest way). You can also use lavash – you will get a mini-pizza in 7 minutes in the oven. Each option has its own character: yeast dough is fluffy and soft, puff pastry is airy and crisp, yeast-free is thin and dense. Choose according to your mood and time.
- Comment
or post as a guest
Be the first to comment.