
avg —
Milkshake with Banana and Ice Cream at Home
Instructions
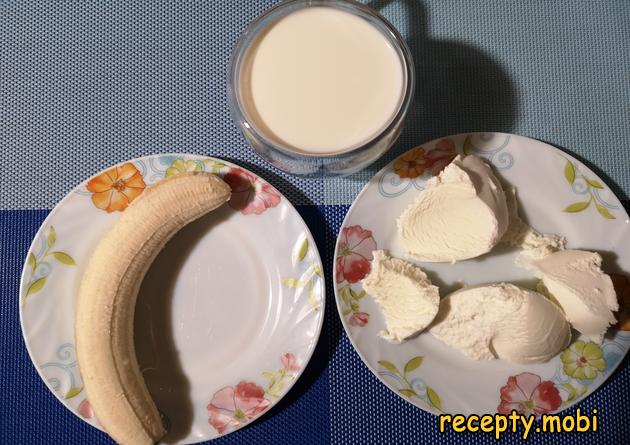
I prepare the ingredients I need. I take a ripe banana with dark spots on the skin – that kind gives the most sweetness. It is better to use cold milk so that the milkshake comes out cool straight away.
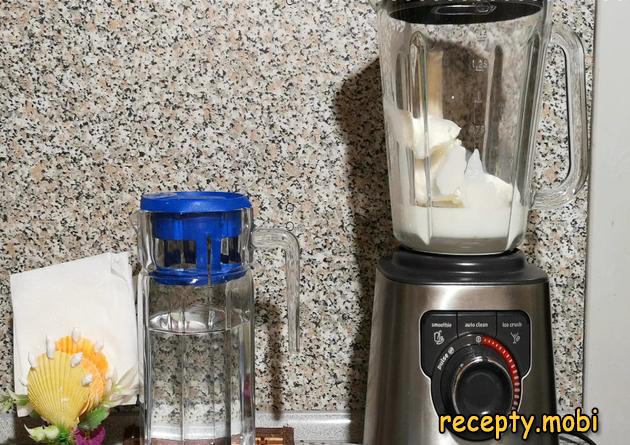
I load all the ingredients into the blender (or mixer). I switch on the smoothie (cocktail) mode. With all the products at once – banana, milk, ice cream – the blender quickly turns them into a smooth, fluffy mass.
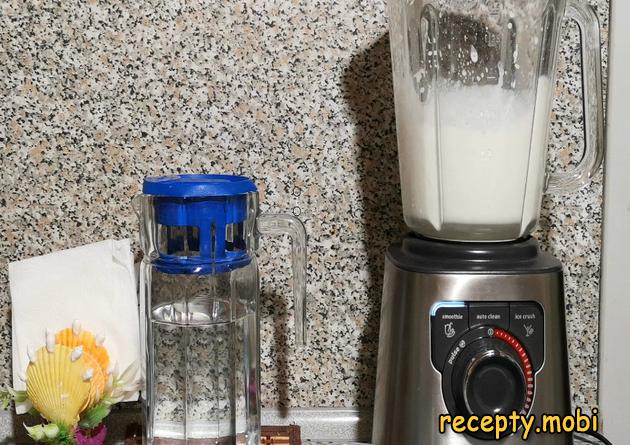
The milkshake with ice cream and banana takes from 1 to 3 minutes, depending on the power of your blender. Do not overdo it: if you blend for too long, the milkshake begins to "settle", the ice cream melts completely and loses its "cold" effect.
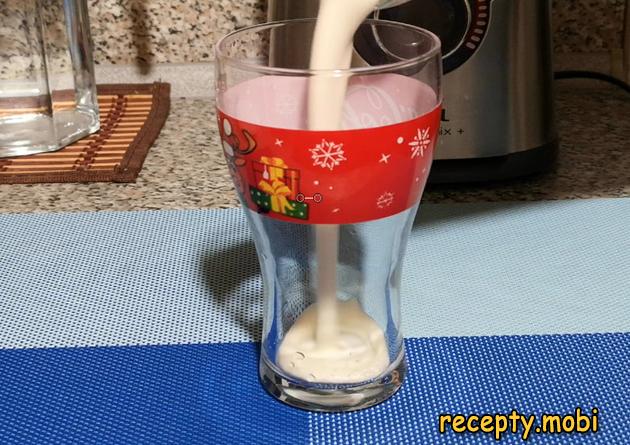
When the mode finishes, I pour the ready milkshake into a glass. I serve it straight away, while it is still fresh and fluffy – after 5–10 minutes the foam settles and the texture turns runny. The milkshake with banana and ice cream is ready!


Tips
- 1
Choose a RIPE banana with dark spots on the skin – that one is the sweetest and most aromatic. A green banana will give a "starchy" aftertaste.
- 2
Use COLD milk – the milkshake will come out cool straight away, with no need for extra chilling.
- 3
Serve IMMEDIATELY after blending – after 5–10 minutes the foam settles and the texture changes. I use a similar principle in other homemade drinks.
- 4
Do not exceed 3 minutes of blending – the ice cream will melt completely and the milkshake will lose its "cold" effect.
Video
FAQ
What can I use instead of vanilla ice cream? +
Vanilla ice cream is the classic choice for a milkshake, giving it that signature creamy taste and fluffiness. Alternatives: chocolate ice cream (for a chocolate milkshake), strawberry (which gives a pink colour and a berry flavour), pistachio (for a "gourmet" version), or fruit sorbet (a lighter option without milk inside). For a vegan version, use ice cream made with coconut or soy milk. The main thing is that the ice cream should be good quality, made with cream or milk, and not a "fruit ice".
Can I add other fruits? +
Yes, banana combines easily with other fruits: strawberries (3–4 berries make the classic "banana-strawberry" milkshake), half a peach, 50 g of mango, a handful of raspberries, or 1 kiwi. For something unusual, try 1/4 of an avocado, which adds fluffiness and creaminess without a strong flavour. The principle for keeping the proportions: 200 ml of milk + 80 g of ice cream + 100–150 g of fruit in total. Too much fruit makes the milkshake more "fruity" but less "milky". Find your own balance.
How long does the finished milkshake keep? +
A milkshake is best drunk straight after making it – at most 1 hour in the fridge. After that the ice cream melts completely, the texture becomes runny and watery, and it loses its characteristic "fluffiness". You can put it in the freezer for 1–2 hours – you will get something more like "banana ice cream" to eat with a spoon. There is no point in making it in advance – the process takes 5 minutes, so it is better to make a fresh one before each serving. For a children's birthday party I make it right in front of the guests – it is a little "show" for the children.
How do I make the milkshake thicker? +
For a thicker consistency: reduce the amount of milk to 150 ml (instead of 200), add more ice cream up to 120–150 g, replace 50 ml of milk with vanilla yoghurt, or add 1–2 tablespoons of coconut cream. The milkshake will also be thick if made with frozen banana – cut the banana into pieces in advance and put it in the freezer for an hour. Frozen banana + cold milk + ice cream = the perfect thick "milkshake" consistency, just like in American cafés.
- Comment
or post as a guest
Be the first to comment.


