
avg —
Beet Kvass
Instructions
I prepare the ingredients for the beet kvass. The water should be at room temperature, filtered or boiled and then cooled. Choose sweet varieties of beetroot, small in size and with a thin tail end (such specimens are the tastiest). The root should be a dark-burgundy colour. Choose this ingredient very carefully, because the taste and quality of the drink will depend on it.

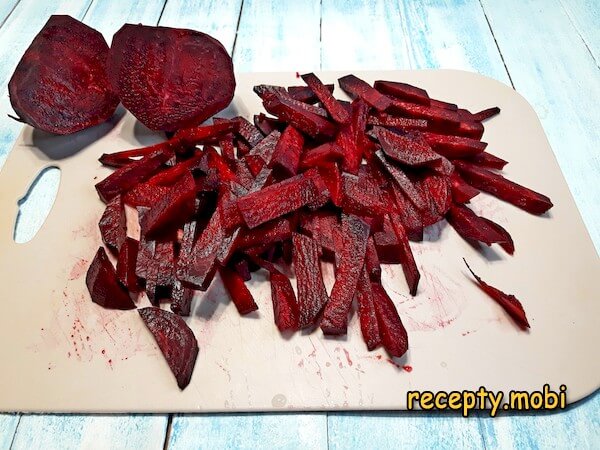
I wash and peel the beetroot thoroughly, then cut it into rough strips. There is no need to add more of this ingredient – the fermentation process may slow down. The recipe gives the optimal amount, with small variations allowed.
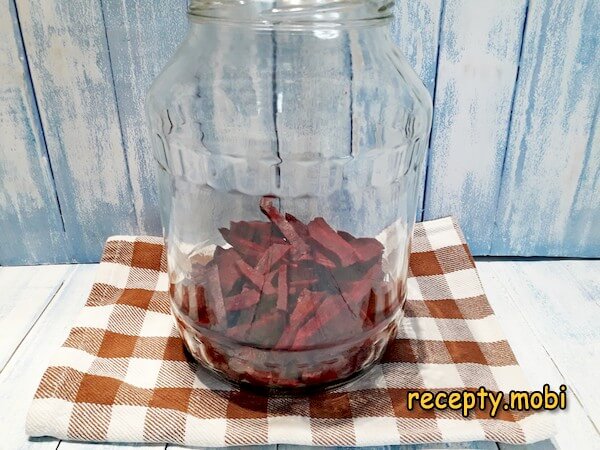
I tip the cut beetroot into a jar of 2.5 to 3 L capacity – about 1/4 of the volume should be left free for fermentation.
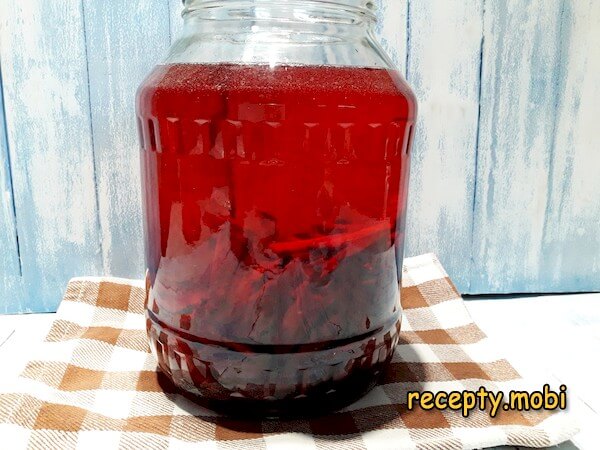
I pour in the water, leaving a little space up to the rim of the jar – this "air pocket" is exactly what is needed for the release of carbon dioxide during fermentation.
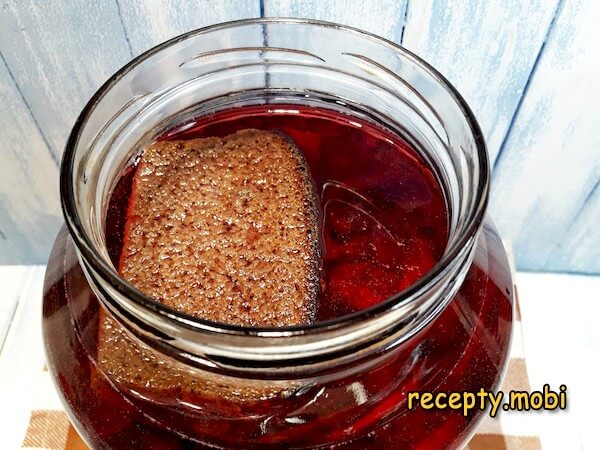
I add the piece of bread – it is the rye crust, with its natural yeasts, that "kickstarts" the fermentation process.
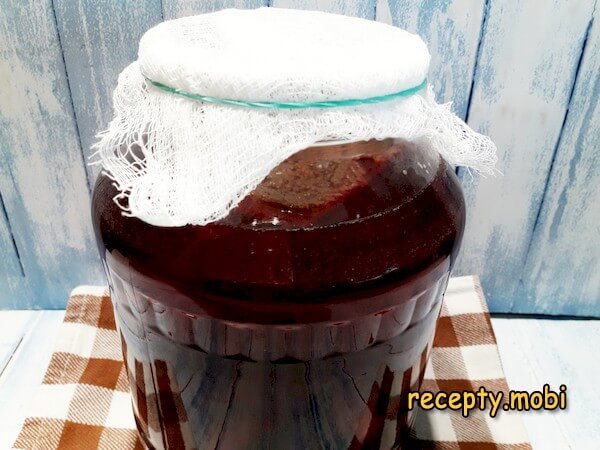
I cover the neck of the jar with two layers of cheesecloth and secure it with a rubber band. I put the jar in a dark, warm place (the best temperature is 20 to 25 degrees; at a lower or higher temperature the fermentation will be very weak and the drink may spoil). In summer the best spot in an ordinary flat is a high shelf in a kitchen cupboard, and in winter, near a radiator. The cheesecloth "breathes" but keeps flies out – the "secret" of proper fermentation.
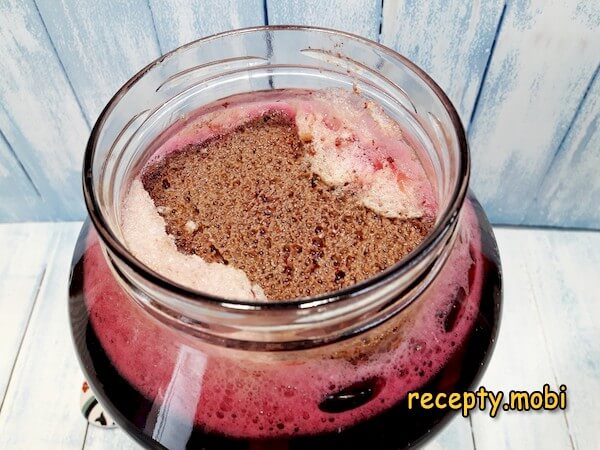
Around the third day (depending on the surrounding temperature), a white foam with tiny bubbles appears on the surface – this is normal and exactly as it should be. Grandmothers used to call this "the breathing of the kvass" – it is alive and fermenting.
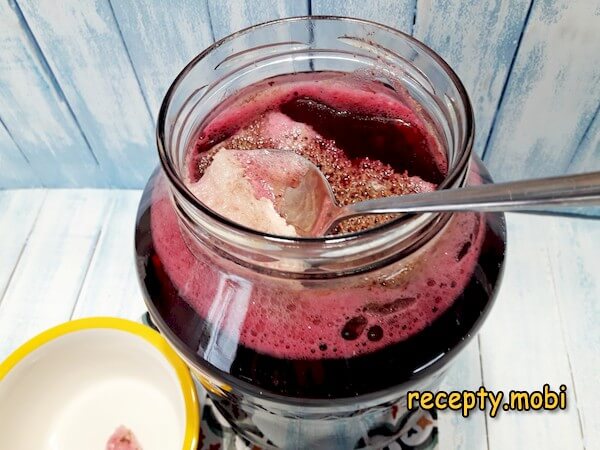
All the foam needs to be skimmed off and discarded – it is a byproduct of fermentation and should not get into the finished drink.
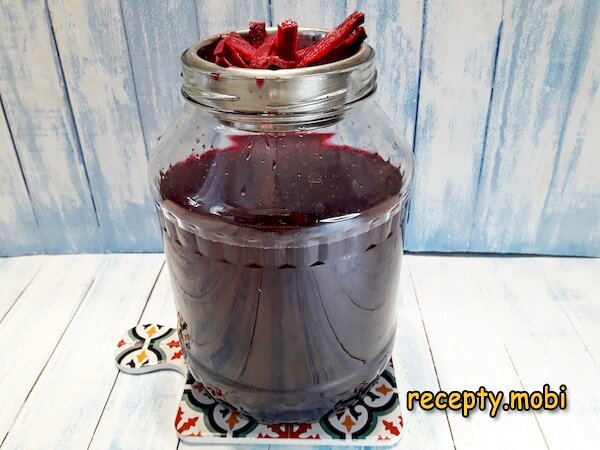
I pour the drink into another jar through a fine sieve or cheesecloth and put it in the fridge. The jar with the pulp can be reused: pour in fresh water again and add a new piece of bread. The kvass will not be as rich, but it will again be tasty and refreshing – this "second draw" is a "bonus" from the first fermentation.Refreshing, with a light tartness and a natural flavour, beet kvass is drunk well chilled. It is recommended to take 100 millilitres of the undiluted drink 2 to 3 times a day. In folk medicine it is drunk to normalise blood pressure and to cleanse the liver and intestines – not a cure-all, but a genuinely useful "Russian superdrink".


Tips
- 1
CHOOSING THE BEETS – the "secret" of sweet kvass. Not all beets are the same. The best varieties are "Bordo" (a classic, dark-burgundy colour, sweet taste), "Cilindra" (elongated shape, easy to cut, rich), and "Egyptian Flat" (sweet, tender). The size should be small (5 to 7 cm in diameter, heavy in the hand). The tail should be thin, not "woody". The cut should be dark burgundy, without pale streaks (which mean the root was fed "chemical" fertilisers). Wild "fodder" beet is not suitable – it gives a grassy taste. The beetroot should be fresh, not limp.
- 2
A TEMPERATURE OF 20-25°C – the "secret" of proper fermentation. This is a critical parameter. Below 18°C the fermentation "freezes" and the kvass will not be ready within a week. Above 28°C the process "races ahead", stray yeasts appear, the taste turns bitter and the drink goes cloudy. The ideal is a steady 20 to 25°C. In winter that means a spot near a radiator (but not on it, so as not to overheat). In summer, a high shelf in a kitchen cupboard. Check the temperature with an ordinary room thermometer next to the jar. In heat above 28°C, move it to a cooler place.
- 3
THE RYE CRUST – the "secret" of guaranteed fermentation. Fermentation also happens without bread (from the natural yeasts on the beets), but it is unreliable: sometimes it works, sometimes it does not. A crust of rye bread contains "wild" lactic-acid bacteria and yeasts that reliably "kickstart" the process. The best choice is "Borodinsky" bread (with coriander and malt, for extra aroma). You should not use: white wheat bread (too little yeast), bread with preservatives (the stabilisers kill the bacteria), or fresh soft bread (it gives a "jelly-like" consistency). A similar "fermenting on a crust" principle works in chicory kvass at home.
- 4
A REPEAT STARTER – the "secret" of endless kvass. After the first draw, the beet pulp in the jar is still "alive" – it contains active bacteria and yeasts. Simply top it up with clean water, add a fresh bread crust, and leave it for another 3 to 4 days. The second draw will be less rich, but still fermented and healthy. You can make 2 to 3 repeat starters from one batch of beets. After the third draw the pulp is "exhausted" – throw the beets out and start with fresh ones. An alternative for those who like to put kvass to use is okroshka on kvass with sausage, a classic "cold" serving.
FAQ
What are the health benefits of beet kvass? +
Beets plus fermentation make a "superfood" according to folk medicine. The known effects: it normalises blood pressure (thanks to the nitrates in beets), cleanses the liver and bile ducts, supports the gut microflora (live lactic-acid bacteria), lowers cholesterol, has a mild diuretic effect and is tonic. It does not replace medicines, but it works as "extra support". Dosage: 100 ml 30 minutes before a meal, 2 to 3 times a day. A course of 2 to 4 weeks, then a break. Contraindications: stomach ulcers, oxalate kidney stones, diabetes (because of the sucrose in beets).
How long does ready-made beet kvass keep? +
In the fridge, in a glass jar with a lid, it keeps for up to 2 weeks without losing quality. After that the taste becomes "too sour", fermentation continues, and the drink starts to resemble vinegar. Freezing makes no sense – the enzymes die at -18°C and the benefit is lost. If the kvass has "over-fermented" (gone too sour), it can be used as a marinade for kebabs, in borscht instead of lemon, or for soaking beans. Fresh kvass has a light tartness and sweetness, like "freshly squeezed juice".
What should I do if the kvass "didn't work out" – it smells of mould or has gone off? +
The signs of "failed" kvass: a black or green foam on top means mould – throw it all out. A very stringy, "slimy" consistency is a "yeast disease" – also throw it out. A strong putrid or "vinegary" smell means the process went the wrong way. The causes: dirty dishes, an unstable temperature, mouldy beets, bad bread (with preservatives). The solution: a new batch with a thoroughly washed jar (it can be boiled), a stable temperature of 22 to 23°C, and fresh ingredients. Healthy kvass is dark pink, clear, with a light foam and a pleasant "fermented" smell.
Can I use boiled beets for kvass? +
Absolutely not. Boiled beets lose their natural enzymes and yeasts (these die at +60°C), and fermentation will not start. You will get either tasteless "beet water" or a semi-sweet infusion without the characteristic tartness. For classic kvass, only raw, fresh beets will do. Baked beets are no good either – the same "killed enzymes" effect. If you want a "beet flavour" using boiled beets, that is no longer kvass but a "beet fruit drink" (beets + lemon + sugar + water + chilling). Without fermentation there is no kvass.
- Comment
or post as a guest
Be the first to comment.
")


