
avg —
How to Boil Chicken Breast in a Pot – Juicy Meat and Delicious Broth
Instructions
Remove the skin from the chicken breast. Skinless meat produces a lighter cleaner broth and noticeably less fat in the finished dish. The skin can go straight into the bin, or you can save it in the freezer for making richer chicken stock another day if you prefer not to waste it.
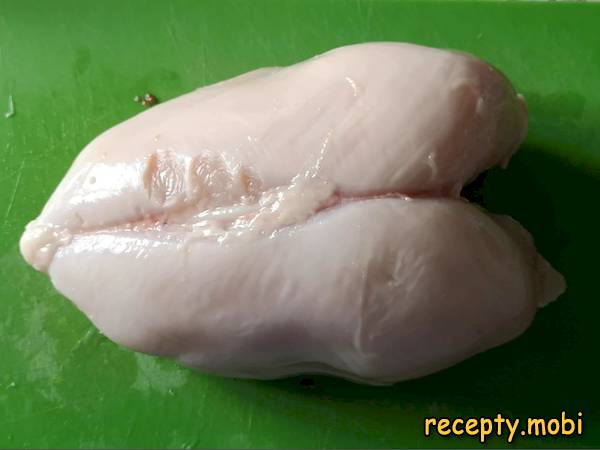
Rinse the breast thoroughly under cool running water and place it in the cooking pot. Cool water is preferable to warm here, since it tightens the surface of the meat slightly and helps it hold its shape better during the gentle simmering process that follows in the next steps.
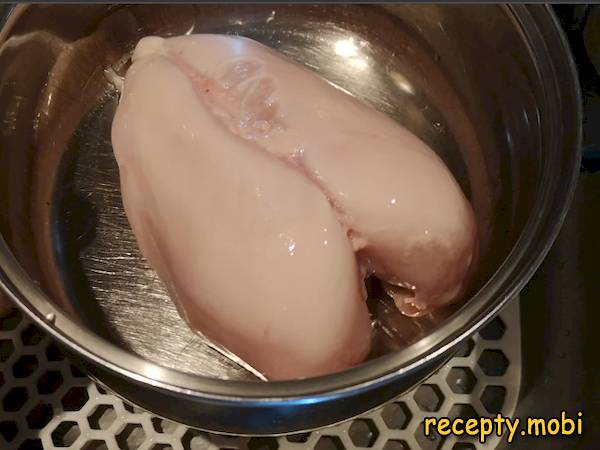
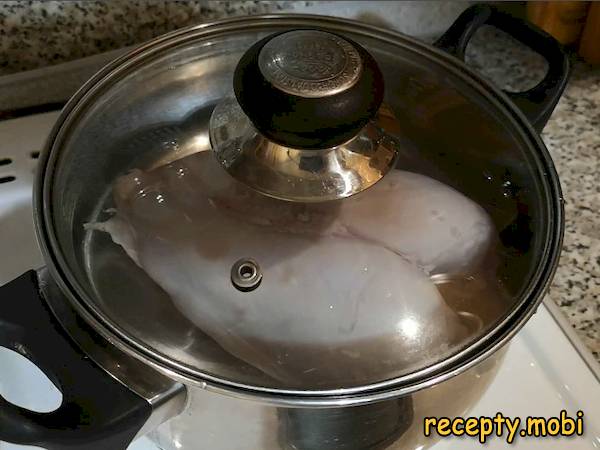
Fill the pot with cold water so that the level rises two to three centimetres above the surface of the meat. Place the pot on the stove on high heat, cover with a lid to speed things along, and wait patiently for the water to come up to a rolling boil before moving on.
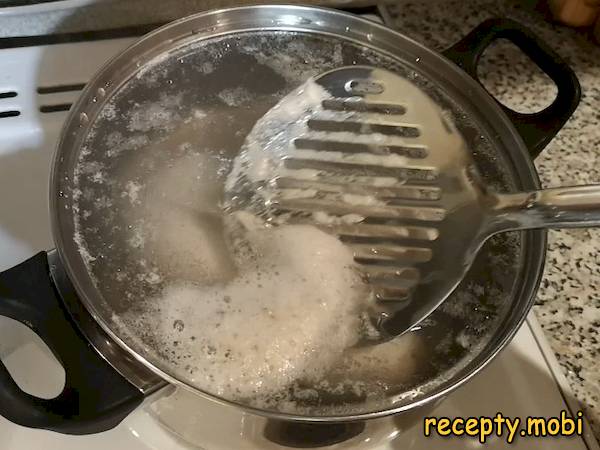
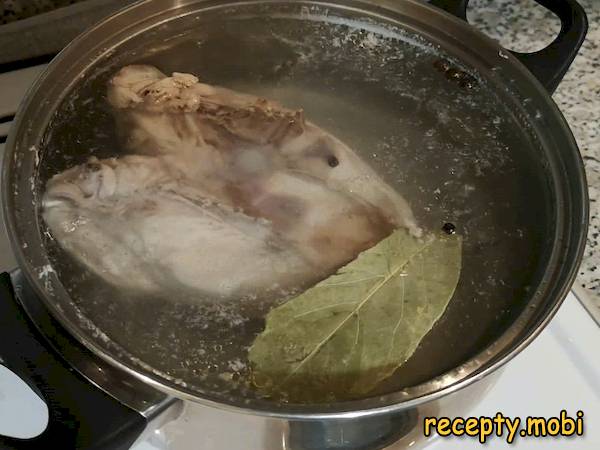
As soon as bubbles appear at the surface, immediately reduce the heat to its very lowest setting. The water should now barely shiver rather than bubbling actively. Skim off any foam that rises with a slotted spoon, since the foam contains impurities that spoil both the taste and the appearance of the broth.
Add the bay leaf, the allspice berries and the black peppercorns to the pot. Cover with the lid and continue to simmer gently for ten to fifteen minutes on low heat. The broth will gradually fill with the warm aromatic notes of the spices as they release their essential oils into the cooking water.
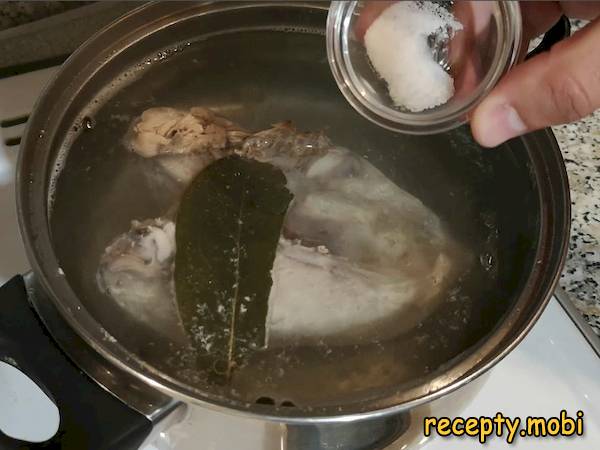
Add a teaspoon of salt and continue boiling for another ten minutes on the same low gentle heat. Adding the salt closer to the end of cooking rather than at the start helps the meat stay tender and juicy, since salt added too early can draw moisture out of the meat and leave it dry.
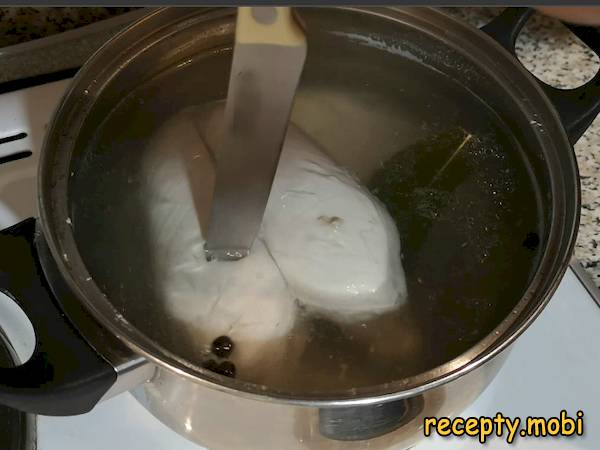
Check the breast for doneness by piercing it with the tip of a fork or a thin knife. The metal should slide in easily without resistance. The meat inside should be uniformly white with no pink streaks. Ideally the internal temperature should reach at least 74 degrees Celsius for food safety.
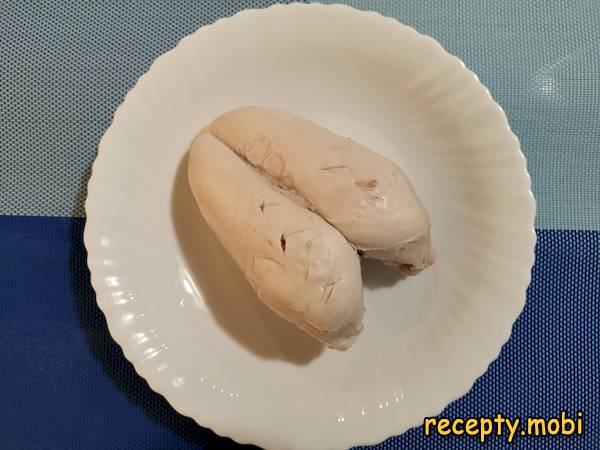
Remove the pot from the heat, lift out the cooked breast with tongs and transfer it to a plate to rest. Strain the remaining broth through a fine sieve to remove any small bits of foam or spice debris. The clear flavoursome liquid is now ready for use as the base of soups, sauces or savoury risotto. Bon appétit!


Tips
- 1
Never let the water come to a vigorous rolling boil during cooking, since strong boiling toughens the muscle fibres and produces stringy dry meat. Keep the heat at the lowest possible setting so that the water surface only barely shivers rather than bubbling visibly. This gentle approach takes a few minutes longer overall but rewards you with genuinely tender juicy chicken every single time you cook this dish at home.
- 2
Half a small carrot and a quarter of a peeled onion added during cooking deepen the broth flavour without much extra effort. Once your chicken is perfectly boiled, turn it into a beautiful colourful salad by trying our quick Fox Salad with Korean carrots, which puts the cooled meat to delicious use within minutes of cooking.
- 3
Allow the cooked breast to rest in its own broth for ten minutes after the heat is turned off. This brief resting time relaxes the meat fibres and lets the juices redistribute evenly throughout the breast, producing noticeably softer more flavourful chicken than meat lifted out of the pot the moment cooking finishes. Patience pays off in any meat cookery.
- 4
Save the strained broth in portion-sized containers and freeze for up to two months for use in countless future recipes. For another essential meat-cooking guide that pairs beautifully with this technique, see our detailed step-by-step how to properly boil beef guide for celebration salads.
FAQ
How long should I boil chicken breast? +
About twenty-five to thirty minutes on the lowest possible heat after the water has reached its initial boil, depending on the size and thickness of the piece. A standard 500-gram boneless skinless breast typically reaches the perfect tender doneness within twenty-five minutes of gentle simmering. Always check with the tip of a knife at the thickest part to make sure no pink remains visible inside before serving the meat.
Is it necessary to remove the skin before boiling? +
Removing the skin is strongly recommended, especially if you want a light clean broth and noticeably less fat in the finished meat. Skin-on chicken produces a richer fattier broth that some people prefer for soups but most cooks find too greasy for daily eating. Removed skin can be saved in the freezer for making concentrated stock later, so the trim never goes to waste in the kitchen at all.
When should I add the salt during cooking? +
Salt the broth about ten minutes before the chicken is fully cooked rather than at the very start of the boiling process. Salt added too early can draw moisture out of the meat through osmosis and leave the breast disappointingly dry. Adding the seasoning closer to the end seasons the broth without dehydrating the protein, which produces noticeably juicier more tender chicken every single time you use this technique at home.
Can I freeze the cooked chicken breast? +
Yes, boiled chicken breast freezes well for up to two months when stored in airtight containers or sealed freezer bags. For best texture, slice the cooled meat thinly across the grain before freezing, since pre-sliced chicken thaws much faster than whole pieces and shows fewer ice-crystal scars when defrosted. Thaw overnight in the refrigerator and use within twenty-four hours for the freshest possible flavour and the safest food handling.
- Comment
or post as a guest
Be the first to comment.


