
avg —
Japanese Pancakes
Instructions
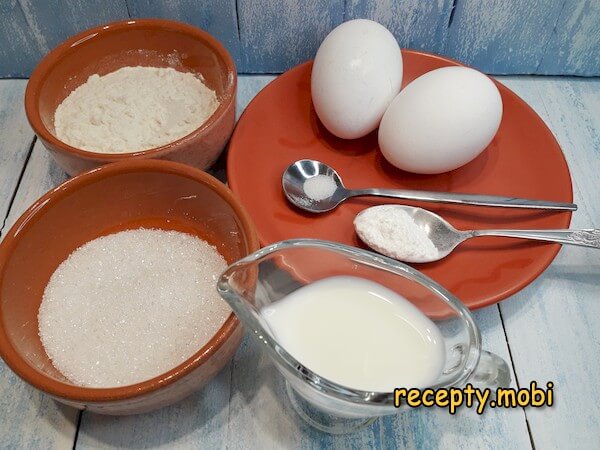
I prepare the ingredients. 2 large eggs (or 3 small eggs as substitute) — egg quantity matters for the meringue volume that gives the pancakes their height.
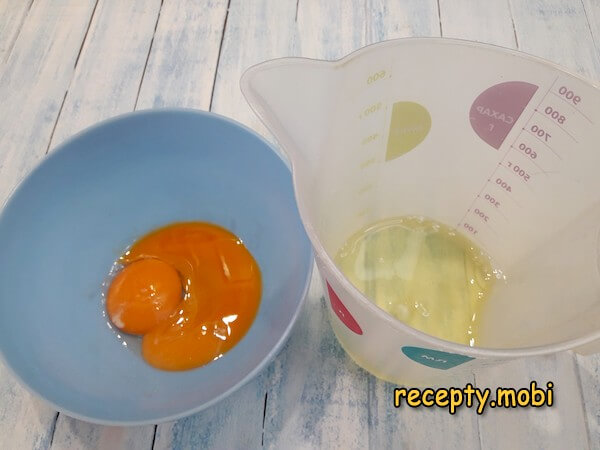
The eggs separate carefully — whites in one bowl, yolks in another. Even a trace of yolk in the whites prevents stiff peaks; clean separation is essential.
The flour and baking powder mix in a small bowl — even distribution of the leavening prevents some pancakes rising more than others.

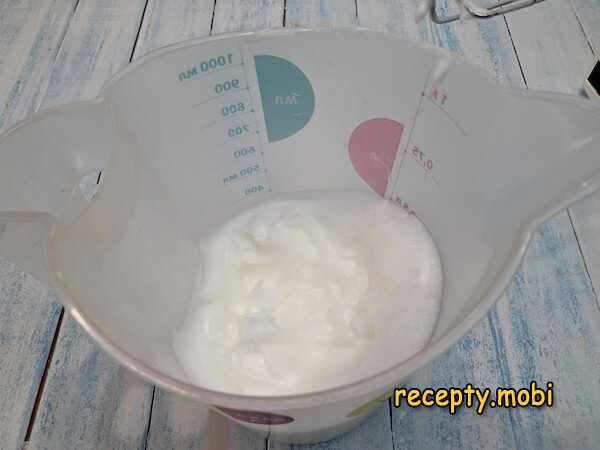
The whites with the salt pinch whip with a mixer until soft peaks — about 1-2 minutes on medium-high.
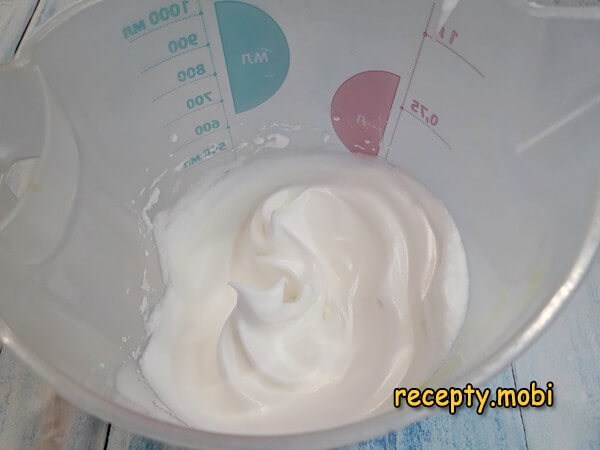
I add the sugar gradually while the mixer continues, then increase to maximum speed. The whites whip to thick stable peaks — glossy and holding shape on the whisk.
The milk goes into the bowl with the yolks.
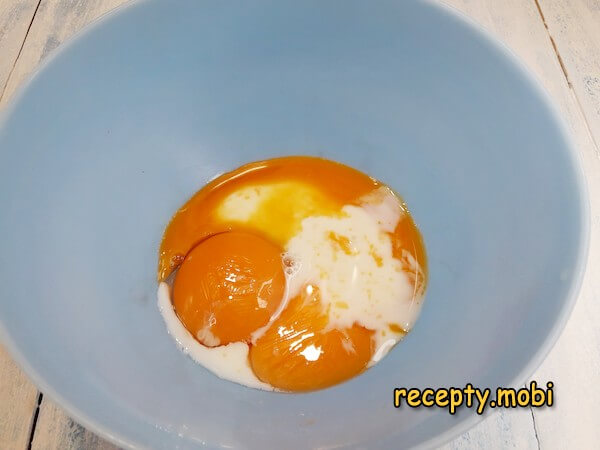
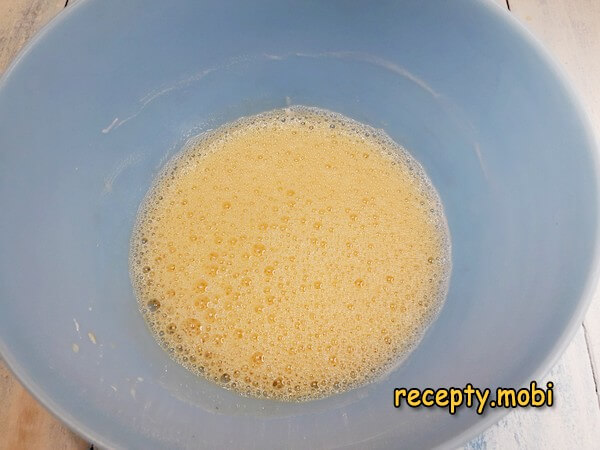
I whisk yolks and milk thoroughly until uniform pale yellow.
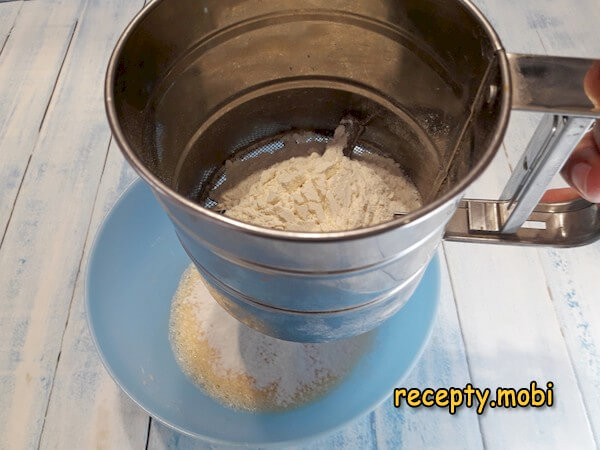
The flour-baking powder mixture sifts into the yolk mixture — sifting prevents lumps.
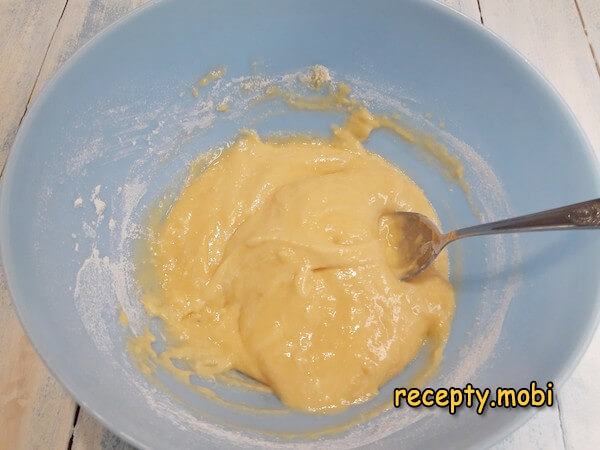
I fold gently with a spoon to integrate, eliminating any dry pockets.
About 1/3 of the meringue folds into the yolk-flour batter — the sacrificial third lightens the heavier base.
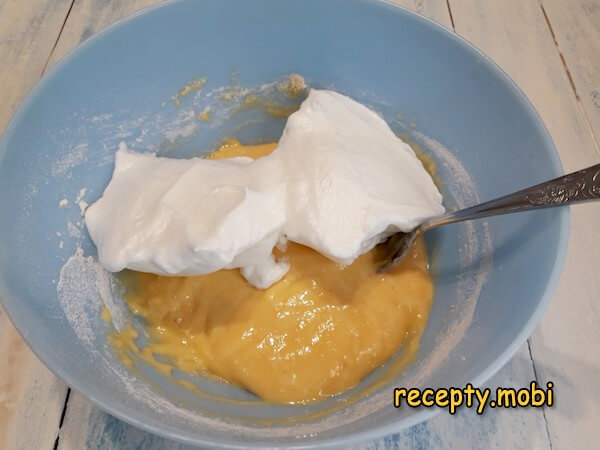
I mix with the same spoon — the first third can be incorporated more aggressively without losing total volume.
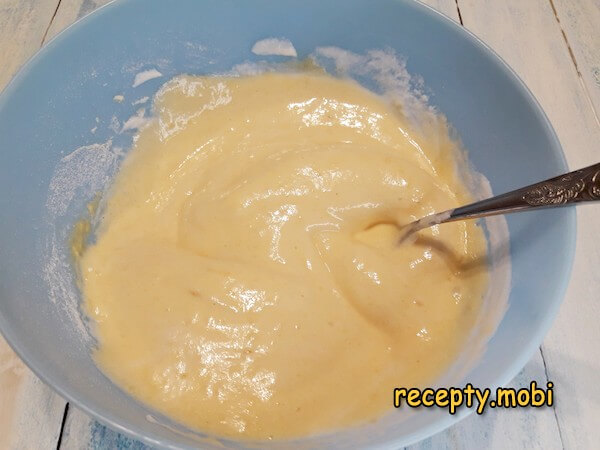
When the mixture is homogeneous, the remaining 2/3 of meringue goes in.
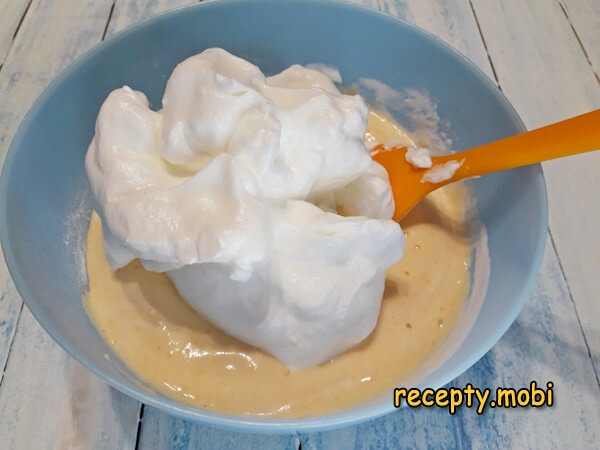
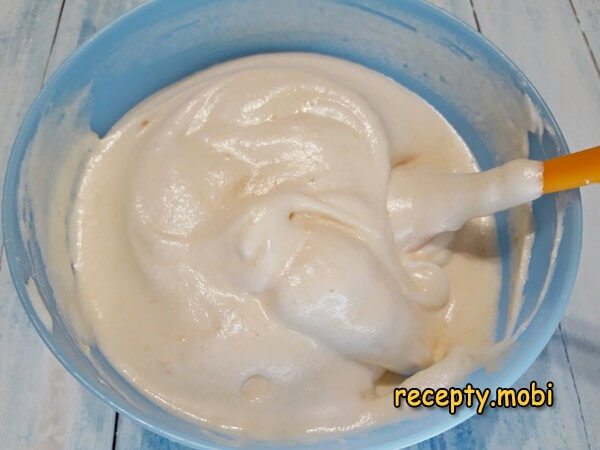
The remaining meringue folds in with a spatula using slow careful motions — preserve every air bubble. The folding technique: cut down through the centre, scoop along the bottom, fold over. Stop the moment the mixture is uniform.
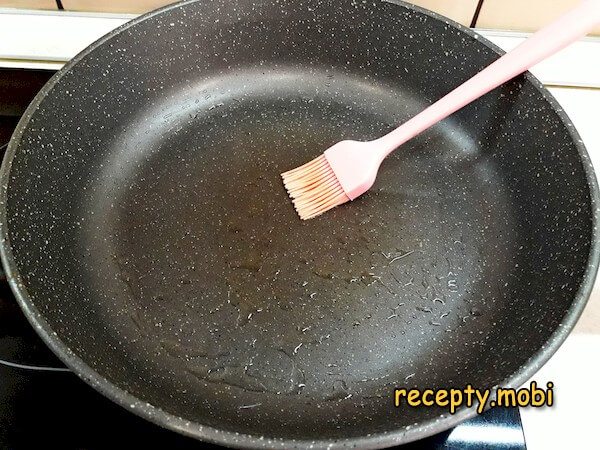
The pan heats over medium-low heat (lower than regular pancakes). I grease the bottom with a small amount of vegetable oil.
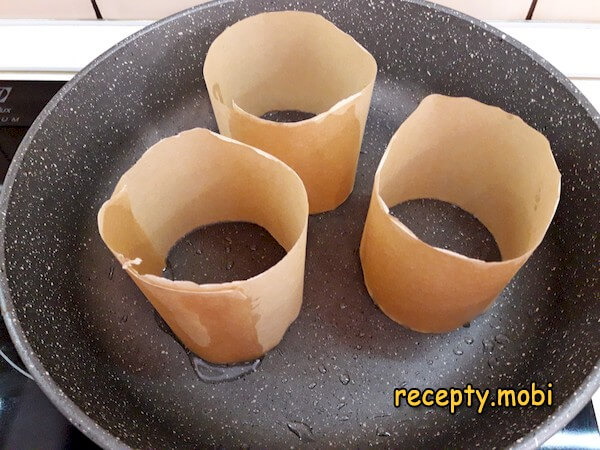
The visual signature comes from parchment paper rings: I cut strips 4-5 cm wide, join into rings (overlap edges and use a dab of vegetable oil to secure). The rings sit in the pan as moulds.
I spoon 1 tablespoon of batter into each ring.
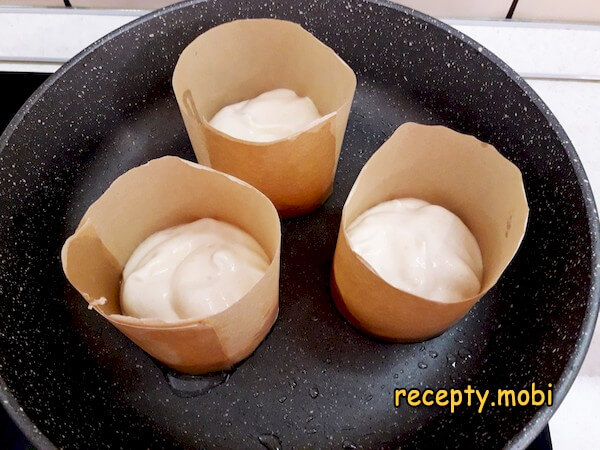
After about 10 seconds, another 1-1.5 tablespoons of batter goes on top of each. Two-stage filling lets the bottom layer set slightly first.
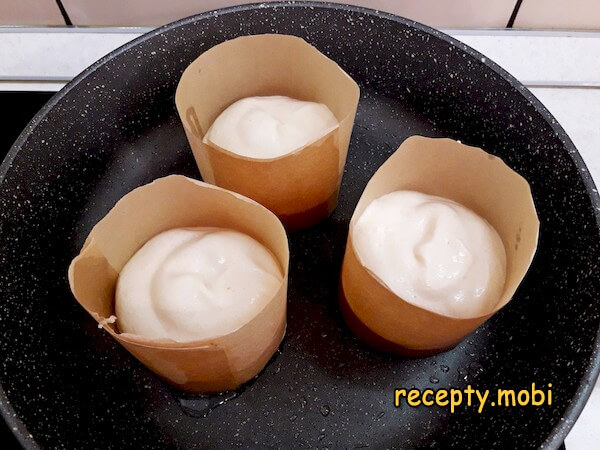
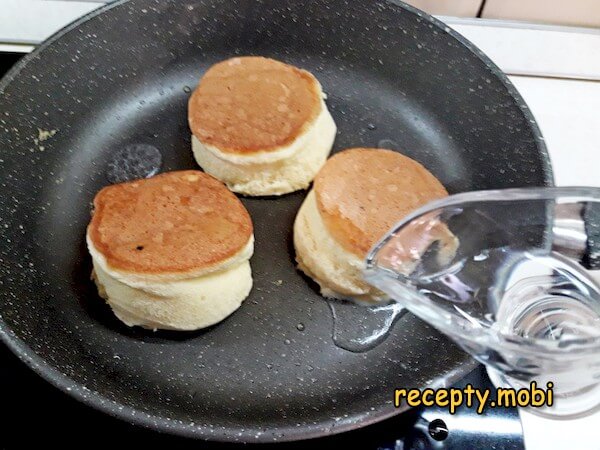
I pour 2 teaspoons of regular water onto the pan surface (NOT into the rings) — creates steam.
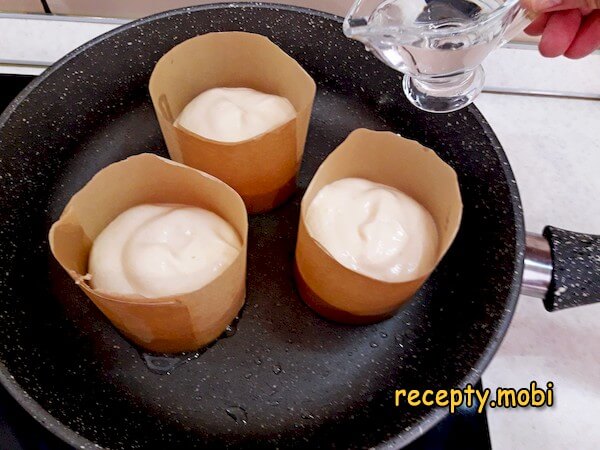
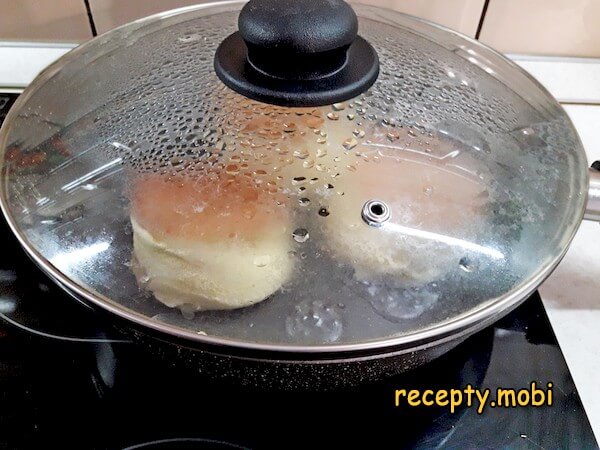
Immediately cover with the lid — the trapped steam is what makes the pancakes rise dramatically.
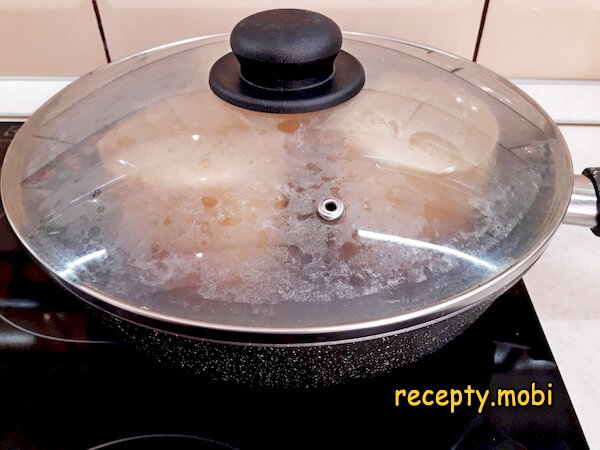
After 5 minutes, the pancakes have risen tall and the bottom is golden — visible through the parchment ring.
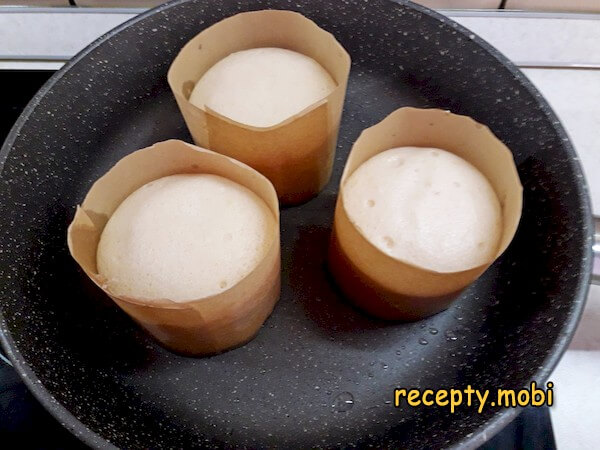
Carefully lift each pancake with a spatula, peel away the parchment ring, and flip to the second side.
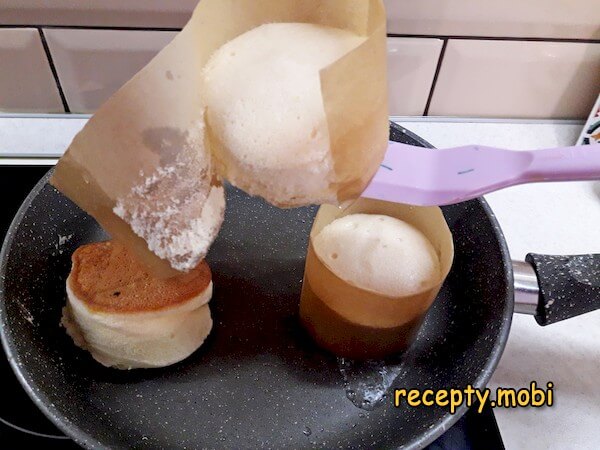
Another 2 teaspoons of water goes onto the pan for the second-side steam.
Lid back on, bake another 4 minutes — the second side colours and the centre fully sets.
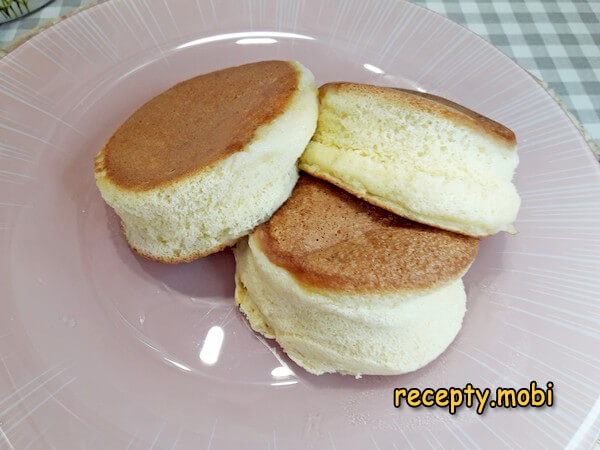
Finished pancakes transfer to a plate. I wipe the pan clean with paper towel and repeat the entire process for the remaining batter — about 3 more pancakes from the second batch.Freshly baked Japanese pancakes get a dusting of powdered sugar, a scattering of fresh berries, and serve immediately — they slowly deflate over time, so the visual drama is best captured at the moment of plating. The flavour is hard to describe — somewhere between sponge cake and soufflé but distinctly its own. To truly appreciate the appeal of this unusual dessert, you simply have to try it.


Tips
- 1
THE STEAM IS THE LIFT MECHANISM. Step 18's water-in-pan technique is the structural secret. The 2 teaspoons of water (NOT poured into the batter, just onto the pan surface) creates steam under the lid that lifts the pancakes much higher than baking powder alone could. Without the steam, you get flat fluffy pancakes; with the steam, you get the iconic 4-5 cm tall jiggly pancakes. The water amount is precise — too much creates soggy bottoms; too little and the steam burns off too fast.
- 2
PARCHMENT RINGS ARE THE SHAPE TOOL. Step 15's parchment ring technique is what makes the pancakes maintain their tall round shape. Without rings, the batter spreads outward as it rises, producing flatter pancakes. The 4-5 cm ring height (you can go up to 6 cm for extra-tall pancakes) constrains the spread, forcing the rise to go upward. Don't skip the rings; they're the difference between Japanese-style and American-style pancakes. For another fluffy pancake variation worth comparing, see Zucchini Pancakes with Semolina in a Pan.
- 3
LOW HEAT IS NON-NEGOTIABLE. Regular pancakes use medium-high heat for rapid cook; Japanese pancakes use medium-low so the centre cooks through before the bottom burns. The 5+4 minute cook time at medium-low temperature is what allows the air-rich batter to fully set without external scorching. High heat = burnt bottoms with raw centres. The lower temperature feels counterintuitive but is essential.
- 4
SERVE IMMEDIATELY OR WATCH THEM DEFLATE. The dramatic height of Japanese pancakes is temporary — the air structure compresses over 10-20 minutes after taking off the pan, especially as they cool. The Insta-photogenic moment is the first 5 minutes off the heat. Serve as you finish each batch; don't try to keep them warm or hold them. They taste fine as they deflate but lose the visual wow factor. For another classic milk-egg pancake to compare, try Thin Pancakes with Milk and Egg.
FAQ
Why do Japanese pancakes deflate? +
The dramatic height comes from air bubbles in the whipped meringue plus expanded steam from the water in the pan. As the pancakes cool, the trapped air contracts and the protein structure (egg + flour) compresses. The same chemistry that makes them rise so dramatically is what makes them deflate so noticeably. Some specialty recipes add gelatin or extra protein to maintain height, but these compromise the soufflé-like texture. The natural deflation is the price of the genuine article. Eat fresh, photograph fast.
Can I make these with gluten-free flour? +
Yes — gluten-free 1:1 baking blends work well in this recipe because the structure relies more on egg protein than gluten development. Use 40 g of GF blend (Bob's Red Mill 1:1 or similar). Almond flour alone doesn't work — too much fat content disrupts the meringue structure. Coconut flour requires recipe adjustments due to its high absorption. Stick to a "1:1 substitution" GF blend designed for baking. The pancakes are nearly identical to wheat-flour versions; gluten-free is one of those substitutions where the result really is comparable.
What if my meringue won't whip to stiff peaks? +
Three common causes. First, trace yolk in the whites — re-separate carefully, even a small amount of yolk fat prevents stiff peaks. Second, dirty bowl or whisk — any residual fat (from previous use) prevents proper whipping; wash bowl and whisk with detergent and dry thoroughly. Third, eggs too cold — room-temperature whites whip to higher volume than fridge-cold whites; let whites sit out 10 minutes before whipping. If meringue still won't peak, try adding 1/4 tsp cream of tartar at the start — stabilises egg-white proteins.
Can I add flavours to the basic recipe? +
Yes — small additions work well. Best add-ins: 1/2 tsp vanilla extract added to the yolk-milk mixture (step 6); 1/4 tsp lemon zest in the same place; a small pinch of matcha powder mixed into the dry flour for green-tea pancakes; or 1 tsp cocoa powder substituted for 1 tsp of flour for chocolate pancakes. Don't add wet flavourings (juice, fruit purée) — water content shifts deflate the meringue. Don't add chunks (chocolate chips, fruit pieces) — they weigh down the rise. Pure base flavours only.
- Comment
or post as a guest
Be the first to comment.


