
avg —
Jelly from juice with gelatin
Instructions
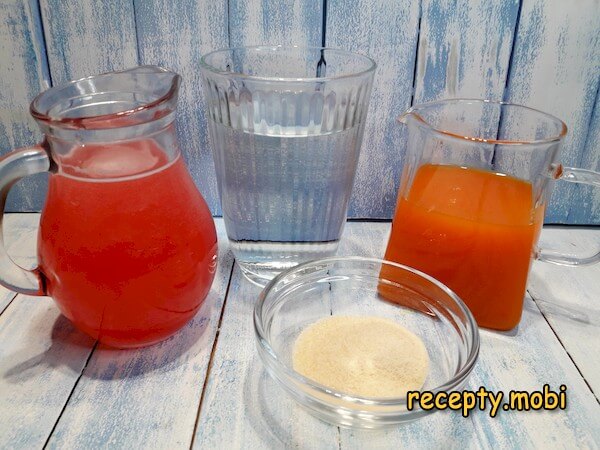
I prepare the ingredients. Instant gelatin sets faster but regular gelatin works with a longer swelling time. Any juice combination works — homemade or store-bought, with or without pulp. For sour juices (lemon, grapefruit), add sugar to taste.
I dissolve 1 tablespoon of gelatin in 75-100 ml of cold water and leave to swell. Cold water (not hot) is the right choice — hot water at this stage prevents the gelatin from swelling properly.
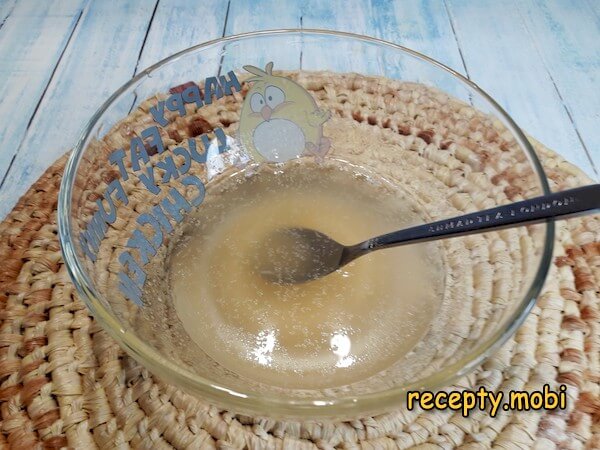
After about 10 minutes, instant gelatin has absorbed all the water; regular gelatin needs about 20 minutes for the same effect.

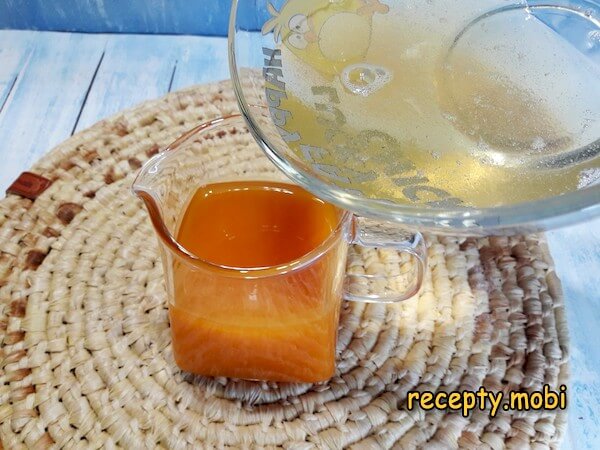
I warm the swollen gelatin in the microwave in short 20-second bursts (or over a water bath) until it becomes a clear liquid. Important: don't boil — boiling gelatin loses its setting power. I pour the warm liquid gelatin into the strawberry juice and stir to combine.

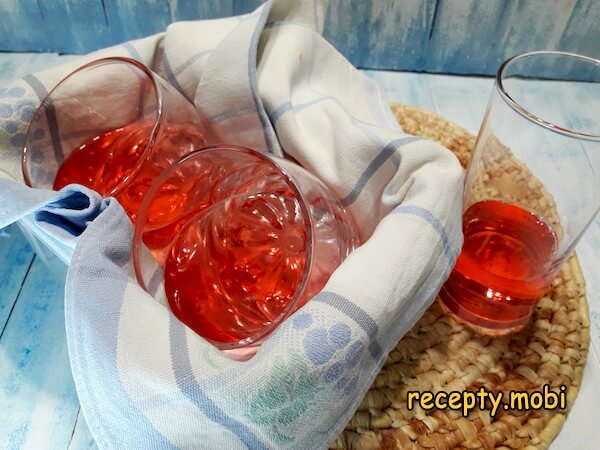
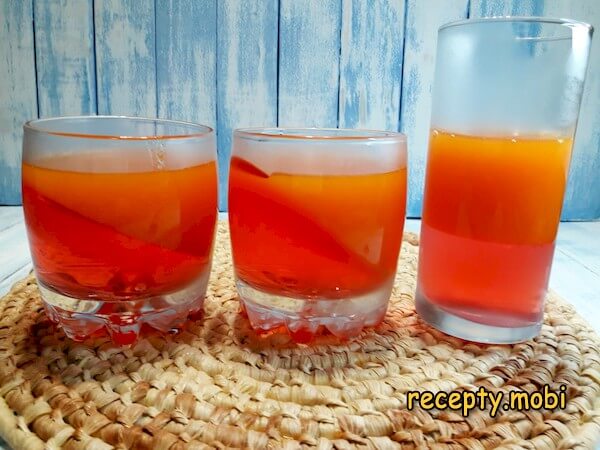
I pour the strawberry mixture into clear glasses, securing them at a tilt (against a small box, a stack of mugs, or any creative prop) so the jelly sets at an angle for the dramatic layered look. Carefully transfer the tilted setup to the fridge.
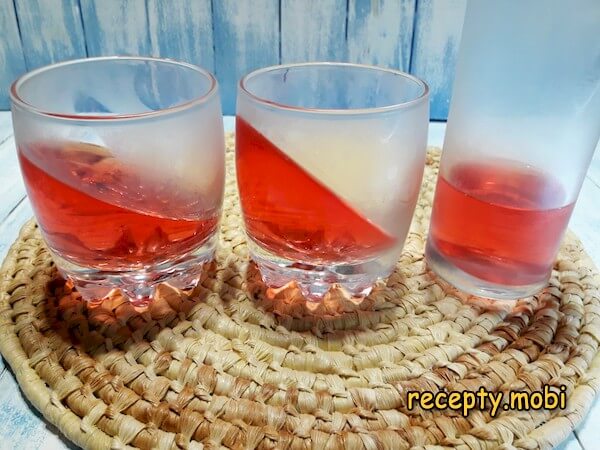
After about 45 minutes, the strawberry jelly is set. I move the glasses upright on a flat surface — the strawberry layer now forms a diagonal slice across the glass.
I prepare the second layer the same way: 1 tbsp gelatin in 75-100 ml cold water, swell, warm, pour into the pumpkin juice, stir.
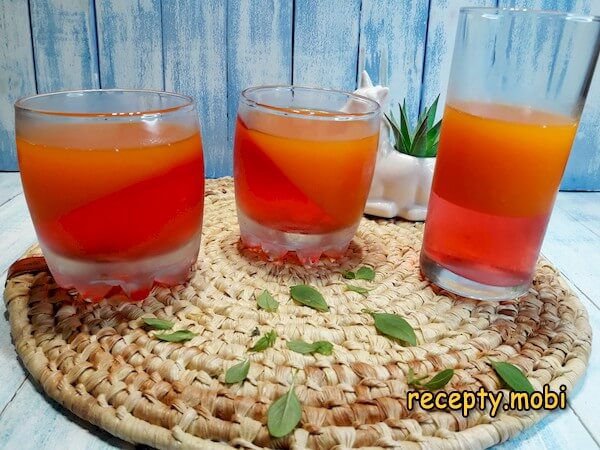
I pour the pumpkin mixture into the 3 glasses on top of the now-set strawberry layer, and return them to the fridge — this time upright, so the second layer is straight horizontal against the angled first layer.
After another 45 minutes, both layers are fully set and the dessert is ready to serve.The finished two-layer jelly looks stunning — the diagonal strawberry pink against the horizontal pumpkin orange in clear glasses. The flavour is light, refreshing, naturally sweet from the juices, and very low in calories. It can be made multilayered (three or four colours), as a single layer for simplicity, or with frozen berries embedded for extra texture. Perfectly suitable as a children's dessert or a light end to a heavy meal.


Tips
- 1
THE TILTED-GLASS TRICK MAKES THE PRESENTATION. Setting the first layer at an angle is what transforms the dessert from "two-coloured jelly" to "elegant restaurant-style dessert". Easy props for tilting: muffin tins (set glass at an angle in a muffin slot), egg cartons, or a folded towel under one side of a small tray. Stability matters — the glass must not slide during the 45-minute set; secure with tape if needed.
- 2
JUICE QUALITY DETERMINES THE FLAVOUR. With only 3 ingredients, the juice is everything. Use the best quality you can — fresh-squeezed if possible, or 100% juice (not "juice drink" or sweetened). Cloudy, pulp-included juices give a more rustic, flavourful jelly. Clear filtered juices look more elegant. Both work; choose based on the visual effect you want. For another gelatin-based dessert worth comparing, see Strawberry soufflé with gelatin.
- 3
DON'T BOIL THE GELATIN. Heating gelatin past the boiling point destroys its setting power — the resulting jelly stays liquid and never sets. Microwave in short 20-second bursts and check between each. The right temperature: warm enough that the gelatin is fully liquid but you can still touch the bowl with bare hands. Water-bath warming is harder to overshoot; recommended for the patient cook.
- 4
EXPERIMENT WITH MORE LAYERS. Once the technique is comfortable, try 3- or 4-layer jellies. Each layer takes 45 minutes to set, so a 4-layer jelly is a 3-hour project — best made in advance. Cool combinations: red (cranberry) + white (yogurt-based gelatin) + blue (blue spirulina or blueberry) for patriotic colours; green (kiwi) + yellow (mango) + orange (pumpkin/carrot) + red (strawberry) for a sunset gradient. The technique is forgiving; the visuals are dramatic. For a more substantial fruit preserve worth exploring, try Currant and Gooseberry Marmalade – Without Pectin, Gelatin, and Agar-Agar.
FAQ
Can I use agar-agar instead of gelatin? +
Yes, with adjustments. Agar-agar sets firmer than gelatin and is the right choice for vegetarian/vegan versions. Substitution: 1 tbsp gelatin = 1 tsp agar-agar powder. The technique differs: agar must be brought to a boil with the juice (not just dissolved in water). Bring 250 ml of juice to a boil with 1 tsp agar, simmer 2 minutes, pour into glasses. Sets in 30 minutes at room temperature (no fridge needed). Agar-set jellies are firmer and slightly crystalline — different but equally tasty.
Why is my jelly not setting? +
Three usual causes. First, you boiled the gelatin in step 4 — boiling destroys gelatin's setting power; restart with fresh gelatin. Second, insufficient gelatin — 1 tbsp per 250 ml juice is the minimum; certain enzymes in some fruits (kiwi, pineapple, papaya) destroy gelatin, so for these juices either pre-cook the juice to deactivate the enzyme or double the gelatin. Third, fridge wasn't cold enough — set point is 4-8 °C; warmer fridges take longer or fail to set entirely.
Can I add fresh fruit or berries? +
Absolutely — fresh fruit suspended in jelly looks beautiful. Add small pieces of fruit (strawberries, blueberries, raspberries, kiwi slices) to each glass before pouring the jelly mixture. Avoid kiwi, pineapple, papaya, and ginger if using gelatin — these contain protein-digesting enzymes that prevent the gelatin from setting (these fruits work fine with agar-agar). Frozen fruit can be added straight from the freezer; it thaws as the jelly sets.
How long does the jelly keep? +
Refrigerated and covered, the jelly keeps 3-4 days. The texture stays good but the layered presentation gets slightly fuzzy at the boundaries as gentle migration occurs over time. Best within 24 hours of setting for visual perfection. Don't freeze — frozen-and-thawed gelatin jelly becomes a sad watery puddle. Make smaller batches as needed rather than meal-prepping ahead.
- Comment
or post as a guest
Be the first to comment.


