
avg —
Kataifi Dough (Kadayıf)
Instructions
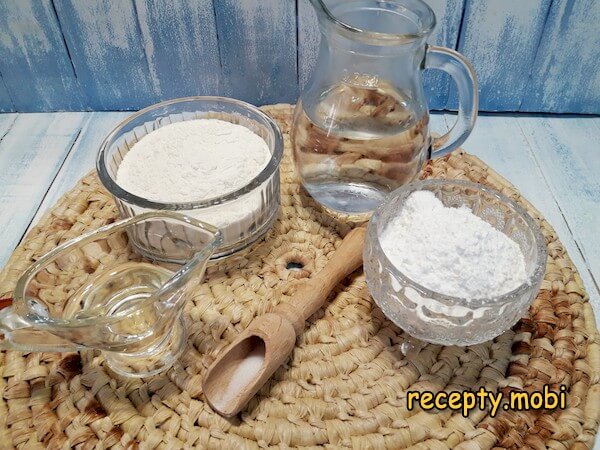
I prepare the ingredients. Cornstarch can be replaced with potato starch, but cornstarch gives a noticeably lighter, airier kataifi — worth using if available. The vegetable oil should be refined and odourless; aromatic oils like sesame or olive would interfere with the dough's neutral flavour.
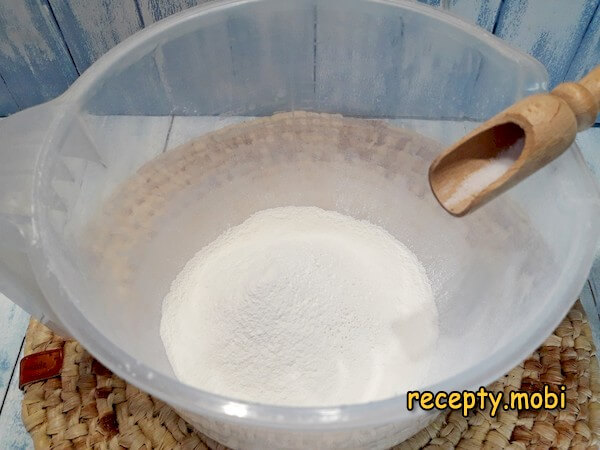
I sift the cornstarch together with the flour into a bowl. Sifting matters here more than usual — the dough is liquid enough that any unsifted lumps stay as lumps in the final batter and clog the piping bag.

I add the pinch of salt to the dry mixture.
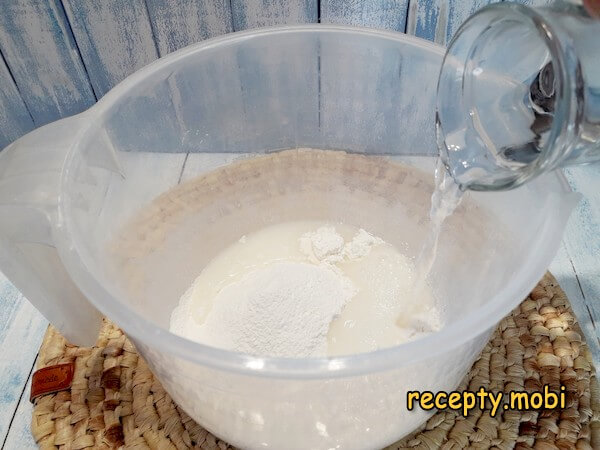
I pour all 190 ml of warm water in at once. Warm (not hot) water at 38-40 °C dissolves the starch fully and gives the smoothest batter; cold water leaves grit, hot water gelatinises the starch prematurely.
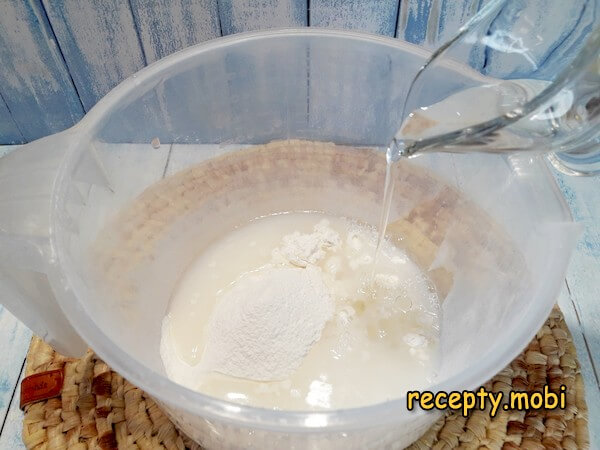
I add the 15 g of vegetable oil. The oil's job is to keep the cooked kataifi flexible enough to roll without cracking — without it, the threads would shatter.
I blend the mixture thoroughly with an immersion blender until completely smooth — no dry lumps, no streaks. A silicone spatula scrapes down the bowl walls between blender bursts so all the dry mixture meets the liquid. Any unblended pocket will appear later as a thick blob in the kataifi web.
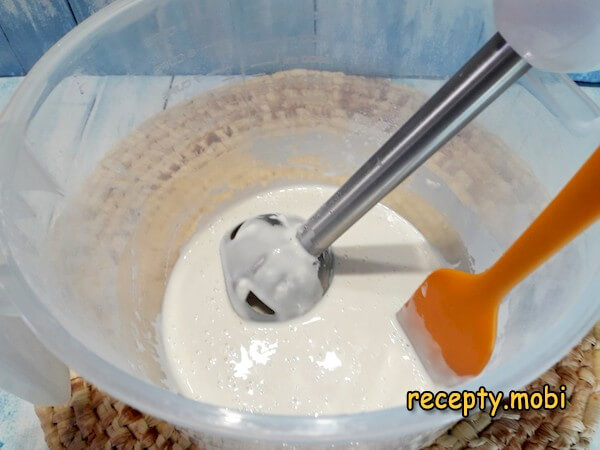
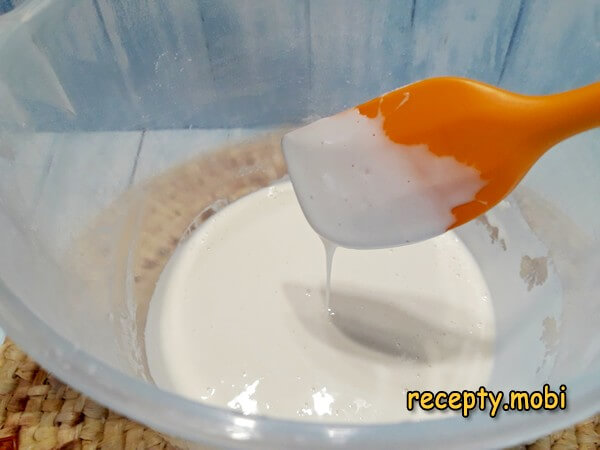
The finished batter should be perfectly smooth and have the consistency of pancake batter — pourable but with body, not runny like water.
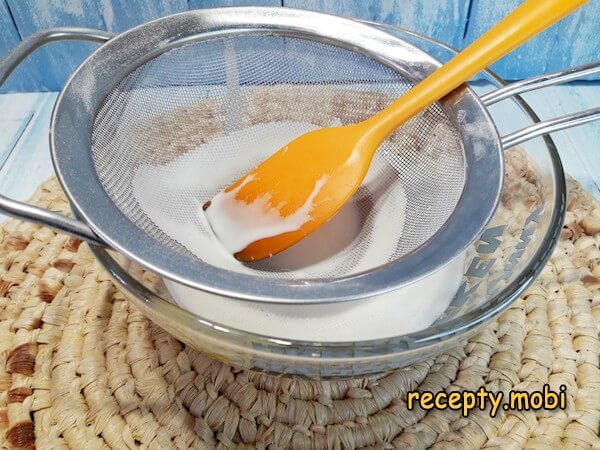
Even after thorough blending, individual flour granules can survive. I pass the batter through a fine-mesh sieve into a clean bowl — this guarantees a silky, perfectly uniform texture and protects the piping bag from blockages.
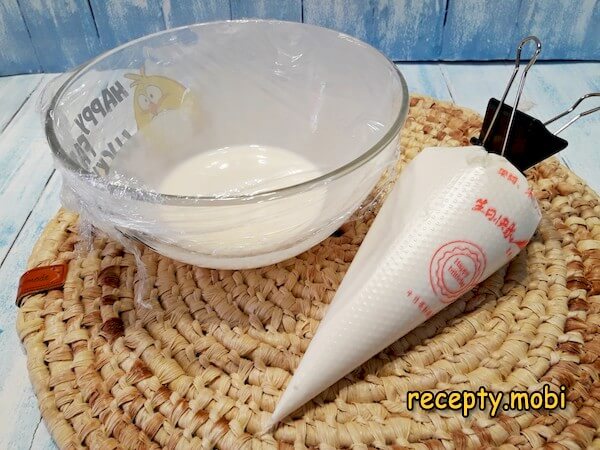
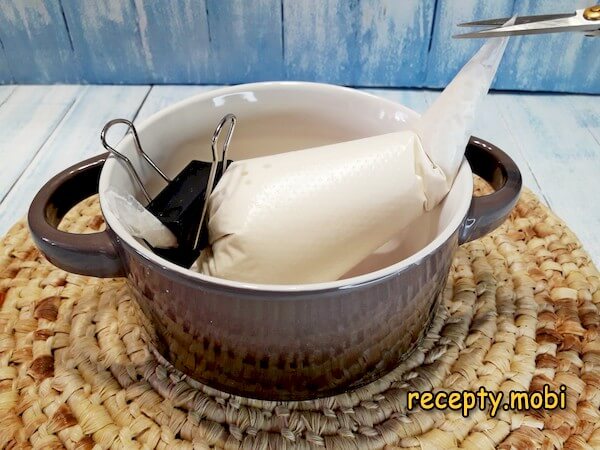
I transfer the batter into a piping bag, twist the top tightly, and secure with a binder clip or clothespin. The remaining batter stays under cling film. The bag rests on the table for about 10 minutes — this short hydration period gives the dough more pliability and elasticity, which translates to less tearing when piped.
While the batter rests, I prepare the workstation: a deep container to hold the piping bag upright between fillings, plus a baking sheet or large tray to receive the cooked kataifi rolls. I cut the very tip of the piping bag with sharp scissors — the smaller the cut, the thinner the threads. Aim for a 1-2 mm opening.
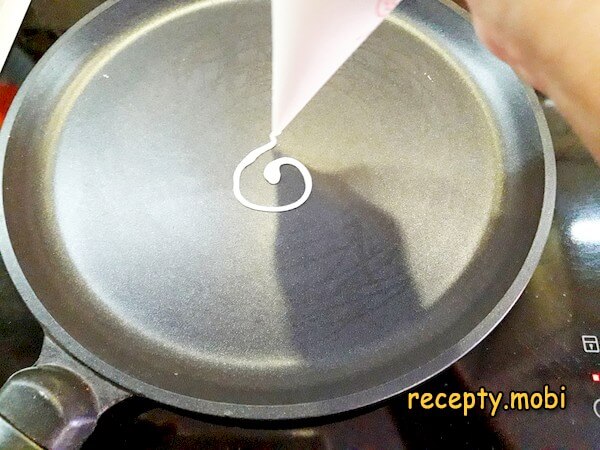
I heat a non-stick frying pan over medium heat — no greasing needed. I start piping a spiral pattern from the centre outward, holding the bag tip as close to the pan surface as possible (a high stream gives thick, irregular lines; a close stream gives clean fine threads). I let the dough flow under its own weight; squeezing the bag gives uneven pressure.
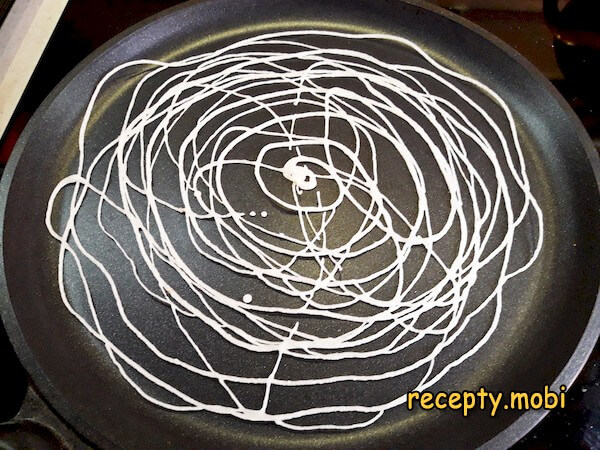
After the first spiral covers the pan, I overlay a second pass to fill the gaps between the first spiral's loops. The result should look like a fine criss-crossing web, not a solid disc.

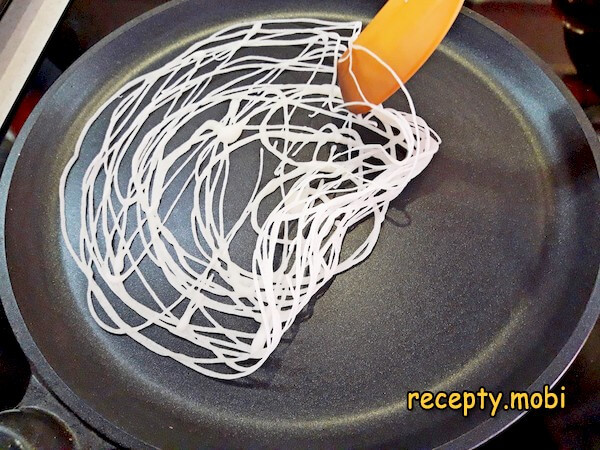
Within seconds the thin web detaches from the pan surface — that's the doneness signal. The kataifi should stay pale; over-browning makes it brittle and impossible to roll without cracking.
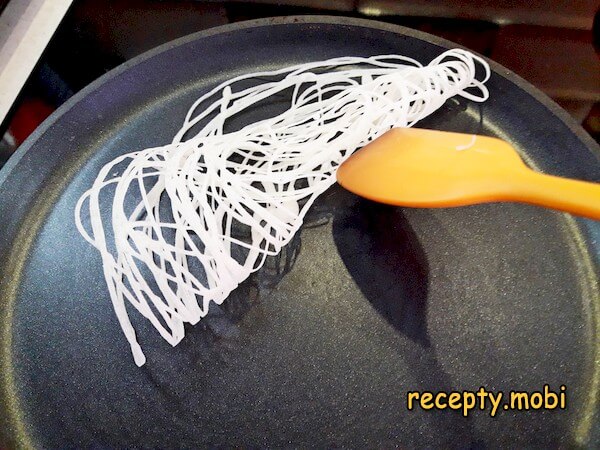
I lift the edges of the cooked kataifi with a silicone spatula. The web should peel up cleanly in one piece if the batter and heat were right.
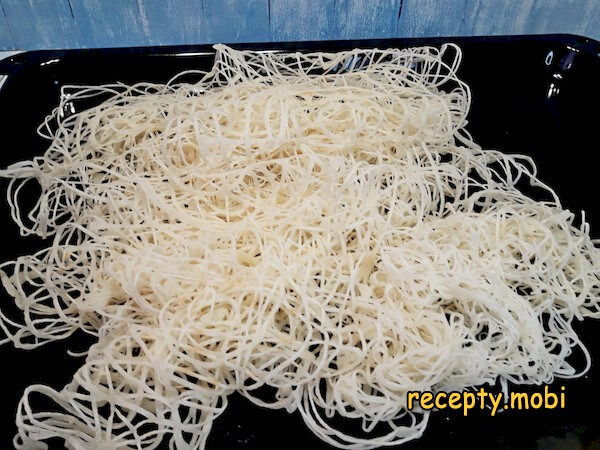
I roll the warm web into a loose roll and place it on the baking sheet. Working while warm is essential; cooled kataifi cracks instead of rolling.
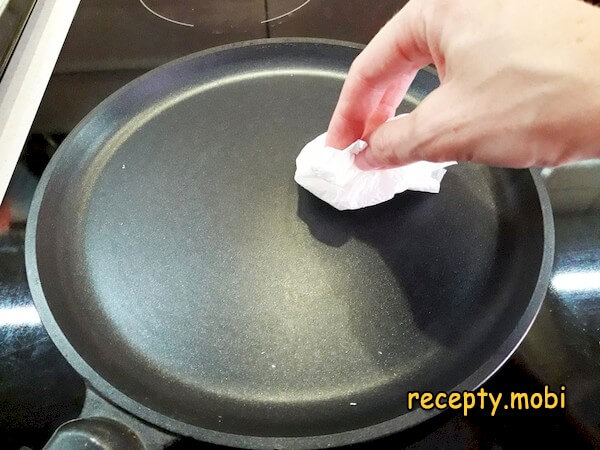
I wipe any tiny dough crumbs from the pan with a dry paper towel before piping the next round. Crumbs left in the pan stick to the new web and ruin its texture.
The kataifi can feel slightly dry just after cooking. Covering the rolls with a clean kitchen towel for 10-15 minutes restores their elasticity and softness — this is the magical step that converts the batch from brittle to pliable.
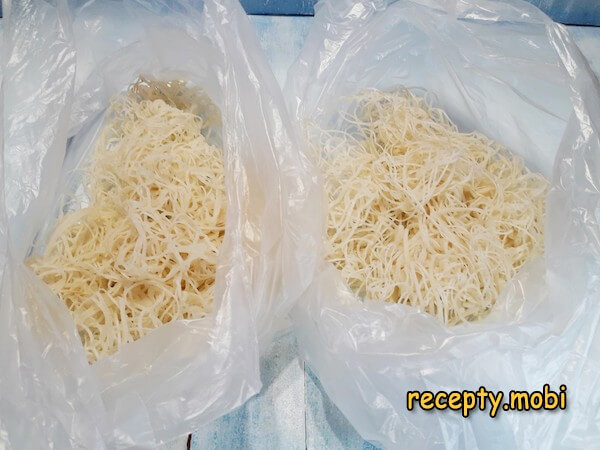
The finished kataifi can be used straight away or packed into a freezer bag and frozen for several months. Thaw fully in the refrigerator before use — defrosting at room temperature can leave condensation that turns the threads soggy.The finished kataifi dough is the gateway to a whole world of Eastern desserts: Egyptian kunafa, Turkish-style baklava, knafeh, and even savoury preparations like kataifi-wrapped seafood. It's also the crispy element in the viral Dubai chocolate.


Tips
- 1
THE BATTER CONSISTENCY IS EVERYTHING. Pancake-batter consistency is the target — pourable with body. Too thick and the threads come out chunky and irregular; too thin and they break apart on the pan. If your batter is too thick, add 1 tablespoon of warm water at a time. Too thin? A teaspoon of cornstarch dissolved in cold water and stirred in restores body. Test with a small piped spiral before committing the whole batch.
- 2
THE PAN TEMPERATURE WINDOW IS NARROW. Too cold and the batter doesn't set fast enough — the threads pool together into a solid disc. Too hot and it browns immediately, becoming brittle. Medium heat (around 180 °C surface temperature) is the sweet spot. Test by piping a small spiral first: if it sets in 5-7 seconds and stays pale, the temperature is right. For another delicate dough that uses similar precision, see Lenten yeast dough for pies and pasties.
- 3
COVER COOKED KATAIFI TO REGAIN ELASTICITY. The 10-15 minute towel rest after cooking is not optional. Fresh-off-the-pan kataifi feels brittle and uncooperative; covered kataifi softens beautifully as residual moisture redistributes. Skip this step and you'll spend the rest of the project fighting cracks.
- 4
THE PIPING BAG TIP SIZE CONTROLS THE WEB. A 1 mm tip cut gives the finest, most authentic kataifi threads — perfect for delicate desserts like knafeh. A 2-3 mm cut gives thicker threads that hold more syrup and work better for crunchy applications like Dubai chocolate. Practise the cut on a piece of paper first before committing on the bag — too-large cuts can't be uncut. For another homemade dough that solves an "expensive to buy" problem, see Dough for Manti.
FAQ
What is kataifi dough used for? +
Kataifi is the structural foundation for many Eastern desserts. The most famous applications are Egyptian kunafa (kataifi soaked in syrup with cheese or cream filling), Turkish kadayıf desserts (often with pistachio and syrup), Greek kataifi rolls (filled with nuts and honey), and the trending Dubai chocolate (kataifi mixed with pistachio paste between chocolate layers). Savoury uses include wrapping kataifi around shrimp or scallops before frying for a dramatic crispy crust. The dough's neutral flavour means it adapts to whatever it's combined with.
How is kataifi dough different from filo (phyllo) pastry? +
Both are extra-thin doughs from the same culinary tradition, but they're shaped completely differently. Filo is rolled or stretched into wide thin sheets that are layered flat or wrapped around fillings. Kataifi is piped or extruded as fine threads that form a web-like texture. The two aren't substitutes — recipes calling for one rarely work with the other. Filo gives crisp flaky layers when baked; kataifi gives crispy strands that absorb syrup or sauce in a unique way.
Can I make kataifi dough without an immersion blender? +
Yes, but the workout is real. A regular whisk plus extended stirring can achieve smooth batter, but expect to whisk for 5-7 minutes continuously, scraping down the sides constantly. The sieve step (8) becomes even more important — pass the hand-whisked batter twice through a fine-mesh sieve to catch the unblended bits. A standard countertop blender works well too if you don't have an immersion blender. The food processor is hit-or-miss; the wide bowl tends to leave dry patches at the edges.
How do I store homemade kataifi dough? +
Fresh kataifi (uncooked, just-piped rolls) holds about 24 hours in the fridge wrapped in cling film, though it stiffens noticeably. For longer storage, freeze the rolls in a single layer first (so they don't stick together), then transfer to an airtight freezer bag. Frozen kataifi keeps 2-3 months without quality loss. To use frozen kataifi, transfer it to the fridge for several hours to thaw — never microwave or thaw at room temperature, both methods leave condensation that ruins the texture.
- Comment
or post as a guest
Be the first to comment.


