
avg —
Khychyns with cheese and potatoes
Instructions
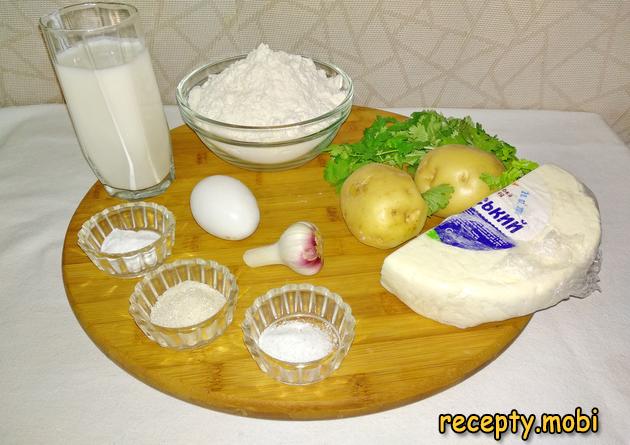
Prepare all the ingredients according to the list for making the khychyns with cheese and potatoes. All products should be at proper room temperature. The flour should be sifted through a fine sieve. Any fat content of kefir will work absolutely fine.
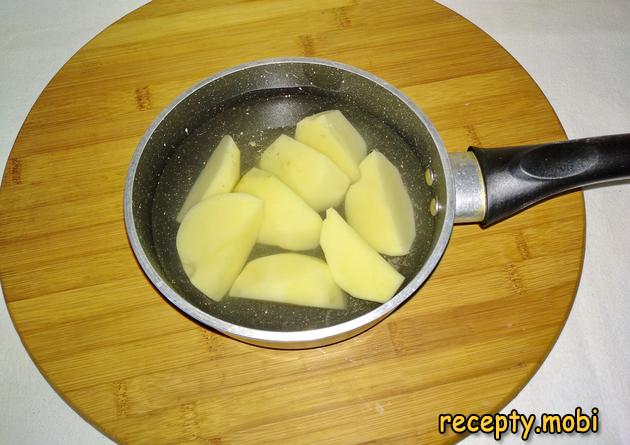
Prepare the filling first. Peel the potatoes, cut them into four parts and set them on the stove to boil. There is no need to salt the potatoes at this stage.
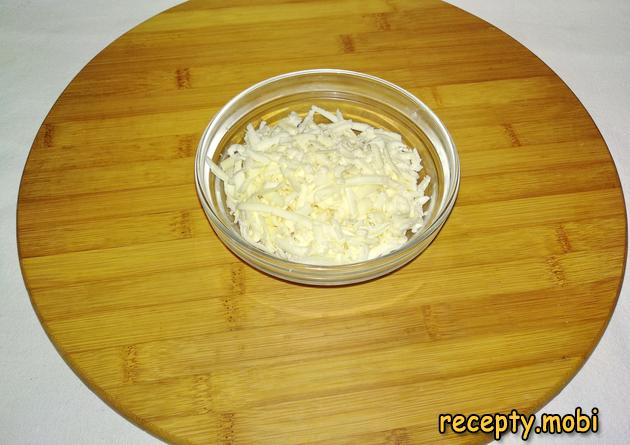
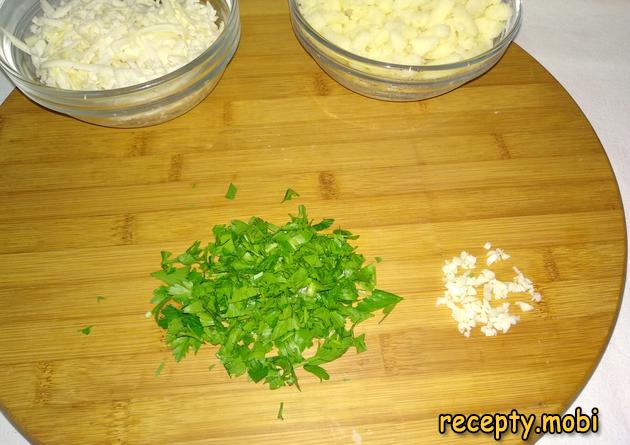
While the potatoes are cooking on the stove, grate the cheese on a coarse-side grater.
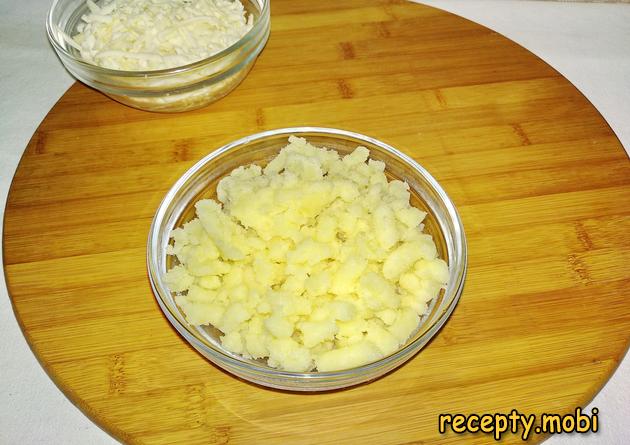
Mash the boiled potatoes thoroughly using a "potato masher".
Chop the fresh herbs and the clove of garlic finely with a sharp knife.
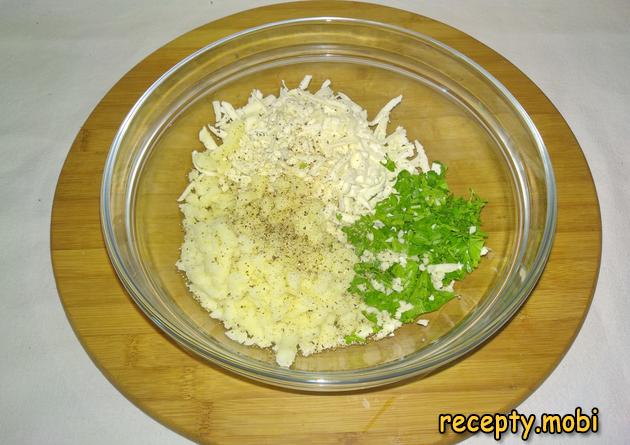
Transfer all the prepared filling ingredients into a deep mixing bowl. Salt and pepper to taste.
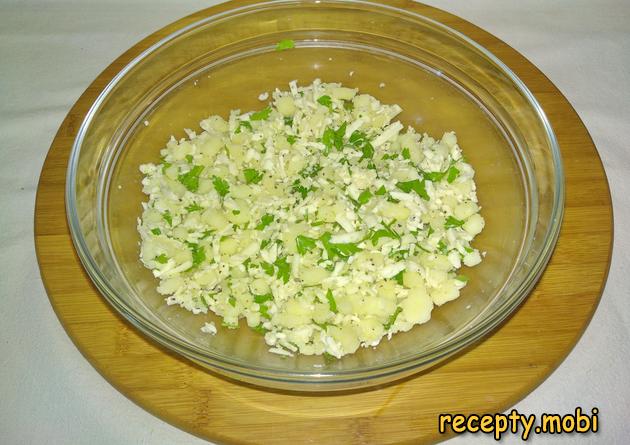
Mix everything together thoroughly. The filling is now properly ready. Cover the bowl with a lid and set aside for now.
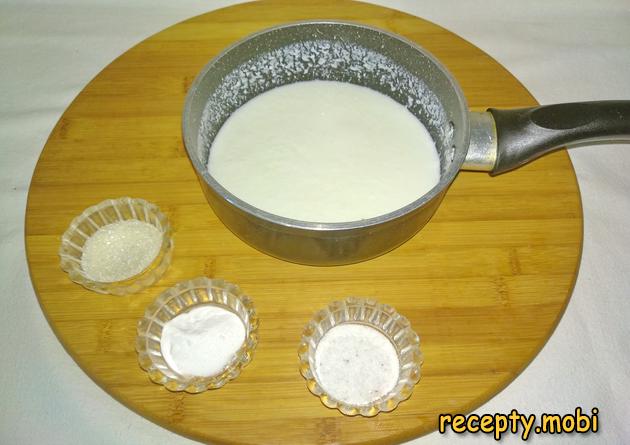
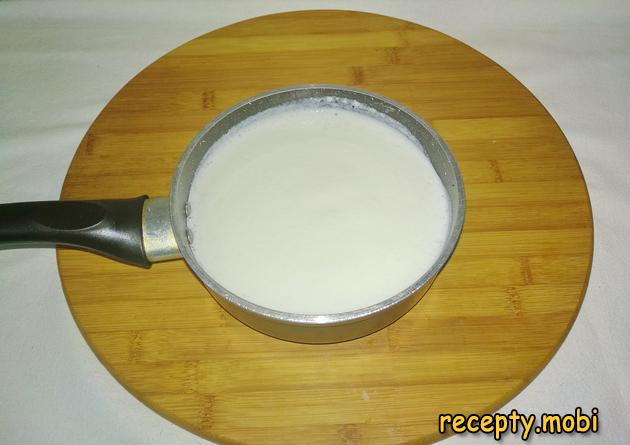
Begin preparing the dough. The dough is kneaded very quickly, within just ten to fifteen minutes total. If you forgot to take out the kefir in advance, pour it into a small saucepan and slightly warm it on the stove. The sugar, salt, and baking soda need to be added to the warm kefir and mixed together.
The kefir and the baking soda will almost immediately start to react and bubble.
In a separate small bowl, beat the egg with an ordinary fork. We just need to mix the egg gently. There is no need to whip it into a fluffy foam.
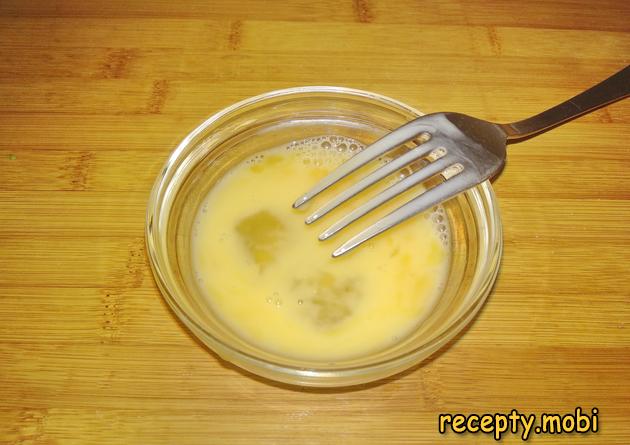
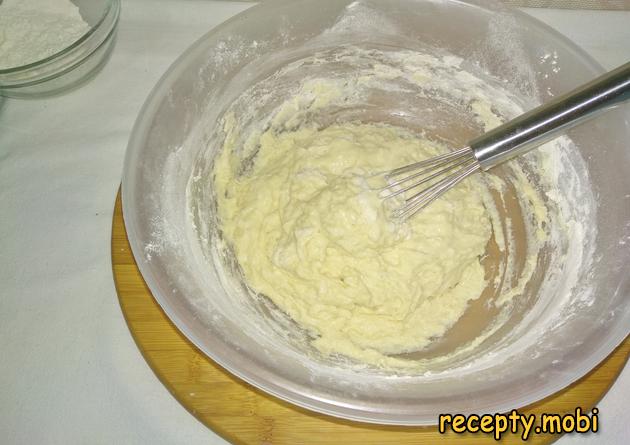
Add the beaten egg to the kefir mixture. Mix together. And begin to incorporate the sifted flour into the dough gradually.
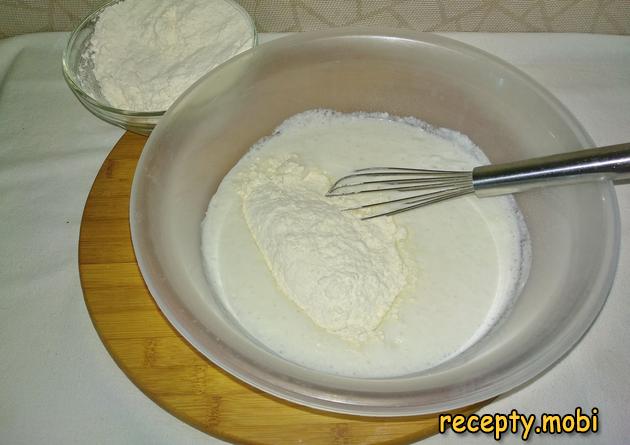
The flour should be added to the dough in two or three gradual stages to ensure the finished dough is smooth and properly elastic.
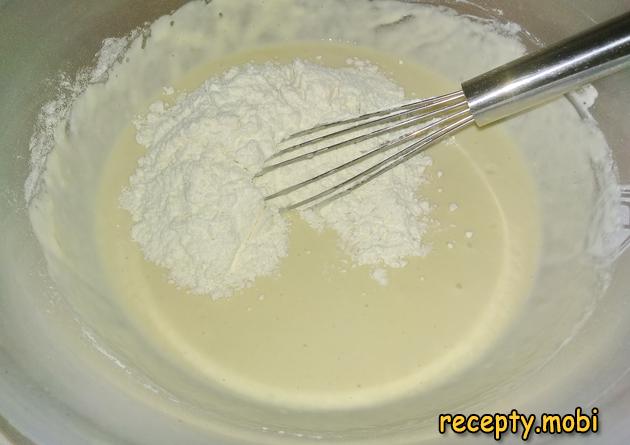
When it becomes inconvenient to knead the dough in the bowl, move to the working surface for the final kneading.
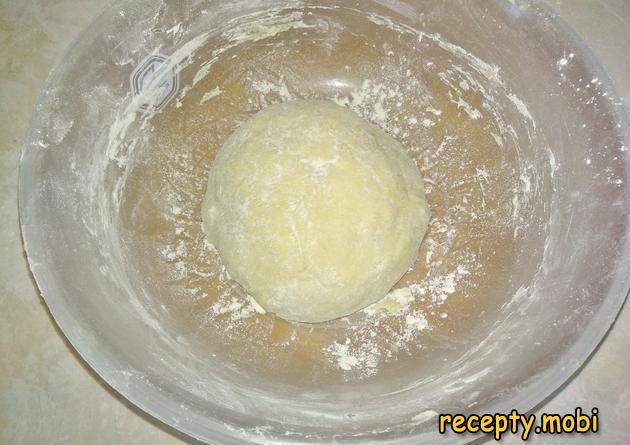
Knead the dough so that it doesn't stick to your hands but remains properly soft, trying not to overload it with too much extra flour. Place the dough back into the bowl, cover with plastic wrap, a lid, or a clean towel. Let it rest for thirty minutes total at room temperature.
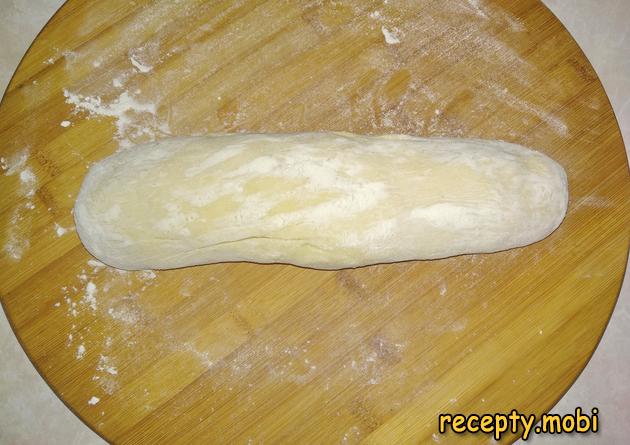
When the dough has properly rested, roll it into a small log and divide it into ten equal parts.
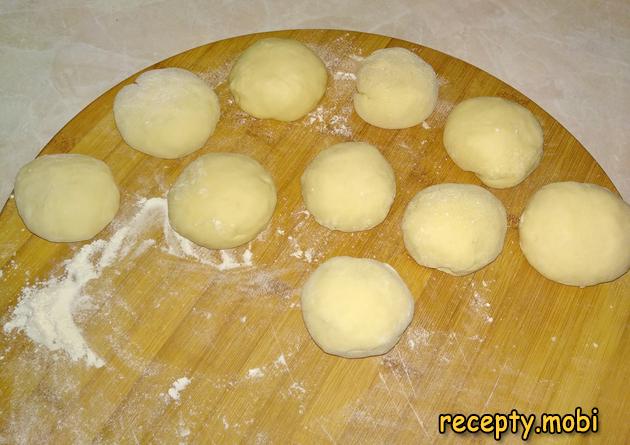
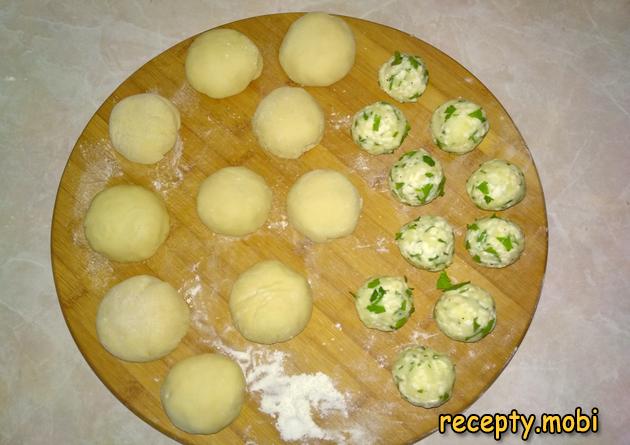
From each part, form a small smooth ball. Cover the prepared blanks with a clean towel to prevent the dough from drying out.
Divide the prepared filling into the same number of blanks, also forming smooth balls. Both the dough and the filling should weigh approximately the same.
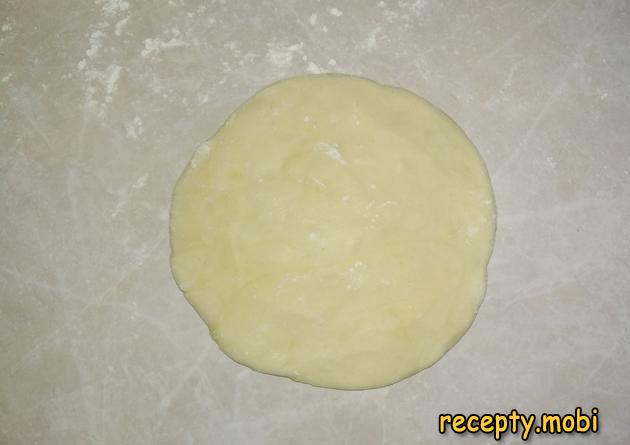
Dust the working surface with a little flour, lay one dough blank on it. Shape it into a circle with your hands, without using a rolling pin. Try to stretch the edges more, while the centre should be slightly thicker.
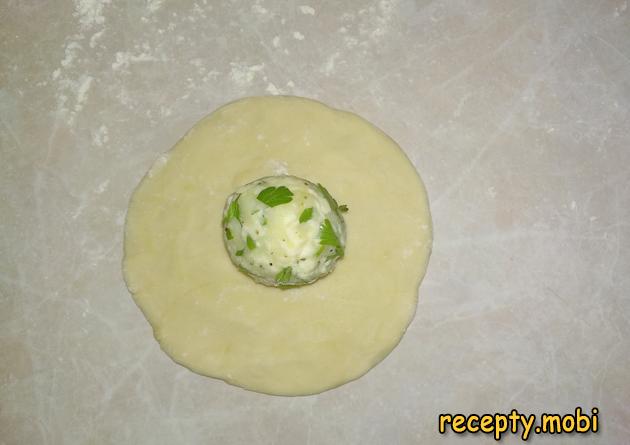
Place a ball of filling in the very centre of the round dough blank.
Use the dough to fully encase the filling ball. Pinch the edges of the dough together over the filling ball.
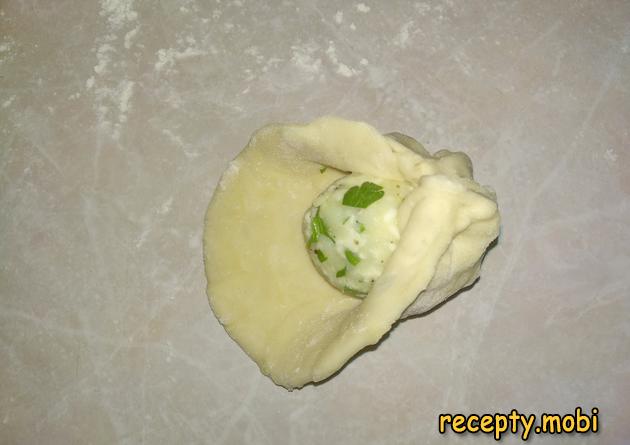
Form a small "pouch" shape with the sealed dough.
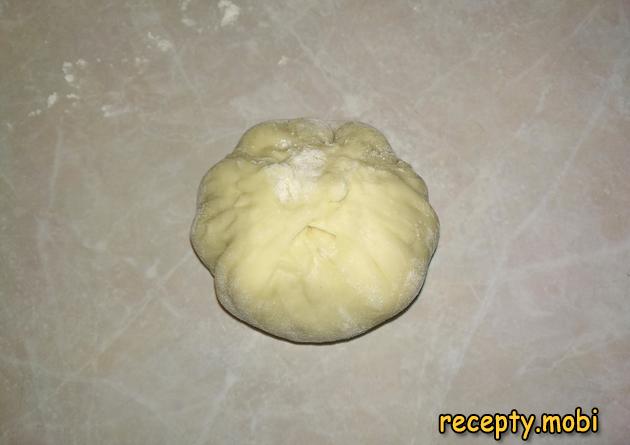
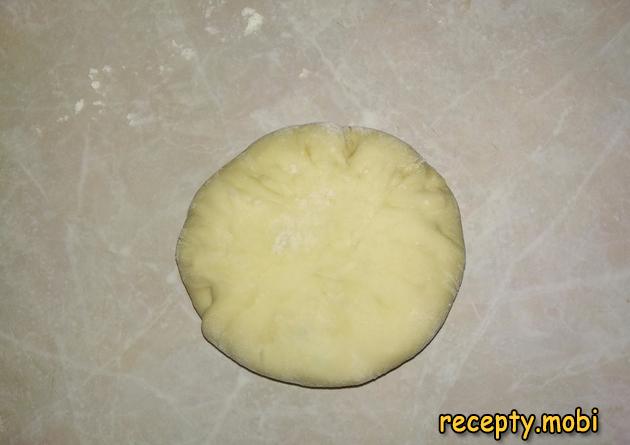
Slightly press down on the formed blank. Do the same with all the other blanks. Dust the board or table edge well and place all the blanks seam side down, cover with a clean towel to prevent the dough from drying out.
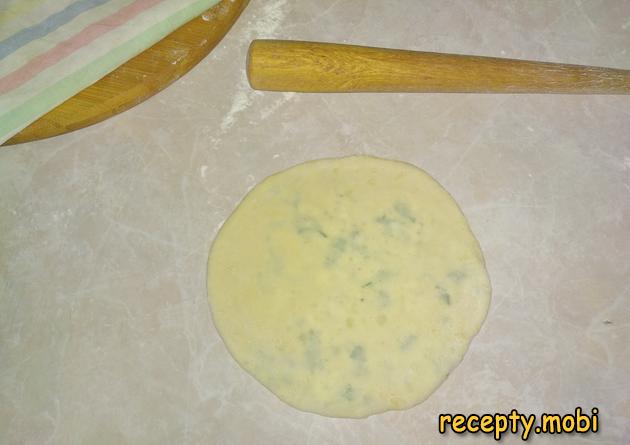
Take out one blank at a time and roll out the dough using a rolling pin. The dough can be easily shaped and stretches evenly with the filling inside.
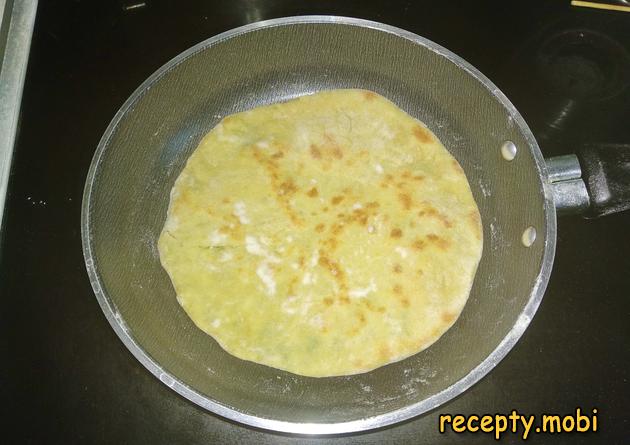
Heat the frying pan on medium heat. The pan should be completely dry, without any oil at all.
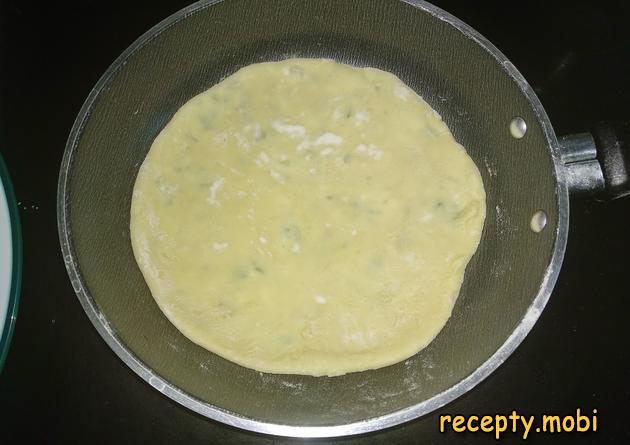
Fry the khychyn with potatoes and cheese in the dry pan until properly golden brown across the surface, then flip carefully to the other side and fry until properly golden brown as well.
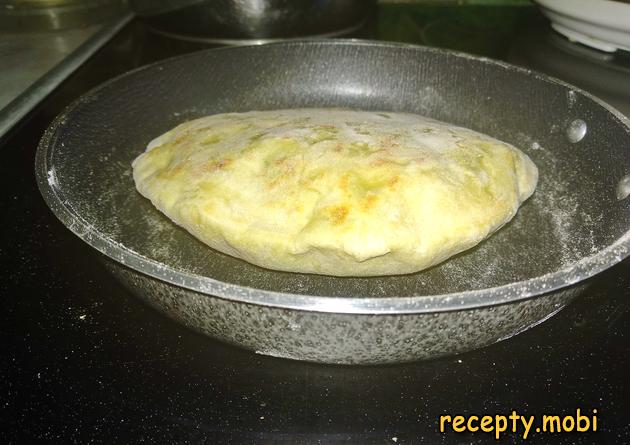
During frying, the flatbreads may puff up dramatically, which is genuinely normal. If it doesn't puff up on its own, it just needs to be pierced gently with a wooden skewer or something else sharp.
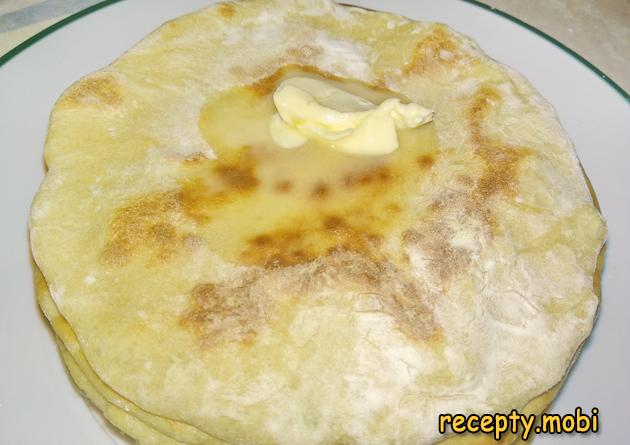
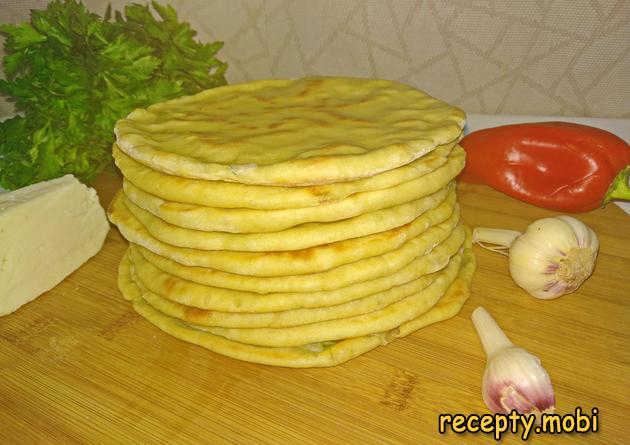
The finished dish is laid out on a serving plate in a stack. The freshly made flatbreads should be immediately covered with melted butter for the most authentic finished flavour.
Here are the beautifully browned flatbreads that turned out in the end on the serving plate.
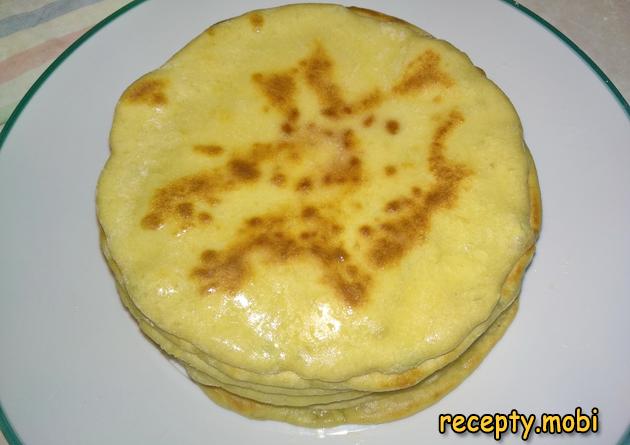
Serve the hot flatbreads at the table and call everyone to come for lunch.The khychyns with cheese and potatoes are absolutely perfect served alongside the first soup courses. They also make a great breakfast in the morning with sour cream or chilled ayran drink.


Tips
- 1
Use proper Adyghe cheese or suluguni for the most authentic finished flavour, since these specific Caucasian brined cheeses provide the proper salty stretchy character that defines traditional khychyns. The brief search for these specific cheeses at international grocery stores or Caucasian markets genuinely matters for the most properly authentic finished result. Mozzarella or feta can substitute in a pinch but produce slightly different finished flavour profiles.
- 2
Shape the dough into circles by hand rather than using a rolling pin at the initial stage, since hand-shaping creates the proper edge-thinner-than-centre profile needed for the filled "pouch" wrapping technique. To pair these beautifully traditional Caucasian filled flatbreads with another properly classic homemade preparation from the same regional culinary tradition, try our beautifully aromatic chicken Tabaka in a skillet under a press as a Georgian-style main course companion alongside.
- 3
Fry the khychyns in a completely dry pan without any oil, since the proper traditional method uses only the natural fat from the cheese filling for the most authentic finished texture. The brief patience for proper dry-pan cooking genuinely matters for the most beautifully crispy finished surface every single time. Cover with melted butter only after frying for the proper finishing touch at serving.
- 4
Brush the freshly fried khychyns immediately with melted butter or warm clarified butter for the most properly authentic Caucasian-style finished presentation. For another properly classic homemade Caucasian-cuisine recipe to add variety to your weekly menu, try our beautifully tender chicken Tabaka in a skillet under a press as a heartier meat-based main course alternative for properly satisfying weekend dinners.
FAQ
What kind of cheese should I use? +
Adyghe cheese (a soft brined Caucasian cheese) and suluguni (Georgian stretched-curd cheese) are the most properly traditional choices for authentic khychyns. These specific cheeses produce the proper salty stretchy filling that defines the dish. If neither is available, substitute with a mix of feta cheese and mozzarella, or with halloumi for a similar salty firm finished texture. Cottage cheese also works as a milder finished alternative for those who prefer a less assertive cheese flavour profile in the finished filling.
Can I use other fillings? +
Absolutely. Traditional Caucasian khychyns can be filled with various combinations including just cheese (no potato), curd cheese mixed with fresh herbs, ground meat (typically beef), boiled lamb, or even simple sautéed greens with cheese. Each filling brings its own properly authentic character to the finished flatbread. Use approximately the same total weight of filling regardless of the specific combination, and prepare the dough exactly the same way as in the original cheese-and-potato recipe above.
How long do these khychyns keep? +
Store the cooled khychyns covered loosely in the refrigerator for up to two days for best results. Reheat gently in a dry frying pan over medium heat for 1-2 minutes per side to restore some of the original crispness, or briefly in a 180-degree oven for about 5 minutes total. Avoid the microwave entirely, since steaming makes the previously crispy flatbreads disappointingly soggy. The cooked khychyns also freeze brilliantly for up to two months in airtight containers separated by parchment paper.
Can I bake these instead of frying? +
Yes, the khychyns can be baked in a preheated 220-degree Celsius oven on a baking tray lined with parchment paper for about 10-12 minutes total until properly golden brown. The baked version produces a slightly different finished texture (more crispy and less soft) but still beautifully delicious results. The traditional dry-pan method on the stove top remains the most properly authentic Caucasian-style preparation, but baking is a perfectly acceptable modern adaptation for cooks without a suitable frying pan.
- Comment
or post as a guest
Be the first to comment.


