
avg —
Sandy Cookie "Daisy"
Instructions
Take the butter (90 g) out of the fridge in advance and leave it at room temperature for 30–40 minutes until soft. The butter should give easily under your finger, but not be melted or runny – this is critically important for the crumbly texture of the cookies. Butter that is too cold will not blend with the other ingredients, while butter that is too soft or melted will make the cookies flat.
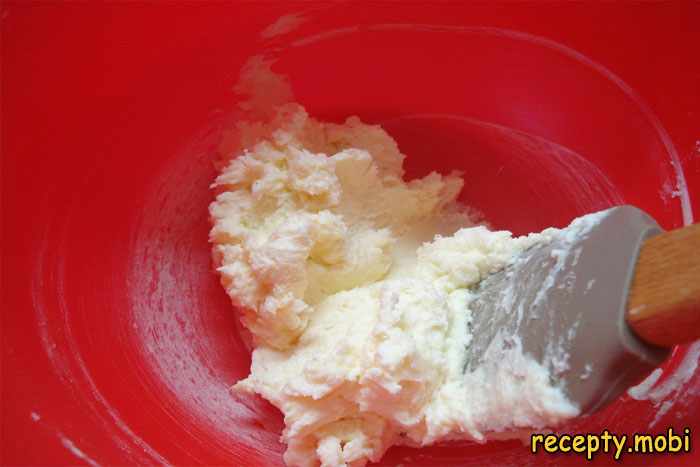
Put the softened butter into a deep bowl and add 45 g of powdered sugar. Powdered sugar rather than ordinary granulated sugar is what you want – it dissolves instantly and gives the finished cookies a more tender texture. Using a fork or a silicone spatula, rub the powdered sugar into the butter, working the mixture until smooth, for 2–3 minutes.
Carefully separate the white from the yolk – this recipe needs only the white, and the yolk can be used for another dish. It is important that not a single drop of yolk gets into the white, as the fat from the yolk will change the texture of the dough. Add the white to the butter mixture and stir until smooth.
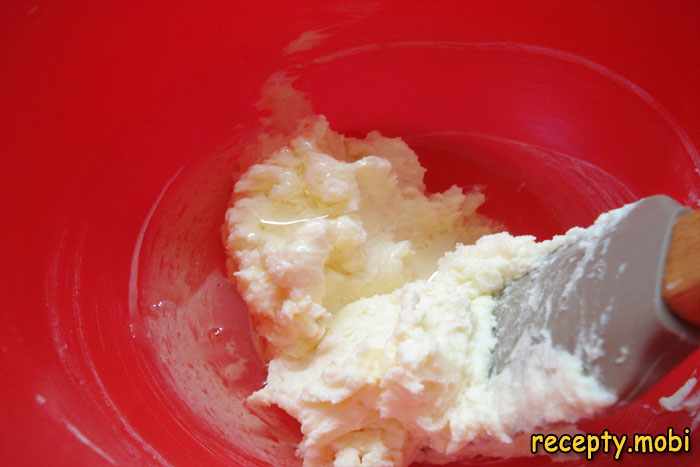
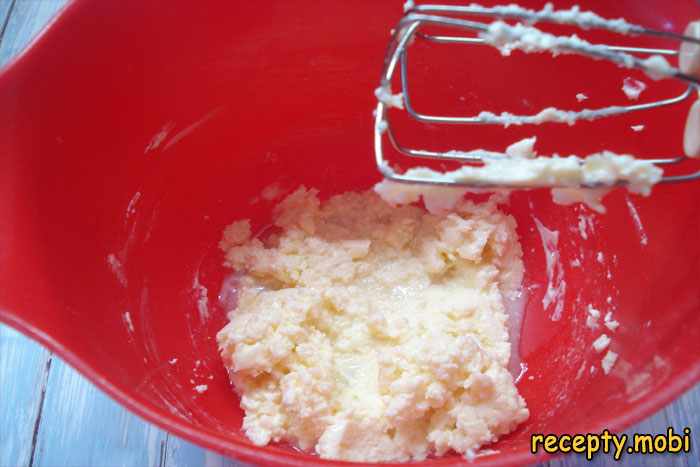
Add 5 drops of vanilla extract – it gives the cookies a pleasant aroma. If you do not have the extract, you can use 1 teaspoon of vanilla sugar or a pinch of vanillin. Beat the butter mixture with a mixer on medium speed for 1–2 minutes until you have a fluffy, slightly lightened mass. Do not over-beat – even mixing is enough.
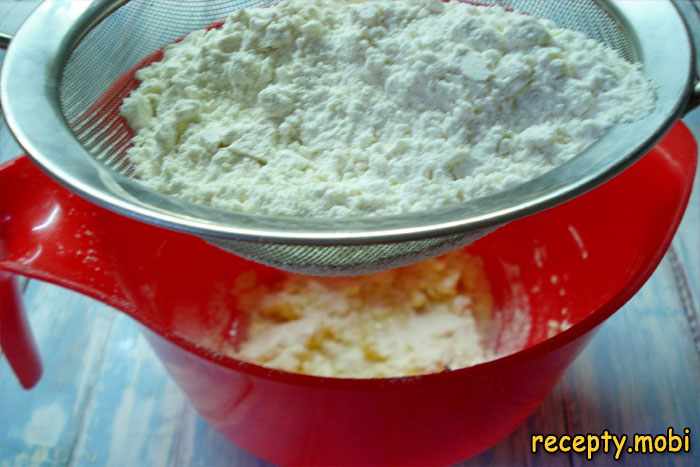
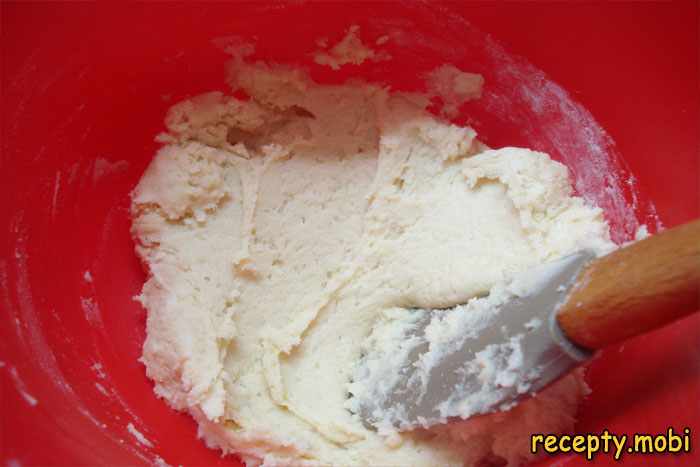
Sift 140 g of plain flour together with ½ teaspoon of baking powder through a fine sieve. Sifting aerates the flour and makes the dough lighter, and it also helps to distribute the baking powder evenly. Add the flour mixture to the butter base in batches, 2–3 tablespoons at a time, stirring after each addition.
Add the last portion of flour bit by bit, watching the consistency of the dough – it should not be too dry or crumbly. The ideal dough for "Daisy" cookies is soft, pliable and slightly sticky, yet holds its shape well. If the dough crumbles too much, add 1 teaspoon of milk; if it is too sticky, add a pinch of flour.
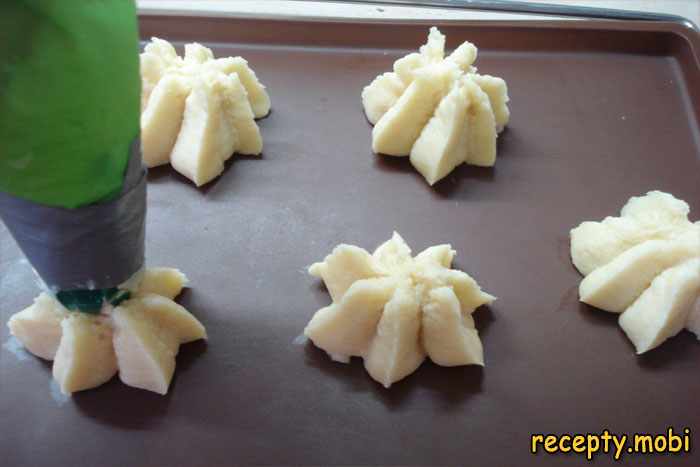
Transfer the finished dough into a piping bag fitted with a "Star" nozzle (with a toothed edge). If you do not have a piping bag, you can use a sturdy plastic bag with a corner cut off, or shape the cookies by hand. Line a baking tray with parchment paper or a silicone mat.
Pipe the dough from the piping bag onto the tray with a circular motion, forming little flowers about 4–5 cm in diameter. Start from the centre and spiral out towards the edges, creating the characteristic daisy shape with petals. Leave 2–3 cm between the cookies – the dough will spread slightly during baking.
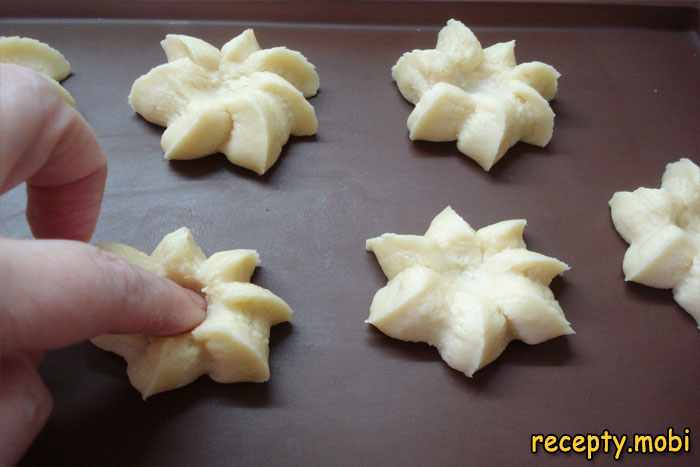
Make a small hollow in the centre of each flower using the back of a teaspoon or the tip of a finger moistened with water. The hollow should be deep enough (about 5–7 mm) to hold the jam, but should not break through the base – otherwise the filling will leak onto the tray.
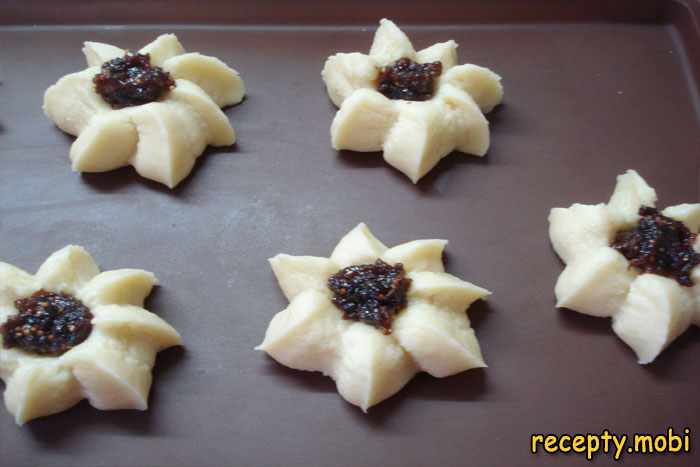
Carefully fill the hollows with thick jam or preserves – about ½ teaspoon per cookie. Choose thick jam without runny syrup – thin jam will spread during baking and burn. Strawberry jam, seedless raspberry jam, apricot conserve and blueberry jam all work well.
Preheat the oven to 200 °C using the top-and-bottom setting. Place the tray of cookies in the centre of the oven and bake for 10–12 minutes until lightly golden at the edges. It is important not to over-dry them – the cookies should stay soft in the centre and only just colour. If overbaked, they will become hard and lose their tenderness.
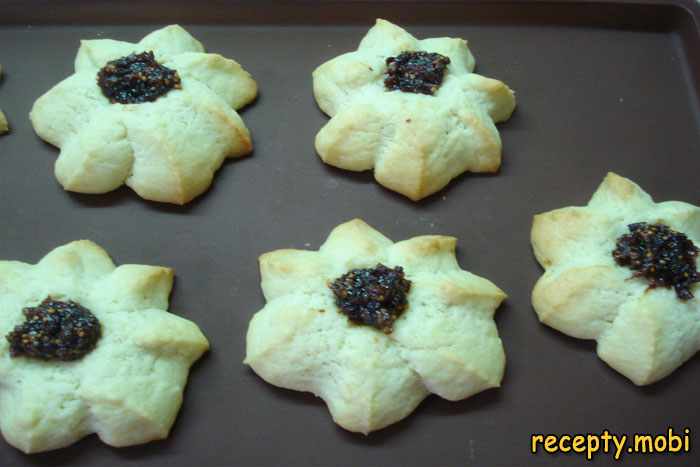
Take the tray out of the oven and leave the cookies to cool on it for 5–7 minutes – hot cookies are very fragile and can break if you try to lift them off. Once they have cooled a little, carefully transfer the cookies to a wire rack to cool completely.
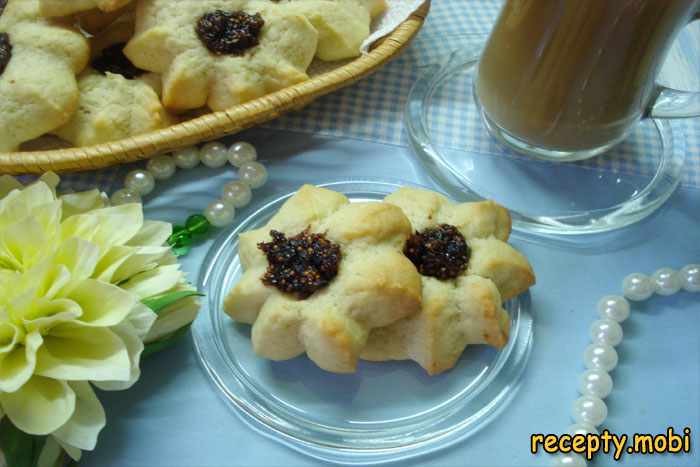
The "Daisy" shortbread cookies are ready! The bright little flowers with their inviting jam centres create an atmosphere of comfort and the warmth of family tea time. Store them in a closed tin or plastic container at room temperature for up to 7 days. The cookies stay crumbly and tender as long as they are not kept near sources of moisture.


Tips
- 1
The butter should be soft but not melted – this is the key condition for a crumbly texture. Take the butter out of the fridge 30–40 minutes before you start and let it warm up naturally at room temperature.
- 2
Choose thick, jelly-like jam for the filling – runny jam with a lot of syrup will spread during baking, burn and spoil the look of the cookies. Jams and conserves are ideal.
- 3
If you do not have a piping bag with a nozzle, roll the dough into small balls by hand, flatten them slightly and make a hollow with your finger or the handle of a wooden spoon. The result will be less elegant, but just as tasty.
- 4
Store the finished cookies in an airtight container away from sources of moisture – shortbread dough is very hygroscopic and quickly absorbs moisture from the air, losing its crisp, crumbly texture.
FAQ
Why do the cookies spread during baking? +
The butter was too soft (almost melted) or there was not enough flour in the dough. Try adding another 1–2 tablespoons of flour, and be sure to chill the shaped cookies in the fridge for 15–20 minutes before baking.
What can replace vanilla extract in the recipe? +
Use 1 teaspoon of vanilla sugar or a pinch of vanillin (on the tip of a knife). The flavour will be almost identical. You can also add ½ teaspoon of grated lemon zest for a different aroma.
Can the cookie dough be frozen? +
Yes, the finished dough freezes well for up to 1 month in airtight packaging. Before using, thaw the dough in the fridge for 3–4 hours, then let it come to room temperature and shape the cookies as usual.
Which jam works best? +
The classic choice is strawberry or raspberry jam. Apricot jam, blueberry conserve and seedless cherry jam also work well. Avoid jam with large pieces of fruit – they will stick out of the hollows.
- Comment
or post as a guest
Be the first to comment.


