
avg —
Strawberry Jam with Whole Berries for Winter
Instructions
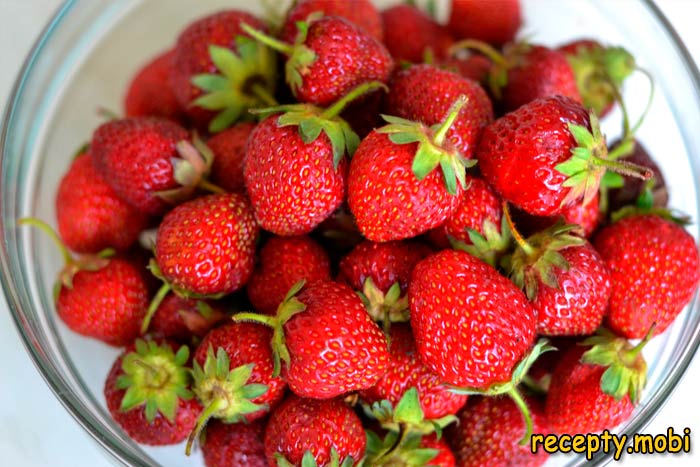
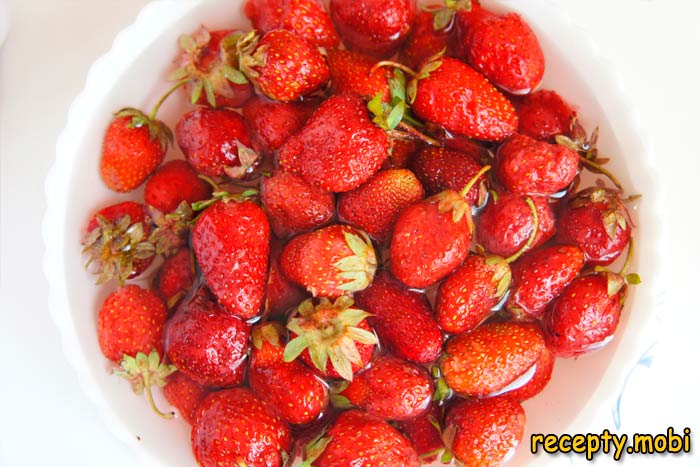
To make strawberry jam with whole berries, buy strawberries with firm berries so they do not turn mushy during cooking. After bringing strawberries from the market in the morning, immediately start processing — strawberries spoil quite quickly. Place the strawberries with their caps directly into a colander. Use a spacious colander so the berries have room and do not get squished during rinsing. Dip the colander into a large container of water. After lightly shaking the colander in the water, pull it out. Change the water and dip the berries in again for a second rinse. If sand remains, gently swirl by hand. Remove the colander from the water and leave the berries to drain. Now remove the caps from the clean dried berries.
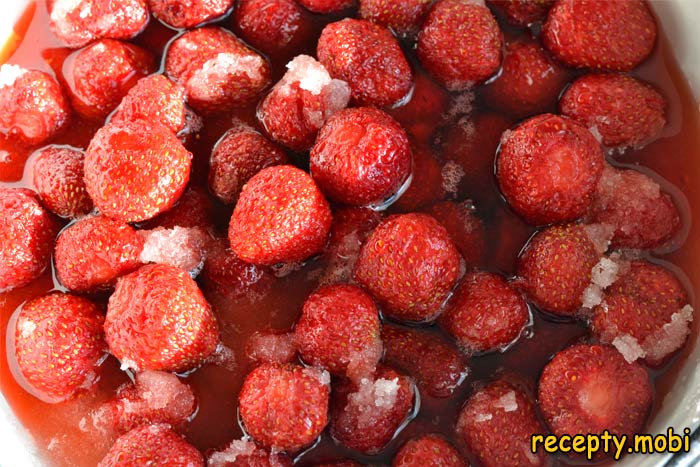
Transfer the strawberries to a deep bowl in batches. Sprinkle each layer of strawberries with sugar measured according to the recipe. Cover the bowl with plastic wrap and put it on the bottom shelf of the refrigerator. If the strawberries were bought in the morning, they should sit covered with sugar until evening. Cook the jam in the evening when the berries have released significant juice. Most often, buying strawberries in the evening allows leaving them sugared overnight to make jam in the morning.
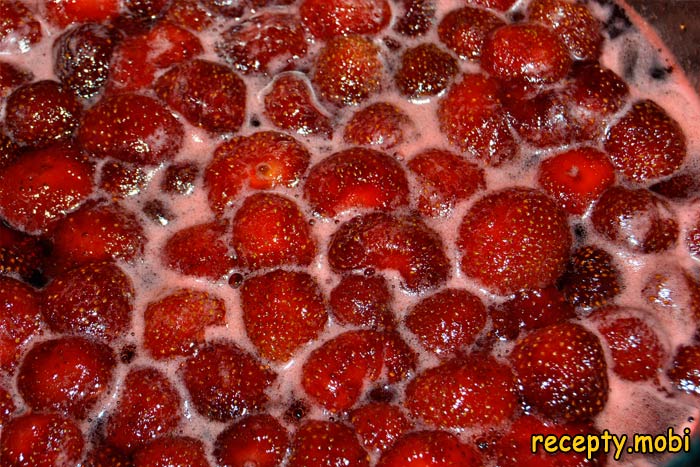
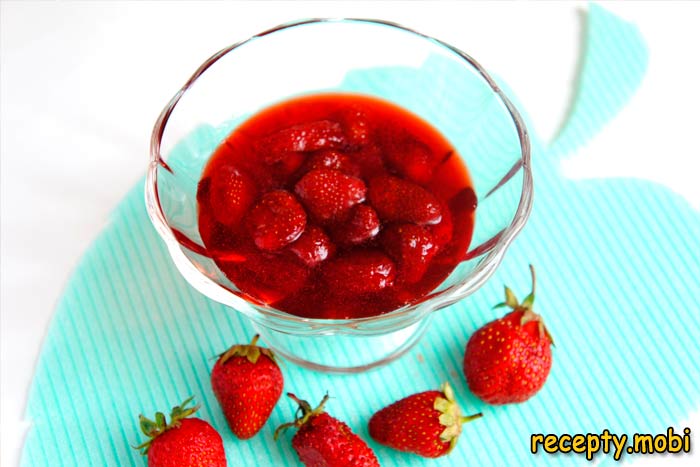
In the morning, the strawberries floating in syrup with some undissolved sugar are ready for cooking. Gently mix the syrup, strawberries, and remaining sugar — very carefully so as not to crush the berries. Now put the mixture in the cooking pot over heat. Bring to a boil over low heat. During this time, carefully lift the sugar that has settled at the bottom several times with a wooden spatula.
After boiling, cook the jam for 5 minutes, removing the foam that forms. After 5 minutes, turn off the heat and let the jam cool off the stove. When the strawberry jam has cooled, put it back on the stove and boil again for 5 minutes. After cooling again, return to the stove a third time. This time, add a little (per recipe) citric acid. After boiling again, cook another 5 minutes. Thanks to the extended intervals between cooking sessions, you get strawberry jam with whole berries.
If preparing the strawberry jam for winter storage, seal tightly in sterilized jars while still hot. Turn the sealed jar upside down on its lid and leave under a blanket for 12 hours. Store the sealed jars in a cool place. The blanket-wrap method ensures the contents stay hot long enough for proper sealing.
At first, the strawberry jam with whole berries seems too thin, but by winter the syrup thickens and becomes viscous, resembling liquid honey. The patience of waiting through the natural thickening is rewarded with the perfect consistency for spreading on toast or stirring into yogurt.


Tips
- 1
Choose firm, slightly under-ripe strawberries for whole-berry jam. Soft over-ripe berries collapse into puree during cooking, ruining the whole-berry effect. Slightly under-ripe berries hold their shape beautifully and develop their full sweetness during the long sugar soak. The right berries make the difference between dramatic preserve and disappointing soup.
- 2
Do not skip the three-stage cooking technique. The intervals between boil cycles allow the berries to absorb sugar gradually rather than rupturing under continuous heat. Single-pot continuous boiling produces strawberry puree, not whole-berry jam. The patience pays off enormously in the finished texture and visual presentation. The same staged-cooking principle elevates other whole-fruit preserves including orange jam.
- 3
Use a wide shallow pot for cooking. Wide pots allow water to evaporate quickly during the brief boils, concentrating the syrup. Tall narrow pots trap moisture and produce runnier jam. The heavy bottom prevents scorching during the brief but intense cooking phases. Quality cookware genuinely matters for canning projects.
- 4
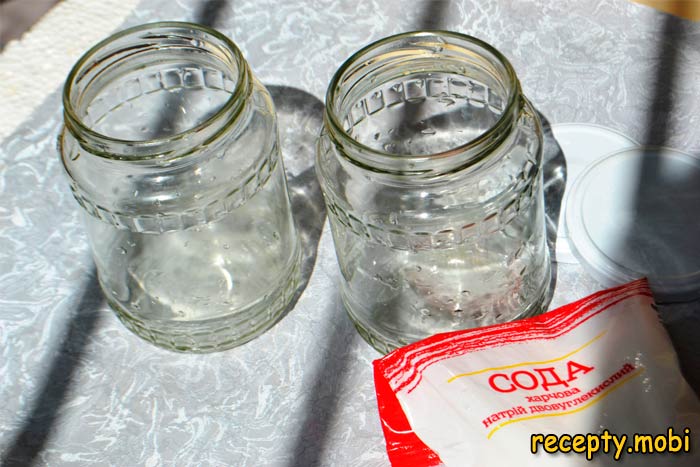
Sterilize jars properly before filling. Wash jars and lids in hot soapy water, rinse, then heat in a 120°C oven for 15 minutes (or boil in water for 10 minutes). Fill while jars are still warm to prevent thermal shock. Properly sterilized jars allow safe long-term storage. Spread the finished jam on slices of warm homemade bread all winter long.
FAQ
Why do whole berries float to the top of the jar? +
This is a common phenomenon when berries have not had enough time to absorb sugar. The fruit is less dense than the syrup. To prevent this, the long sugar-soak step (12+ hours) is essential — properly sugared berries absorb enough sugar to become denser than the syrup and stay distributed. If your jam has floating berries, gently invert the jar a few times after the first day of cooling to redistribute.
Can I use frozen strawberries? +
Yes, but expect different results. Frozen strawberries release significantly more juice when thawed, producing a thinner finished jam with somewhat softer berries. Reduce sugar by 10% to compensate for the higher water content. The technique works but the whole-berry visual impact is less dramatic. Fresh berries in season produce the truly impressive preserve; frozen berries make a perfectly acceptable everyday version.
How long does the jam keep? +
Properly sterilized and sealed jars keep at room temperature for up to one year, ideally in a cool dark cupboard. Once opened, refrigerate and use within 2-3 weeks. The high sugar content acts as a natural preservative. If you ever see mold, discoloration, or off smells, discard the jar — do not try to scrape off the bad part. Quality jam continues to develop flavor through the first 3 months of storage.
Can I reduce the sugar amount? +
Sugar is essential for both preservation and proper texture. Reducing sugar by more than 20% compromises the jam’s ability to set and shortens shelf life dramatically. Below 50% sugar (by weight relative to fruit), the jam may not safely preserve at room temperature and must be refrigerated. For low-sugar versions, use commercial pectin specifically designed for low-sugar preserves — standard pectin requires the full sugar amount to set properly.
- Comment
or post as a guest
Be the first to comment.


