avg —
How to Boil Chicken Breast in a Multicooker, Steamer, and Microwave

Instructions
I rinse the chicken breast under cold running water and pat it dry with paper towels. I put the whole breast, or pieces, into the multicooker bowl and pour in enough water to cover the meat completely by 1–2 cm. A whole breast turns out juicier, while pieces cook faster.
I choose the “Stewing” or “Boiling” mode, depending on the multicooker model. I close the lid and start the programme. First the water heats up, then the actual boiling begins – the multicooker does all the work automatically.
After it comes to the boil (about 10–15 minutes from the start) I carefully open the lid and skim off the foam that has formed with a slotted spoon, so the broth stays clear. I add salt to taste (1 tsp per litre of water) and close the lid again. Skimming the foam matters for appearance: without it the broth turns out cloudy.
I boil a whole piece of breast for 30 minutes after it comes to the boil; pieces of 2–3 cm need only 15 minutes in total. The exact time is crucial: less and the meat will be raw inside, more and it will dry out and turn “stringy”. The multicooker controls the temperature automatically.
I check doneness with a knife or toothpick – they should slide easily into the thickest part of the breast, and the juice that runs out when pierced should be clear with no pink tinge. Pink juice is a sign of undercooked chicken and is unsafe to eat.

Tips
- 1
Boil a whole piece of breast for 30 minutes, and pieces for 10–15 minutes. The exact time is crucial for juiciness and safety.
- 2
Check doneness with a knife – the juice should be clear with no pink. Pink is a sign of raw meat and must not be eaten.
- 3
For a salad, boil the breast whole and slice it afterwards – the meat is juicier than when cooked in pieces. I use a similar principle for my baked chicken breast.
- 4
Steaming retains more vitamins and natural flavour – the perfect method for a diet table.
FAQ
How do I choose a fresh chicken breast in the shop? +
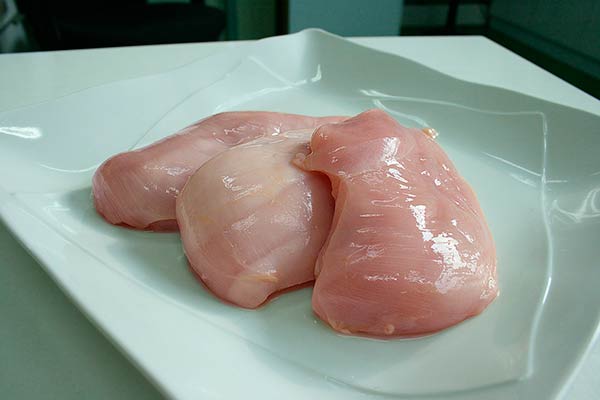
A fresh breast has a pale pink colour and a firm texture (a dent springs back quickly), with a neutral or slightly milky smell. The skin (if there is any) should be smooth, with no slime or spots. Don’t buy a breast with grey or yellow patches – this is a sign of improper storage. Chilled breast always tastes better than frozen. The use-by date on the packaging should be no more than 5 days from the date of packing – otherwise there is a high risk of food poisoning.
Do I need to defrost the breast before boiling? +
Yes, gradually in the fridge for 8–10 hours or at room temperature for 1–2 hours – this way the meat stays juicy after boiling. Never defrost in hot water or the microwave – the fibres get damaged and the breast turns watery and tough. As a last resort, defrost in cold water, but not in boiling water. Frozen breast takes longer to cook – add 10–15 minutes to the standard time.
How long does boiled chicken breast keep? +
In the fridge in a tightly sealed container – up to 3 days with no loss of quality. In the broth (without draining the water) – up to 4 days, as the meat stays juicy from soaking. In the freezer, cut into portions – up to 2 months in airtight bags. Defrost slowly in the fridge before use. Use boiled breast for salads, sandwiches, pâtés, and fillings for pancakes and pies – it’s a versatile product.
Can I use boiled breast for different dishes? +
Yes, boiled breast is a versatile base for dozens of dishes. Classic uses: Caesar, Olivier, Mimosa, layered salad with corn, and Obzhorka salads. In sandwiches, open sandwiches and tartlets. As a filling for pancakes, pies, dumplings and manti. In chicken noodle broth, rice soup and kharcho. On toast with avocado for a healthy breakfast. For a diet meal – with buckwheat or quinoa. A breast boiled in advance and kept in the fridge will save you time on everyday dishes.
- Comment
or post as a guest
Be the first to comment.