avg —
How to Properly Cook Semolina Porridge – The Easiest Methods

Instructions
I pour the water or milk into a heavy-bottomed pot and put it on high heat. Milk gives a creamier, more filling porridge, while water makes a lighter, dietary version. You can also use a 50/50 mix for a compromise. A heavy bottom is essential: a thin pot will scorch the milk and give it the characteristic “burnt” taste.
I add the salt and sugar to the liquid before it boils and stir thoroughly until they dissolve completely. Salt is a must even in a sweet porridge – it brings out the sweetness of the sugar and makes the flavour more rounded. I add the sugar to the milk before heating so that it has time to dissolve fully rather than leaving crystals behind.
As soon as the liquid comes to a rolling boil, I reduce the heat to medium. A vigorous boil helps the semolina “cook in” properly, while medium heat keeps the process under control. Too high a heat at the moment you add the semolina will thicken the porridge too quickly, leaving no time to break up any lumps.
I create a “funnel” in the pot with a long spoon, stirring briskly in a circle, and pour the semolina in a thin stream right into the centre of the funnel. This is the signature “Soviet” lump-free technique: the centrifugal force of the funnel spreads the grain evenly throughout. Do not stop stirring for a second.
I cook it for 5 minutes over medium heat, stirring all the while with a wooden or silicone spoon. This is the main secret to a lump-free porridge: constant stirring keeps the semolina from clumping together. Stir especially hard during the first 2 minutes after adding the semolina – this is the most critical period.
At the end of cooking I add the butter and the pre-soaked raisins (optional) straight into the pot. The butter gives the porridge a delicate, creamy taste, and the raisins add sweet little “surprises” in every spoonful. I soak the raisins in advance for 10 minutes in boiling water so that they turn soft.
I cover the pot with a lid and let the porridge rest for 5 minutes off the heat. During this time the porridge reaches the perfect consistency, the butter melts completely, and the raisins soak up the milk. Without this pause the porridge is too runny, but after 5 minutes it becomes classically “fluffy”.
The semolina porridge is ready! I serve it warm with jam (strawberry, raspberry or cherry), fresh berries, fruit or honey. The classic Soviet way to serve it is with a spoonful of jam in the centre and a knob of butter on top, which melts beautifully over the hot porridge.

Tips
- 1
The main rule for avoiding lumps is to pour the semolina in a thin stream right into the centre of the “funnel” while stirring constantly and actively with a spoon.
- 2
Keep to the proportion: 2 tablespoons of semolina to 300 ml of liquid is the standard for a tender porridge. More semolina makes it too thick.
- 3
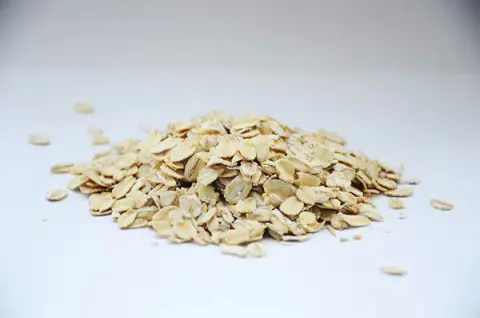
Choose grade “M” semolina for a tender porridge made with milk, and grade “T” for bakes and soufflés. On a similar principle I cook crumbly porridge oats.
- 4
Soak the raisins in boiling water for 10 minutes before adding them – they will turn soft and juicy rather than “rubbery” in the finished porridge.
FAQ
Why have lumps appeared in my semolina porridge and how do I avoid them? +
The main causes are: pouring in the semolina too quickly (you need exactly a thin stream), not using the “funnel” technique, not stirring actively enough during the first 2 minutes after adding it, or the grain landing on the walls of the pot rather than in the centre of the liquid. If lumps have already formed, blitz the porridge with an immersion blender or a whisk until smooth, or push it through a sieve. Next time, follow the technique strictly: a funnel in the centre of the pot + a thin stream + continuous stirring.
Is it better to cook semolina porridge with water or with milk? +
With milk the porridge turns out tastier, creamier and more filling – this is the classic version. With water it is lighter and less calorific (about 20–30 kcal less per 100 g), and suitable for fasting or dieting. A compromise is to mix milk and water 1:1, which gives a tender porridge with less fat. You can use plant milk (almond, oat or coconut) for a vegan version. For feeding children from the age of 1, only the milk version is suitable.
Which grade of semolina is best for porridge? +
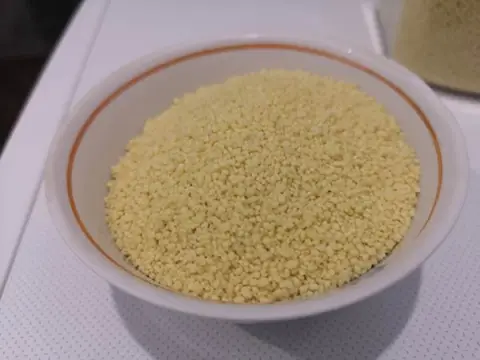
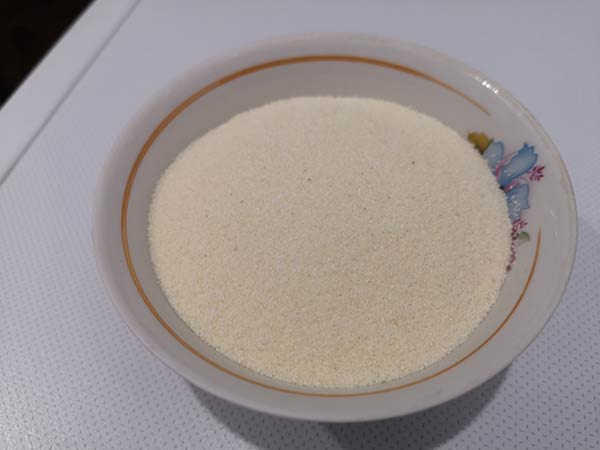
Grade “M” (from soft wheat varieties) is ideal for a tender milk porridge – it cooks quickly and gives a creamy texture. Grade “T” (from hard wheat varieties) is denser and grainier, and suits bakes, puddings and fillings for syrniki. Grade “MT” is a mix and a universal option. For porridge use only “M” – the porridge will come out silky and smooth. The colour of good semolina is creamy white, with no grey or yellow flecks.
Can I cook semolina porridge for a child with milk? +
Yes, but only from the age of 1. Before the age of 1, paediatricians do not recommend semolina porridge – it contains phytin, which interferes with the absorption of calcium that a growing body needs. For children over a year old, cook it with low-fat 2.5% milk, halve the amount of sugar, and do not add raisins before the age of 2 (a choking risk). The consistency should be runny – a ratio of 1:2 (1 tablespoon of grain to 200 ml of milk). Cool it to 40 °C before serving. Do not overdo it – no more than once or twice a week.
- Comment
or post as a guest
Be the first to comment.