
avg —
Protein Glaze for Kulich
Instructions
I gather the ingredients for the Easter kulich glaze. The lemon juice can be replaced with a pinch of citric acid.
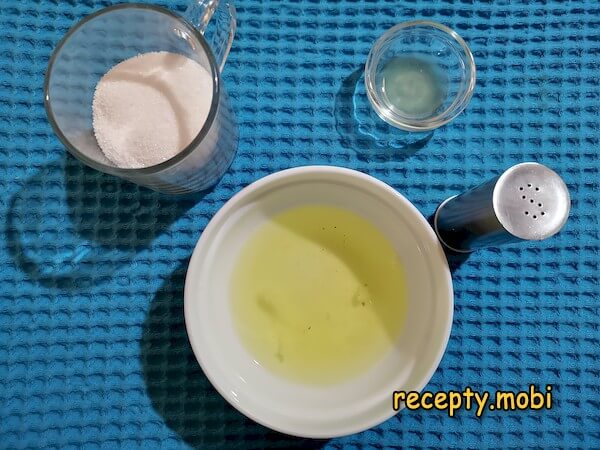
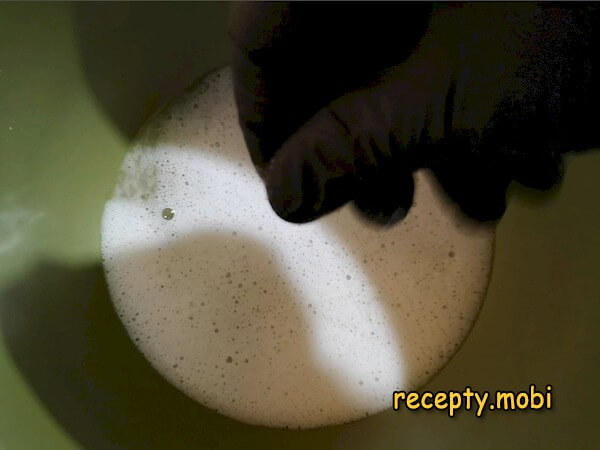
Since the glaze is made over a water bath, choose a bowl for whisking that sits firmly on the pot in which the water will boil, with its base not touching the surface of the boiling water. Put the egg whites and sugar into this bowl.
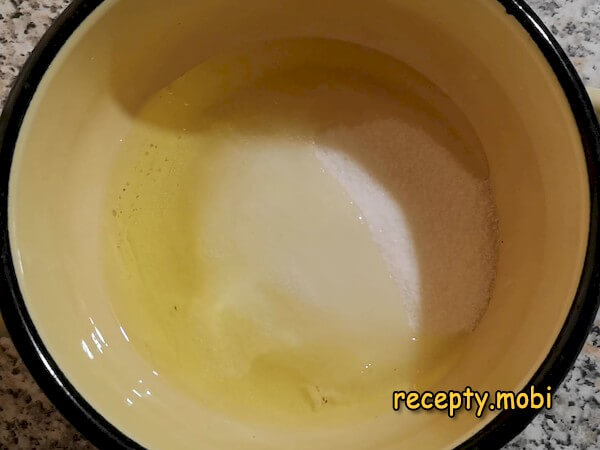
Pour water into the pot, set it on the heat and bring it to a boil. Set the bowl with the egg-white mixture on top of the pot. With a whisk, stir the mixture constantly until the sugar dissolves. At this stage you are not whipping the whites, only dissolving the sugar crystals. If you do not stir, the white will cook around the edges of the bowl while all the sugar gathers in the centre.
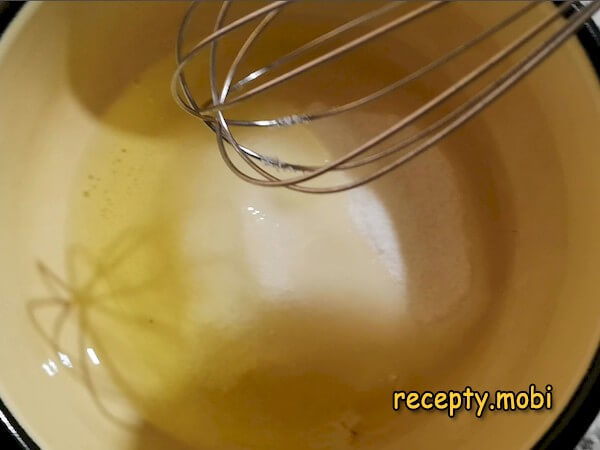
This is a fairly quick process – it takes about 1.5–2 minutes. As soon as the sugar has dissolved, take the bowl off the water bath.
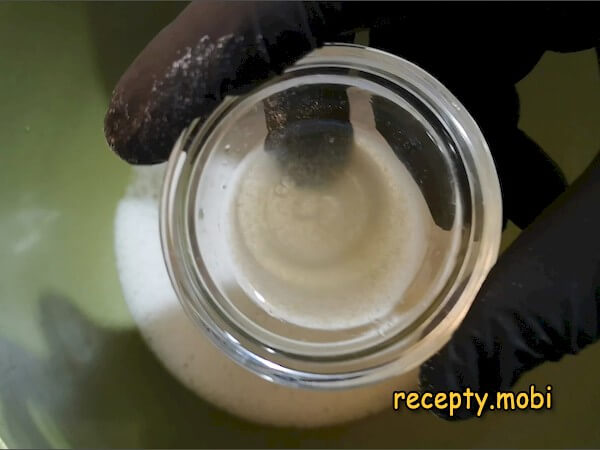
Straight away add a pinch of salt.
And to stabilise the whites, add the lemon juice.
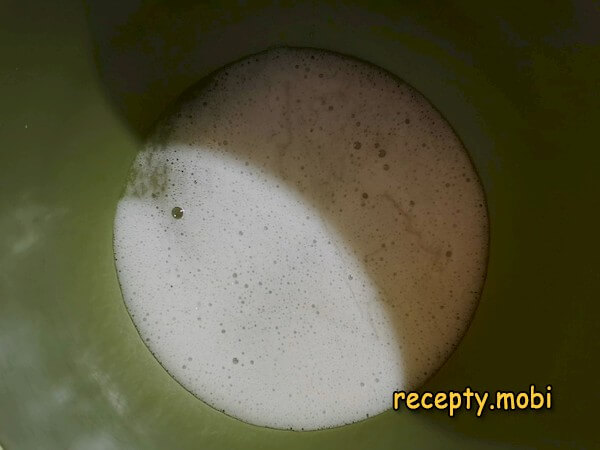
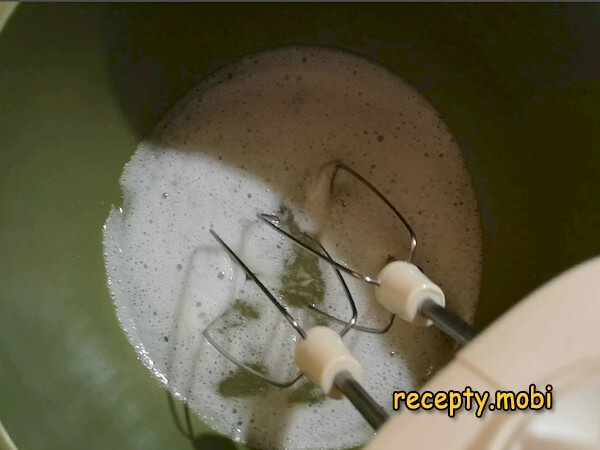
Without delay, while the white is still hot, start whipping, gradually raising the mixer speed to maximum.
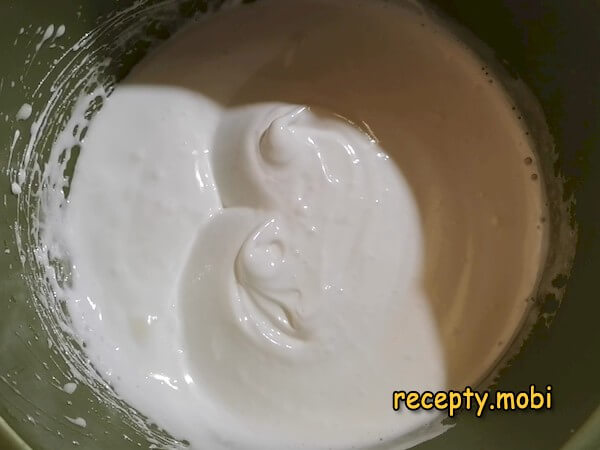
Whip until you have a thick, viscous, white mass.To help the protein glaze dry faster on the cake tops, you can add a spoon of powdered sugar sifted through a sieve. You can apply the glaze in a thick layer, dipping and rotating the kulich straight in the bowl. A little festive sprinkle and special decorations give the snow-white top an even more dressed-up look.


Tips
- 1
The water bath is the safety secret. Over the water bath the egg white is sterilised at 60–70 °C, so salmonella is ruled out and the glaze is safe for children.
- 2
Fine sugar is the secret to a smooth glaze. Coarse sugar will not dissolve in two minutes, but fine sugar or powdered sugar gives a glaze with no grittiness.
- 3
Whipping while hot is the meringue secret. If the mixture has cooled it will not whip into firm peaks; only hot egg white with sugar syrup gives a true Swiss meringue.
- 4
Lemon is the secret against collapse. Without lemon the meringue will eventually sink down on the cakes; with it the glaze holds for 12 hours and more. The same principle works in other kinds of glaze for kulich.
Video
FAQ
Which eggs should I choose for protein glaze? +
Ideally, fresh chicken eggs, white or brown (2 eggs give about 70 g of white). Alternatives that work are farm eggs, quail eggs (10 give 70 g of white), pasteurised egg white in a carton (70 g), or dried egg-white albumin (8 g plus 60 ml of water). Do not use cracked eggs, which carry a risk of infection, or eggs that are past their date. For the classic protein glaze, use fresh chicken eggs.
What can I use instead of lemon juice? +
Workable alternatives are citric acid crystals (1/4 tsp), lime juice (1 tsp), white wine vinegar (1/2 tsp), apple cider vinegar (1/2 tsp, milder), dry tartaric acid (1/4 tsp), or cream of tartar (1/4 tsp). Do not use dark vinegars, which will change the colour of the glaze, or any sweet marinade. For the classic result, use lemon juice or citric acid.
How long does protein glaze keep? +
Fresh glaze is at its best straight after whipping, and it should be applied immediately while it is hot. On the kulich the glaze hardens in 12 hours and keeps along with the cakes for 5–7 days. You cannot store the finished glaze un-applied, as it separates. In the freezer, on a finished kulich, it lasts up to 2 months, though it may lose its shine when thawed. If the glaze starts to set in the bowl, hold it over the steam for 1 minute, stir, and apply. Do not leave the bowl of glaze open to the air for longer than 30 minutes, or the top will harden into a crust.
How can I decorate a kulich with protein glaze? +
In the Easter style: with an assortment of coloured sugar sprinkles, tinted coconut shavings, confectioner's pearls, sugar flowers, chopped nuts (almond, walnut, hazelnut), finely chopped candied fruit, chocolate shavings, fresh berries (added just before serving), sugar figurines (rabbits, chicks), coloured fondant flowers, small chocolate eggs, or powdered sugar dusted through a stencil. For the Easter table this is universal decoration; for children, bright sprinkles with animal figurines work well.
- Comment
or post as a guest
Be the first to comment.


