
avg —
Homemade Yogurt in a Yogurt Maker
Instructions
Pour the milk into a heavy-bottomed pot and add the salt and sugar. For a Greek-style yogurt without sugar, skip this ingredient. Bring to a boil over medium heat and remove from the heat at once – prolonged boiling destroys the protein and the vitamins. Boiling is needed for pasteurisation, not for reducing the milk.

Cool the milk to 37–40 °C – this is the key moment of the whole recipe. At temperatures above 42 °C the beneficial bacteria in the starter die instantly and the yogurt will not set. Use a cooking thermometer for accuracy, or check with a clean finger – it should feel pleasantly warm, like body temperature.
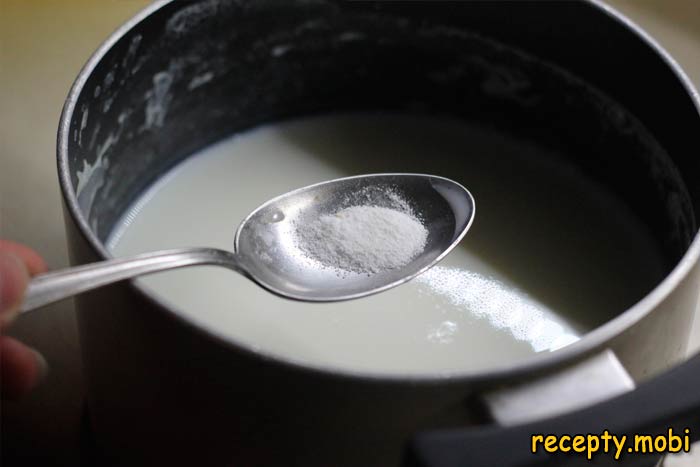
Add the contents of the bacterial starter bottle to the warm milk and stir thoroughly with a whisk until fully dissolved. The milk temperature must be strictly no lower than 37 °C – otherwise the bacteria will not activate and the yogurt will not ferment. Use a fresh starter from the pharmacy or a specialist shop section.
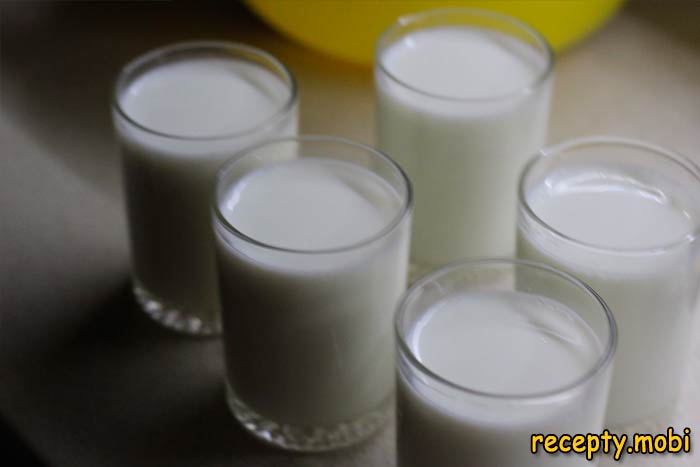
Carefully pour the milk-and-starter mixture into the sterilised jars of the yogurt maker – not right up to the rim, leaving 5–7 mm of space for the possible “rise” during fermentation. Sterilising the jars is essential for a clean result free of unwanted bacteria.
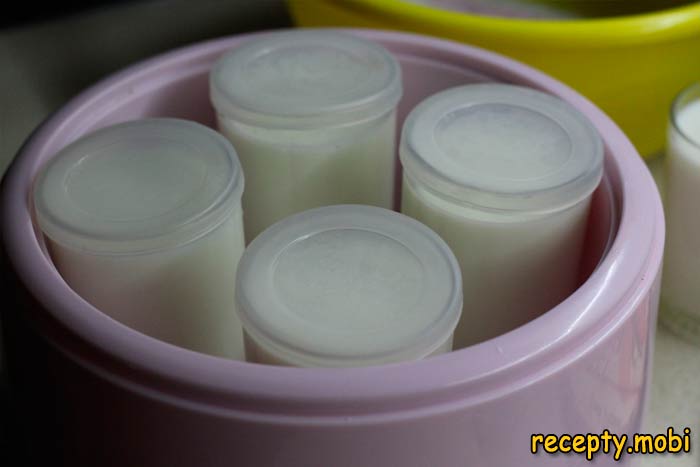
Place the jars in the yogurt maker for 6 hours – the optimal time for a classic, firm texture. Without a yogurt maker, use the alternatives: wrap the jars in a blanket overnight (8 hours), put them in a switched-off oven with the light on at 35–40 °C for 6 hours, or use a multicooker on the “Yogurt” setting.
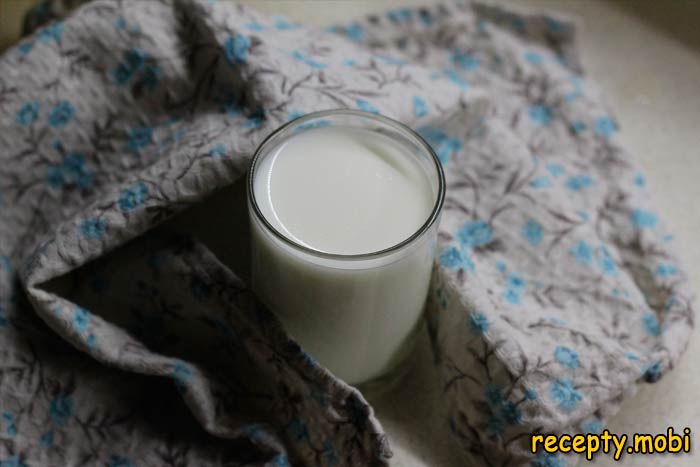
The homemade yogurt is ready! Check it – the yogurt should have a firm, “wobbly” texture, like the shop-bought kind. Transfer it to the refrigerator for at least 2 hours to ripen fully and stabilise the texture. Serve with jam, honey, fresh berries, fruit, or nuts for a delicious breakfast.


Tips
- 1
Milk with a fat content of 2.5–3.2% is the best choice for a classic yogurt. From 6% milk you get a denser, “Greek” yogurt; from 1% milk a thin, drinkable one.
- 2
A temperature of 37–40 °C is critical for activating the bacteria – always check it with a cooking thermometer, not by eye.
- 3
Buy the starter from a pharmacy or specialist shops – brands such as Evitalia, Vivo, or Lactina. I make homemade cottage cheese on a similar principle.
- 4
Without sugar, the yogurt works as a versatile base for sauces, salad dressings, and meat marinades – the most versatile fermented dairy product there is.
FAQ
Can yogurt be made without a yogurt maker? +
Yes, there are several proven methods: wrap the jars in a blanket or a thick quilt for 6–8 hours in a warm spot, put them in a switched-off oven with the light on at 35–40 °C for 6 hours, use a multicooker on the “Yogurt” or “Keep warm” setting, or set the jars on a radiator under a towel for 8 hours. The main condition is a steady temperature of 37–40 °C throughout all 6 hours. A yogurt maker automates the process but is not essential.
How long does homemade yogurt keep? +
In the refrigerator, in tightly closed jars, it keeps for 5–7 days without any loss of quality. On the second day the flavour becomes richer – the bacteria stay active even in the cold. After 7 days it may turn overly sour – such yogurt is still edible but less tasty. Do not freeze yogurt – the texture separates after thawing. A portion of the yogurt (3–4 tablespoons) can be used as the starter for the next batch – a “perpetual starter”.
What can I add to homemade yogurt? +
Classic additions: berry jam (strawberry, raspberry, cherry), runny honey, fresh or frozen berries (raspberries, blueberries, strawberries), fresh fruit cut into cubes (bananas, peaches, kiwi). Healthy additions: walnuts, almonds, chia seeds, flaxseed, granola, muesli. For an unsweetened version: cucumber with herbs (Greek tzatziki), garlic with dill (a salad dressing), aromatic spices (curry, cinnamon). It is a versatile product to suit any taste.
Which milk is best for yogurt? +
Whole farm milk at 3.2–4% gives the thickest, richest yogurt – the ideal choice. Shop pasteurised milk at 2.5–3.2% is a versatile alternative with a reliable result. Ultra-pasteurised milk works but gives a less “delicate” flavour. Skimmed milk at 0.5–1% makes a thin, less tasty yogurt. Plant-based milk (soya, oat) is also suitable, but it needs special vegan starters – ordinary ones do not work. Be sure to boil farm milk first for safety.
- Comment
or post as a guest
Be the first to comment.


