
avg —
Semolina Porridge with Milk without Lumps – Grandma's Recipe
Instructions
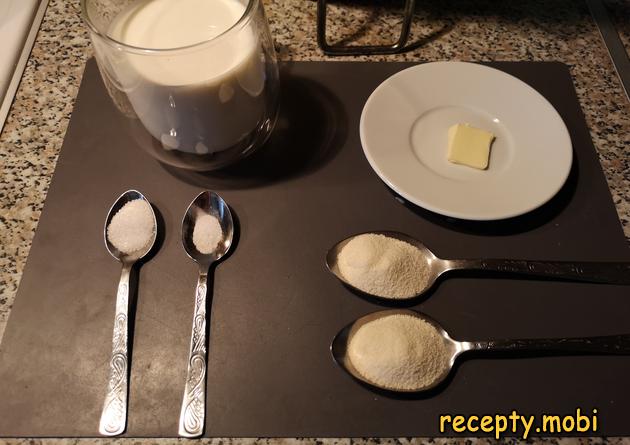
I get the ingredients ready for cooking the semolina porridge. Have everything to hand, as the process is quick and you cannot get distracted. It is best to use fatty milk (2.5–3.2%) – that way the porridge turns out tastier.
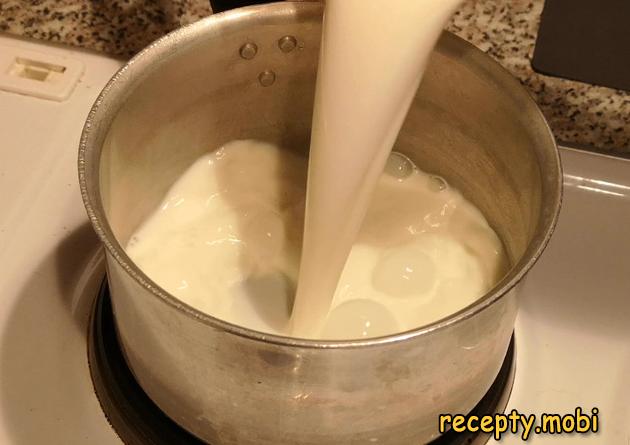
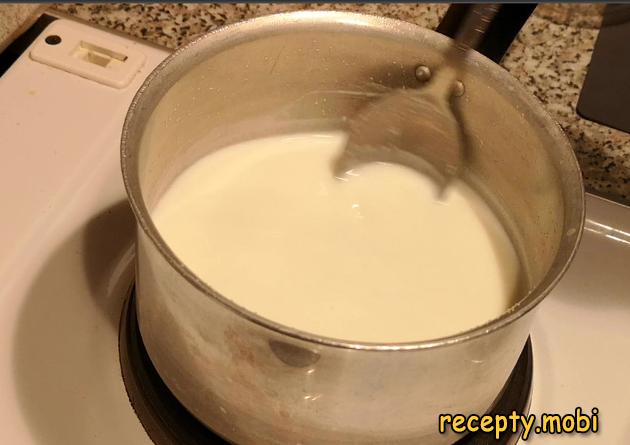
I pour 400 ml of milk into a saucepan. It is better to use a heavy-bottomed pan – it heats evenly and the milk does not scorch.
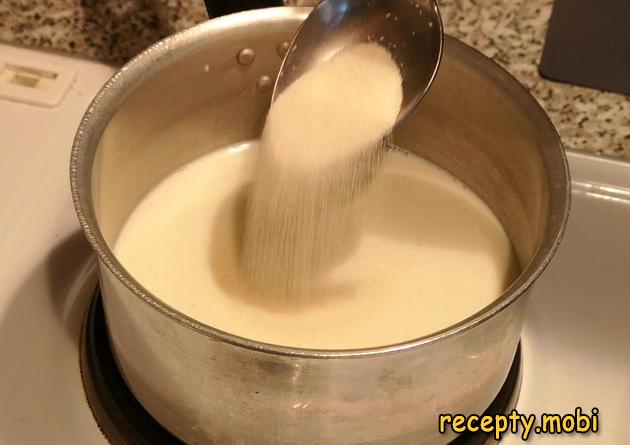
I add 2 tablespoons of semolina to the milk. This is the "secret" against lumps: I add the semolina to COLD milk, not to boiling milk. Lumps form in boiling milk.
I add salt to taste as well. Salt is essential in sweet porridge: it balances the flavour and brings out the sweetness of the sugar.
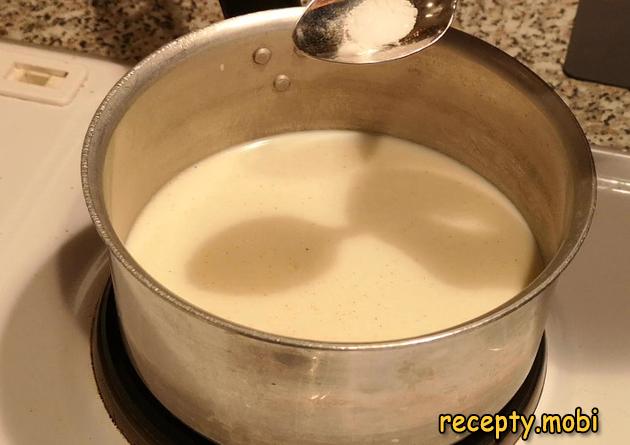
I set the stove to medium heat. Stirring CONSTANTLY, I bring the mixture to the boil. Constant stirring is another secret to porridge "without lumps" – the semolina has time to swell evenly in the milk without clumping.
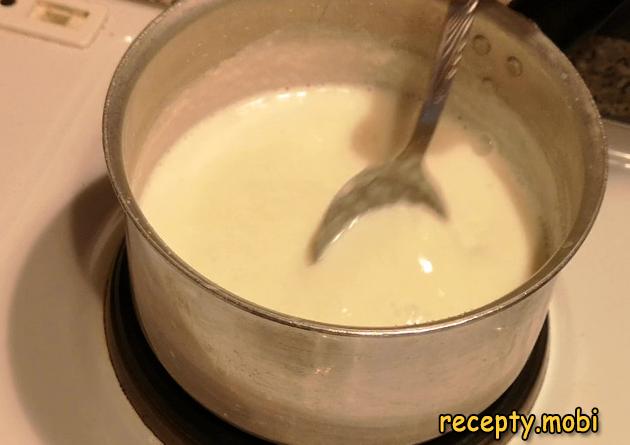
As soon as the semolina porridge comes to the boil, I carry on cooking and stirring for another 3–5 minutes until it is lightly thickened. Do not overcook it: with long cooking the porridge becomes very thick, and it thickens even more as it cools.
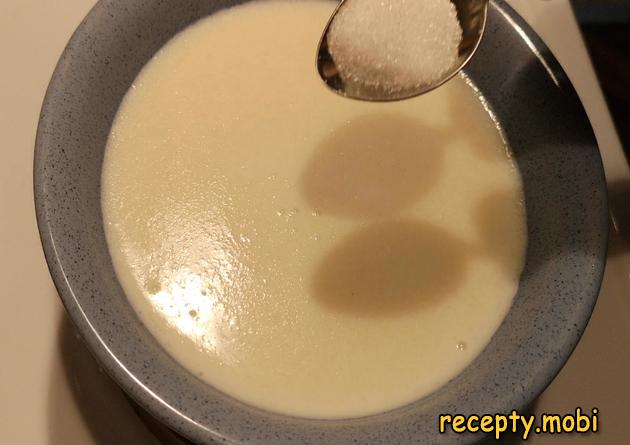
I transfer the porridge to a plate and add sugar to taste. Into the plate, not the pan – that way each member of the family can choose their own level of sweetness (more for children, less for adults).
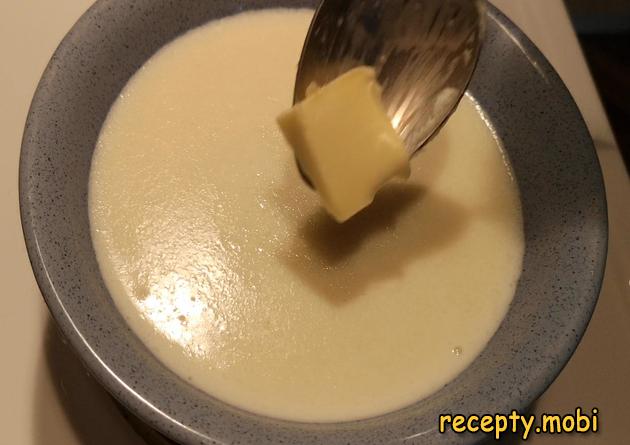
I also add half a teaspoon of butter and stir everything together. The butter gives the porridge its characteristic creamy aroma and silky texture.
The semolina porridge with milk without lumps is ready. It turned out just as tasty as in childhood. I serve it hot – porridge thickens quickly once it cools.


Tips
- 1
The main "secret" against lumps is to add the semolina to COLD milk and to stir constantly while it heats. In boiling milk the semolina clumps together instantly.
- 2
Salt is essential in sweet porridge – it brings out the sweetness and gives a balanced flavour. Without salt the porridge will taste "flat".
- 3
A heavy-bottomed pan matters: the milk does not scorch and the semolina heats evenly. A thin base will give "burnt" notes to the flavour. I use a similar principle in other milk porridges.
- 4
Serve straight after cooking – porridge that has cooled becomes very thick, and when reheated it may form a "skin".
Video
FAQ
Why do lumps form in semolina porridge? +
The main reason is that the semolina was added to BOILING milk. A "crust" of set starch immediately forms on the outside of the grains, while they stay dry inside – and you get lumps. The solution is to add the semolina to COLD milk and stir constantly while it heats. That way the grains swell evenly all at once throughout. If lumps have already formed, blitz the porridge with a blender or pass it through a sieve. That will save the situation for serving.
How much semolina per glass of milk? +
The standard ratio for liquid porridge is 1 tablespoon of semolina per 200 ml of milk (for 400 ml that is 2 tablespoons, as in this recipe). For thick porridge: 1.5–2 tablespoons per 200 ml (3–4 tablespoons per 400 ml). Remember that semolina swells 4–5 times during cooking. If it seems liquid at the start, do not add more grain – it is better to cook it a little longer. After cooling the porridge thickens considerably – hot porridge is always thinner than cooled. It is better to "undercook" it to the consistency you want.
Can semolina porridge be cooked with water? +
Yes, but the flavour will be much plainer. It is rarely cooked purely on water – usually for a lean version or for those who are lactose intolerant. It is better to combine: 50% water + 50% milk is a compromise option. Plant milk (oat, almond) is an excellent substitute for a vegan version. It can also be made on (vegetable) stock – you will get a "savoury" semolina as a side dish. Salt and sugar are added in any case – they balance the flavour.
How to garnish semolina porridge? +
Classic toppings: fresh berries (raspberries, strawberries, blueberries – in summer), jam (1–2 teaspoons on top), honey (instead of sugar), chopped nuts (walnuts, almonds), banana in rounds, grated apple, soaked raisins, cinnamon (a pinch). For "aesthetes" – little flowers made from berries and an attractive presentation. For children – "smiley faces" from berries (nose, eyes, mouth). With cocoa or hot chocolate for breakfast – the best winter morning. With the right presentation a simple porridge turns into a proper dessert.
- Comment
or post as a guest
Be the first to comment.


