
avg —
Fluffy Chicken Pilaf in a Skillet
Instructions
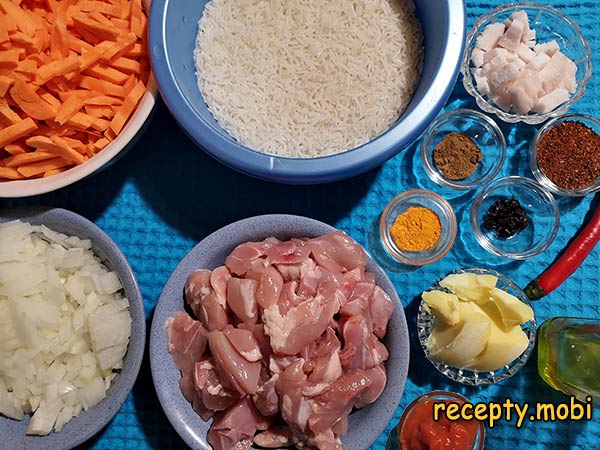
I prepare the ingredients for the fluffy chicken pilaf. I separate the meat of the chicken thighs from the bones and cut it into medium-sized pieces. I peel the onion and cut it into small cubes. I peel the carrots and cut them into thin matchsticks. I rinse the rice under running water and put it into a separate bowl.
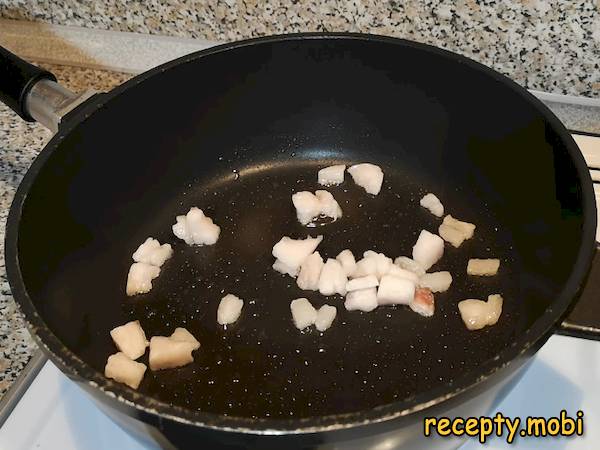
I heat a deep skillet, add the fat-tail fat and fry it. Fat-tail fat is the "secret" of authentic Uzbek pilaf: it gives the dish its characteristic aroma and richness.
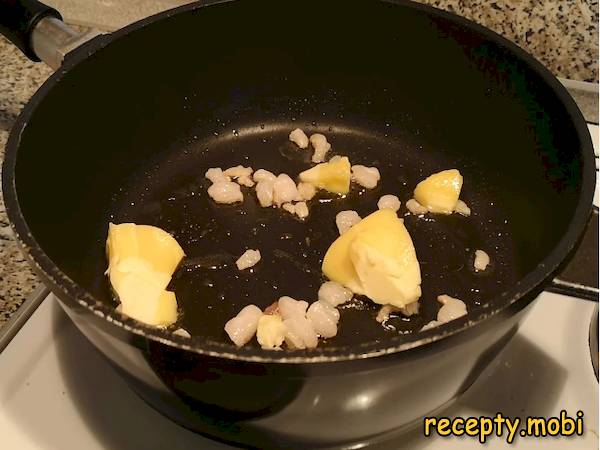
I add a little vegetable oil and 80 g of ghee. Ghee is heat-stable and does not burn.
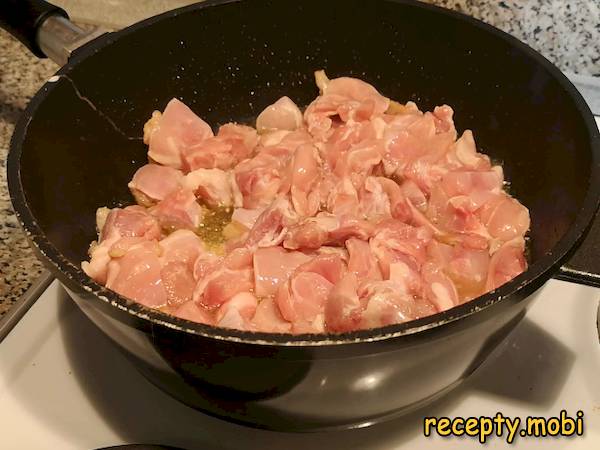
Once the fat has completely melted, I add the chopped chicken meat and fry it for about 10 minutes until done.
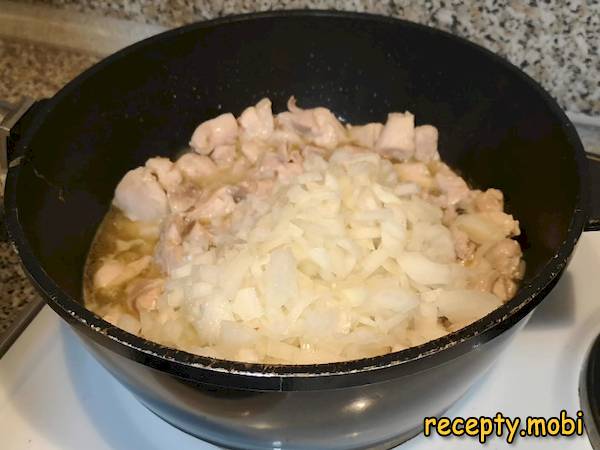
I add the finely chopped onion and fry for another 10 minutes. The onion should turn "caramel-golden" – not white and not brown.
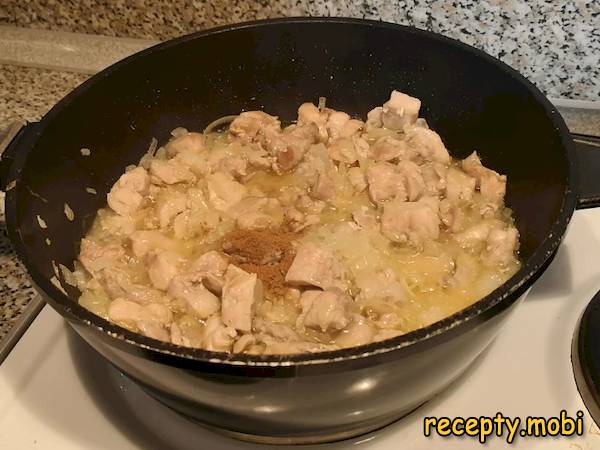
I sprinkle in the crushed cumin. Cumin is the "essential" spice of pilaf: its distinctive savoury aroma is the mark of a genuine Eastern dish.
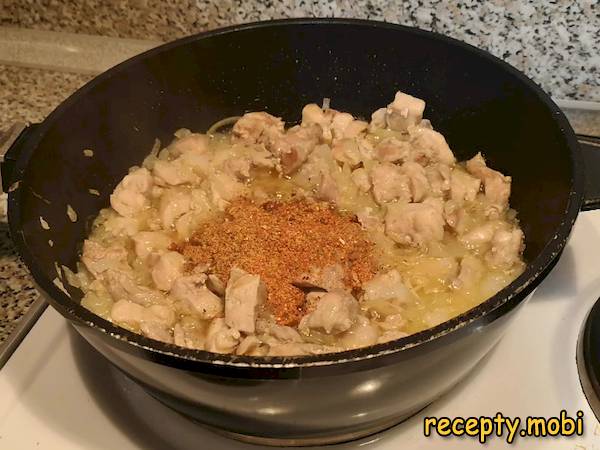
I add the pilaf seasoning, stir everything together and fry for another 5 minutes. A ready-made seasoning blend simplifies the process – there is no need to measure out each spice separately.
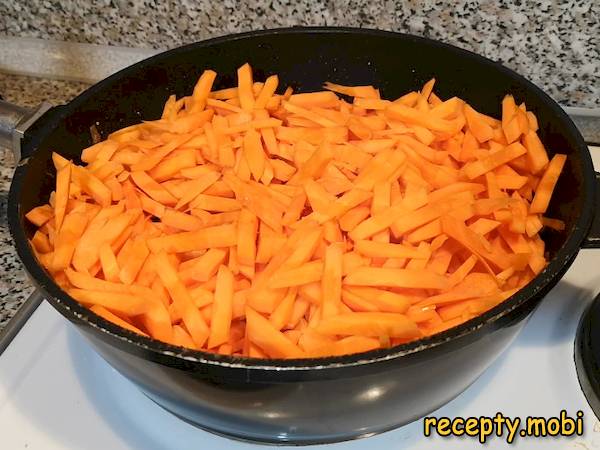
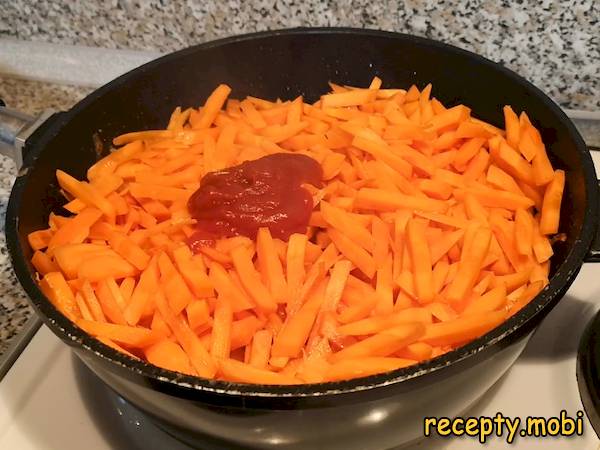
I add the grated carrots and pour in 200 ml of water. The carrots give the pilaf its characteristic "Uzbek" orange-yellow colour.
I spread the tomato paste over the carrots and stir thoroughly, then cover with a lid and simmer for about 15 minutes until the carrots are tender. The tomato paste gives the sauce a deep, "rich" flavour.
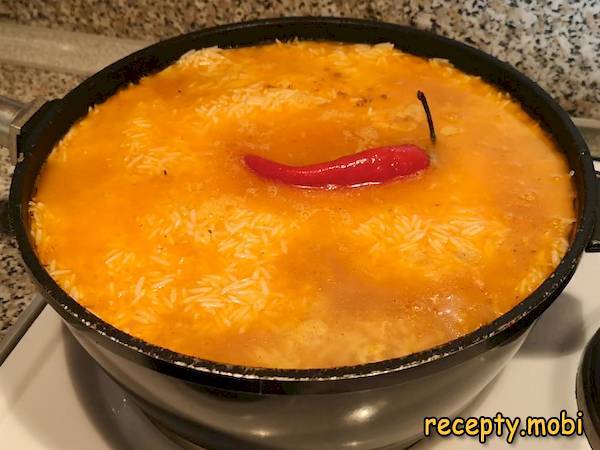
On top I place the chili pepper and cover everything with an even layer of rice. I pour in about 600 ml of water – so that it covers the rice by 1 cm. I do not stir the layers – the rice should steam from the top.
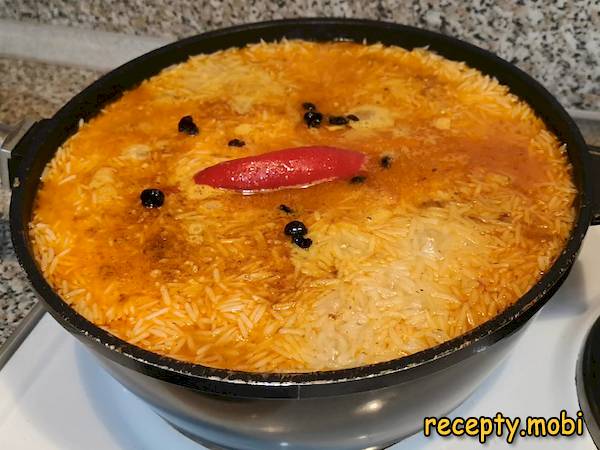
I sprinkle turmeric and barberry on top. The turmeric gives a golden colour, the barberry a piquant sourness. I simmer under the lid over medium heat for about 15 minutes, until the water has evaporated.
I open the lid and check the rice for doneness. I tap the top with a spoon – if I hear a dull sound, the rice is ready. I stir everything together. I leave it for another 15 minutes on maximum heat – this gives the "kazan" effect.
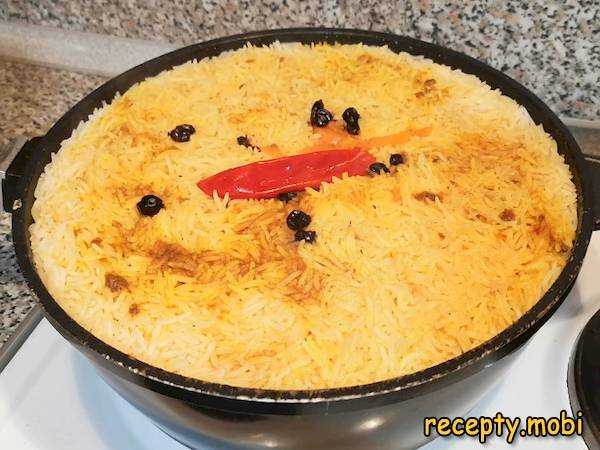
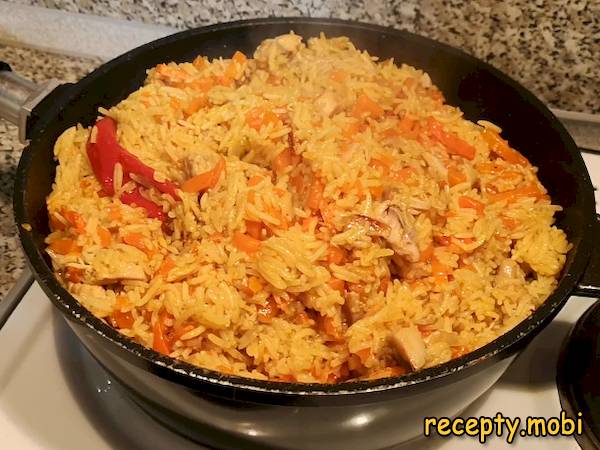
The fluffy chicken pilaf in a skillet is ready. I spoon it onto a plate and serve it at the table. The dish works both for a family lunch and for a dinner party.


Tips
- 1
Fat-tail fat is the "secret" of a real Uzbek pilaf. Without it the pilaf comes out less aromatic. If you do not have fat-tail fat, you can increase the ghee to 100 g.
- 2
Basmati rice is the right choice for a fluffy pilaf. Krasnodar rice (meant for porridge) will give a sticky pilaf.
- 3
Do not stir the layers until done – the rice should steam from the top. I use a similar principle in other pilafs.
- 4
Cumin and barberry are essential "Eastern" spices. Without them the pilaf turns into "plain rice with chicken".
Video
FAQ
What can replace fat-tail fat? +
Fat-tail fat is the fat from fat-tailed sheep, a classic component of Uzbek pilaf. If you do not have it, replace it with: ghee (increase to 100 g), a mix of ghee and butter, mutton fat (a more "intense" flavour) or beef fat (more neutral). Without fat-tail fat the pilaf comes out less "characteristic" but still tasty. Fat-tail fat is sold at Eastern markets – you can buy it and freeze it for later (in 50 g portions).
Can I replace the chicken with another meat? +
Of course: the classic Uzbek pilaf is made with lamb (increase the simmering time to 1 hour), beef (45 min) or pork (40 min). Chicken pilaf is a "lighter" version, cooks faster and is less fatty. Chicken thighs are the best choice of chicken for pilaf: they give juiciness and are not dry like the breast. For a "diet" version – breast plus 1 tbsp of extra oil. The main thing is good-quality fresh meat.
How long does cooked pilaf keep? +
In the fridge – 3-4 days in a closed container. On the second day the taste is even better – the spices have fully soaked into the rice. Reheat it in the microwave (2-3 minutes) or in a skillet with 1-2 tbsp of water (5 minutes). You can freeze it in portions for 1-2 months and defrost it in the fridge for 8-10 hours. It is an ideal "camping" dish or a work lunchbox.
Why might the rice turn out sticky? +
Reasons for stickiness: (1) the wrong type of rice (Krasnodar, round-grain rice is for porridge, not for pilaf); (2) insufficient rinsing – starch remains; (3) stirring the rice before it is done – this breaks up the structure; (4) too much water (rule: 1 cm above the rice, no more). The solution: use Basmati or jasmine rice, rinse thoroughly until the water runs clear, do not touch the layers until done, and measure the water precisely. Then the pilaf will be perfectly fluffy.
- Comment
or post as a guest
Be the first to comment.


