
avg —
Avar Kinkal
Instructions
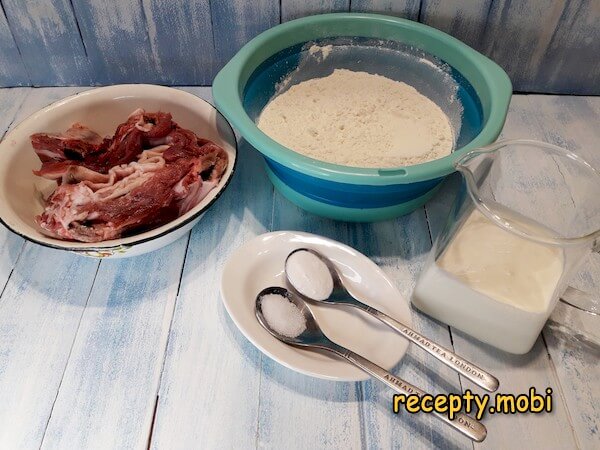
I get the ingredients ready for the Avar khinkal. A 3-litre pot will do. I choose beef that has both bone and meat with fatty streaks – this kind of meat gives a good rich broth and stays juicy itself rather than dry. The kefir can be replaced with soured milk.
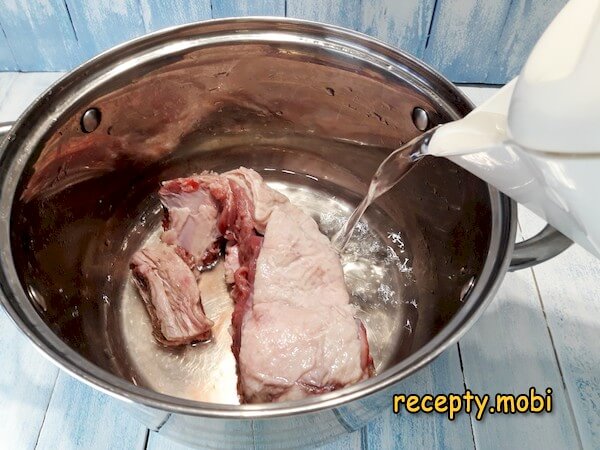
I pour cold water over the meat so that it is completely covered. If you use hot water, the broth will not be as rich. I put the pot on high heat.
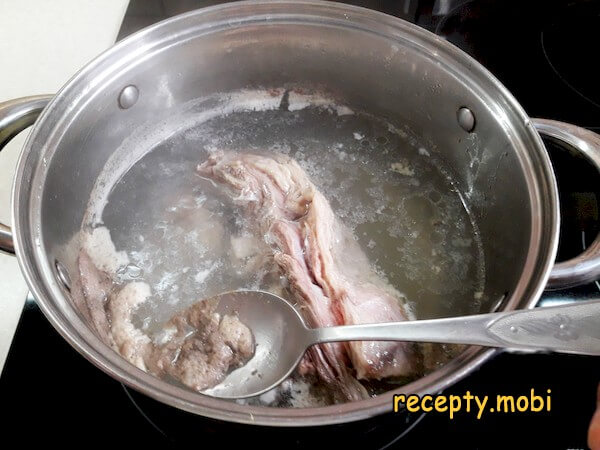
Now you must not miss the moment when the foam starts to gather. It should be removed, and the heat turned down lower.
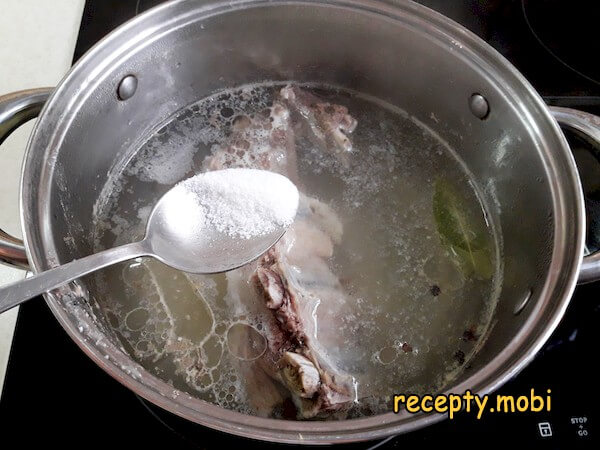
I salt the broth, add the spices and, covering it with a lid, simmer it over low heat for an hour and a half.
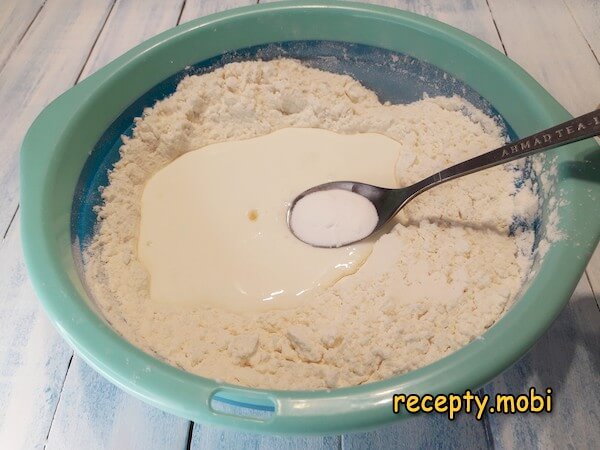
Half an hour before the time allotted for cooking the meat and broth is up, I start making the dough (it should not be done earlier – the dough pieces must not sit on the table for long). In a bowl of salted flour I make a well and pour in the kefir. I add the baking soda straight into the kefir (not into the flour), so that the reaction releasing carbon dioxide begins at once.
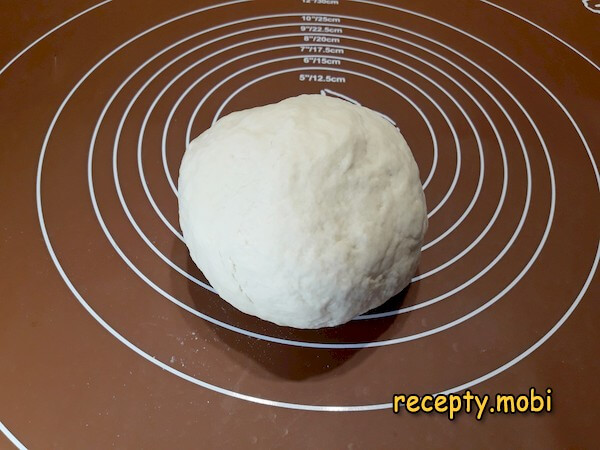
I start kneading the dough first in the bowl, then on the table, after which I gather it into a ball and leave it to rest under cling film for 5 minutes.
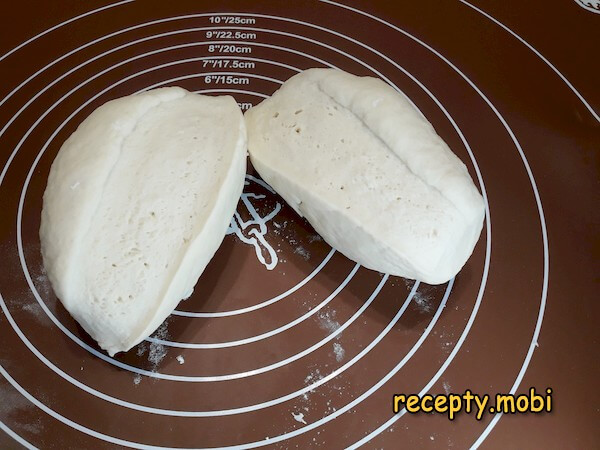
Next I cut the dough in half so that it is easier to roll out. In the cut you can see tiny air bubbles – the result of the soda reacting with the acidic environment.
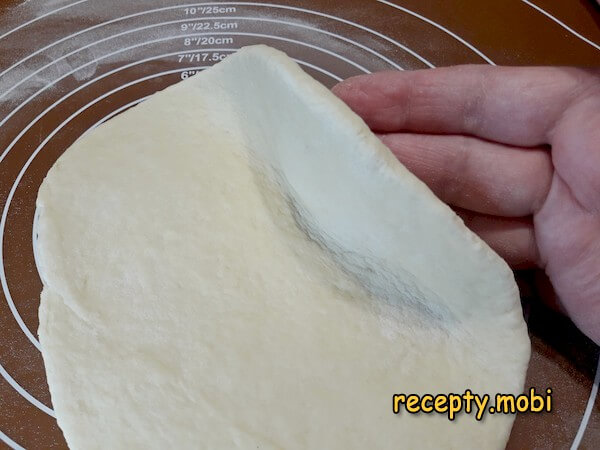
I roll out a sheet 1–1.5 cm thick.
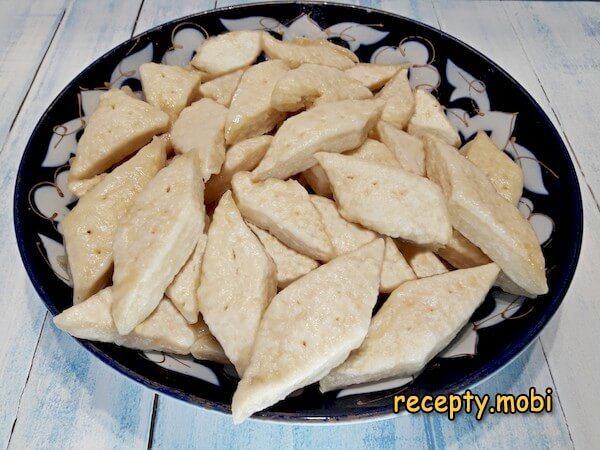
I cut it first into strips 2.5 cm wide, and then into diamonds and triangles.
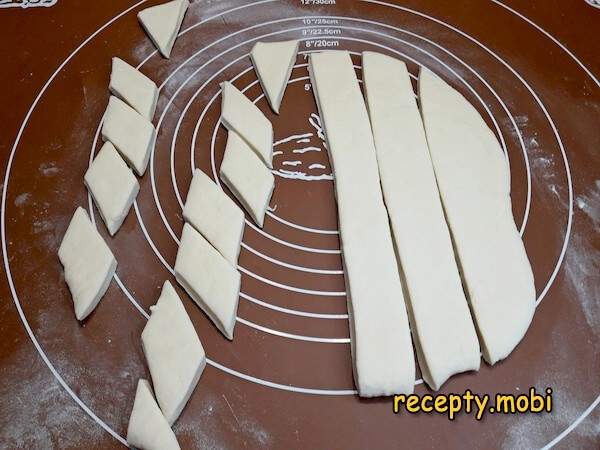
I transfer the pieces onto a board.

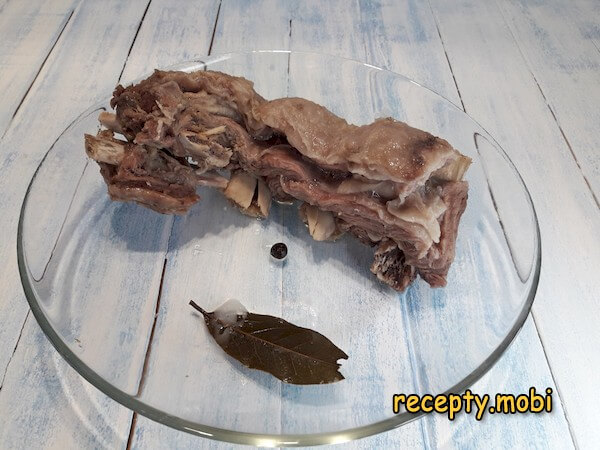
By this time the meat is just done – it needs to be taken out onto a plate.
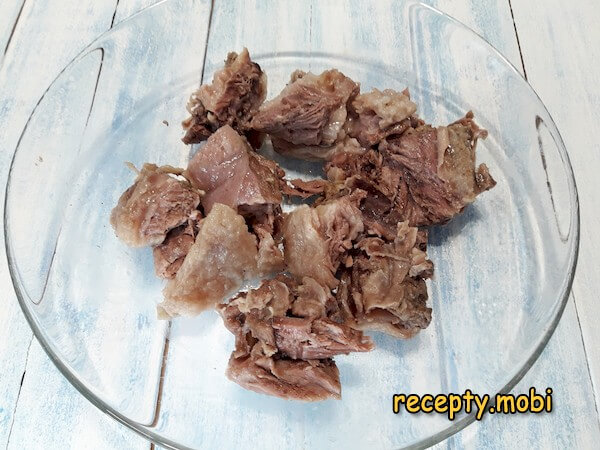
I divide it into serving pieces, removing the bones.
The broth itself must be strained – small bones could have stayed in it.
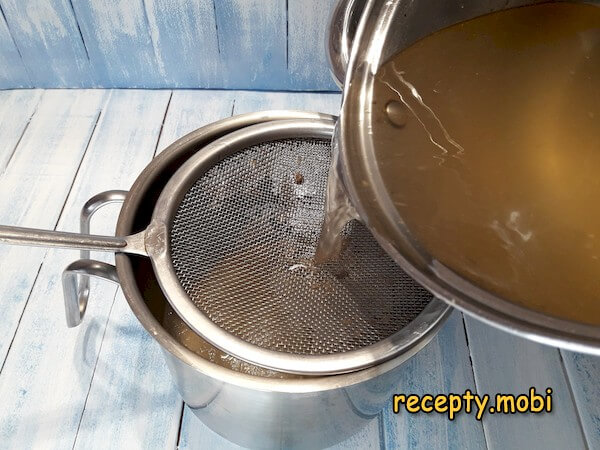
I wash the pot and pour the clean broth back into it. I turn the heat to high.
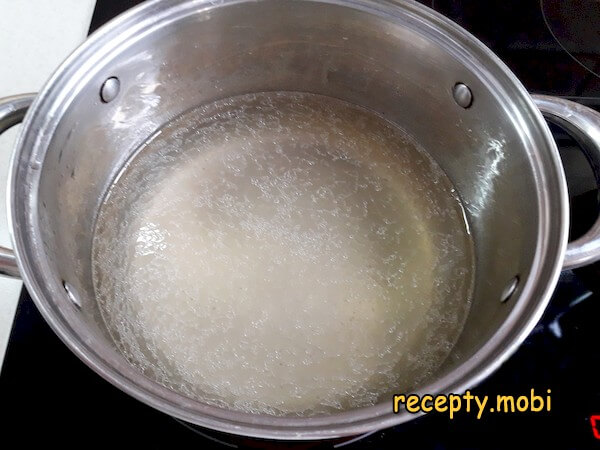
When it comes to the boil, I drop in a small batch of the dough pieces to cook.
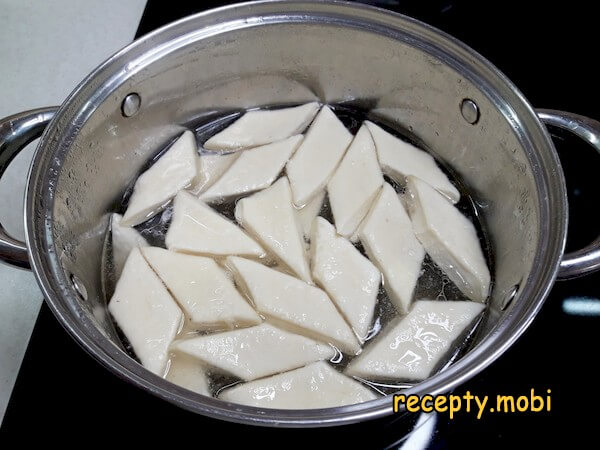
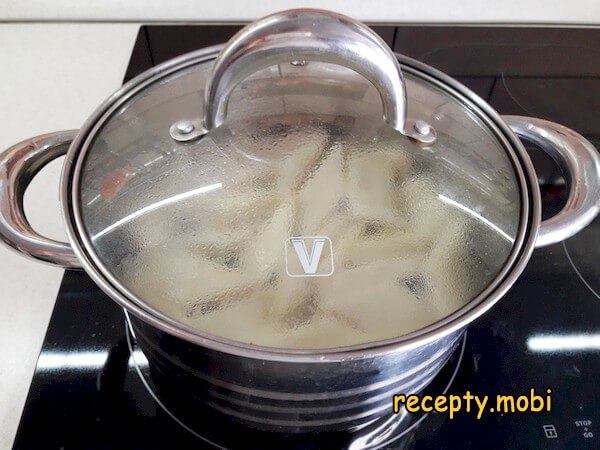
I reduce the heat to medium and cover the pot with a lid. Counting from the moment the pads float up, I cook them for 2–3 minutes (the thicker they are, the more time they need, but for a thickness of up to one and a half centimetres 2 minutes is enough). I stir the khinkal pieces a couple of times during cooking.
Next I lift the pieces out with a slotted spoon and immediately prick them with a toothpick so that the soda escapes. If you don't do this, the dough will darken and turn rubbery.
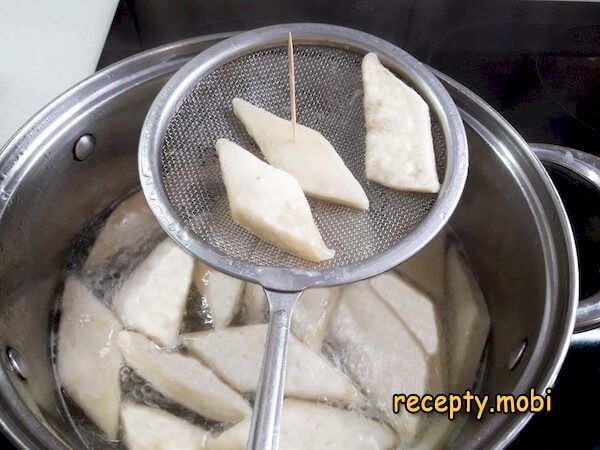
In this way, batch by batch, I boil all the khinkal pieces.
The dish is ready. I serve the Avar khinkal by laying the meat and boiled pads out on a shared plate or in separate dishes. Separately I pour the broth in which everything was cooked (it is sipped along with the khinkal), and beside it I set a sauce of sour cream, garlic and herbs. Inside, the dough pads have become fluffy and porous, and they have also soaked up the broth. This is a very tasty and filling dish that is made in every Dagestani family.Give it a try, and enjoy your meal!


Tips
- 1
COLD WATER AT THE START is the "secret" of a rich broth. Hot water seals the meat and the broth turns out dull. Cold water slowly draws out the juices, so the broth is aromatic and rich.
- 2
SODA INTO THE KEFIR is the "secret" of the pads. Soda into the flour gives an uneven reaction. Soda straight into the kefir releases CO₂ and bubbles at once, so the dough is fluffy and the khinkal pieces porous.
- 3
THE TOOTHPICK AFTER COOKING is the "secret" of the flavour. Without pricking, the soda keeps working and the dough darkens and turns rubbery. Pricking lets the soda out, so the pads stay white and tender.
- 4
COOKING IN BATCHES is the "secret" of the shape. All the khinkal pieces at once stick together and cook unevenly. In batches of 6–8 pieces, each one floats up and cooks through.
FAQ
Which meat should I choose for the broth? +
Beef ribs with some fat and a bone are ideal (400 g). Good alternatives include beef shank with a marrow bone (about 500 g for an extra-rich broth), beef brisket, lamb on the bone for a more authentic Dagestani flavour, or a mix of lamb and beef. Avoid lean meat without bones, as the broth will not be rich. For the proper result, use meat with some fat on the bone.
What can replace the kefir in the dough? +
Good substitutes are soured milk (clabber), Caucasian matsoni, ayran, buttermilk, milk whey, or milk with 1 tsp of lemon juice stirred in (180 ml). Plain unsweetened yogurt also works. Avoid flavoured kefir or fruit drinking yogurts. For the proper result, use kefir of any fat content with a light tang.
How long does khinkal keep? +
Store the pads and the broth separately in tightly closed containers in the fridge for up to 2 days; on the second day the flavour becomes richer. Before serving, heat the broth to a boil and lower the khinkal pieces into it for 30 seconds to warm through, or reheat them in the microwave for 2–3 minutes under a lid. Raw dough pieces can be frozen for up to 1 month – spread them out on a board first, then transfer them to a bag. It is best to cook the dish for a single sitting, but the raw khinkal pieces can be shaped ahead.
What to serve with Avar khinkal? +
The Dagestani classic is a sauce of sour cream, garlic and cilantro. It also goes well with a tomato sauce with garlic and herbs, with pomegranate narsharab, or with a matsoni-and-garlic sauce. You can add spring onion and basil, grated home-style cheese (such as suluguni), fresh sliced tomatoes, onion pickled in vinegar, hot chilli pepper or Caucasian adjika. Thin lavash and pomegranate seeds round it out nicely.
- Comment
or post as a guest
Be the first to comment.


