
avg —
Chili con carne
Instructions
I prepare the ingredients for the chili con carne. Instead of fresh tomatoes you can use canned tomatoes in their own juice. To get boiled beans, you first need to soak them in cold water for 2 hours, then cook with salt for about 40-50 minutes until soft. Canned beans save time.

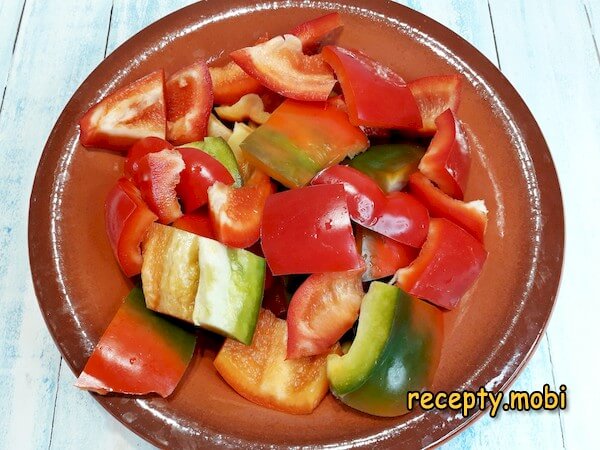
Since the dish cooks quite quickly, you need to make sure that all the components are prepared for cooking right away. It is undesirable for the sweet bell pepper to dissolve into the common mass – it should be clearly felt in the taste and more or less keep its structure. After removing the seed pod and stem, I cut the pepper into larger-than-average pieces.
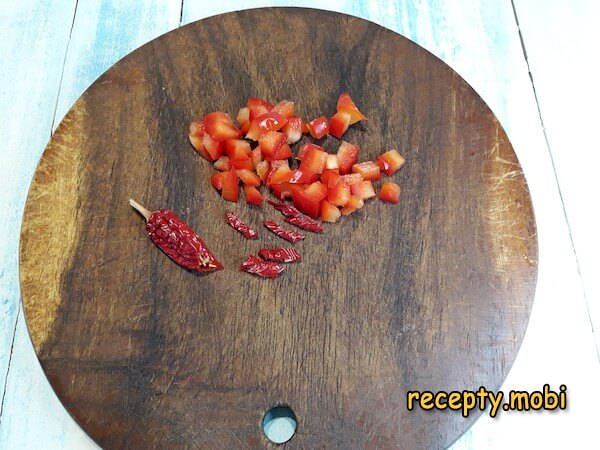
I finely chop the hot pepper in the desired amount – I adjust the quantity to taste. For a mild version, a quarter of the pod; for a moderate one, half; for a fiery one, a whole pod with seeds.
I prepare the tomatoes for blending in a stationary blender or an ordinary meat grinder, cutting them into random pieces. Ground tomatoes give a uniform tomato base for the sauce.

I grind the tomatoes into a liquid paste – specifically liquid, without large pieces, so that the sauce turns out uniform and coating.

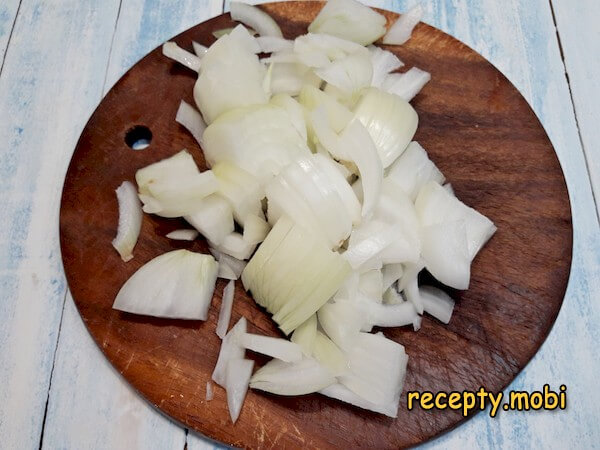
I cut the onion into thin quarter rings – this cut is ideal for quick sautéing: thin quarters turn translucent in barely a minute, do not burn and keep a slight juiciness.
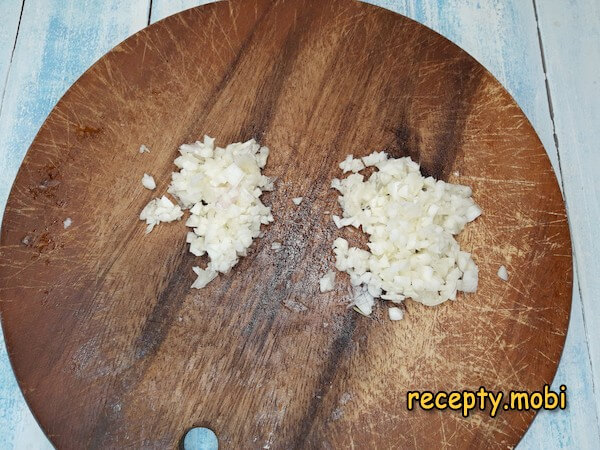
I chop the garlic very finely with a knife. I divide the resulting amount into two parts – one will be sautéed right away, and the second will be added to the already finished dish. Adding garlic twice gives a multi-layered aroma: a deep roasted one and a fresh piquant one.
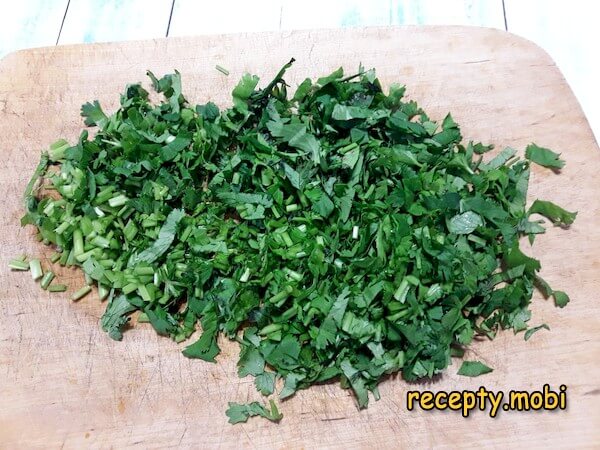
I finely chop the cilantro along with the bare lower stems – the bare stems also give off aroma, so they should not be cut off. This is a "secret" trick to boost the herbal bouquet without using up the leaves.
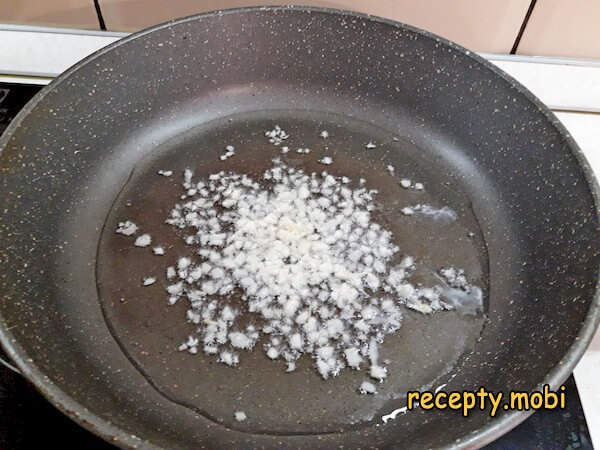
Now all the ingredients are ready for further processing and you can put the frying pan with oil on high heat to warm up. First I sauté the garlic – it gives its aroma to the oil, which all the following ingredients then "soak up".
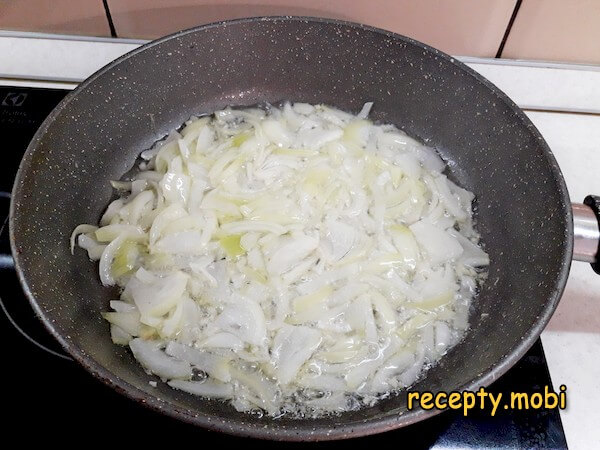
As soon as you catch the faint smell of warm garlic, I add the onion and keep it in the pan until the first signs of softening – half a minute at most, not until golden. The goal is to pass on the aroma, not to fry it.
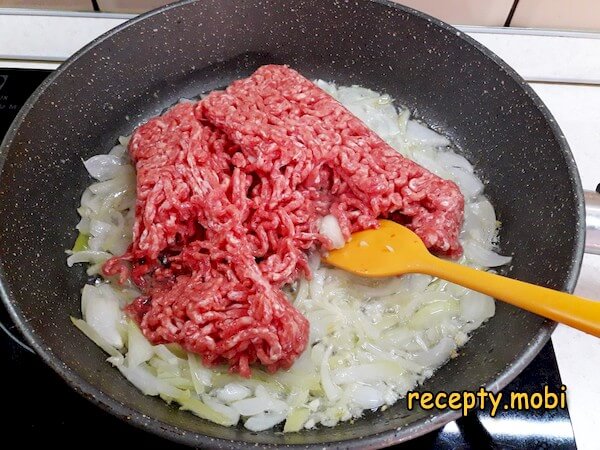
Next I add the ground beef. I break up the stuck-together lumps with a spatula and sauté them in the same way over high heat for about 5-6 minutes. During this time the meat juices should almost completely evaporate, so that the mince is actually frying rather than stewing.
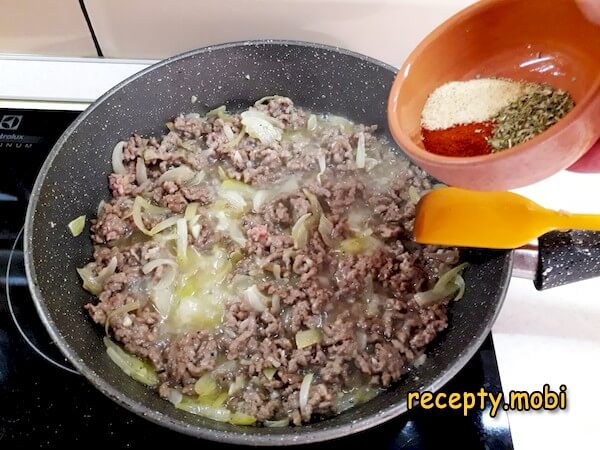
I season the meat with salt and the dried spices – paprika, coriander, dried garlic. I stir – the spices should be evenly distributed over the mince and lightly toast so that they open up.
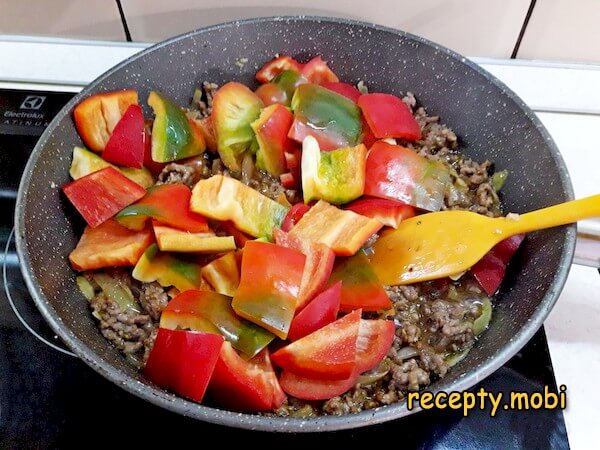
Next I add the sweet and hot peppers. The peppers should only stew slightly – 2-3 minutes will be enough for this. The bell pepper should keep a light crunch and its shape, the chili should give up its fiery richness.
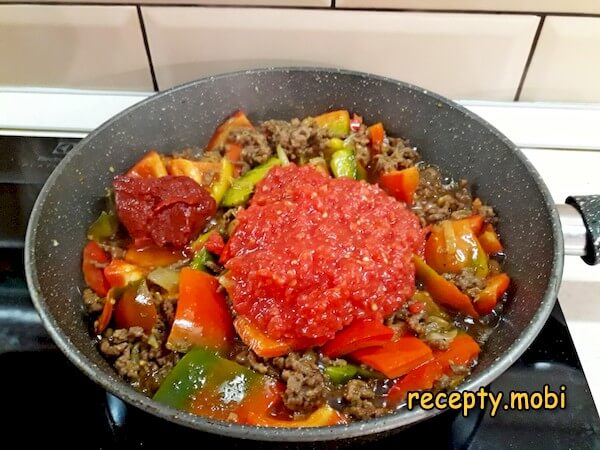
Now I add the tomato paste together with the ground tomatoes. I reduce the heat to medium and wait for the mixture to come to a boil – the tomato paste gives depth, the fresh tomatoes give brightness and a touch of acidity.
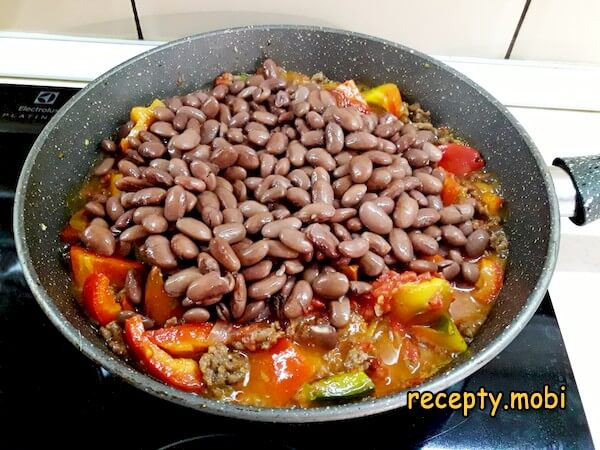
Last of all I put the beans into the pan. To let them stew a little, combining with all the ingredients, you will need about 7 minutes. I stir the mixture periodically and taste it. It may turn out that some seasoning or salt is missing. If unsweetened tomatoes were used, with a noticeable acidity, I add 2-3 teaspoons of sugar to the pan to balance the taste.
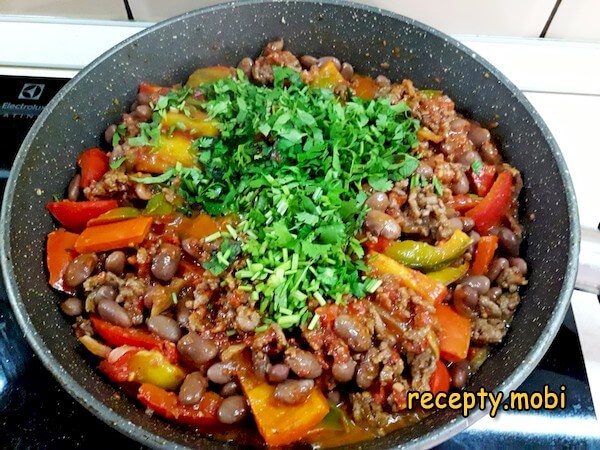
Next I turn off the heat and add the fragrant cilantro to the whole mixture. I stir everything – fresh herbs in a hot dish give a bright herbal bouquet that contrasts with the fiery chili.
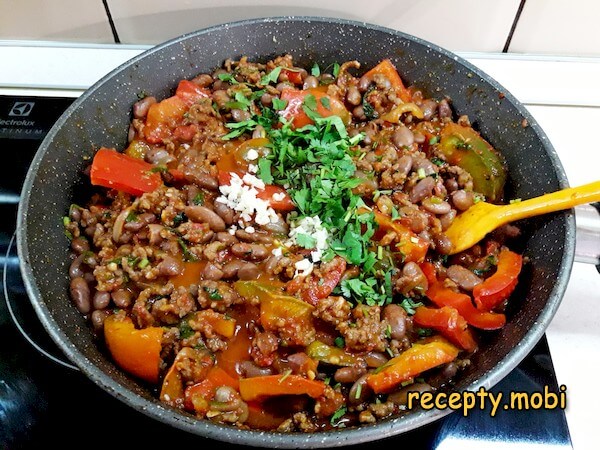
Immediately after, I add the remaining garlic. In the hot mixture it will reveal its flavour qualities in the best way and transform the aroma of the dish – it is precisely the raw garlic at the finish that gives a "fresh" piquant accent.I always serve Chili con carne hot, while it is especially fiery and aromatic. Mexicans traditionally eat this dish with corn tortillas, but pieces of lavash, cut into small parts and dried in the oven, will also be appropriate as a base on which to place a small portion of Chili con carne. This dish is worth trying and coming to love.


Tips
- 1
A DOUBLE PORTION OF GARLIC – the "secret" of a multi-layered aroma. Half of the garlic goes in at the beginning, is sautéed with the oil and gives a deep "roasted" note – the base of the aroma. The second half is added at the end to the hot mixture and gives a "fresh" piquant accent. These two layers of garlic create a complex profile that you cannot get by adding it all at once.
- 2
MINCE OVER HIGH HEAT – the "secret" against a stewed taste. Over low heat the mince releases its juices and stews in its own water – you get meat that tastes "boiled", without a fried crust. High heat and constant stirring let the meat evaporate the moisture and brown – it is precisely fried ground beef that distinguishes authentic Chili con carne from European adaptations.
- 3
BEANS AS AN ALTERNATIVE – the "secret" of a vegetarian version. If you want it without meat, I cook it on the same principle as Georgian-style red bean lobio – the same set of spices, but a doubled portion of beans instead of mince. You get a full-fledged vegetarian "chili con beans" with the same Mexican character.
- 4
SERVING IN FLATBREADS – the "secret" of an authentic Mexican meal. In Mexico, chili con carne is served in three forms: with a spoon from a bowl with rice or potatoes, in corn tacos, or as a Mexican stuffed flatbread – a burrito. Wrap a portion in warm lavash with grated cheese and sour cream – you get a complete Mexican dinner.
FAQ
What is Chili con carne and where is it from? +
Chili con carne (Spanish "Chili con carne" – literally "pepper with meat") is a cult dish of Mexican-American cuisine, originating from the state of Texas and the northern regions of Mexico. It appeared in the 19th century among Mexican cowboys, who cooked this dish in field conditions from available products: ground beef, beans, tomatoes and hot chili pepper. Today it is the national dish of the state of Texas, a symbol of south-western American cuisine and a popular option in Latin American restaurants around the world.
Can ground beef be replaced with pork? +
You can, but the classic choice is beef, because of its richer "meaty" taste. Ground pork will give a fattier and less vivid dish. Alternatives: turkey (dietary), lamb (more aromatic, but specific), a beef-and-pork mix 60/40 (a balanced option). For a vegetarian version – lentil mince, soy mince, an extra portion of beans. The main thing is a coarse meat structure, so coarsely ground mince gives a more characteristic texture than finely ground.
How long does Chili con carne keep? +
In the refrigerator in an airtight container – up to 4 days without loss of taste. After a day the taste becomes even richer and fuller – like any meat stew with spices, the ingredients "infuse" into one another. You can freeze it in portions for 2-3 months – defrost in the refrigerator for 12 hours and then reheat in a pan or microwave. Some of the heat is lost during freezing, so you may need to add a little fresh chili or Tabasco sauce when serving.
What to serve with Chili con carne? +
The classic Mexican serving is with basmati or jasmine rice (boiled or with tomato juice), corn or wheat taco flatbreads, nachos with cheese. From vegetables: avocado guacamole, Mexican pico de gallo salad. From sauces: sour cream with green onion, sweet-and-sour sauce, Tabasco. From drinks: dark Mexican beer, tequila with lime and salt, a margarita, and for a non-alcoholic option – tomato juice with spices. For breakfast the next day: with a fried egg on top, grated cheese and a slice of rye toast.
- Comment
or post as a guest
Be the first to comment.


