
avg —
Kumyk Khinkal
Instructions
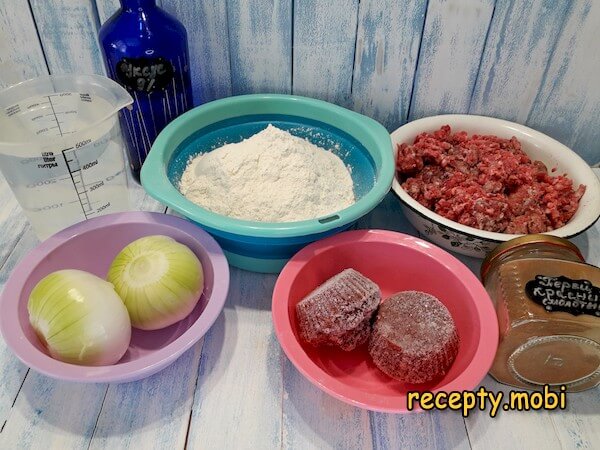
I prepare the ingredients for kumyk khinkal. You can use ready-made mince or grind the lamb (beef) yourself. Tomato paste is easily replaced with fresh tomatoes, of which you will need 250 grams. A little less water may be needed for the dough (it depends on the flour), so towards the end of kneading I add it little by little. Neither fat nor vegetable oil is needed in this recipe.
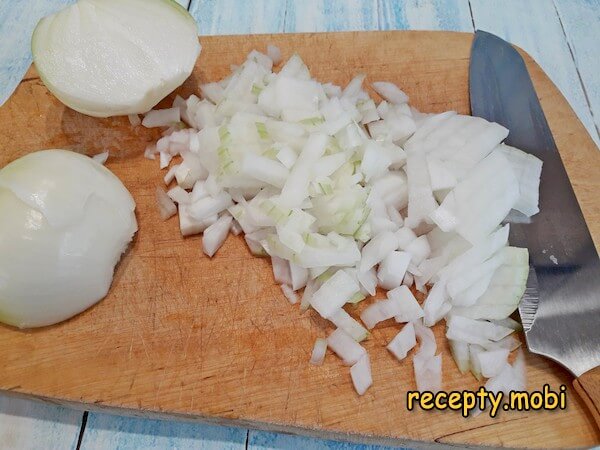
It is worth starting with the meat gravy. For this I cut the onion into small dice – about 5×5 mm so it is evenly distributed through the gravy.
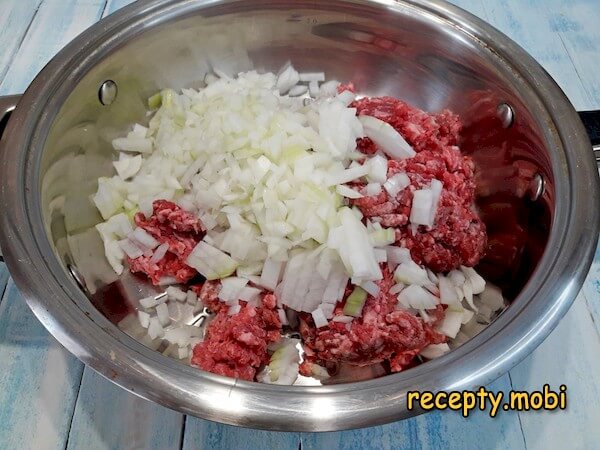
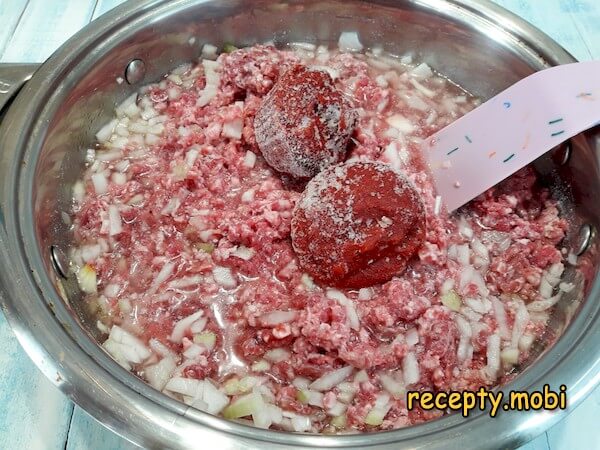
I put the beef mince and the chopped onion into a deep frying pan – without frying, straight away with the water and tomato paste.
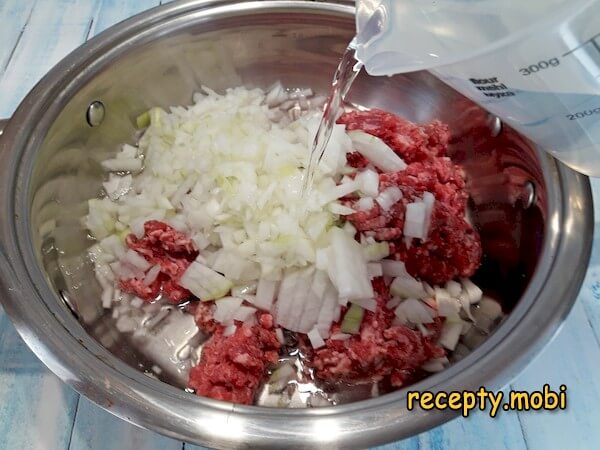
I pour in 500 millilitres of room-temperature water – this "cold start" is the "secret" of Kumyk gravy, which keeps the meat tender and juicy.
I add the tomato paste here as well. If using fresh tomatoes, they need to be finely chopped – the tomato base gives the characteristic "Dagestani" colour and flavour.
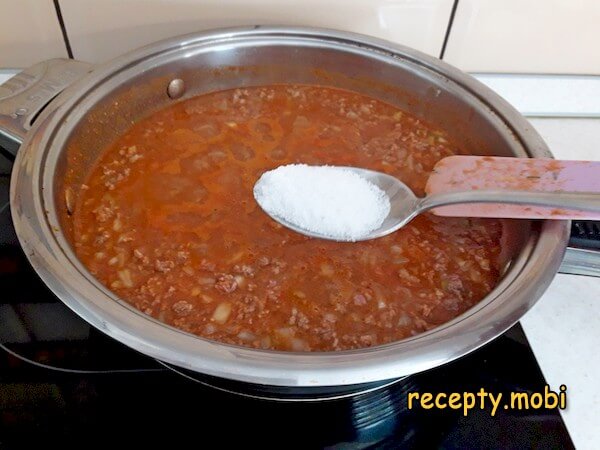
I put the pan over medium heat and salt the contents. From the moment it comes to a boil, I cook the gravy for 20 minutes, stirring occasionally – this is exactly the time the meat needs to release its juices into the gravy.
At the end I add the hot pepper – half a teaspoon of ground red pepper is the obligatory "Dagestani" accent.
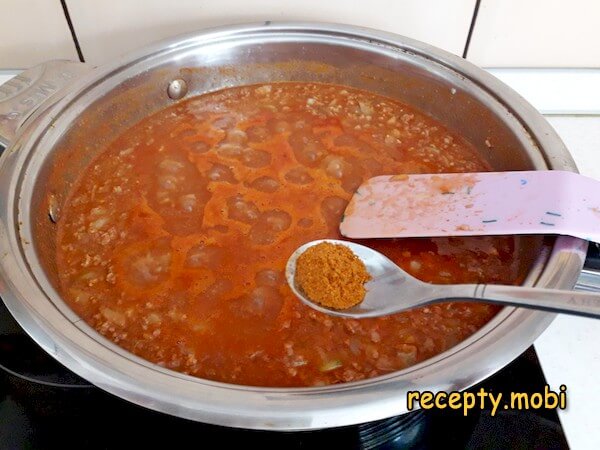
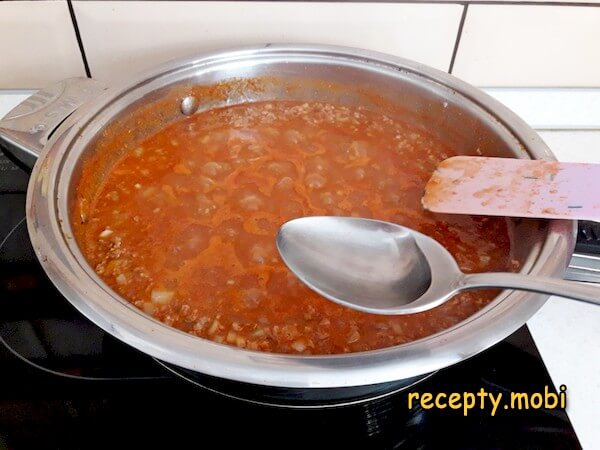
And straight after it – a spoonful of vinegar. I taste the mixture and, if needed, sharpen it with one more spoonful of vinegar – the vinegar balances the sweetness of the tomato and gives an "accenting" sourness.
At the same time as the gravy you can start making the dough. I sift the flour and the salt into a bowl. I make a well in the centre and pour in about 180-190 millilitres of water. I begin kneading in the bowl first – this is the "secret" against the flour scattering.
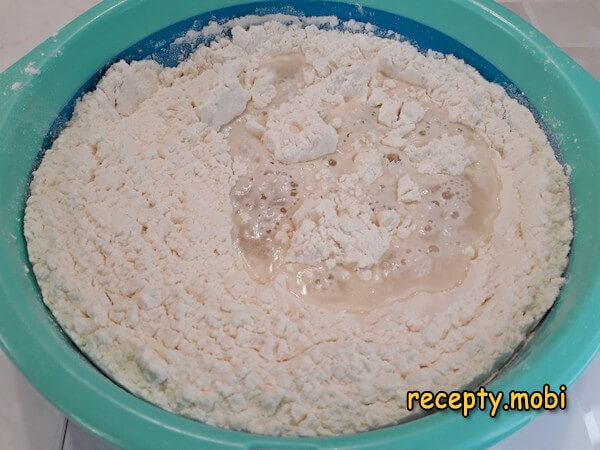
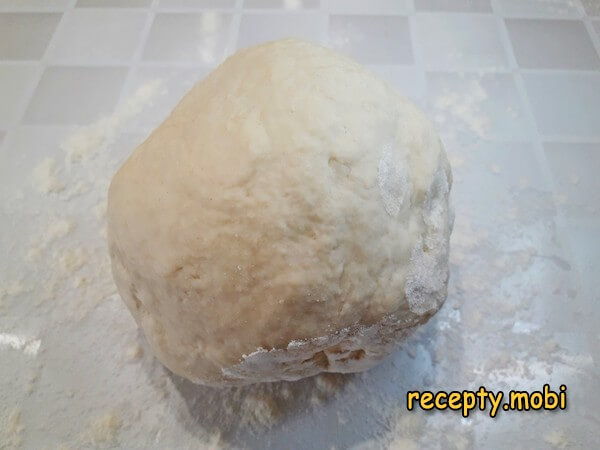
Then I transfer the dough onto a flat surface and carry on kneading it, adding the remaining water if needed. The dough should turn out moderately firm, not too soft but not too stiff either. I form a ball and cover it with a towel, leaving it like that for 20 minutes to rest – the gluten should relax.
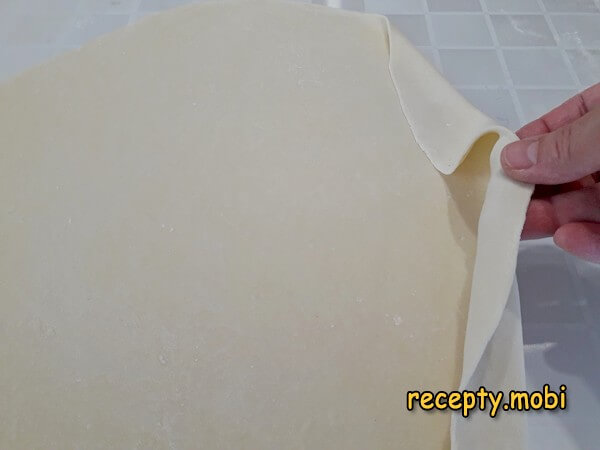
After the stated time the dough will become more elastic and easy to handle. For convenience I divide it into 2 parts and roll it out, but not too thin – about 3 millimetres. It is exactly this thickness that makes a "proper" kumyk khinkal.
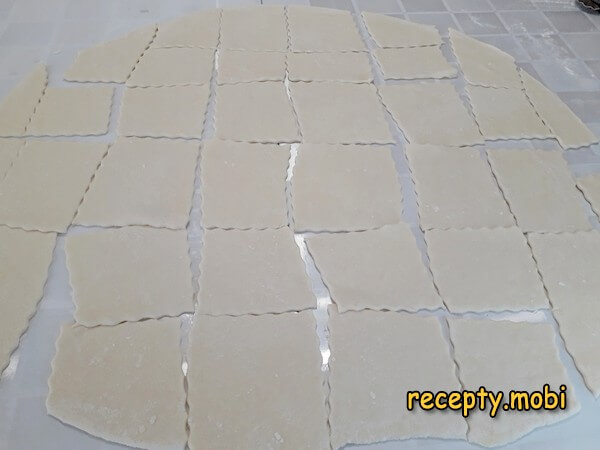
I cut the sheet into squares with 4-centimetre sides – this is the authentic size of Kumyk squares, no bigger and no smaller.
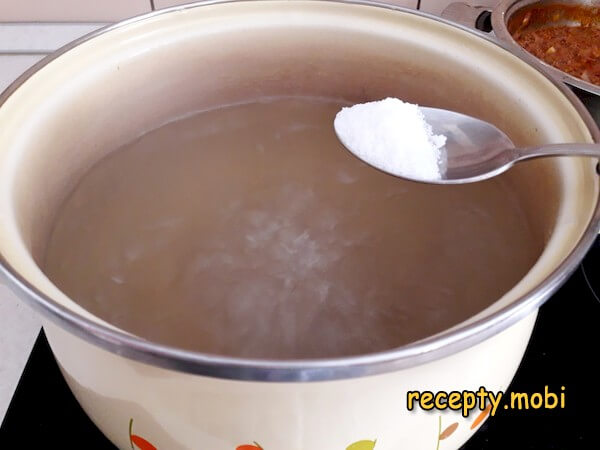
In a large pot I boil 3 litres of water. I turn the heat up to maximum. After it boils I add 0.5 tablespoon of salt – the water for the dough should be salty enough.
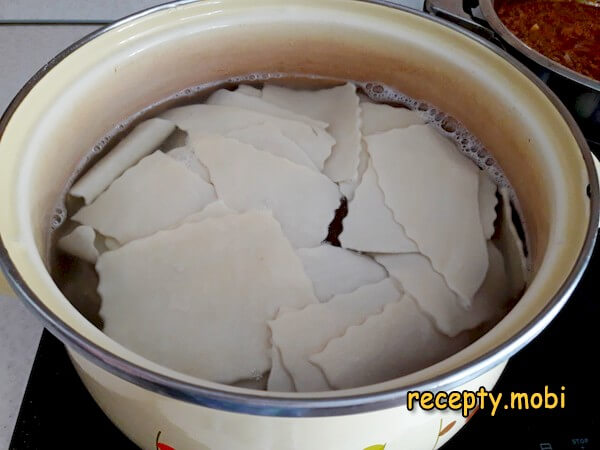
I tip all the prepared squares into the boiling water. With a slotted spoon I lift the pieces that sink to the bottom. As soon as they all float up and the water starts to boil, I cook the squares for 1-1.5 minutes – no longer, otherwise the squares will turn tough.
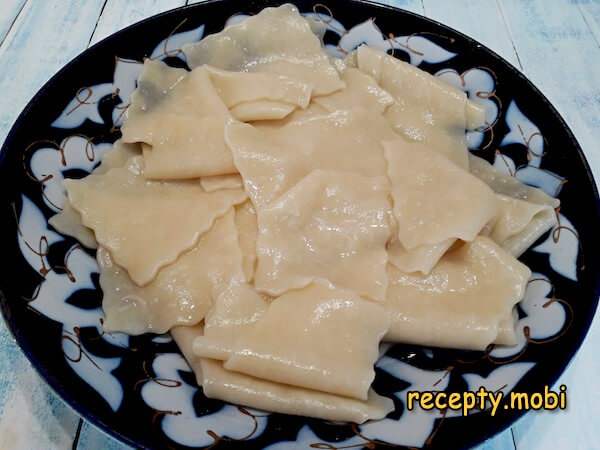
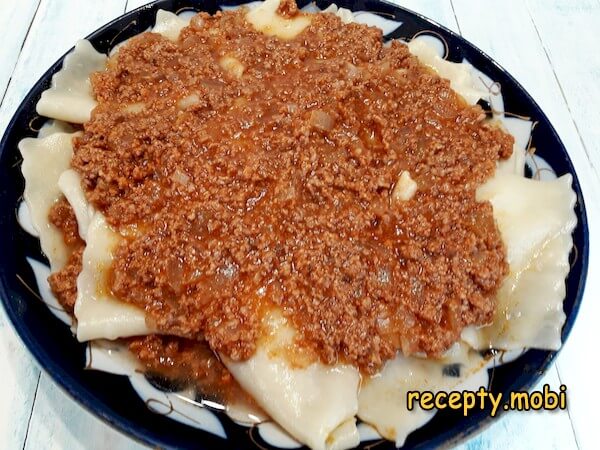
On a large dish I lay out the first layer of dough – in an even layer over the whole plate, without overlapping the pieces.
On top I spread the meat gravy – this is the "second layer" of the Dagestani "layered" presentation.
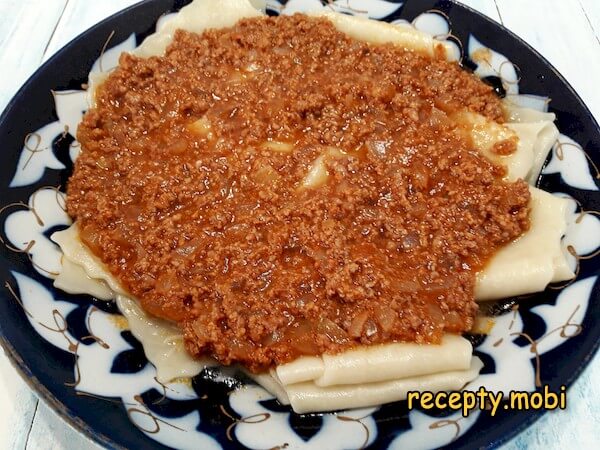
Then I repeat the layers 2-3 times – it is exactly this "layered" structure that sets kumyk khinkal apart from other kinds.I serve kumyk khinkal piping hot – while it is still warm. The very juicy meat and tender dough simply melt in the mouth, somewhat reminiscent of Russian pelmeni. This dish is eaten with a spoon and fork, using both utensils to help yourself – the Dagestani ritual of "layered" food.


Tips
- 1
COLD WATER IN THE GRAVY – the "secret" of tender mince. Many people make meat sauce "the hot way" – fry the meat, then add water. But in the Kumyk tradition the mince and onion are covered with cold water and tomato paste straight away, TOGETHER. With slow heating the mince does not "shrivel up"; it stays tender and juicy. If you fry the mince at the start, it seizes into a lump, and the gravy ends up with "dry balls" instead of a tender sauce. This is why the recipe says "no fat and no oil" – the gravy is made purely on water with tomato paste.
- 2
WATER DOUGH WITHOUT EGGS – the "secret" of the right texture. Kumyk khinkal uses a "lean" dough – flour + water + salt, no eggs. Eggs would make the dough too dense and "rubbery" once boiled. Without eggs the dough comes out tender, thin and slightly translucent after cooking. 200 ml of water to 400 g of flour is the optimal ratio, but adjust it to suit (flour varies, and so does humidity). The dough should be "springy, but not stony". The 20-minute rest is essential – the gluten "relaxes" and the dough rolls out more easily.
- 3
1-1.5 MINUTES OF COOKING – the "secret" of the right doneness. The Kumyk squares are thin (3 mm) – they need very little time. After they float to the surface – exactly 1-1.5 minutes, no longer. Overcooked squares turn "slimy" and stick to one another. Signs of doneness: the dough has become translucent, it is easy to pierce with a toothpick, and it feels springy but soft. Drain them straight into a colander, without rinsing in cold water. The principle of "short cooking of thin dough" works in Avar khinkal too, another Dagestani variation.
- 4
THE "LAYERED" PRESENTATION – the "secret" of the Dagestani ritual. Many people serve khinkal "all in one plate", mixing the dough and the gravy. That is wrong. The right way is "in layers": first the dough on the plate (in a single layer), then the gravy on top (in a thin layer), then dough again, then gravy again. 2-3 layers give the characteristic "Dagestani little pyramid". The guest takes a square of dough, dips it in the gravy beneath it, and eats. This ritual is part of the culture. A similar principle of "multi-layered presentation" is used in Dargin khinkal – another Caucasian variation.
FAQ
How is Kumyk khinkal different from Georgian khinkali? +
These are completely different dishes, despite the similar name. Georgian khinkali are dumpling "purses" with juicy meat inside, boiled in broth and eaten by hand by the "tail", without cutting them. Kumyk khinkal is a "layered" dish: squares of boiled dough + meat gravy, kept separate, served apart, eaten with a spoon and fork. Dagestani khinkal differs from people to people: the Kumyks have squares with tomato sauce, the Dargins have diamonds with a garlic-and-sour-cream sauce, the Avars have "dough balls" with a chicken sauce. All of them are "two-component" (dough + sauce separately).
Can beef be replaced with another meat? +
Yes – the classic Kumyk options. Lamb (the most authentic, especially with tail fat), beef (a workable option), veal (for tender children's portions), a 50/50 beef-and-pork mix (a "juicier" mince). In the Caucasus pork is not used, but if it is for the family – it works. Chicken mince is not traditional, but it works too (thanks to its "lightness"). Dry lean meat is not suitable – Kumyk mince should have fat (10-15%) for a juicy gravy. We grind it ourselves through a coarse grid – shop-bought mince is too finely ground.
How long does ready kumyk khinkal keep? +
The dough and the gravy in the fridge – 1-2 days, kept separate (the dough will stick together). The gravy – 3-4 days in an airtight jar, reheated in a pan. The dough – no more than a day, after that it loses its freshness and turns "rubbery". The best strategy: the dough (the squares) – freeze them raw (on parchment, then into a bag), they keep for up to a month. Store the gravy in the fridge for 2-3 days. Before serving – boil the squares for 2 minutes from frozen, reheat the gravy, and assemble the "layers". Assembled ready khinkal does not keep – serve it straight away.
What to serve kumyk khinkal with? +
The Dagestani classics. For drinks: homemade ayran (ayran + salt + herbs), tan, chilled kefir, black tea in an "armudu" glass, hot green tea. On the table: lavash or Dagestani flatbreads "chureki" as an "addition", fresh herbs (cilantro, parsley, spring onion), onion in thin rings, garlic sauce (crushed garlic + sour cream + salt). For dessert: dried fruits (dried apricots, prunes, raisins), fresh apples. On a large table – together with other Dagestani dishes: chudu, tolma, Caucasian-style shashlik. Kumyk khinkal is "family food", served in a large shared plate in the middle of the table.
- Comment
or post as a guest
Be the first to comment.


")
