
avg —
Braised Cabbage with Sausages in a Skillet
Instructions
I get the ingredients ready for braised cabbage with sausages in a skillet. Any cabbage will do; a firm white head simply takes about 10 minutes longer to braise than a young one. If the head is very juicy, you will need only a little water – up to 50 ml.

I cut the cabbage in half and shred it thinly. A dedicated cabbage shredder is handy for this, though an ordinary knife will do the job too.
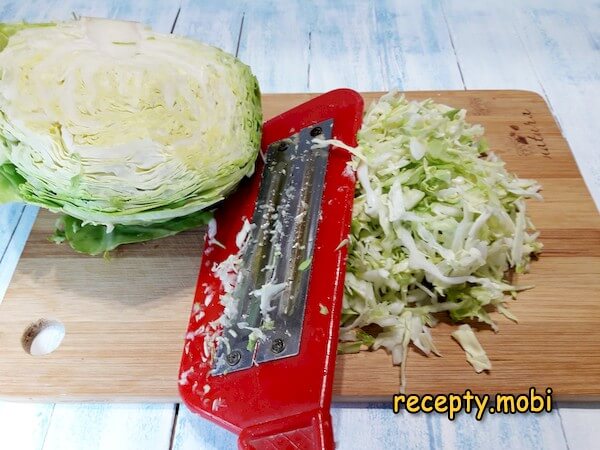
I transfer the shredded cabbage to a wide bowl and salt it, kneading the strips at the same time – this shortens the braising time. Besides, salting and stirring a large volume of cabbage in the skillet is rather awkward.

I cut the onion into thin strips.

I grate the carrot coarsely.

I remove the casing from the sausages and slice them into wide rounds.

In the heated oil I fry the onion until it just begins to turn translucent.

I add the carrot to it. I sauté everything for a couple of minutes over medium heat.

I pile all the cabbage on top. At first it seems the mound of cabbage is enormous and will not fit in the skillet. But within just 2–3 minutes the whole volume settles down.

As the cabbage settles, I stir it until it has all sunk to the bottom of the skillet.

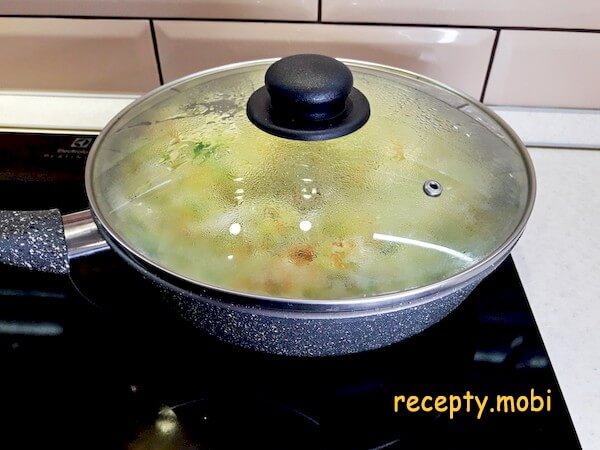
I cover the skillet with a lid and keep it over low heat for 5–7 minutes.
Next I add the tomato paste and the bay leaf.

I pour in some water. There should not be much – only enough to keep the bottom layers from scorching.

I stir everything, distributing the tomato paste evenly.

I add the sausages.

I let it all simmer under the lid for about 5 minutes, after which the sausage rounds plump up and the dish is completely ready.Even though braised cabbage with sausages in a skillet is a budget-friendly dish that cooks quickly, its taste is really very good and appeals to adults and children alike.


Tips
- 1
Kneading with salt is the "secret" to speed. Dry cabbage braises for 30–40 minutes. Kneaded with salt, it releases its juice and is ready in 10–15 minutes.
- 2
Tomato paste at the end is the "secret" to colour. Paste added at the start will scorch and darken. Added after the cabbage has settled, it gives a bright orange colour and a balanced flavour.
- 3
Little water is the "secret" to flavour. Flood it with water and you get boiled cabbage rather than braised. Just 50–70 ml, only to prevent scorching, keeps the dish aromatic.
- 4
Sausages at the finish are the "secret" to texture. Sausages added at the start break down into fibres. Added 5 minutes before the end, they stay as firm rounds. The same principle works for other braised vegetables with sausage products.
FAQ
Which sausages should I choose? +
The best choice is proper cooked milk sausages made from meat – the kind that are fully cooked and only need warming through. Good cooked frankfurter-style sausages work just as well. Avoid sausages padded out with soy protein, very pink ones high in phosphates, and smoked sausages, which would overpower the cabbage.
What can replace the tomato paste? +
You can use canned tomato purée, canned tomatoes in their own juice, or fresh tomatoes that have been puréed. Ketchup will do at a pinch, though it brings extra sweetness, so add it sparingly. If you like, stir a teaspoon of sugar into the tomato paste to balance the flavour. Avoid hot chilli sauce, which is too spicy, and very sweet ketchups.
How long does braised cabbage keep? +
In the fridge, in a tightly closed container, it keeps for 3 days. On the second day the flavour becomes richer, as the sausages and cabbage soak up more of the tomato sauce. Before serving, reheat it in a covered skillet for 5–7 minutes, or in the microwave for 3–4 minutes under a lid. It freezes for up to 2 months; thaw it in the fridge for about 8 hours. Do not leave it at room temperature for longer than 4 hours.
What to serve with braised cabbage and sausages? +
A weekday classic is with boiled potatoes or mashed potato. It also goes well with boiled rice, buckwheat or millet porridge, and a slice of dark bread or a garlic crouton. Pickled cucumbers, salted tomatoes or sauerkraut make good accompaniments, as do Russian mustard or a little spicy adjika. It suits a family supper perfectly – a hearty meal for a cold day, a working lunch or an evening after school.
- Comment
or post as a guest
Be the first to comment.

")

