
avg —
Crispy Pickled Cabbage in a Jar
Instructions
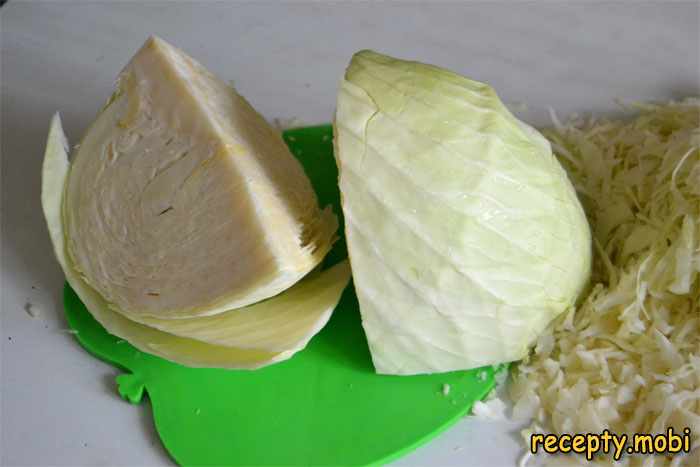
I choose a head of a late cabbage variety – it is dense, heavy, with firm white leaves. I remove the top green and damaged leaves, as they taste bitter and spoil the appearance of the preserve. I set aside one or two whole top leaves to cover the cabbage in the jar. I rinse the head under cold running water and pat it dry with a clean towel.
I cut the head into four parts – it is easier to shred this way. I cut out the stalk from each quarter, as it is tough and does not become salted evenly with the leaves. I shred the cabbage into thin strips 3–5 mm wide with a sharp knife or a special shredder. The thinner the strips, the faster the cabbage will salt and ferment, but strips that are too thin may lose their crunch.
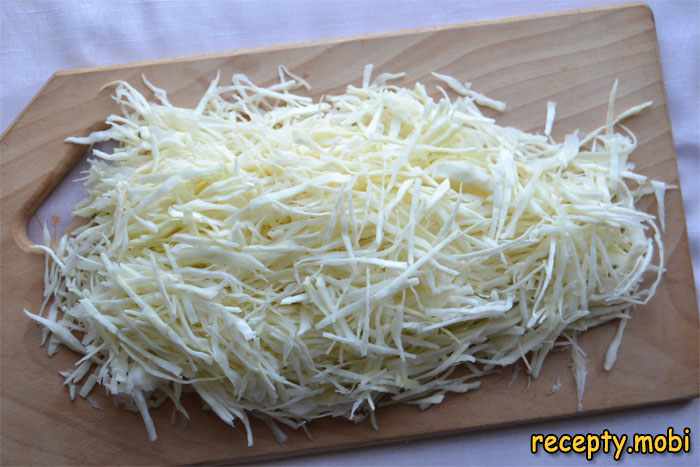
I process the whole head into thin, even strips. I put the shredded cabbage into a large enamel basin or a deep bowl of at least 5 litres – room is needed for mixing. From 2.6 kg of cabbage you get about 2.2–2.4 kg of finished strips after removing the stalk and top leaves.
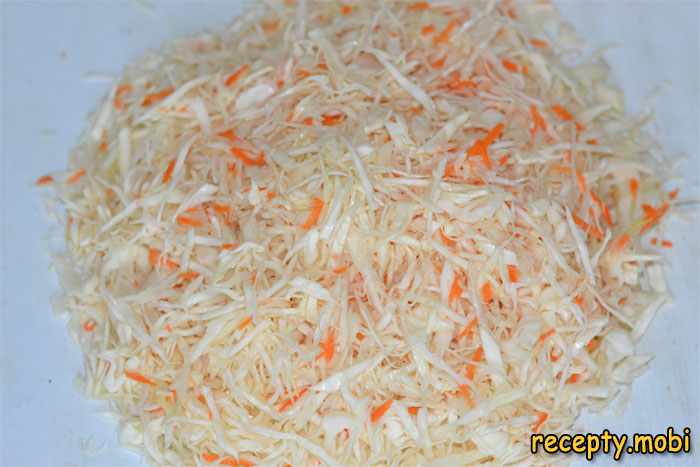
I wash the carrot thoroughly with a brush, peel it with a vegetable peeler and cut it into thin strips with a knife, or grate it on a coarse grater for Korean carrot. Strips are preferable – they look nicer in the finished cabbage and keep their crunch. I add the carrot to the shredded cabbage. The carrot gives the cabbage sweetness, a pretty orange tint and extra vitamins.

I measure out 1 heaped tablespoon of non-iodized salt – this is about 25 g per 2.6 kg of cabbage. I use coarse rock or sea salt without additives. Non-iodized salt is critically important: iodine hinders lactic-acid fermentation, and the cabbage may turn out soft, slimy and with an unpleasant aftertaste. Check the contents on the packaging – the salt should contain no iodine and no anti-caking additives.

I sprinkle the salt evenly over the entire surface of the cabbage with the carrot. With clean hands I begin to rub the cabbage, squeezing and kneading it between my palms. After 3–5 minutes of active rubbing the cabbage will start to release juice – this is a sign that the cell walls are breaking down and the salt is penetrating inside. I continue until a noticeable amount of juice has collected at the bottom of the basin.
I wash a three-litre glass jar thoroughly with hot water and baking soda, rinse it with boiling water and let the water drain. The jar must be perfectly clean, with no traces of grease or foreign smells – any contamination can cause mould or spoil the fermentation. I pack the cabbage into the jar in small portions, each time pressing it down firmly with my fist or a wooden pestle.
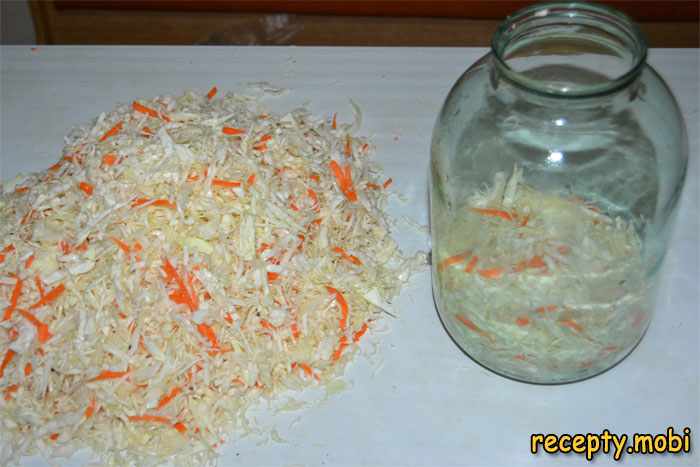
I fill the jar up to the shoulders, leaving 5–7 cm of free space on top – during fermentation the cabbage will rise and release gas. On top I cover it with the large cabbage leaf I set aside, the one with thick veins – it works as a natural weight and presses the cabbage down. You can also use a wooden disc or a small plate.
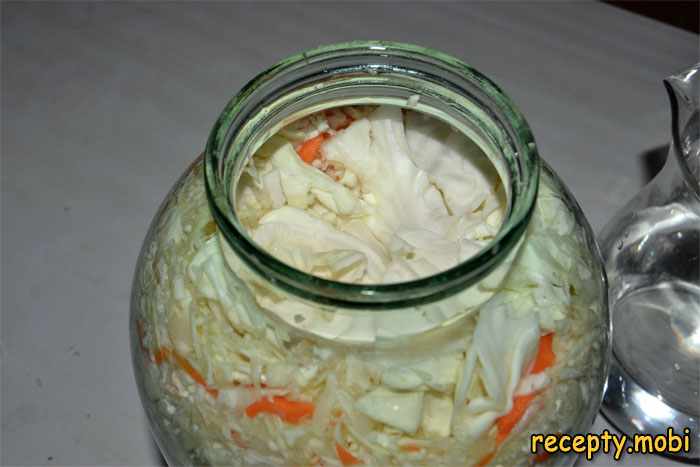
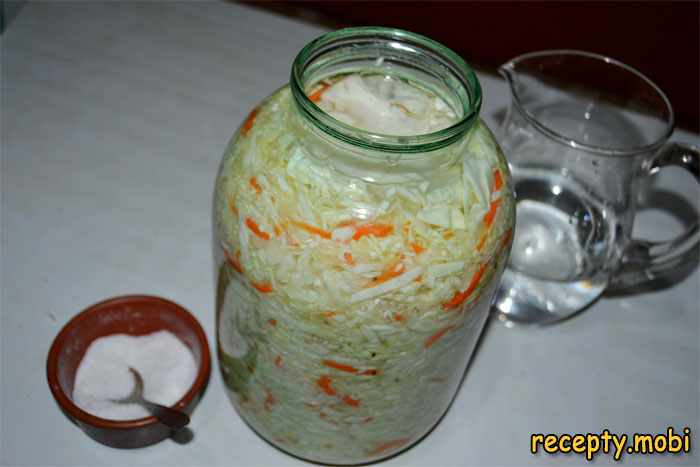
I pour in cooled boiled water (at room temperature, about 20–22 °C) so that it completely covers the cabbage by 1.5–2 cm. I add a couple of pinches of salt to the water and stir. The water ensures even fermentation and protects the top layer from contact with air – without water the cabbage on top may darken or grow mouldy. I add the dill seeds if I like – they give the classic aroma.
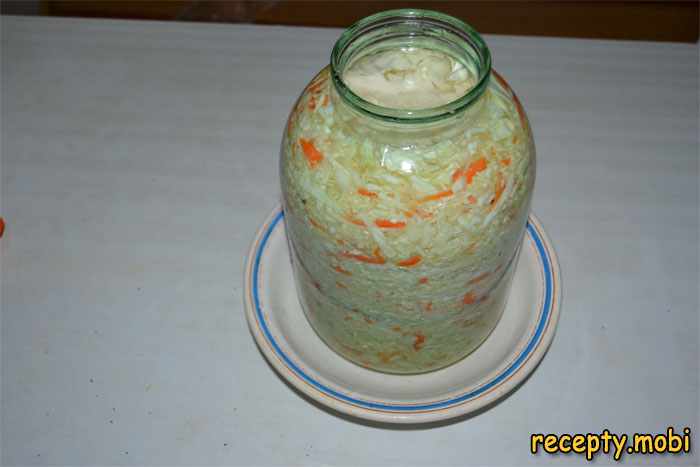
I place the jar in a deep bowl or on a tray – during active fermentation the brine will overflow the rim. I leave the jar at room temperature, 18–22 °C, for 3–4 days. Every day, morning and evening, I pierce the cabbage with a wooden stick, skewer or knife right down to the bottom in 5–6 places – this releases the carbon dioxide produced during fermentation. If the gas is not released, the cabbage will become bitter and develop an unpleasant smell.
I watch the fermentation: on the first day small bubbles appear on the surface and the brine becomes cloudy – this is a normal sign of active fermentation. On day 2–3 I taste the cabbage – it should be pleasantly sour, crisp, without bitterness. When the taste has reached the right acidity (usually on day 3–4), I cover the jar with a plastic lid and put it in the fridge – the cold stops the fermentation.
The crispy sauerkraut is ready to eat as soon as it has chilled. I serve it as a snack on its own with unrefined sunflower oil and fresh onion or spring onion. I store it in the fridge at 0–4 °C – in these conditions the cabbage keeps its crunch and flavour for up to 6 months.


FAQ
Why can't I use iodized salt? +
Iodine suppresses the lactic-acid bacteria responsible for proper fermentation. Cabbage fermented with iodized salt often turns out soft, slimy, with an unpleasant aftertaste and keeps poorly.
How many days should I ferment the cabbage? +
At a room temperature of 18–22 °C, usually 3–5 days. Taste the cabbage every day, starting from the second – once the right acidity is reached, put it in the fridge straight away. The warmer the room, the faster the fermentation goes.
What should I do if mould appears? +
Carefully remove the top layer with the mould using a spoon and throw it away. The rest of the cabbage is fine to eat if there is no unpleasant smell. To prevent this, make sure the cabbage is completely covered with brine and the jar stands in a place free of draughts.
Why did my cabbage turn out soft? +
The main reasons: you used iodized salt, fermented at too high a temperature (above 25 °C), kept it too long at room temperature, or chose an early variety of cabbage with a loose head. For crisp cabbage, use late varieties.
Can I ferment cabbage without water? +
Yes, if the cabbage released plenty of juice while being rubbed, water is not needed – its own juice is enough to cover it. The main thing is that the cabbage must be completely submerged in liquid.
- Comment
or post as a guest
Be the first to comment.


