
avg —
Cherry Jam with Pits for Winter
Instructions
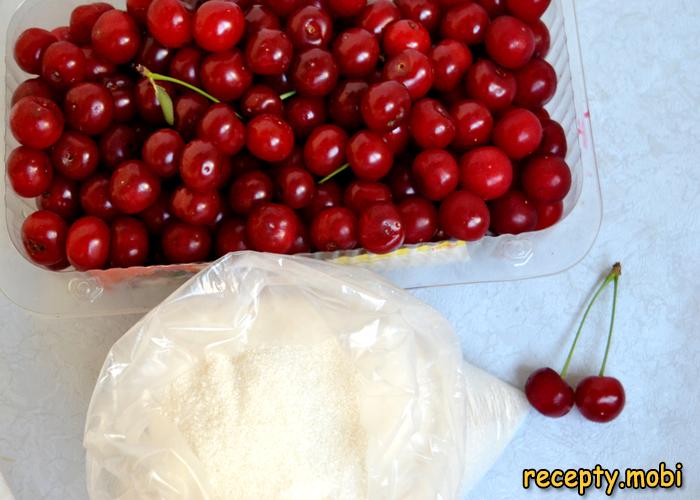
Prepare the fresh cherries (1.5 kg). Buy the berries in season (June–July) at the market from trusted sellers, or pick them from your own tree. Any variety is fine for jam with pits. Choose ripe, large berries without damage or blemishes.
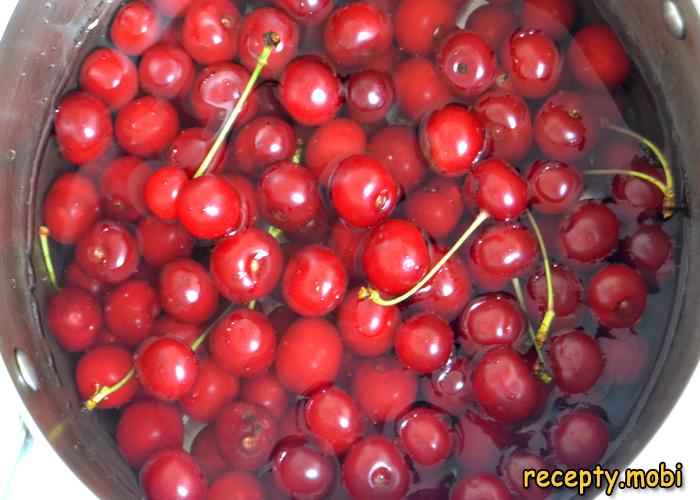
Rinse the cherries thoroughly under cold running water in a large bowl or colander, then remove the stems – gently pull them off each berry by hand. If a stem holds on tightly, snip it off with small scissors without damaging the berry. Now the critical step: check the cherries for worms. Soak the rinsed cherries in cold, lightly salted water (1 tbsp salt per 1 litre of water) for 30 minutes. The fruit worms dislike the salt and crawl out of the berries, floating up to the surface. After soaking, drain off the water along with the unwelcome guests, then rinse the cherries again with clean water 2–3 times to remove the salt. Meanwhile, prepare the jars: wash two 0.5 l glass jars in a hot soda solution, rinse with boiling water, and sterilise them with steam over a kettle for 5 minutes or in the oven at 100°C for 10 minutes. Boil the lids separately for 5 minutes.
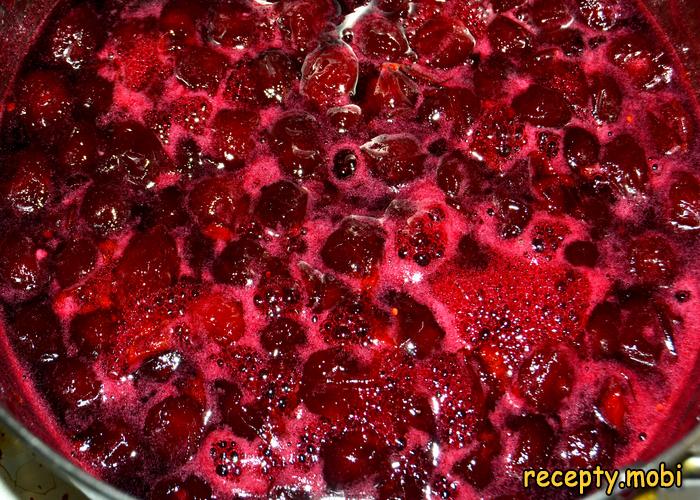
Put the prepared cherries in a large, deep bowl or enamelled basin. Add all the sugar (1.5 kg) – the cherry-to-sugar ratio is 1:1. Stir gently and leave for 30–60 minutes. In that time the cherries release plenty of juice and most of the sugar starts to dissolve in it; this is the secret to keeping the berries firm, as the sugar draws water out of the fruit so it holds its shape during cooking. First boil: pour 1 cup of clean water (250 ml) into the bowl with the cherries and sugar. Place over medium heat and bring to the boil. As it boils, a thick liquid foam appears on the surface – do not skim it yet, it will thicken with the later boils. Simmer for 5 minutes after it comes to the boil, then remove from the heat and leave for 5 hours at room temperature so the berries absorb the syrup. Second boil: after 5 hours, bring the jam back to the boil and cook for 5 minutes over low heat, skimming the foam, which by now has thickened and gathered towards the centre and is easier to lift off. Remove from the heat and leave to rest for another 5 hours.
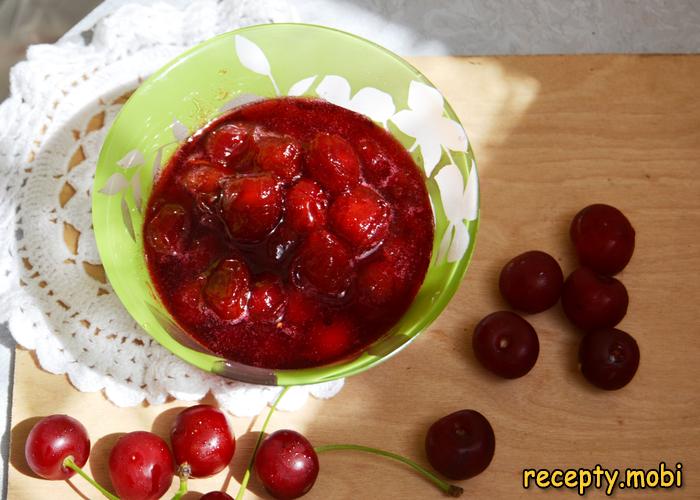
Third boil: after the second 5-hour rest, bring the jam to the boil once more and cook for 5 minutes, skimming off the last of the foam. After this the berries are set in shape and the syrup is a rich cherry colour and slightly thick; no further resting is needed. While still hot, spoon the jam into the sterilised jars – the berries first, then top up with syrup right to the rim so the fruit is fully covered. Seal the jars at once with sterilised lids, turn them upside down and leave overnight under a towel. In the morning, return the jars to their normal position and put them away to store in a cool, dark place at 5–15°C.
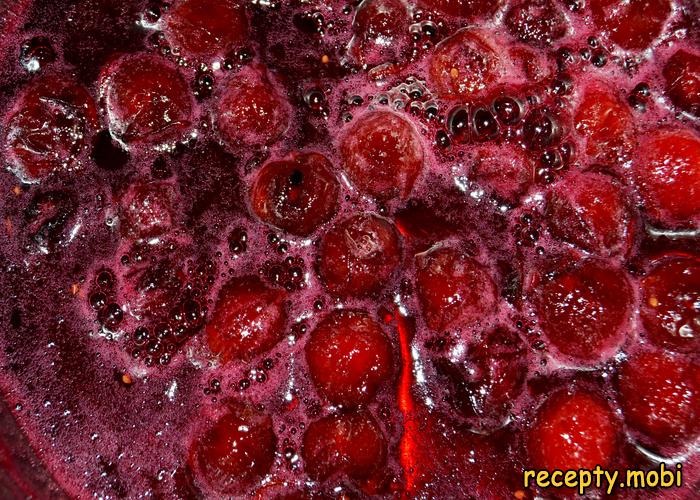
By winter the syrup in the sealed jars will have thickened further and become more viscous on the spoon – this is normal. The cherry jam with pits for winter is ready!


Tips
- 1
Always soak the cherries in lightly salted water for 30 minutes to check for worms, otherwise you may find "surprises" in the finished jam.
- 2
The triple boil of 5 minutes each with 5-hour rests is the secret to whole berries and a rich syrup.
- 3
Keep the cherry-to-sugar ratio at 1:1 – with less sugar the jam will turn sour. I use a similar approach for strawberry and pitted cherry jam.
- 4
The syrup thickens in the jars after 1–2 months of storage, so freshly made jam may look runny at first.
FAQ
Why cook cherries with the pits if you can do it without? +
The main advantages of jam with pits. Keeping the berry's shape: a whole berry with its pit does not break down into mush in the jam and stays firm and attractive. Almond-like aroma: the pits contain amygdalin, which during cooking gives the syrup a characteristic light almond aroma. Less prep time: there is no need to pit the cherries with a special tool (5 minutes instead of 1–2 hours). Keeps longer: the pits release natural preservatives. The main drawback is that it is awkward to eat, as you have to remove the pits in your mouth. Jam with pits suits tea and serving as a dessert; pit-free jam is better for filling cakes and pies.
Is it safe to eat jam with cherry pits? +
In small amounts (1–2 tsp a day) it is safe. But there is a catch: cherry pits contain amygdalin, which during long storage (more than a year) turns into hydrocyanic acid, a toxic substance. For this reason, jam with pits should be eaten within 1 year of canning, no longer. For longer storage (2–3 years), remove the pits and make the jam without them. Do not crack the pits or eat the "almond" kernels inside, as these are what hold the concentrated amygdalin. For children under 7, keep the pits to a minimum, or better use pit-free jam.
How long does the finished jam keep? +
Properly sterilised and sealed jam with pits keeps in a cool, dark place (5–15°C) for up to 1 year. After 1 year it is not recommended to eat, as the hydrocyanic acid from the pits can become dangerous. Without pits it keeps for up to 2–3 years. Keep an opened jar in the fridge for up to 1 month with the lid on. Signs of spoilage: fermentation (bubbles, a sour smell), mould on the surface, or a change in colour. If the jam has crystallised, reheat it with 50 ml of water and 1 tsp of citric acid. Do not throw out crystallised jam, as it is safe to eat.
What to serve with cherry jam with pits? +
A versatile Russian dessert. With tea – black with lemon or green (the classic tea-drinking). With pancakes and fritters – instead of sour cream or honey (1–2 tbsp per serving). With ice cream – as a cherry sauce from the jam (melt 1 tbsp). With cottage cheese and nuts – a "Russian" dessert. With sponge cakes and charlotte – to soak the layers (dilute 1:1 with water). With hot milk – the "grandmother's" remedy for colds (1 tsp per glass). For breakfast – with homemade cottage cheese and milk. For a grown-up dessert – with brandy or Kirsch cherry liqueur as a "cherry sauce" for duck or beef.
- Comment
or post as a guest
Be the first to comment.


