
avg —
Pitted Plum Jam for Winter
Instructions
I prepare the ingredients for the pitted plum jam for winter. If the plums are very sweet, you can reduce the sugar by 100–150 g, since the fruit's own sweetness makes up for part of the syrup. In that case the jam will need to cook a little longer, about 5–10 minutes depending on the variety, so the sugar has time to bind all the moisture.
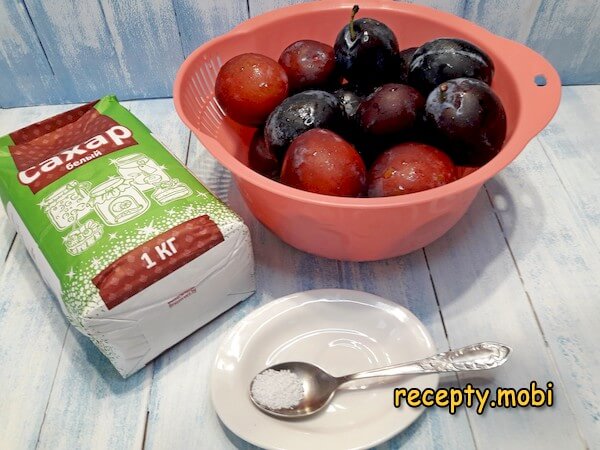
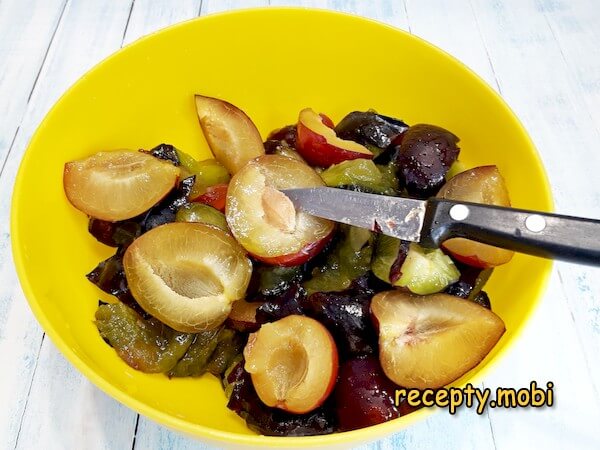
I wash the plums well, gently wiping off the velvety bloom on the skin, since that waxy coating collects dust and wild yeasts that could later trigger fermentation even in a sterile jar. I cut large plums into quarters and smaller ones in half, then remove the pits. Pieces of even size matter for even cooking: smaller ones would otherwise turn to mush before the larger ones are done.
I divide the sugar into 4 equal portions of 250 g each, to be added in 4 stages rather than all at once. Adding it gradually lets the plums release their juice gently, without shock, so the pieces keep their shape instead of turning to puree. I use a pot with a thick bottom or a non-stick coating: a thin pot heats unevenly in spots, and the sugar syrup will start to scorch on the bottom before the jam is warmed through.
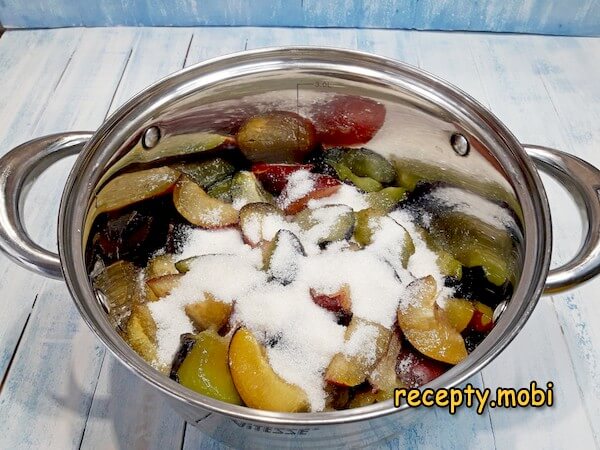
I lightly sprinkle the fruit with sugar from the first portion of 250 g, without stirring, so the pieces are not damaged. The plums and sugar are laid down in layers, so the sugar stays in close contact with the whole surface of the fruit and draws the juice out evenly by osmosis.

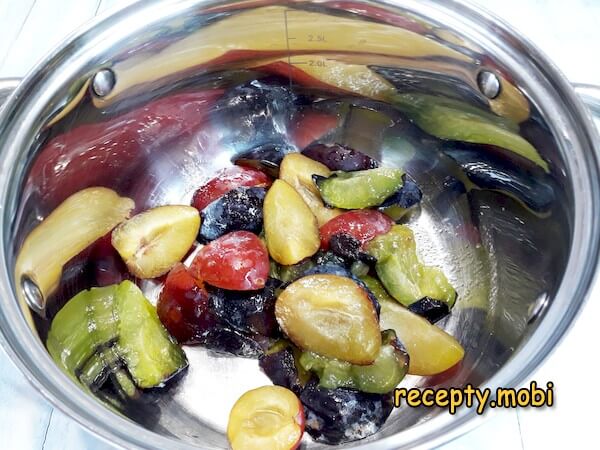
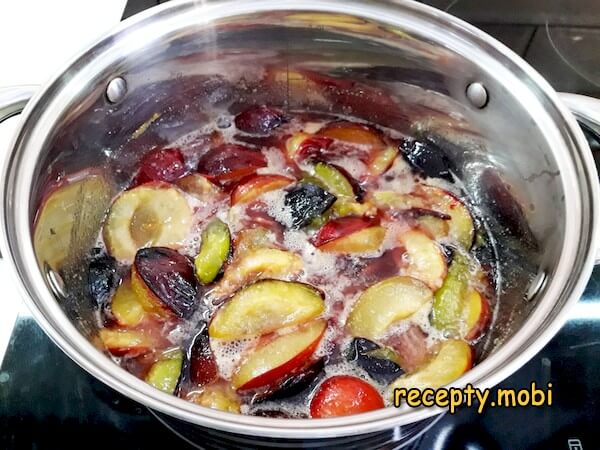
This way I place all the plums in the pot, alternating them with sugar from the first portion. After a few minutes, plum juice starts to collect at the bottom; the osmotic process has begun, and you can put the jam on the heat without adding any water.
I set the pot on the stove over slightly-above-medium heat, not the maximum, or the bottom layer will scorch while the top is still cold. Once it comes to a boil, I cook the plums for 5 minutes without stirring vigorously: a gentle shake of the pot is enough to avoid tearing the pieces.
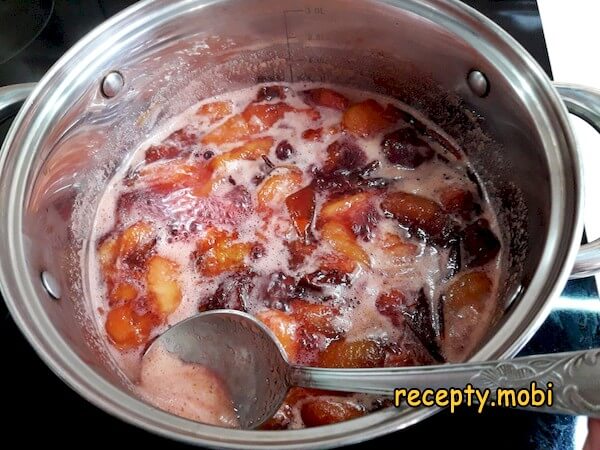
I add the second portion of sugar (another 250 g) and keep it boiling. Adding the sugar in stages raises the syrup concentration gradually: each batch is a touch thicker than the last, and the plums soak up the syrup smoothly, without the skins shrinking sharply.

A whitish foam forms during cooking: these are protein compounds and tiny bits of pulp rising to the surface. You need to skim it off with a spoon or skimmer, or the jam will turn cloudy and a grey film will settle on top in the finished jar.
After another 5 minutes, I add the third portion of sugar along with the citric acid; it is needed so the jam does not crystallise later during storage. I stir gently and skim the foam again. I boil the plums for another 5 minutes.
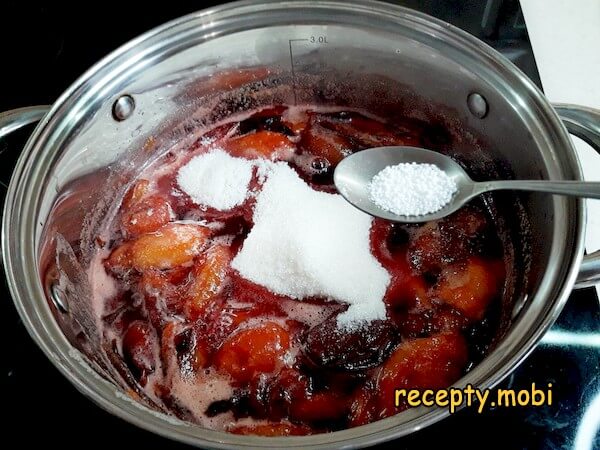
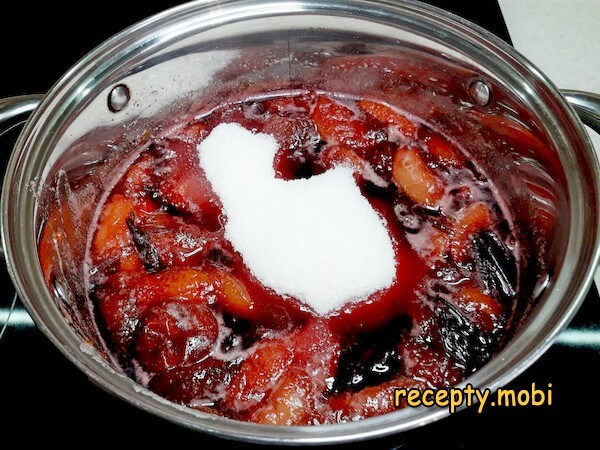
Now it is the turn of the final 250 g of sugar; I boil the jam for another 5 minutes, this being the last addition. By now the syrup is thick and dark burgundy, and the plum pieces have turned translucent, a visual sign that they are fully saturated.
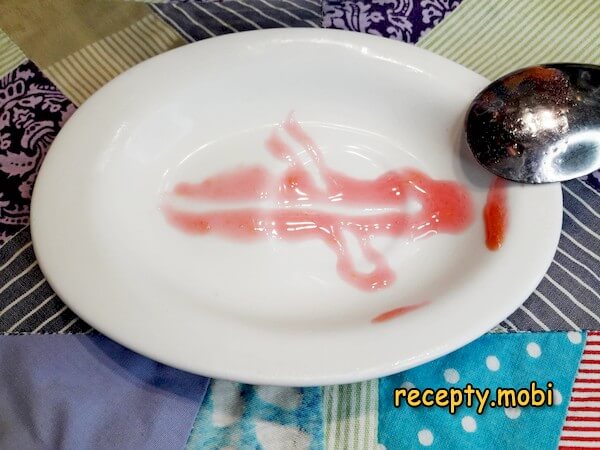
To make sure the plums have cooked down enough, I drop a little jam onto a saucer and draw a line through it with the back of a spoon. If the line does not run back towards the centre and does not close up, the jelly base is ready. If needed, you can cook the jam for another 5 minutes; the pectin will only set fully at a high enough concentration of sugar and acid.
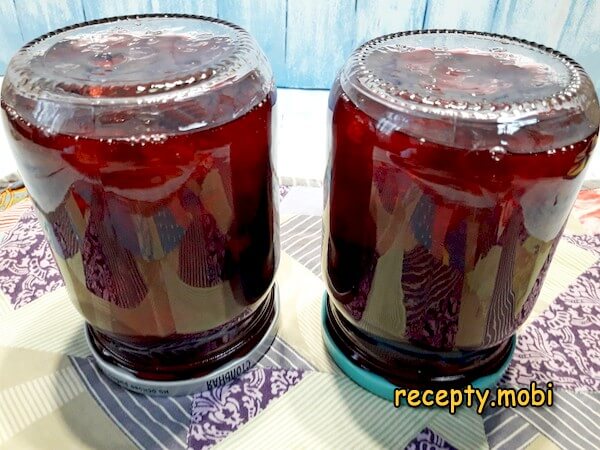
I sterilise the glass jars in advance by any convenient method, for example over steam, and boil the metal lids for 5 minutes. I fill the jars with hot jam right to the top: a minimal air gap means minimal oxidation and less risk of mould under the lid.

I screw on the lids and check the seal by turning the jars upside down: if nothing leaks from under the rim, the seal is tight. Then I stand them upright again and leave them to cool. The pitted plum jam for winter is ready.The jam can be stored at room temperature for a whole year. If the jars are closed with plastic lids, keeping is only guaranteed in the fridge. Without gelatin or agar-agar, you get a wonderful plum treat to enjoy with a cup of tea on a winter evening.


Tips
- 1
The 4 portions of sugar are the secret to a tender texture. Adding all the sugar at once would make the plums tough and lose their shape. Adding it gradually in 250 g portions keeps the fruit whole and lets it soak up the syrup evenly.
- 2
Citric acid is the secret against crystallisation. Without it, the jam may form sugar crystals after a few months. With 1/3 tsp per 1 kg of sugar, the jam stays smooth all winter. The same trick works in pitted cherry jam for winter.
- 3
The drop test is the secret to the right thickness. Finished jam does not spread on a cold saucer, which means the jelly base has set. If the drop is runny, cook it for another 5 minutes.
- 4
A thick bottom is the secret to even cooking. In a thin pot the sugar scorches on the bottom and spoils the flavour. In a pot with a thick bottom or a non-stick coating, the heat is distributed evenly and the jam warms through without scorching. The same principle applies to other types of pitted homemade jam.
FAQ
Which plums should I choose for pitted jam? +
Ideally, ripe firm plums of late varieties such as Hungarian (Vengerka), Stanley or Ugorka (1 kg is the classic choice). Alternatives: Reine Claude (1 kg, premium, fleshy), yellow Mirabelle (1 kg, premium), a mix of Hungarian and Reine Claude (500 g of each, a premium blend), or local garden plums (1 kg, the budget option). Do not use overripe soft fruit, which will dissolve into mush, or green plums with a bitter taste, which will not give juice. For the classic version, ripe firm plums with a light bloom on the skin are essential.
Can I reduce the amount of sugar? +
Yes, by 100–150 g, provided the plums are very sweet. In that case the jam will need to cook longer, about 5–10 minutes beyond the recipe, to reach the right thickness. You should not leave out the sugar entirely: below 800 g per 1 kg of plums the jam keeps poorly and may ferment. A budget option is 800 g of sugar plus 1/2 tsp of citric acid for better preserving. The classic ratio is 1 kg of sugar, 1:1 with the plums.
How do I tell when the jam is ready? +
The main test is a drop on a cold saucer. I drop a little jam and draw a line through it with the back of a spoon. If the line does not run back towards the centre and does not close up, the jelly base is ready. Additional signs: the plums have turned translucent, the syrup has taken on a rich wine colour, and the foam has stopped forming actively. The total cooking time from the first boil is about 25 minutes. If the drop spreads, cook it for another 5 minutes and repeat the test.
How do I store plum jam without sterilising the jars? +
Sterilising the jars over steam or heating them in the oven for 10 minutes is the minimum protection that I always use. Without sterilising, the jam can only be kept in the fridge under a plastic lid for 2–3 months. With sterilising and metal lids, it keeps at room temperature for up to a year. Signs of spoilage: a bulging lid, foam on top, a sour smell; do not open jam like that. For the classic version, sterilising the jars and checking the lids by flipping the jars are essential.
- Comment
or post as a guest
Be the first to comment.


