
avg —
Easter Salad 'Pysanka'
Instructions
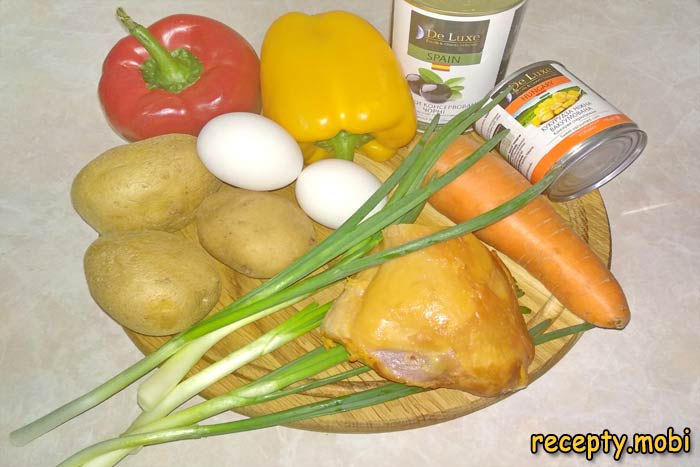
I prepare all the ingredients in advance: I boil the potatoes in their skins (15–20 minutes until tender) and the eggs hard (10 minutes after the water comes to the boil), then let everything cool completely. Homemade mayonnaise (without preservatives) is best – it gives a more delicate flavour and a lovely "glossy" net for the decoration. All the ingredients should be cold before you assemble the salad.
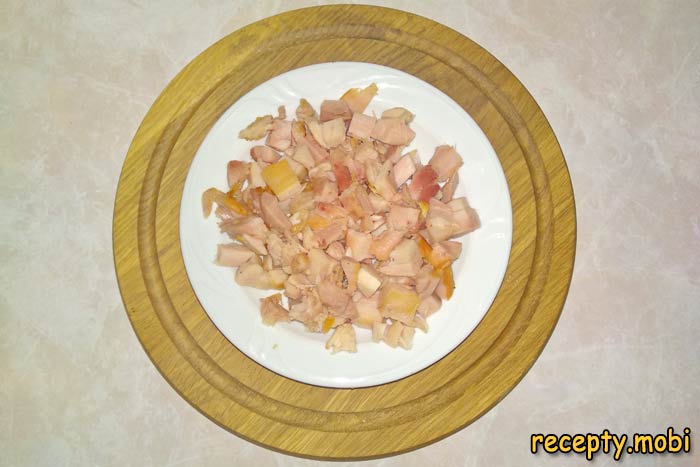
I carefully remove the skin from the smoked chicken (200 g) and separate the meat from the bone. I cut it into small 0.5–1 cm cubes – this size lets the chicken spread evenly through the bottom layer of the salad and makes it easy to eat. I use a good-quality smoked breast; cheap "chicken paste" would spoil the flavour.
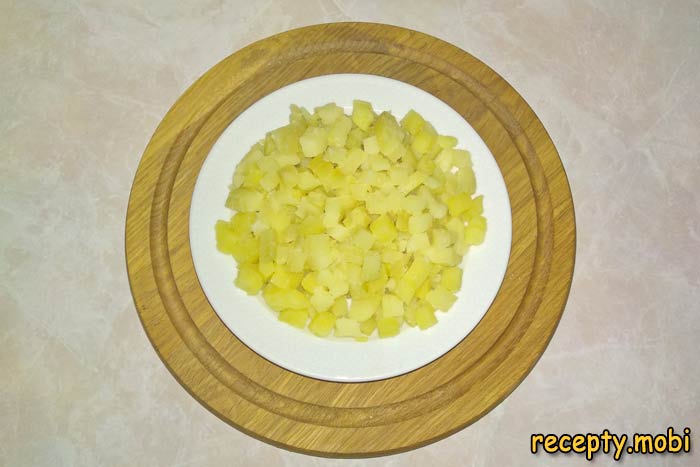
I peel the boiled, cooled potatoes and cut them into small 0.5–1 cm cubes – the same size as the chicken. The potato acts as the "neutral base" of the salad, on which the brighter components are layered. Cold potato cuts cleanly – warm potato crumbles.
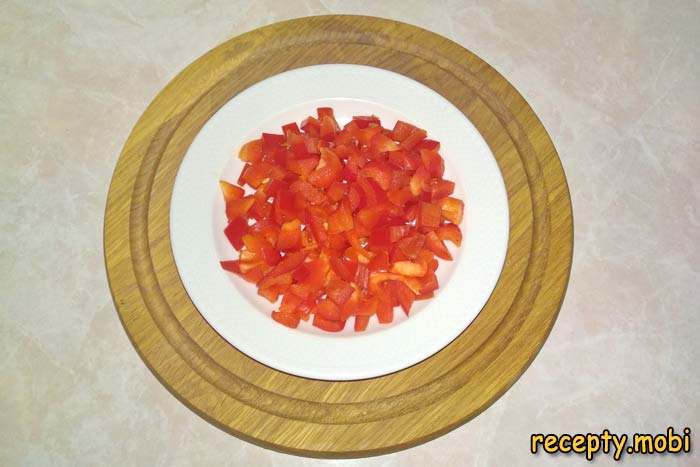
I wash the bell peppers (2 pcs, red and yellow), remove the seeds and white pith, and cut them into small 0.5 cm cubes. I use peppers of different colours for brightness – colourful decoration on an Easter egg is a classic of the Ukrainian pysanka. Remove the seeds and white pith completely – they make it bitter.
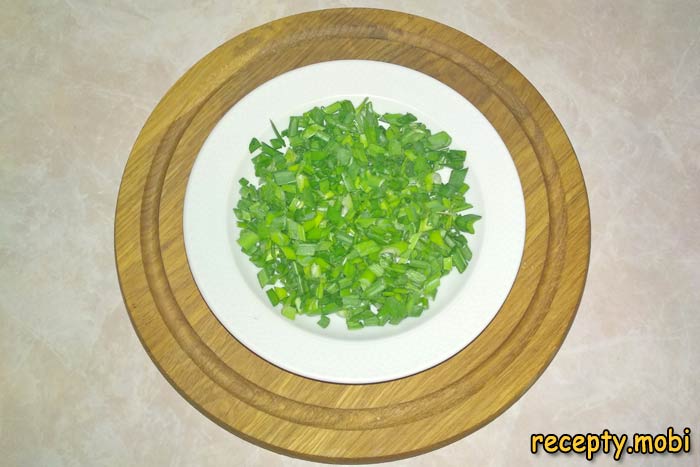
I wash the green onions (½ bunch) thoroughly and finely chop only the green feathers (no white part) into 2–3 mm rings. The green colour adds an accent to the "pysanka" ornament. Finely chopped onion distributes evenly through the layer and does not stand out in large pieces.
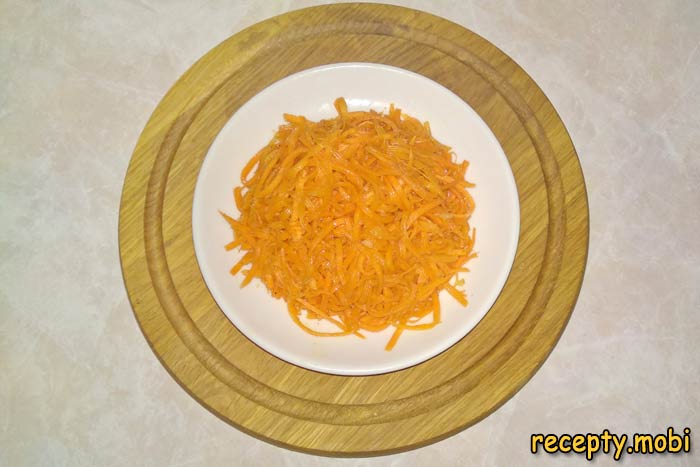
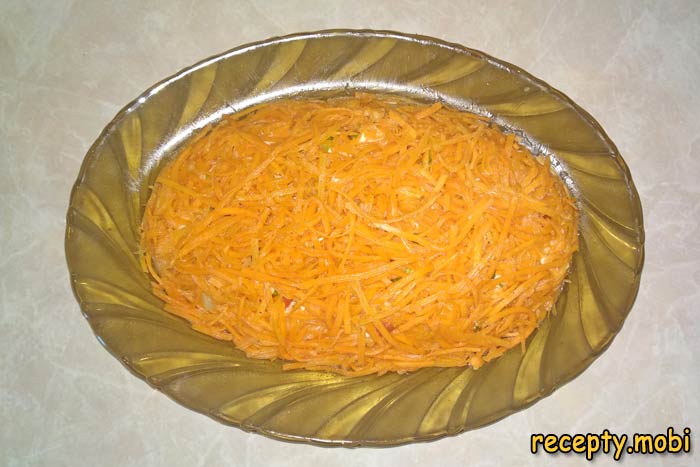
I roughly chop the Korean-style carrots (200 g) with a knife, cutting the long "strips" into 2–3 cm pieces – this size works better in the dome. Long carrot strips are hard to shape neatly. If the carrot is very spicy, rinse it under cold water and squeeze it out.
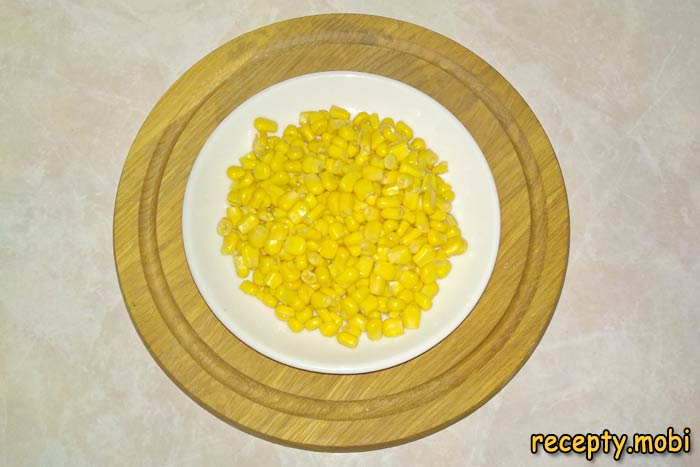
I tip the canned corn (200 g) into a colander to let all the liquid drain off. Then I spread it on a paper towel to soak up any remaining brine. Wet corn would "run" in the salad and spoil the "pysanka" ornament on top.
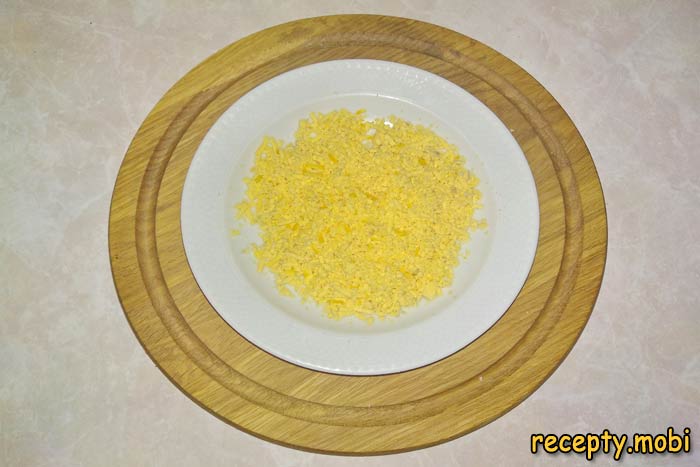
I peel the boiled eggs and carefully separate them into whites and yolks. I grate the white on a fine grater straight into a separate bowl – a soft, "snowy" texture for decorating the top layer.
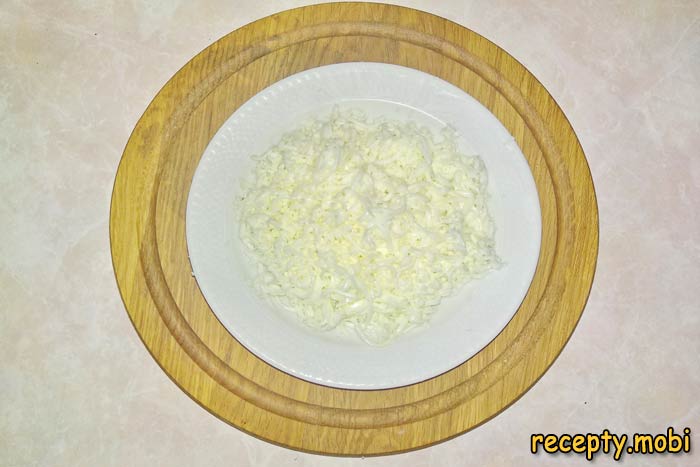
I also grate the yolk separately on a fine grater – it gives a bright yellow colour to contrast with the white. Serving the white and yolk separately is the key to the "pysanka" decoration, with two colours in one salad.
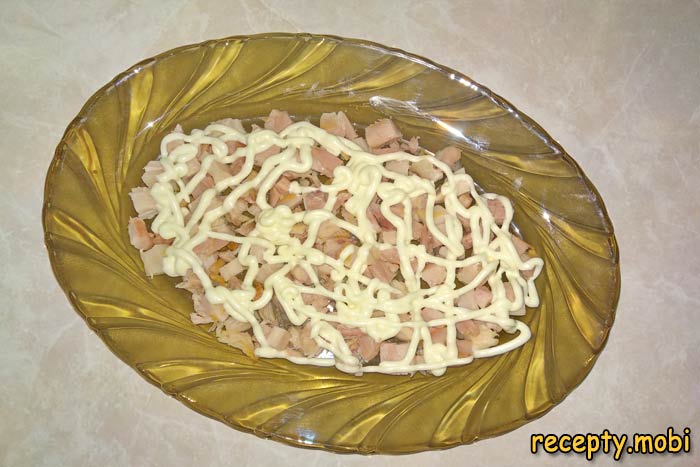
On a large oval serving dish I lay the diced smoked chicken as the first layer, in an oval "egg" shape roughly 25×15 cm. The oval shape of the dish sets the silhouette of the Easter egg. I cover the layer with a mayonnaise "net" from a piping bag with a fine nozzle – it gives a light coating.
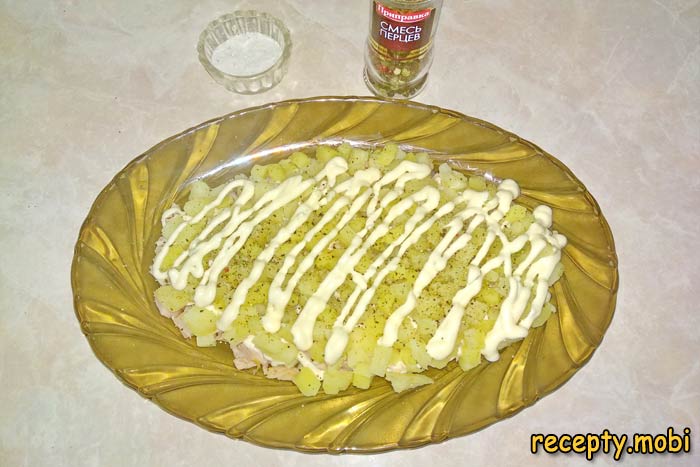
As the second layer I spread the diced potato evenly over the chicken, keeping the oval shape. I lightly salt the potato on top and apply a thin net of mayonnaise. The potato is the "binding" layer between the bright meat and the vegetables above.
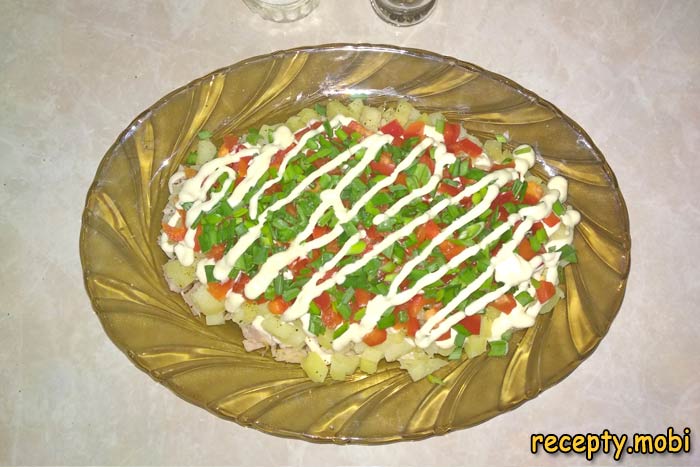
Then I distribute the bell pepper and green onions evenly over the potato. The colourful pieces of pepper add a bright accent to the layered salad. The onion adds freshness and a green colour to the overall palette.
I lay the Korean-style carrots in a generous layer over the previous ones, shaping the top into the "egg dome" – it is thanks to the carrots that the salad takes on a rounded shape like a real egg. I cover the whole mound with a layer of mayonnaise so the decoration will "stick" to it later.
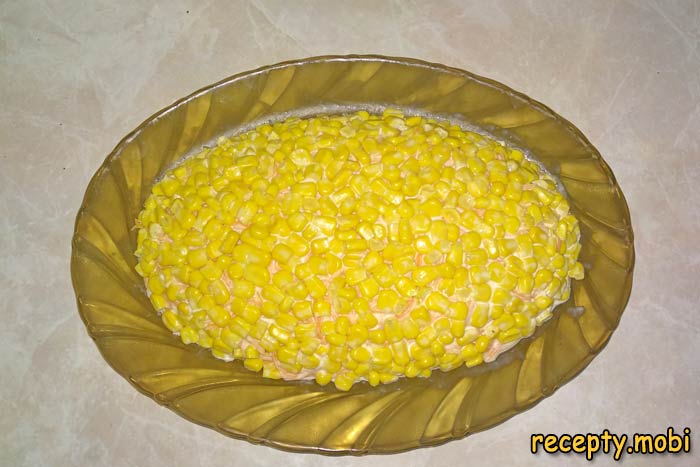
On top I evenly distribute the dried corn, lightly pressing the kernels into the Korean-style carrots so they do not "roll off" the dome. I cover the "golden" layer with mayonnaise – it will be the base for the final decoration.
The final layer of mayonnaise should be thick enough – the decorative shapes of pepper and olives will "hold" onto it. Without a generous layer of mayonnaise the decoration will "slide off" the salad when serving. I apply it carefully with a spatula or a net from a piping bag.

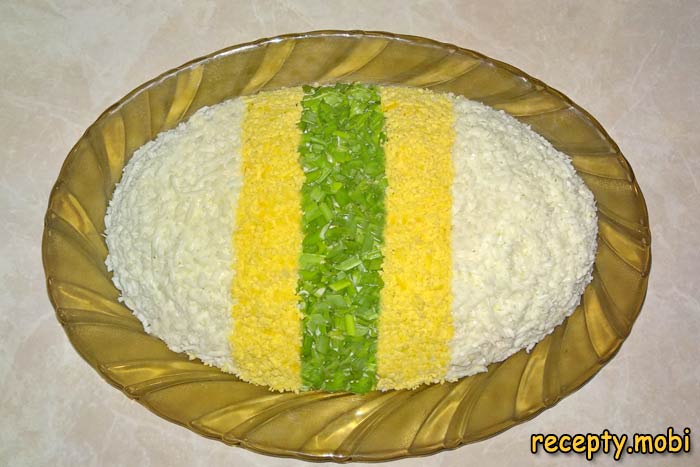
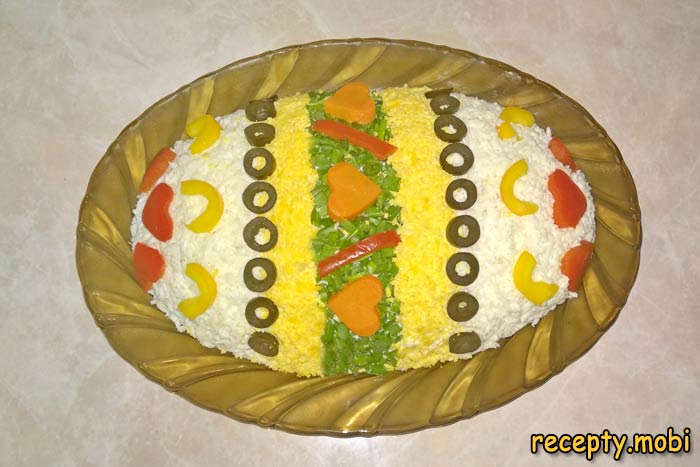
I decorate with grated white two "tips" of the egg, at the top and bottom of the oval dome – like the "poles" of the egg. Between the "tips" I run a stripe of finely chopped green onion – the "equator" of the egg. On the sides – grated yolk for the yellow zones. "Pysanka" symmetry!
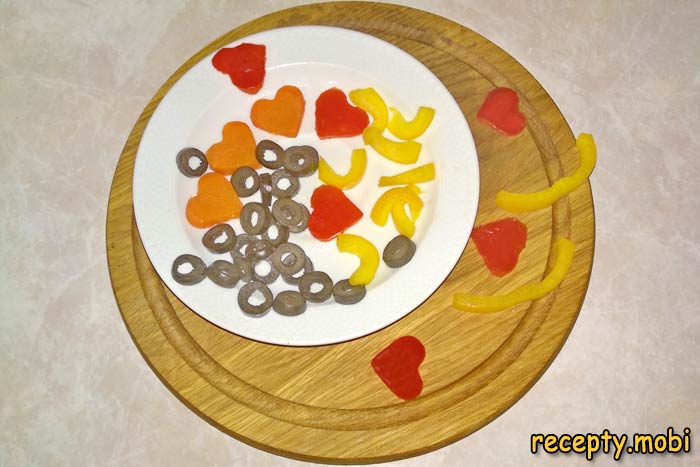
From bell peppers of different colours and halved olives I cut out small decorative shapes – little flowers, leaves, triangles, diamonds. Use cookie cutters or a small sharp knife for neat outlines. The smaller and tidier the decoration, the more striking the "pysanka".
I arrange the finished shapes symmetrically on the "pysanka" in the Ukrainian ornament tradition: symmetrical patterns, repeating motifs, floral compositions. I carefully press each shape into the mayonnaise with the tip of a knife to fix it in place – the decorations will not "slide off" when serving.
I put the finished "Pysanka" salad in the fridge for 1–2 hours so the layers soak through and the decoration sets. I serve it chilled straight on the oval dish – cutting it in front of the guests for an impressive presentation. The Easter salad "Pysanka" is ready!


Tips
- 1
Use an oval dish – it sets the correct "Easter egg" shape from underneath; without it you will get a round or rectangular salad.
- 2
Be sure to dry the corn thoroughly with a paper towel – so the salad does not "run" from the brine and the "egg" shape is not spoiled.
- 3
Use cookie cutters and stencils for a neat and even "pysanka" ornament. I use a similar principle to make my Easter "Mimosa" salad.
- 4
The chicken can be replaced with ham, servelat, boiled beef tongue or smoked turkey – each substitution gives the salad its own character.
FAQ
Can I make the salad without Korean-style carrots? +
Yes, you can replace the Korean-style carrots with fresh grated carrot dressed with vegetable oil, garlic and a little vinegar – a "homemade version" of Korean carrot. Boiled carrot grated with a pinch of spices also works. Without the spicy notes of Korean carrot the salad will be less "piquant", but still tasty. You can use grated cooked courgette or zucchini for a vegan option. The main thing is to keep a "fibrous" texture so the egg dome holds its shape nicely.
How long does the finished salad keep? +
The finished "Pysanka" keeps in the fridge for up to a day with the decoration – any longer and the decoration will "run" from the mayonnaise and lose its good looks. Without the decoration (just the assembled base salad) – up to 2 days. Ideally, assemble and decorate the salad with the "pysanka" ornament 4–6 hours before serving (just before laying the table) and keep it in the fridge under cling film. Make the decoration in advance (a day ahead is fine) and keep it in a separate container. Serve it freshly assembled on the Easter table for the best look.
What can I use instead of mayonnaise in the salad? +
Suitable alternatives are: homemade mayonnaise without preservatives (the classic swap), 20% sour cream (a more delicate "Russian" version), unsweetened Greek yoghurt (a diet option), or a 50/50 mix of sour cream and Greek yoghurt (a compromise). For a lighter version – Greek yoghurt with lemon juice and mustard. The calorie count drops from 40 kcal per 100 g to 30 kcal. Each substitution gives the salad its own character. Mayonnaise "glues" the layers together and holds the decoration best, while substitutes need a more careful hand during assembly.
What should I serve the salad with on the Easter table? +
"Pysanka" is part of a festive Easter spread: with various kinds of kulich (curd, yeast-based), curd paskha, painted eggs, ham, homemade sausage and aspic. For drinks – Easter Cahors (sweet red), or a dry white wine for the non-fasting version (Riesling), and cranberry or lingonberry fruit drink. On Easter Sunday – with the symbolic dishes of the Ukrainian and Russian tradition. Serve it in the centre of the Easter table as the "showstopper" – "Pysanka" creates a "wow effect" for guests and photographs beautifully.
- Comment
or post as a guest
Be the first to comment.


