avg —
Meat Roll-Ups with Cheese and Mustard 'Finger-Lickin' Good'

Instructions
I cut the boneless pork into medallions 1 cm thick, across the grain. For tougher meat (older pork or beef) I make the pieces thinner than 7 mm – they soften faster during simmering. A sharp knife is a must: a blunt one will tear the meat into shreds instead of neat medallions.
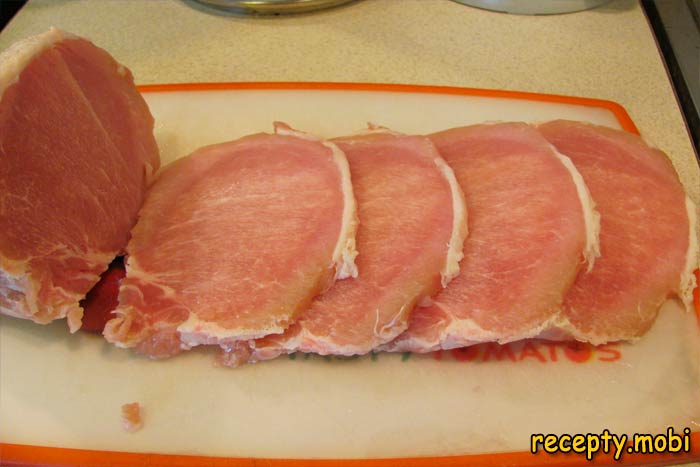
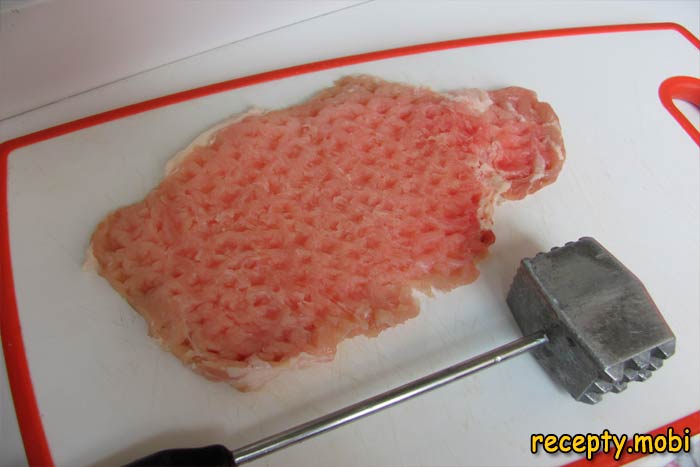
I pound each piece on both sides with a meat mallet through cling film. The film prevents the fibres from tearing and stops splatter around the kitchen. The thickness after pounding should be 5 mm, no thinner: otherwise the meat will tear when you roll it up.
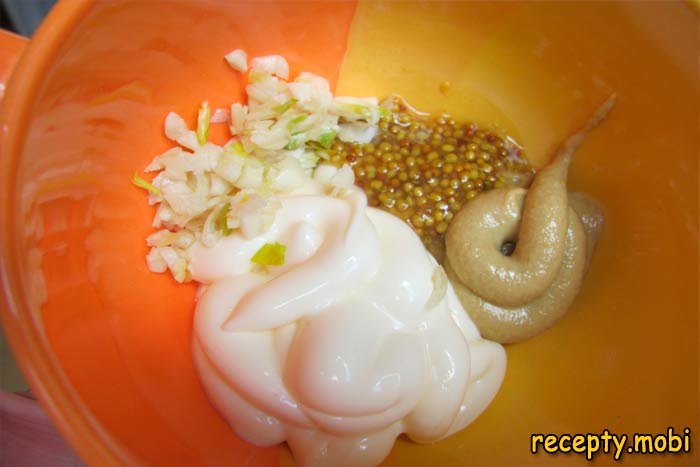
In a separate bowl I mix the mustard, mayonnaise and garlic pressed through a press into a smooth dressing. This is the "signature" filling spread that gives the finished rolls their characteristic piquant flavour. Dijon mustard gives a milder result, while hot Russian mustard makes it sharper.
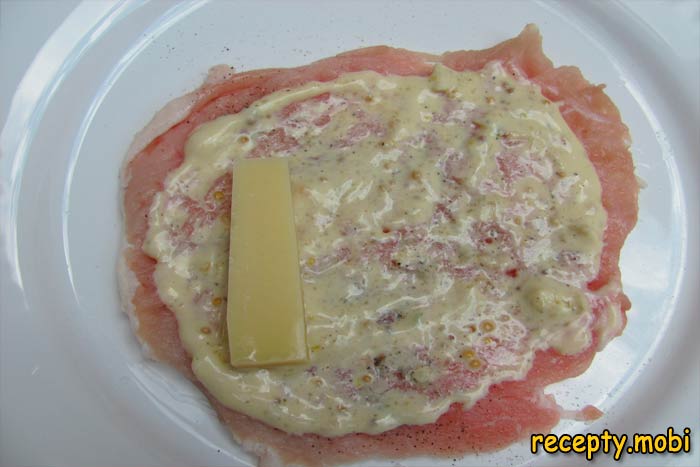
I salt and pepper the pounded medallions and spread them with a thin layer of the mustard-mayonnaise dressing (not too much, or it will ooze out when rolling). On each medallion I place a stick of hard cheese, 1×2 cm – it will melt during simmering and give a tender cheesy "filling".
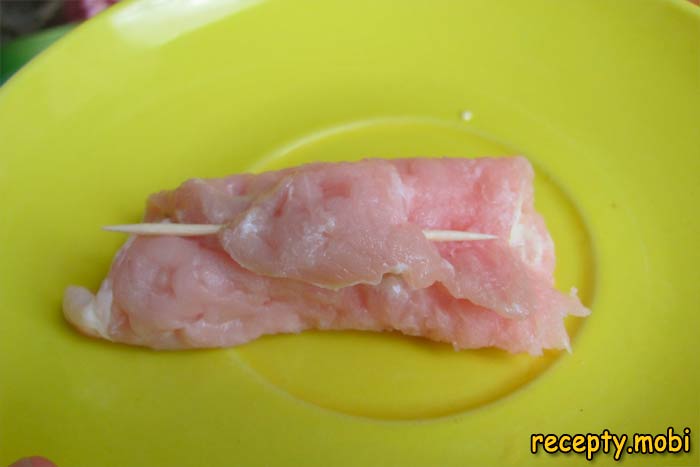
I roll each medallion into a tight roll, from the edge with the filling towards the opposite side. I secure the edge with a toothpick – this holds the shape firmly during frying and simmering. Without a toothpick the rolls unwrap in the pan and lose their shape.
I fry the rolls in heated vegetable oil until golden – about 2–3 minutes on each side over medium heat. The crust "seals" the juices inside and gives the characteristic aroma of fried meat. Do not over-fry – the meat will still be simmered.
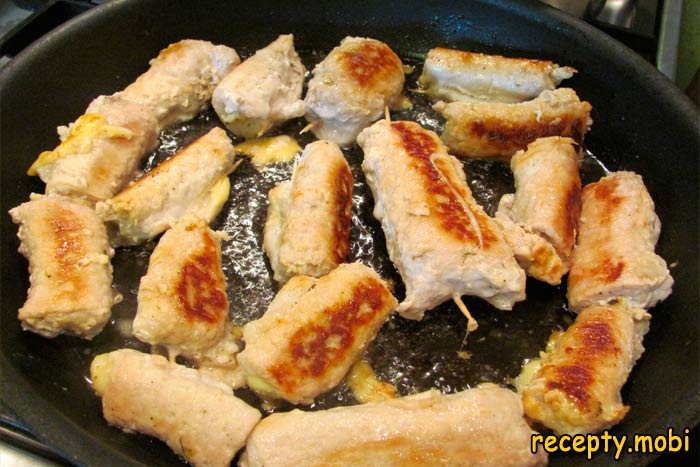
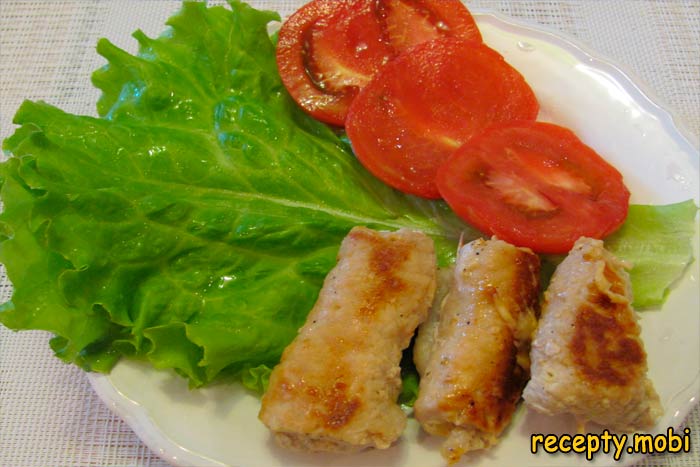
I transfer the fried rolls to a pot or sauté pan and pour in boiling water until the meat is half covered. I simmer for 30 minutes over low heat under a lid – the meat becomes the most tender and soaks up the aromas. Before serving, I always remove the toothpicks – the rolls must not be served with them in.


Tips
- 1
Apply the dressing in moderation, so it does not ooze out when rolling. A thick layer is the main reason the rolls fall apart.
- 2
For a lighter version you can skip the frying and simmer straight away in the oven under foil – less oil, but without the characteristic crust.
- 3
They are handy to take with you on a picnic or to work – the compact portions are easy to pack. I make pork rolls with prunes on a similar principle.
- 4
You can use beef or lamb instead of pork – slice it thinner (5 mm) and simmer longer (45 minutes) for tenderness.
FAQ
Can I bake the rolls in the oven instead of frying and simmering? +
Yes, wrap them in foil and bake for 40 minutes at 180 °C – you will get a tender, lighter version. Five minutes before they are done, unwrap the foil to form a crust. You can also fry the rolls in a pan first until golden, 2–3 minutes on each side, then finish baking in the oven for 25–30 minutes – this way the crust is crisp and the meat juicy. Baking in a roasting sleeve is another convenient way to cook without oil.
What can I use instead of mustard in the dressing? +
Horseradish works (for a more "Russian" character), as do adjika (a hot accent), garlic sauce (more neutral), or a mix of mayonnaise with grated Philadelphia cheese (a tender, creamy option). Each substitute gives the dish its own character. Without a sharp, piquant component the rolls will turn out bland – be sure to use something "lively" in the filling. Dijon mustard is milder than Russian and suits a children's table.
How should I store the finished rolls? +
In the fridge in a tightly closed container – up to 3 days without losing quality. On the second day the flavour becomes even richer as the meat soaks up the aromas. Reheat in the microwave for 1–2 minutes, or in a pan with a couple of spoons of water under a lid for 5 minutes. Cold rolls are tasty too – serve them as a sliced meat platter. You can freeze the finished rolls for up to 1 month, but the texture will deteriorate slightly.
What to serve with meat rolls on the festive table? +
Classic side dishes: mashed potatoes with dill, boiled basmati rice, buckwheat with mushroom sauce, pasta, stewed vegetables. For sauces – sour cream with herbs and garlic, tomato, mushroom, barbecue. For vegetables – a fresh salad, pickled cucumbers, baked vegetables. Cold, serve them on sandwiches with rye bread and mustard. A dry red wine or dark beer goes well with the rolls – classic pairings.
- Comment
or post as a guest
Be the first to comment.