avg —
Sausage Rolls with Cheese and Garlic "Bells"
Instructions
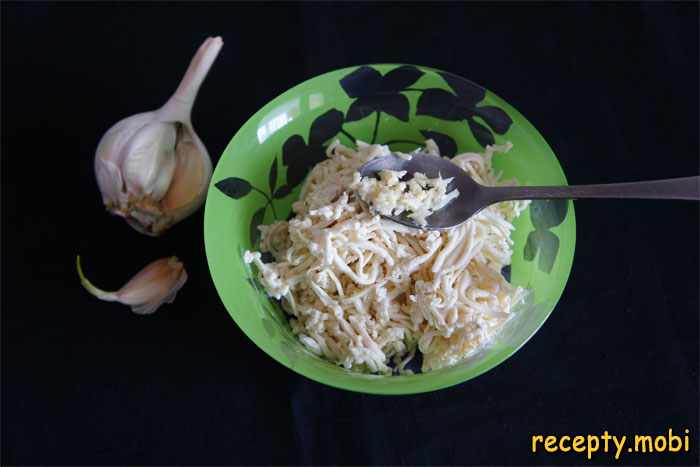
Chill the processed cheese in the refrigerator for at least 30 minutes, or better still put it in the freezer for 15–20 minutes before use. This is critically important: cold cheese becomes firmer and grates easily without smearing or sticking. Grate the chilled cheese on a medium grater.

Peel the garlic and pass it through a garlic press or grate it on a fine grater. Add the crushed garlic to the grated cheese. Garlic gives the filling a piquant sharpness and a distinctive aroma, without which the snack would be bland and unremarkable.
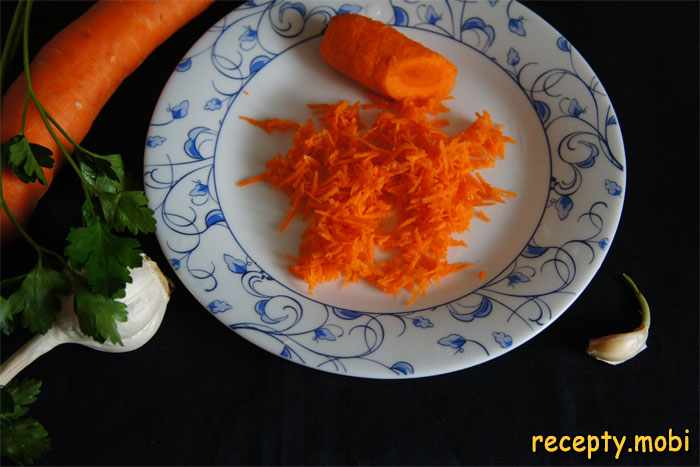
Wash, peel and grate the carrot on a medium grater. A medium grater gives the ideal size of shreds – the carrot will not get lost in the filling, but it will not be too coarse either. The carrot gives the filling juiciness, a light sweetness and a pretty orange colour.
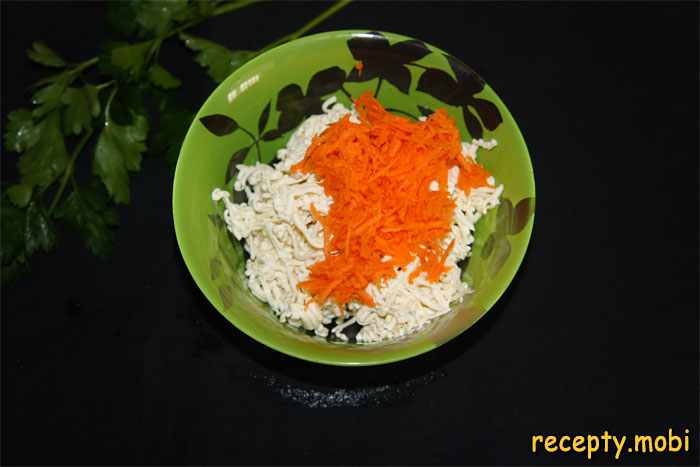
Add the grated carrot to the cheese mixture with the garlic. The carrot not only improves the flavour but also makes the filling more substantial and visually appealing.
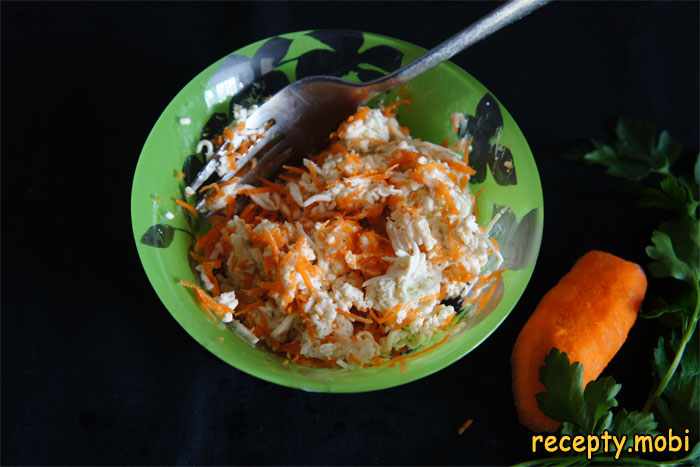
Carefully mix all the filling ingredients with a fork, working from the bottom up so as not to crush the delicate cheese mixture. Add 1 tablespoon of thick mayonnaise – it binds the ingredients into a single pliable mass that holds its shape well and does not fall apart. If the processed cheese is very fatty and moist, you can leave out the mayonnaise altogether or reduce the amount.
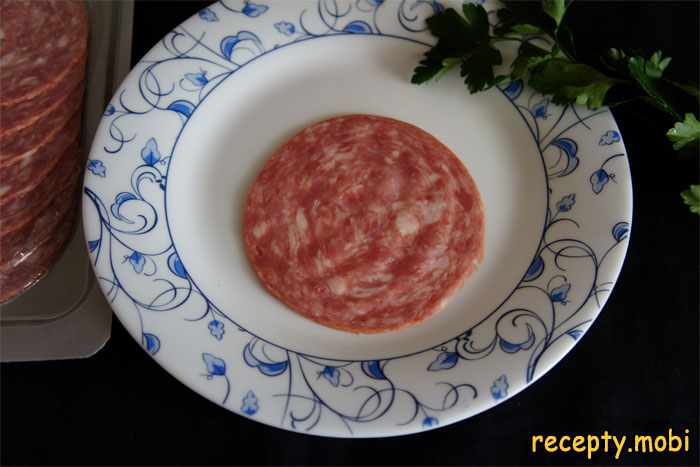
Now move on to forming the bells. For this I buy ready-sliced ham sausage in vacuum packaging – such slices are very thin (literally 1–2 mm), elastic and do not tear when rolled. If you slice the sausage yourself it is hard to achieve such thinness, and the cones come out coarse.
Using a dessert spoon, place the cheese-and-carrot filling in the centre of each slice of sausage. Put about 1 tablespoon of filling on each slice, leaving a little filling in the bowl – it will come in handy for decorating the finished bells on top.

Roll each slice of ham sausage into a cone or horn shape (like an ice-cream cone) so the filling ends up inside. Secure the edges of the cone with a wooden toothpick, piercing right through – this fixes the shape until the processed cheese glues the edges of the sausage together. It is important not to roll too tightly, so there is room for the filling inside.
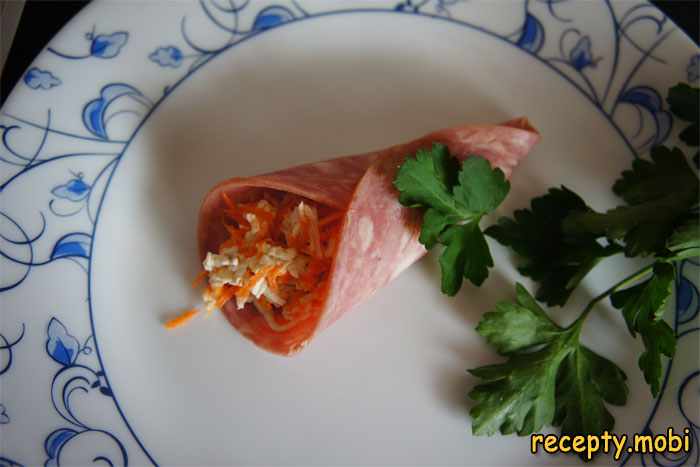
Arrange the finished sausage bells nicely on a flat plate, tips towards the centre, creating the shape of a flower or a sun. Top the centre of each bell with the remaining cheese filling for a fuller, more appetising presentation. Garnish the snack with fresh herbs – sprigs of parsley, dill or lettuce leaves. Before serving, carefully remove the toothpicks – thanks to the processed cheese the edges of the sausage have already stuck together and hold their shape well without any extra fixing.


Tips
- 1
Always use thinly sliced ham sausage from a shop pack – it is elastic, does not tear and rolls perfectly. If you slice the sausage yourself with a knife, the slices come out thick and break when rolled.
- 2
Always chill the processed cheese before grating, for at least 30 minutes in the refrigerator or 15 minutes in the freezer. Warm cheese smears across the grater and sticks, while cold cheese grates easily and neatly.
- 3
If the processed cheese is very fatty and moist on its own, you can skip the mayonnaise altogether – the filling will still be juicy, pliable and tasty. Mayonnaise is only needed to bind a dry filling.
- 4
For decoration, add sprigs of fresh herbs, cherry tomato halves, or olives to the centre of the plate – this makes the presentation even more festive and bright.
FAQ
Can I use a different sausage instead of ham sausage? +
Yes, I sometimes use doctor's sausage, milk sausage or any good-quality boiled sausage. The main condition is that it must be thinly sliced (no thicker than 2 mm) and elastic, so it does not tear when rolled into cones.
Do I have to use processed cheese, or can I take regular cheese? +
Processed cheese is convenient because of its pliability and its ability to glue the edges of the sausage together. But I sometimes replace it with a cream cheese such as Philadelphia, curd cheese, or even thick sour cream with grated hard cheese – the result is excellent too.
Can I make the snack without mayonnaise? +
Yes, if the processed cheese is fatty and moist, you can leave out the mayonnaise. I also replace the mayonnaise with thick sour cream (15–20% fat) or natural Greek yoghurt – it comes out even healthier and lighter.
How long can the finished bells be stored? +
I keep the finished snack in the refrigerator under cling film for no more than 12–24 hours. It is best to make it 1–2 hours before serving and keep it in the refrigerator – that way the filling does not dry out and the sausage stays fresh.
Do I have to remove the toothpicks before serving? +
I usually remove the toothpicks before serving, because after 15–30 minutes the processed cheese glues the edges of the sausage together and the cones hold their shape well without extra fixing. But if you are worried they will fall apart, you can leave the toothpicks in – just warn your guests.
- Comment
or post as a guest
Be the first to comment.